How to Take a Screenshot on Windows

TechEasy12:098 steps
Also in:Tech Setup

By ShowMeStepByStepPublished Updated

Based on a video by Leila Gharani.

Most Windows users only know Print Screen. The actual best workflow is Windows+Shift+S for selection, Windows+PrtScn for instant full-screen save, and the Snipping Tool app for everything else. All three save to the clipboard automatically and to a Pictures > Screenshots folder if you want a file. Once you set it up, you'll never need a third-party screenshot app again.

Step-by-Step Guide

1

Capture Everything with Windows + PrtScn

0:30
Step 1: Capture Everything with Windows + PrtScn

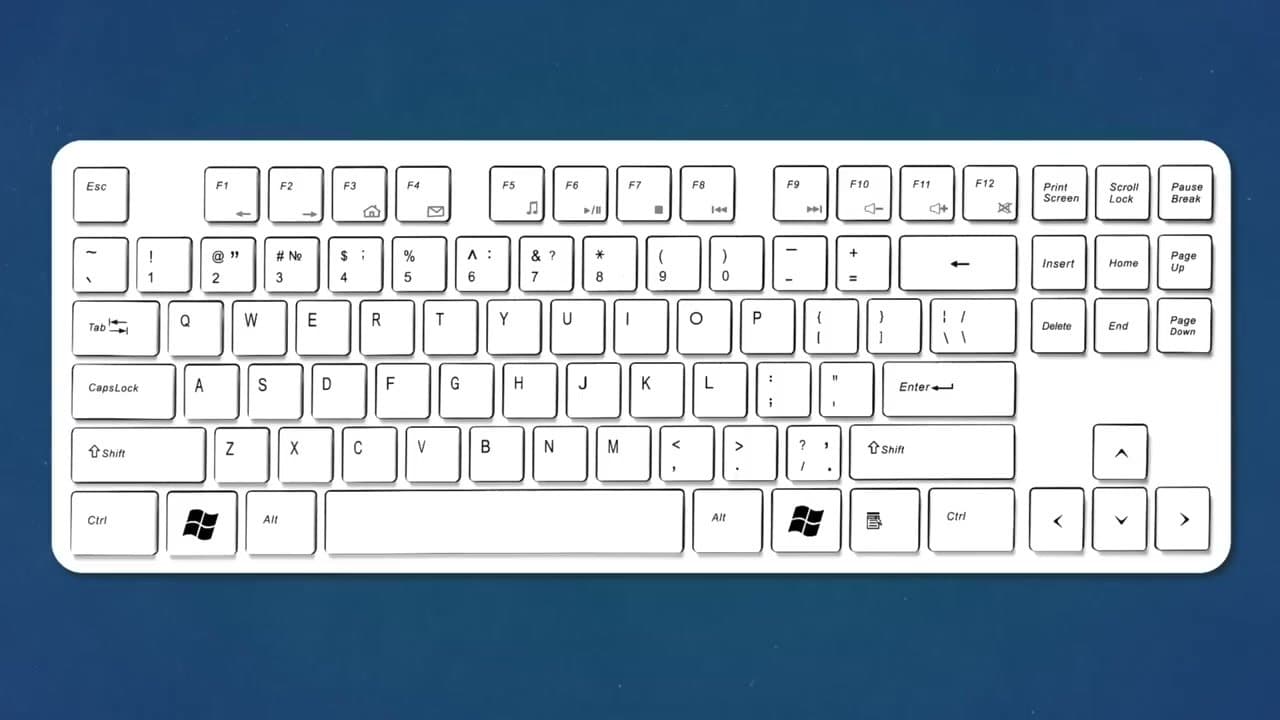
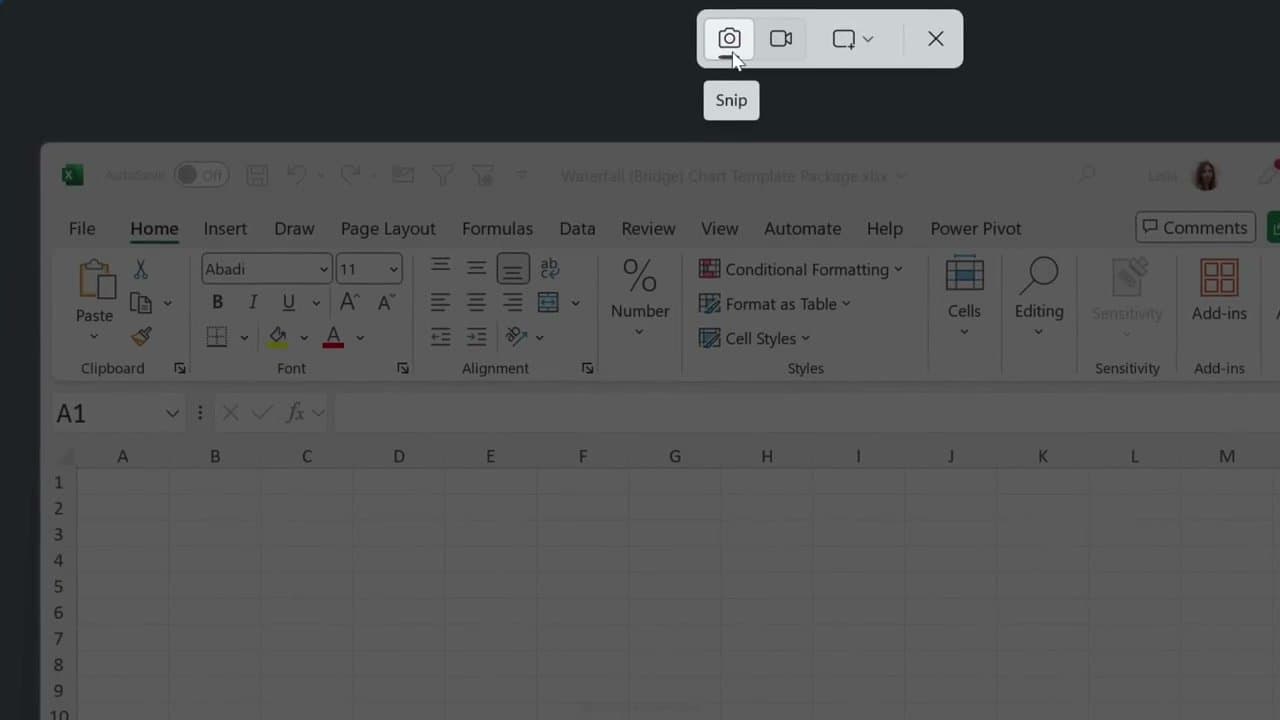
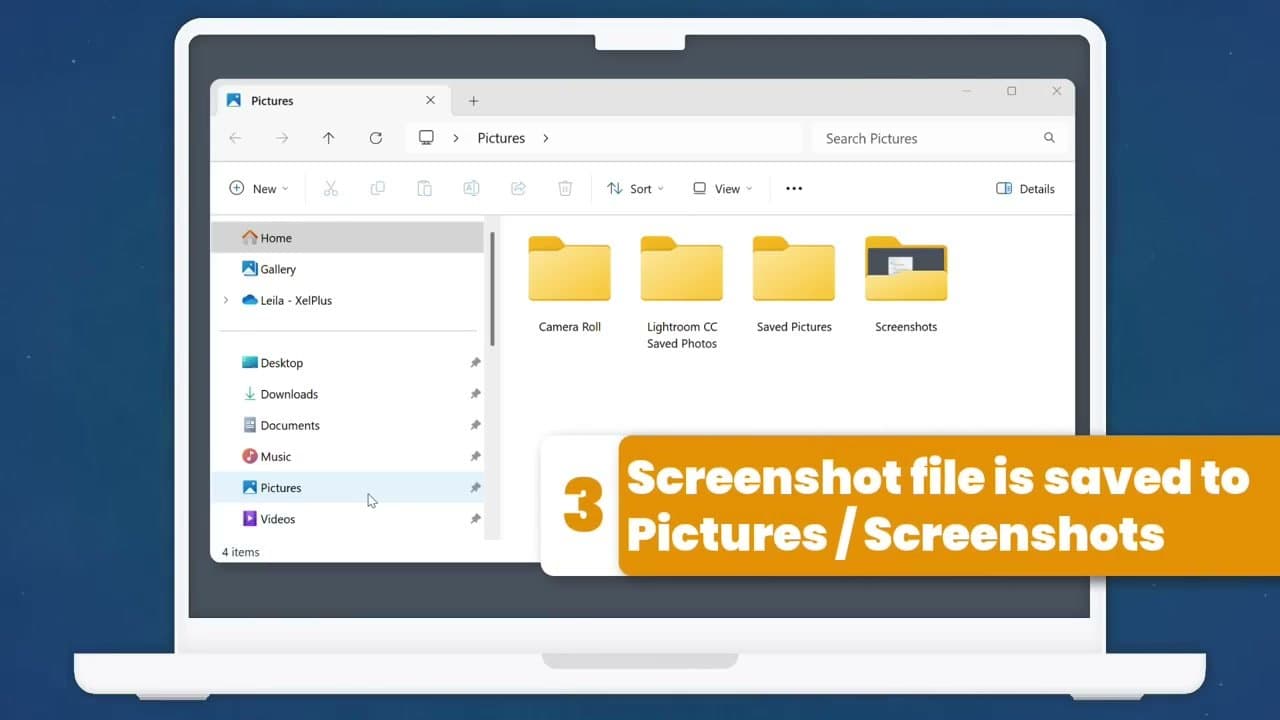
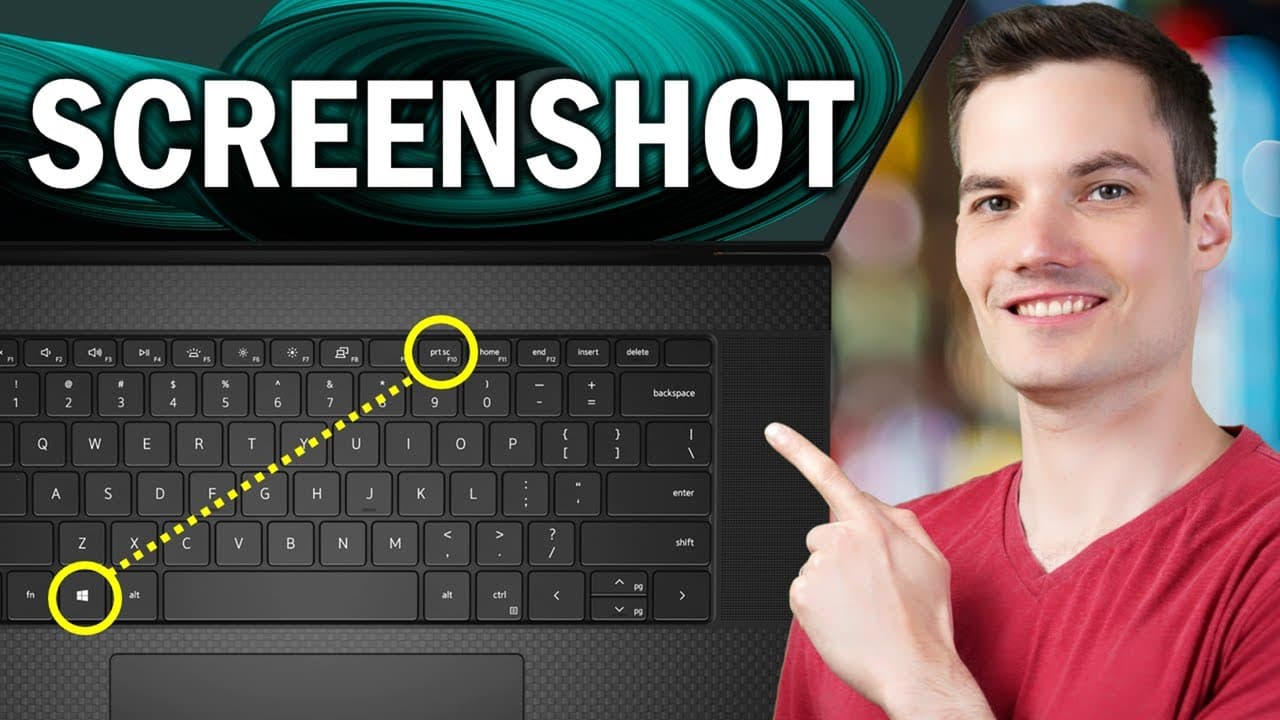
Press the Windows key and PrtScn (Print Screen) at the same time. The screen flickers, the screenshot copies to your clipboard, and a file lands in Pictures > Screenshots automatically. This is the fastest way to grab the whole display.

Tip

On laptops without a dedicated PrtScn key, look for it on the F12 row or in a Function-key combo like Fn+PrtScn.

2

Open the Snipping Tool with Windows + Shift + S

2:12
Step 2: Open the Snipping Tool with Windows + Shift + S

Press Windows + Shift + S. The screen dims and a small toolbar appears at the top. This is the workhorse shortcut - it gives you a selection overlay so you can pick a region instead of grabbing the whole screen. On Windows 11, the PrtScn key alone now opens the same toolbar by default.

3

Choose Your Capture Mode

3:00
Step 3: Choose Your Capture Mode

The toolbar has four mode icons: Rectangular for a free-drawn box, Window for one app or dialog, Full Screen, and Freeform for an irregular shape. Window mode is great for grabbing a single dialog without trying to draw a perfect rectangle around it. Click the mode you need before drawing.

4

Drag to Select Your Area

1:40
Step 4: Drag to Select Your Area

Click and hold the left mouse button at one corner of the area you want, drag to the opposite corner, and release. The screenshot copies to your clipboard immediately and a small preview thumbnail appears in the bottom-right. If you missed, click the X on the toolbar and start over.

5

Use the Delay Timer for Disappearing Menus

3:52
Step 5: Use the Delay Timer for Disappearing Menus

Some menus and tooltips disappear the moment you press a key. To catch them, open the Snipping Tool app (Start > type 'snip'), set Delay to 3 or 5 seconds, click New, and the screen freezes after the countdown. Move your mouse to set up the menu before the timer fires.

6

Mark Up Your Screenshot

5:05
Step 6: Mark Up Your Screenshot

Click the preview thumbnail to open the editor. Tools include crop, pen with adjustable color and stroke, highlighter, shapes (arrows, squares, ovals), and emojis. Hold Shift while drawing for a perfectly straight line. Use the eraser to remove specific marks, or click the eraser then 'erase all markup' to start over.

Tip

The Snipping Tool can also extract text from any image with the Text Actions button, and parse QR codes with one click - faster than typing the URL by hand.

7

Paste or Save

6:40
Step 7: Paste or Save

When you're done annotating, paste the result into any app with Ctrl+V - the marked-up version is on the clipboard automatically. Or click the Save icon to keep a separate file. The unedited original is also still in Pictures > Screenshots if you want to keep both versions.

8

Find Saved Screenshots

1:00
Step 8: Find Saved Screenshots

Open File Explorer, go to Pictures > Screenshots. Every Windows-key screenshot lands here in chronological order. If you take a lot of these, set the Sort By to Date Modified > Descending so the newest sits at the top.

Your Guide

Leila Gharani

As an Amazon Associate we earn from qualifying purchases. Links on this page may be affiliate links - clicking them and buying doesn't change your price, but helps support ShowMeStepByStep.

Tags

Related Tutorials