Apple pushes iOS updates every few weeks, and most of them are security fixes. The update itself takes about fifteen minutes of waiting and about thirty seconds of actual tapping.
The steps below cover the normal path. If your iPhone is not showing an update, or the install keeps failing, skip to the troubleshooting section.
Before You Start
Back up first. An interrupted iOS install is rare, but it does happen, and a backup is the difference between an inconvenience and losing your photos.
Open Settings, tap your name at the top, then iCloud, then iCloud Backup, then Back Up Now. Wait for it to finish. If you are out of iCloud space, plug the phone into a computer and back up there instead.
Then get two other things in order:
- Wi-Fi. Large iOS updates will not download over cellular on most plans.
- Power. Plug in, or get above 50 percent. The phone refuses to install below 20 percent.
How to Update Your iPhone
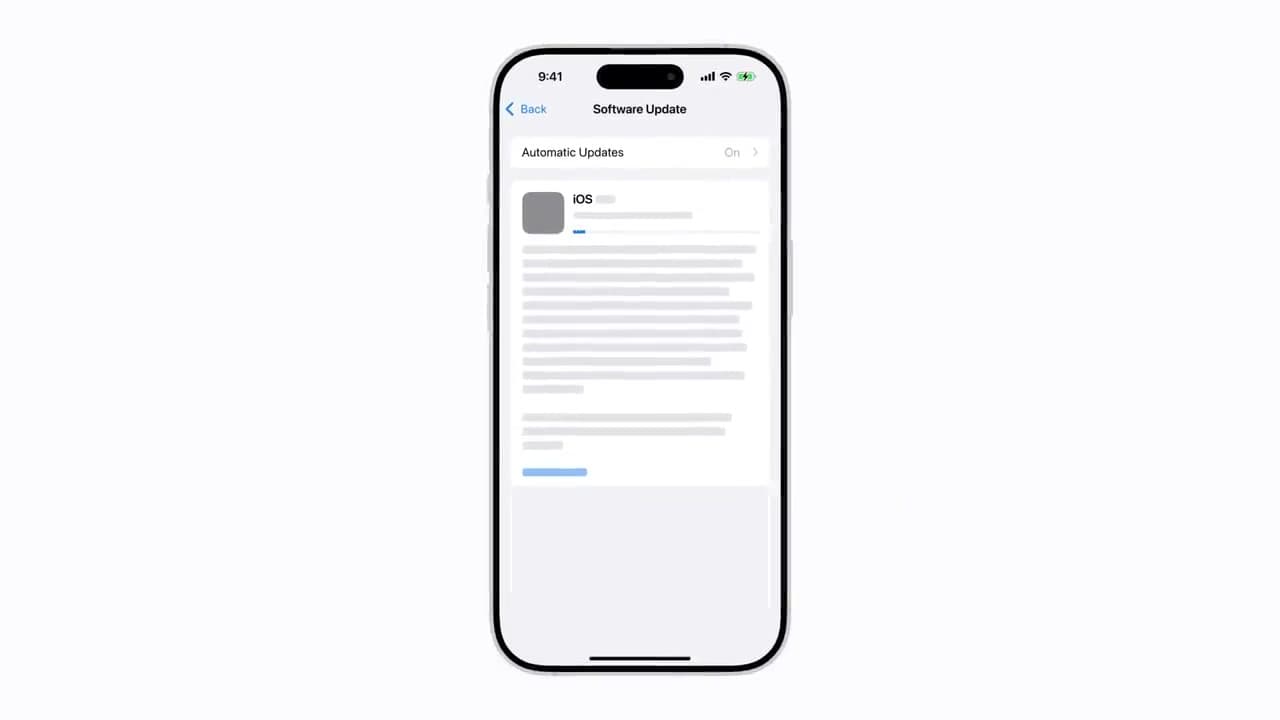
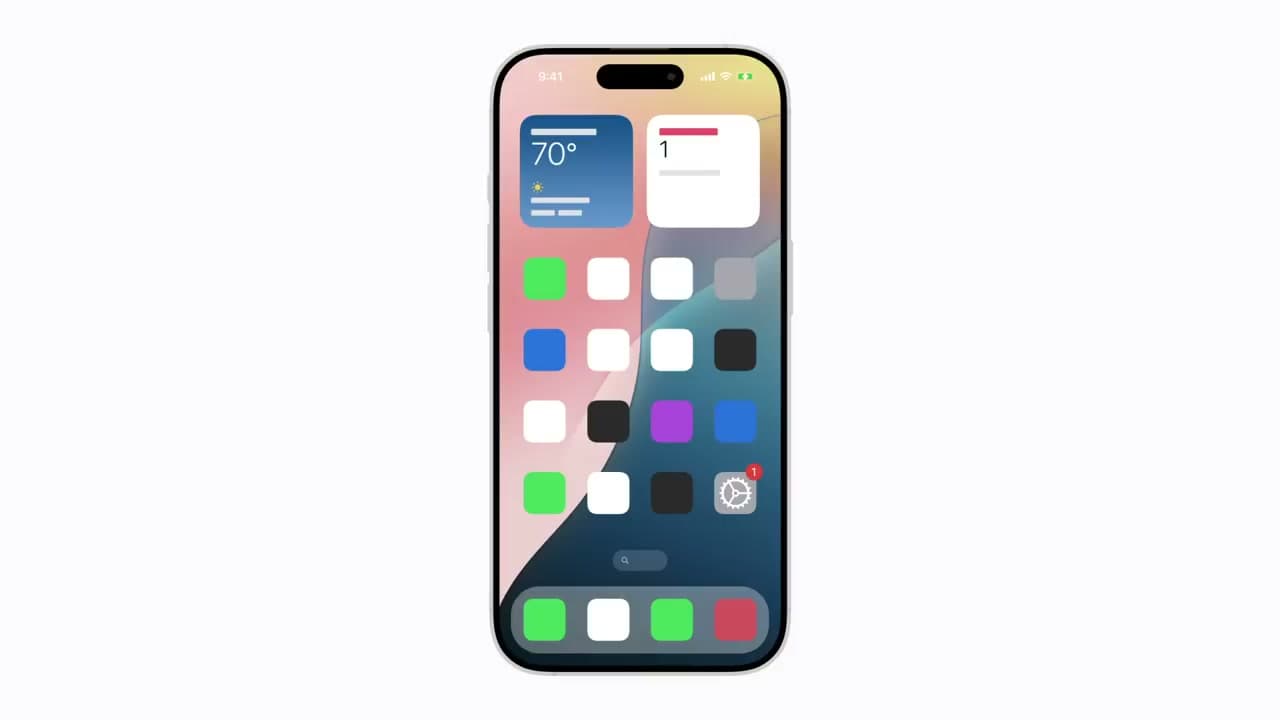
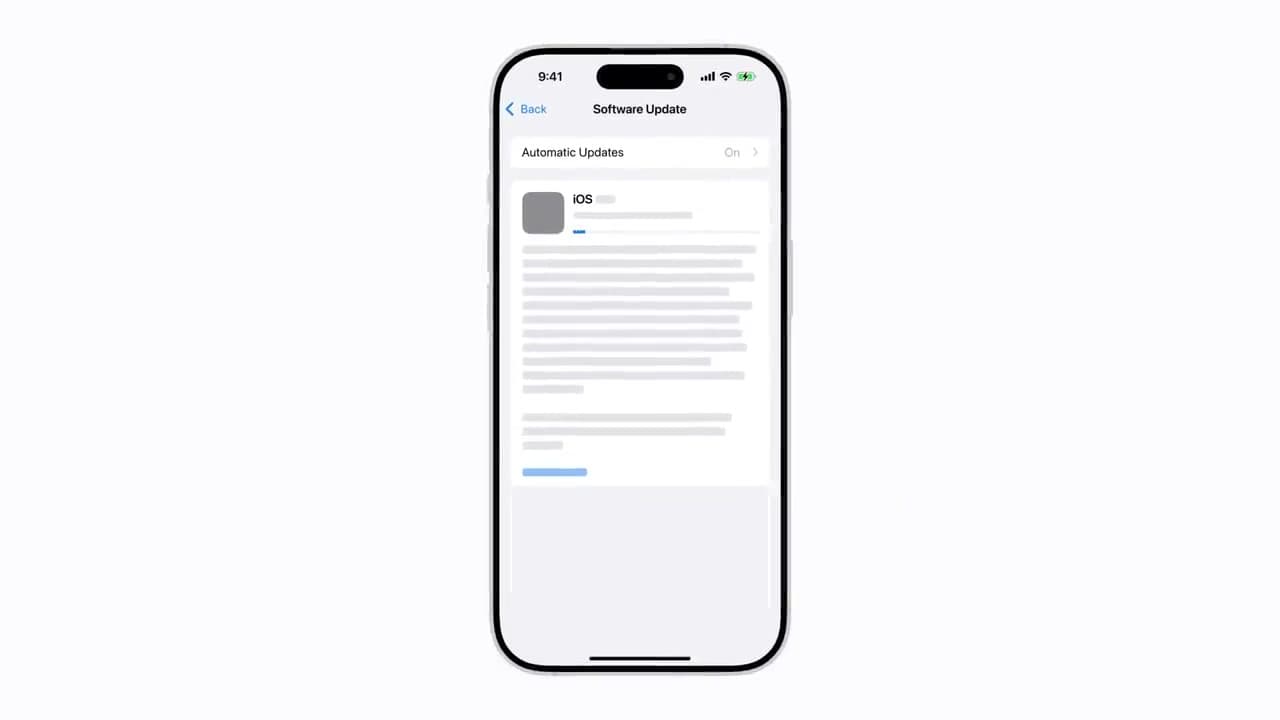
The full walkthrough with screenshots is below. In short: Settings, General, Software Update, Update Now, enter your passcode.
The phone downloads first, then verifies, then installs and restarts on its own. The screen goes black with an Apple logo and a progress bar for several minutes. That is normal and you should not interrupt it.
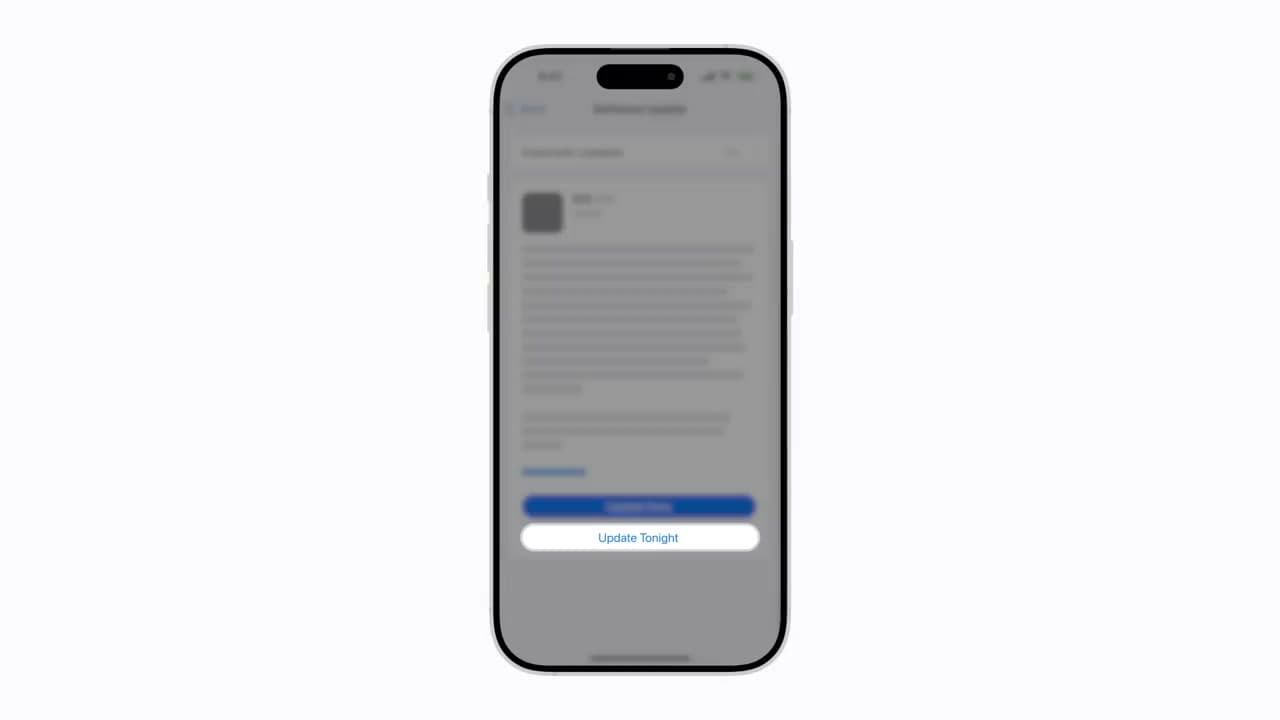
Update Now or Update Tonight?
If the phone offers both, the difference is only timing. Update Tonight downloads now and installs while you sleep, as long as the phone is plugged in and locked. Update Now does the whole thing while you wait.
Pick Update Tonight if you need the phone in the next half hour.
Turn On Automatic Updates
Worth doing once so you stop thinking about it. In Settings, General, Software Update, tap Automatic Updates and turn on both Download iOS Updates and Install iOS Updates.
Below those there is a separate toggle for Security Responses and System Files. Leave that on. It lets Apple push urgent security patches without a full iOS release, and those are the ones that matter most.
When There Is No Update Available
Four common reasons, in the order worth checking.
You are already current. The screen says iOS is up to date. Apple staggers releases over several days, so a new version announced this morning may not reach your phone until the weekend.
Your iPhone is too old. Each iOS release drops support for the oldest models. If your phone has stopped receiving new versions, Apple still ships security updates to the last version it supported, and those appear in the same place.
Not enough storage. This is the usual culprit. Check Settings, General, iPhone Storage. An iOS update needs several gigabytes free during install even though the finished update is smaller. Delete a few videos or offload an app you do not use, then check again.
A beta profile is installed. If you ever joined the public beta, the phone will only offer beta builds. Go to Settings, General, VPN and Device Management, remove the profile, and restart.
When the Update Fails to Install
If the download finishes but the install errors out, delete the downloaded file and start over. Settings, General, iPhone Storage, find the iOS update in the app list, tap it, then Delete Update. Go back to Software Update and download it again.
If it fails a second time, restart the phone before trying once more. A forced restart clears a stuck install more often than anything else.
Still stuck after that, plug the iPhone into a computer and update from Finder on a Mac or the Apple Devices app on Windows. That path bypasses whatever is wrong on the phone itself.
How Long It Takes
Budget twenty to forty minutes end to end on a normal home connection. Roughly ten of that is downloading, five is verifying, and the rest is the install and restart.
The first few hours after a major iOS release are the slowest, because everyone is downloading at once. Waiting a day makes it noticeably faster.
Should You Update Right Away?
For security patches and point releases, yes. Those are small and they fix known problems.
For a major version jump, waiting a week or two is reasonable if you rely on a specific app for work. Bugs in a new iOS release surface fast and get patched fast. There is no penalty for letting other people find them first.