How to Use Apple Pay: Pay at Stores, in Apps, and Online

Also in:Adulting

By ShowMeStepByStepPublished Updated

Based on a video by TruFinancials.

So you have Apple Pay loaded on your iPhone and now you want to actually use it. Good news: paying takes about two seconds once you know the gesture. Double-click the side button, glance at your phone for Face ID, hold it near the reader, done. The same flow works in apps and on websites in Safari, with Face ID or Touch ID standing in for the card number you would have typed.

This walkthrough credits TruFinancials, whose Apple Pay demo is about as clear as it gets. We will cover paying at a contactless terminal (Target, Starbucks, anywhere you see the wave symbol), picking which card to charge, paying inside apps and Safari, plus how to reorder or remove cards in your wallet so the right one is up front when you need it. The same gestures work on an Apple Watch with a quick double-press of the side button.

If Apple Pay is not set up yet on your phone, start with how to set up Apple Pay first and come back here. Brand new to iPhone? How to set up an iPhone covers everything from the Hello screen to your first sign-in. Other quick wins on the same phone: taking a screenshot, clearing your cache, restarting your iPhone, and mirroring to a TV.

Step-by-Step Guide

1

Step 1: Open the Wallet app on your iPhone

0:24
Step 1: Step 1: Open the Wallet app on your iPhone

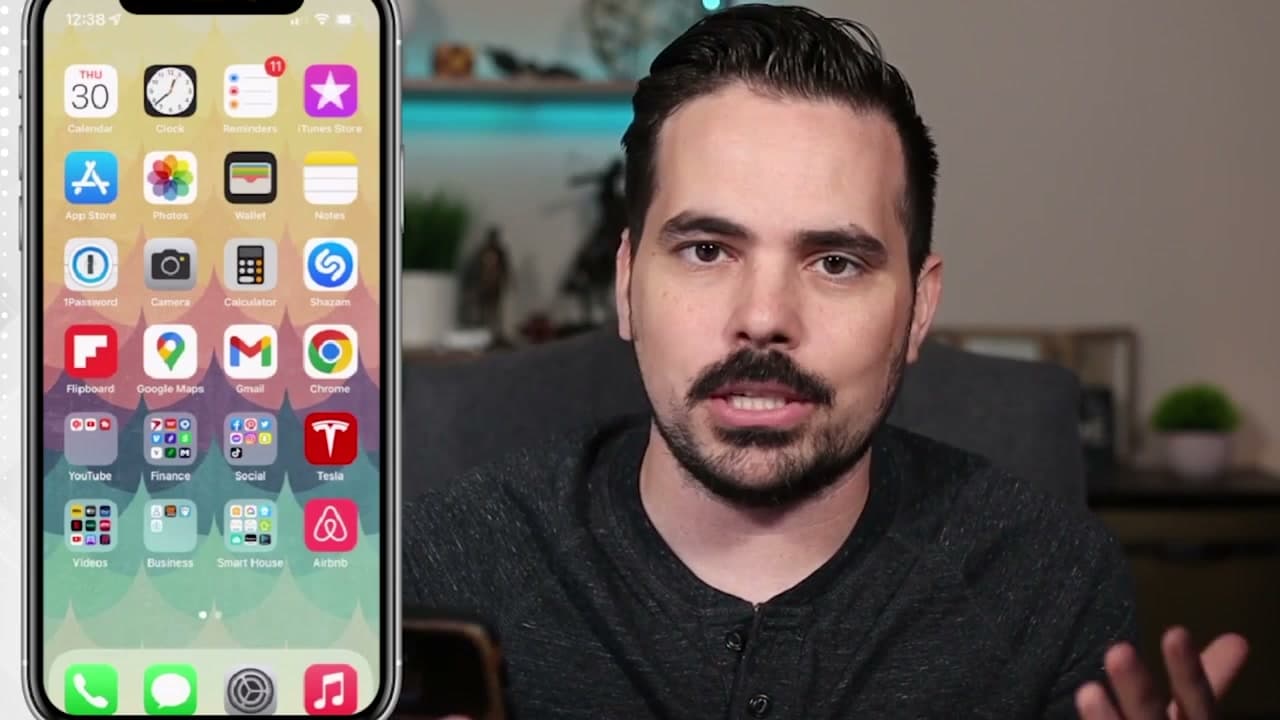
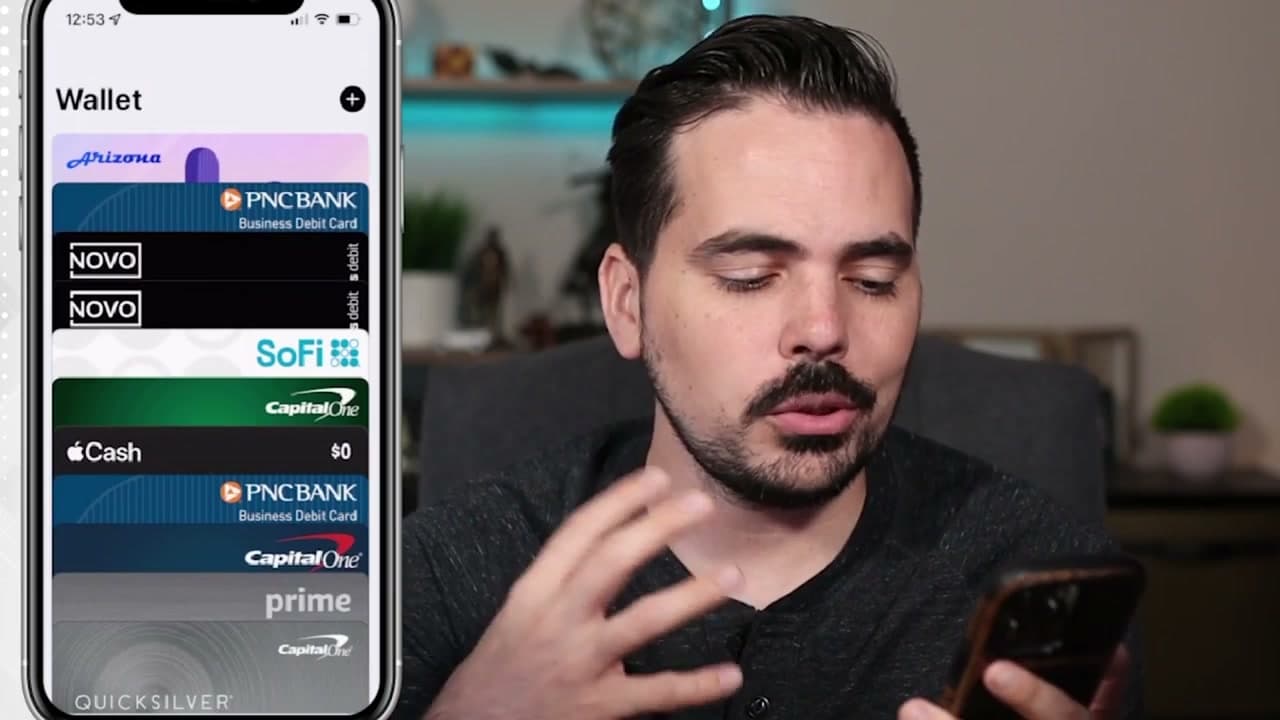
Find the Wallet app on your home screen and tap it. The icon looks like a small leather wallet with colored cards peeking out the top. If you don't see it, swipe down from the middle of any home screen and search for 'Wallet' - the app comes pre-installed and can't be deleted, only hidden. Inside, you will see every card you have added to Apple Pay stacked one on top of the other. The card sitting at the very front is your default, which is the card that comes up first when you go to pay.

2

Step 2: Review the cards already loaded in your wallet

0:40
Step 2: Step 2: Review the cards already loaded in your wallet

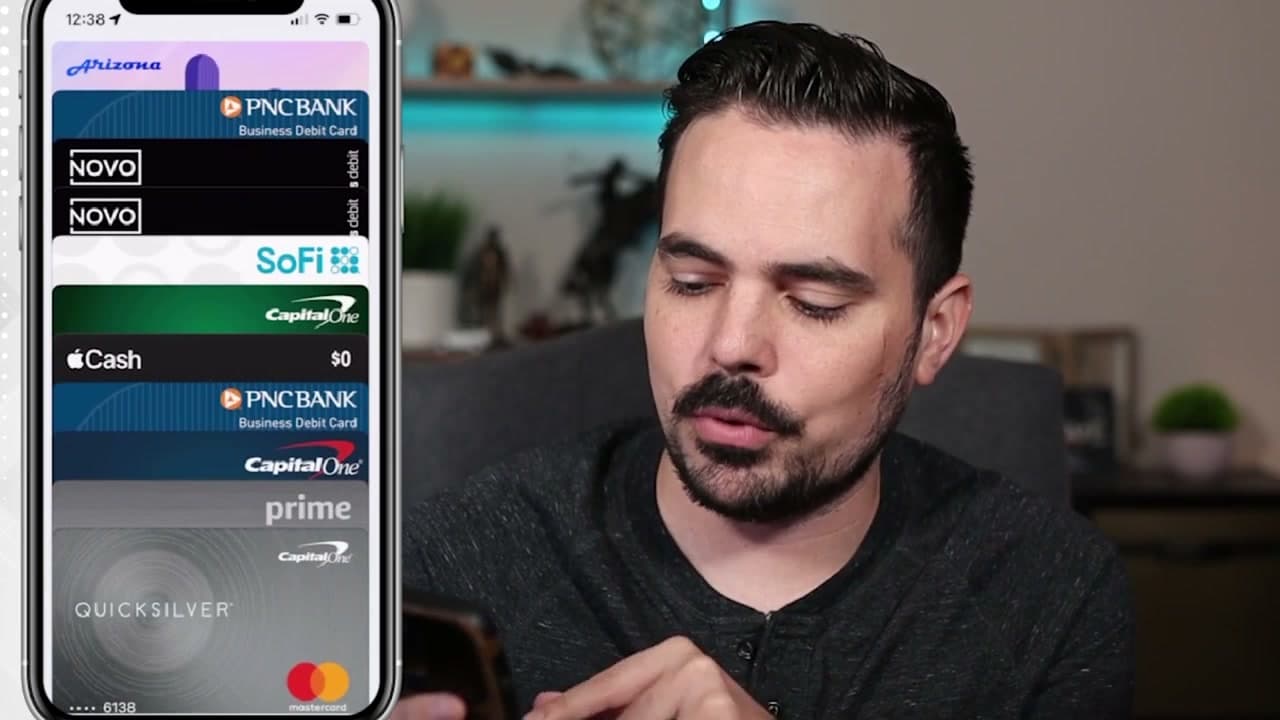
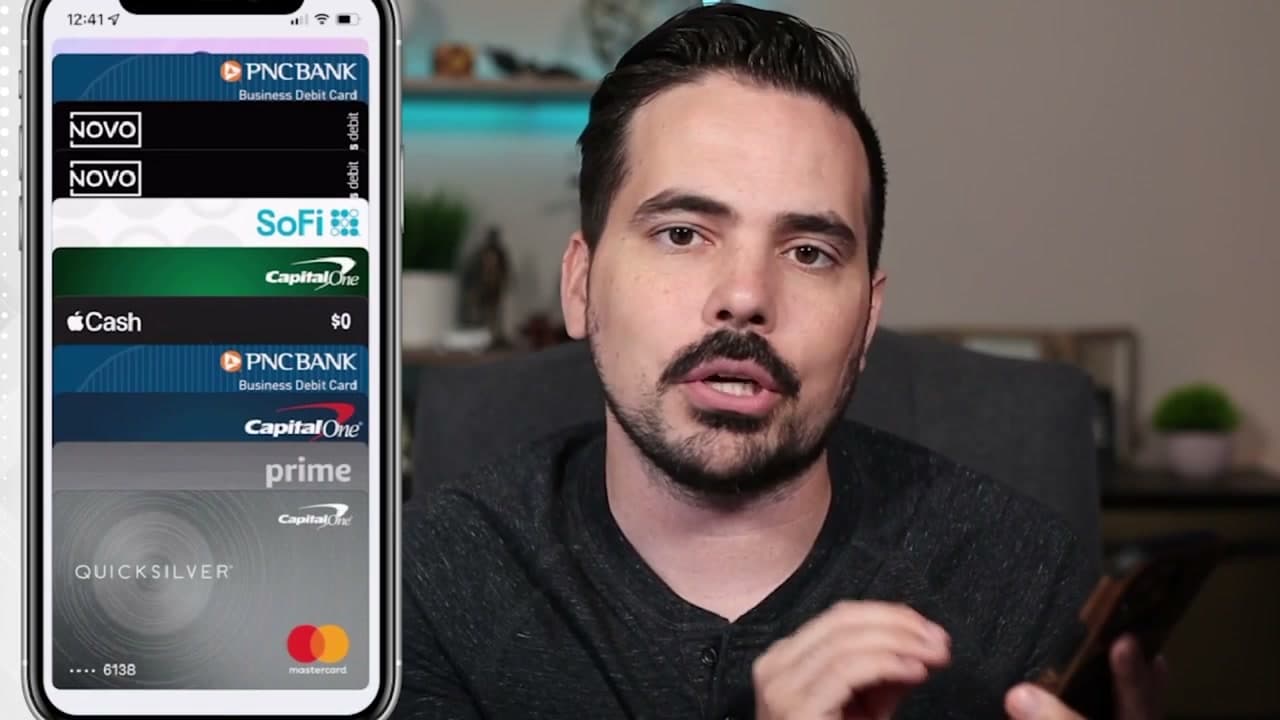
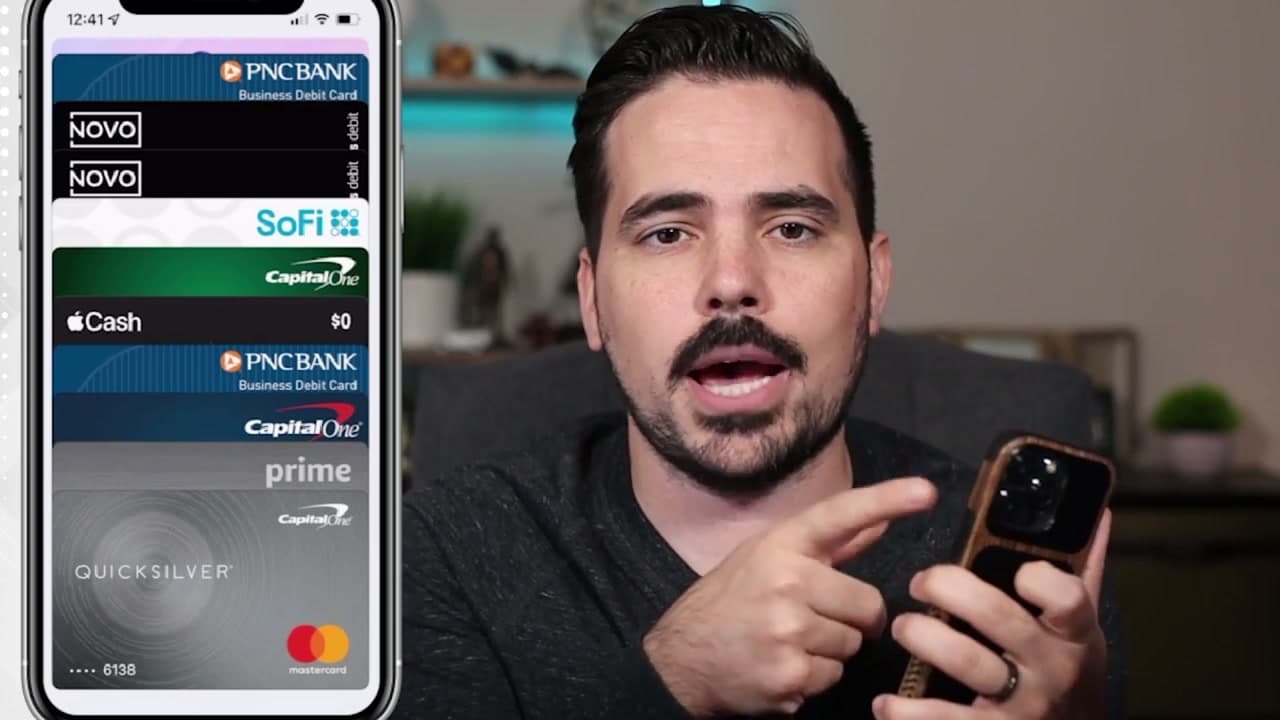
Take a second to look at what you have. Credit cards, debit cards, an Apple Cash balance, a transit pass, even a state ID in places like Arizona - all of these can live in Apple Pay. Most major banks and credit unions in the US work with no extra setup. The cards fan out from the front; the one in front is your default for in-store taps. Tap any card to see its recent transactions, balance, and settings. This is also where you would tap the plus icon at the top right to add a new card later.

Tip

Apple Pay still earns your credit card rewards. If you tap a Capital One Quicksilver or a Chase Sapphire, you get the same points you would have earned with the physical card.

3

Step 3: Switch between cards for different purchases

2:10
Step 3: Step 3: Switch between cards for different purchases

Got a personal card and a business card both in the wallet? You can swap which one Apple Pay uses for the next purchase. Tap the card you want to charge, and it pops to the front. For a one-off swap, do this right before you head to the register. To change your everyday default for good, go to Settings, Wallet and Apple Pay, then Default Card, and pick the one you want at the top of the stack every time.

4

Step 4: Spot the Apple Pay or contactless symbol at the register

2:33
Step 4: Step 4: Spot the Apple Pay or contactless symbol at the register

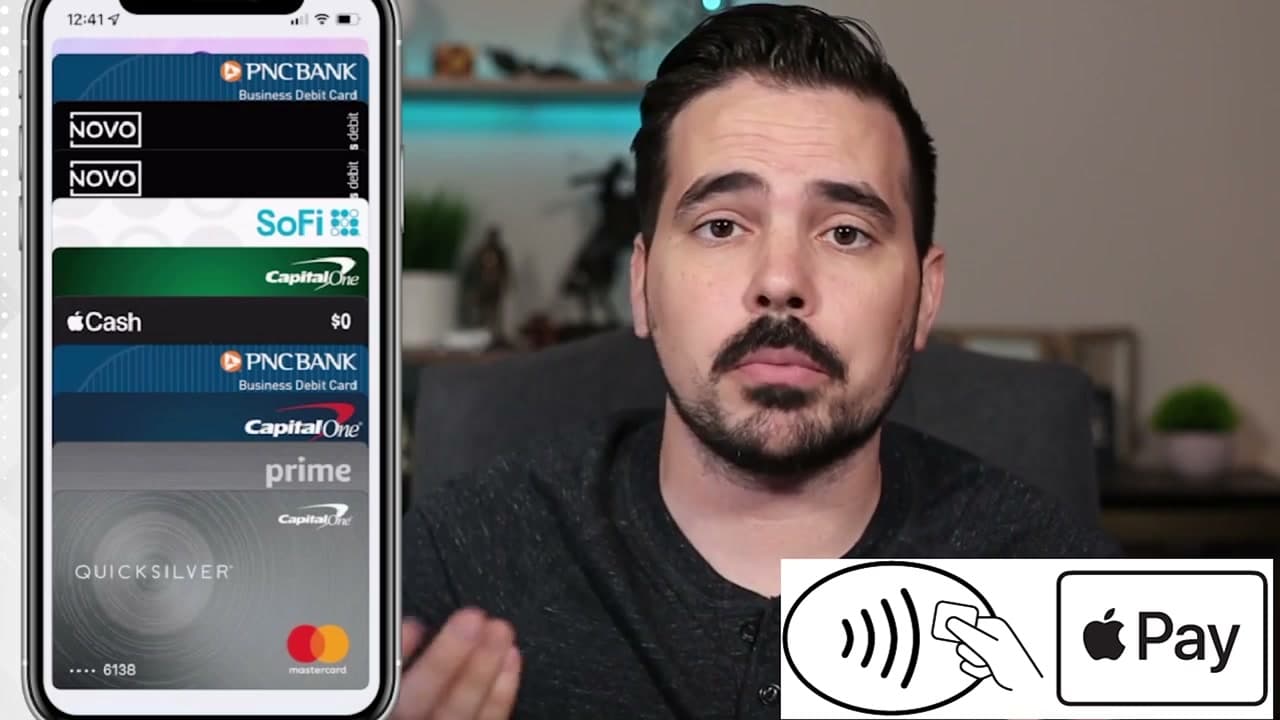
Before you reach for your phone, look at the card reader. You want to see the contactless wave symbol (four curved lines getting bigger) or the Apple Pay logo. Almost every major US retailer - Target, Starbucks, Walgreens, Costco, McDonald's, Whole Foods, Trader Joe's, Pet Smart, Ross - takes it. Gas pumps and parking meters increasingly do too. If the terminal looks like it can only swipe a magnetic stripe with no NFC reader, your iPhone won't work and you will need the physical card instead.

5

Step 5: Double-click the side button to start a payment

2:36
Step 5: Step 5: Double-click the side button to start a payment

Here is the gesture that does everything: press the side button on the right edge of your iPhone twice, quickly. Your default card slides up the screen and Face ID kicks in. This works whether your phone is locked, on the home screen, or already in another app - the shortcut is global. On an iPhone with a home button, double-press the home button instead. On Apple Watch, double-press the side button next to the digital crown.

Tip

If you want to charge a different card than the default, after the double-click tap your default card on screen and pick another one from the stack before you hold it near the reader.

6

Step 6: Face ID, then hold your iPhone near the reader

2:45
Step 6: Step 6: Face ID, then hold your iPhone near the reader

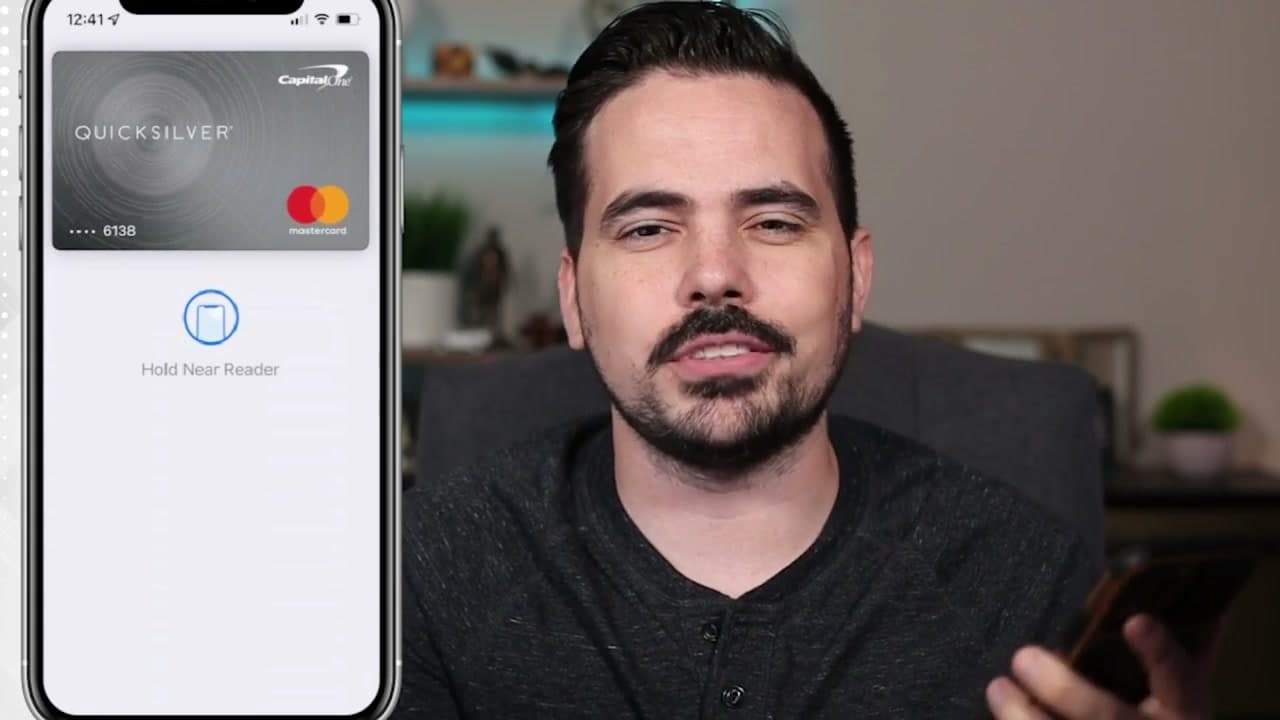
Glance at your phone so Face ID can read you. Once it confirms, you'll see 'Hold Near Reader' under your card. Bring the top of your iPhone within an inch or two of the contactless reader. You will feel a small haptic buzz and see a checkmark with the word 'Done' on screen - that is the payment going through. If the reader is slow to pick up the signal, move the phone in a little closer or shift it slightly. If a PIN pad or signature line shows up on the terminal, finish it the way you would with the physical card.

7

Step 7: Pay in apps and online with Safari

3:15
Step 7: Step 7: Pay in apps and online with Safari

Apple Pay isn't only for in-person taps. In an app or on a checkout page in Safari, look for an 'Apple Pay' button at checkout - it shows up on sites like Etsy, Airbnb, StubHub, and most major retailers. Tap it, then either double-click the side button again or rest your finger on the Touch ID sensor (older iPhones) to authorize. Shipping address and card details auto-fill from your wallet, so you don't have to type a thing. Same security, no card number ever sent to the merchant.

Tip

You can also rearrange the cards in your wallet by pressing and holding on a card, then dragging it to a new spot. The card on the bottom (closest to you) is your default for in-store payments.

8

Step 8: Manage or remove a card from your wallet

3:55
Step 8: Step 8: Manage or remove a card from your wallet

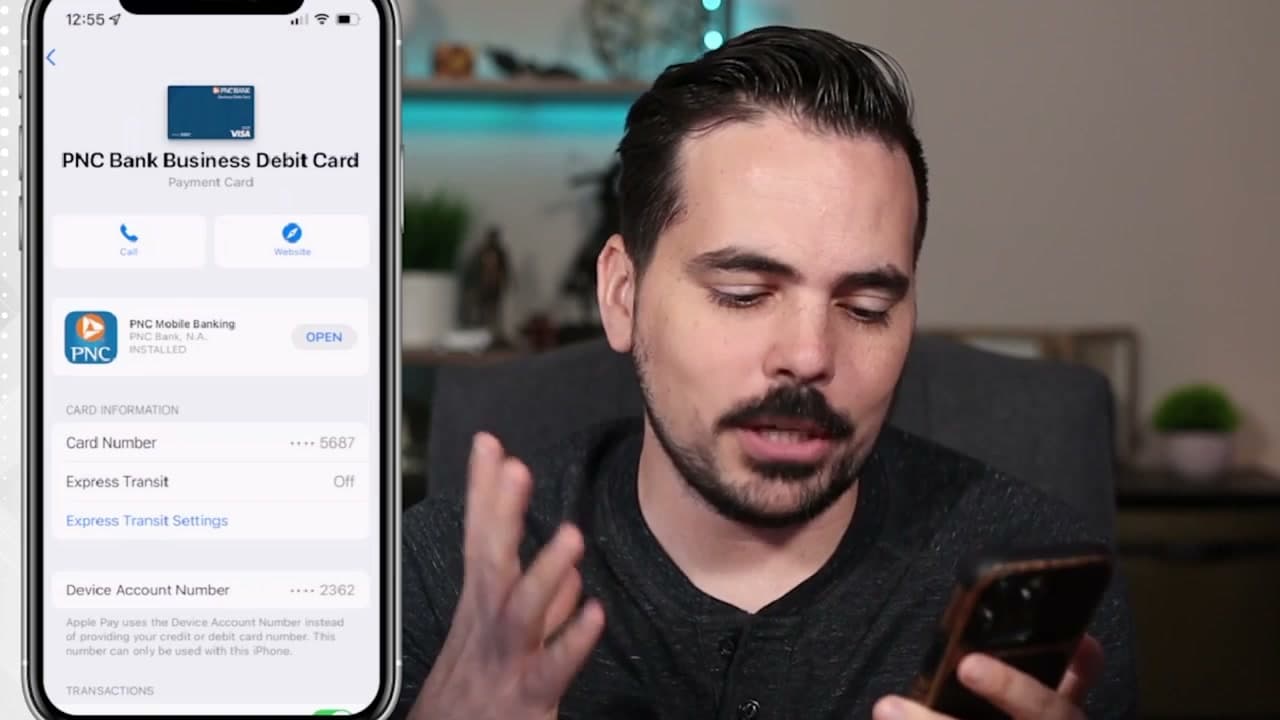
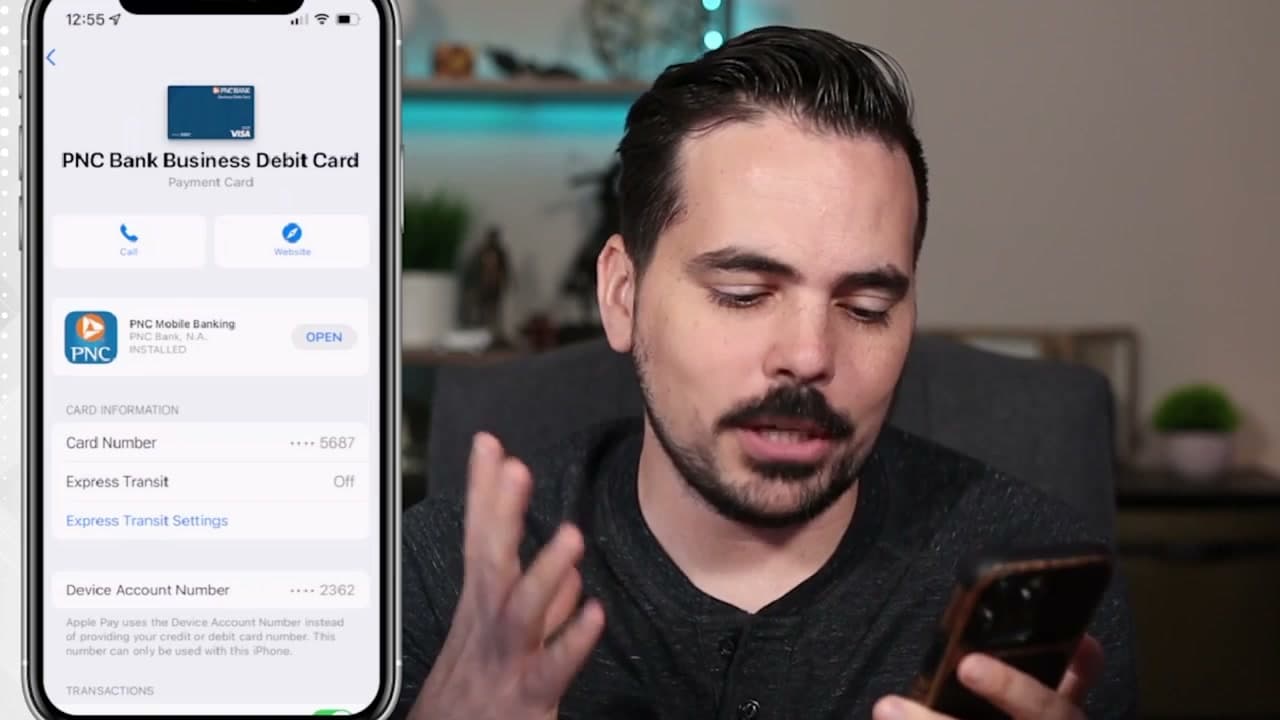
Open Wallet, tap the card you want to manage, then tap the three-dot circle icon at the top right. You'll see card info, recent transactions, the device account number Apple Pay uses instead of your real card number, and Express Transit settings. Scroll all the way to the bottom and you'll find 'Remove This Card' in red. Use it for expired cards, cards you've lost, or any account you no longer want available for tap-to-pay. Removing here doesn't close the underlying credit card account - it just takes it out of Apple Pay on this device.

Products Used

Your Guide

TruFinancials

As an Amazon Associate we earn from qualifying purchases. Links on this page may be affiliate links - clicking them and buying doesn't change your price, but helps support ShowMeStepByStep.

Tags

Test your knowledge

Did the lesson stick? Find out in 2 minutes.

5 quick questions covering what you just read. No signup, no score saved — just a gut check.

Quick reference

Key takeaways from How to Use Apple Pay: Pay at Stores, in Apps, and Online

5 questions, answers, and one-line explanations. Tap to expand.

  1. 1.How do you start a payment?

    Answer: Double-click side

    Press the side button twice quickly. Works locked, on home screen, or in any app - the shortcut is global.

  2. 2.Symbol to look for at the register?

    Answer: Curved wave lines

    Contactless wave symbol (four curved lines getting bigger) or the Apple Pay logo. Most major US retailers take it.

  3. 3.Change your default card permanently via...

    Answer: Settings > Wallet

    Settings > Wallet and Apple Pay > Default Card. One-off swap: tap a card in Wallet to pop it to front for next purchase.

  4. 4.How close does iPhone need to be to the reader?

    Answer: 1-2 inches away

    Within 1-2 inches of the contactless reader. Small haptic buzz + checkmark = payment went through.

  5. 5.Apple Pay sends the merchant what instead of your card?

    Answer: Device token

    Device account number Apple Pay uses instead of your real card. Same security across in-store, in-app, and Safari checkout.

What's next

Related collections

Curated theme pages that include this tutorial.

Weekly Digest

Liked this tech tutorial?

Pick the categories you want to hear about. Weekly digest of new step-by-step tutorials. No spam, easy unsubscribe.

Send me tutorials about

We only email about new tutorials. Easy unsubscribe anytime.