1
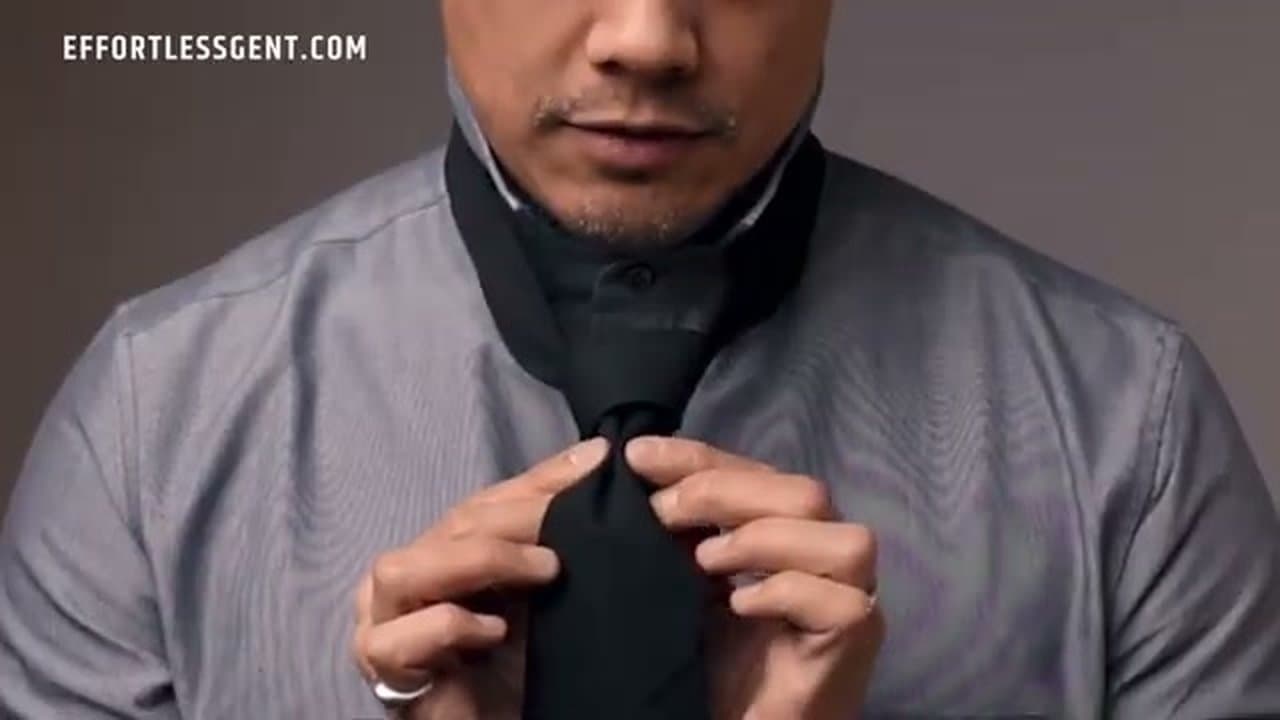
Position the Tie Around Your Neck
0:37
Button the shirt all the way up and flip the collar points up. Drape the tie around your neck with the seam side facing your shirt - the narrow end on your left, the wide end (the front blade) on your right.
The narrow end should hang to about your belly button. The wide end will be much longer and will hang past it. That length difference is what gives you enough fabric to work with.
Tip
If you're tall or have a long torso, slide the narrow end up so it sits a couple inches above your navel. Short on either dimension? Drop it lower. The narrow end stays put for the whole knot - the wide end does all the moving.