How to Fold a Pocket Square

Also in:Adulting

By ShowMeStepByStepPublished Updated

Based on a video by MyNiceTie.

A suit without a tie always looks a little bare. The pocket square is what saves it. Six different folds cover almost every situation - one is bold, one is minimal, one is for black tie, and one takes about ten seconds.

This walkthrough from MyNiceTie covers the six most useful folds plus the prep work most people skip. Cotton works best for crisp folds like the Presidential. Silk works best for the soft, sculpted folds like the Puff and Reverse Center. Pick the fold that matches the formality of your event and the personality you want to show.

One rule before you start: don't match your pocket square to your tie exactly. Complementary colors look intentional. A perfect match looks like you tried too hard.

Step-by-Step Guide

1

Step 1: Prepare your pocket

0:19
Step 1: Step 1: Prepare your pocket

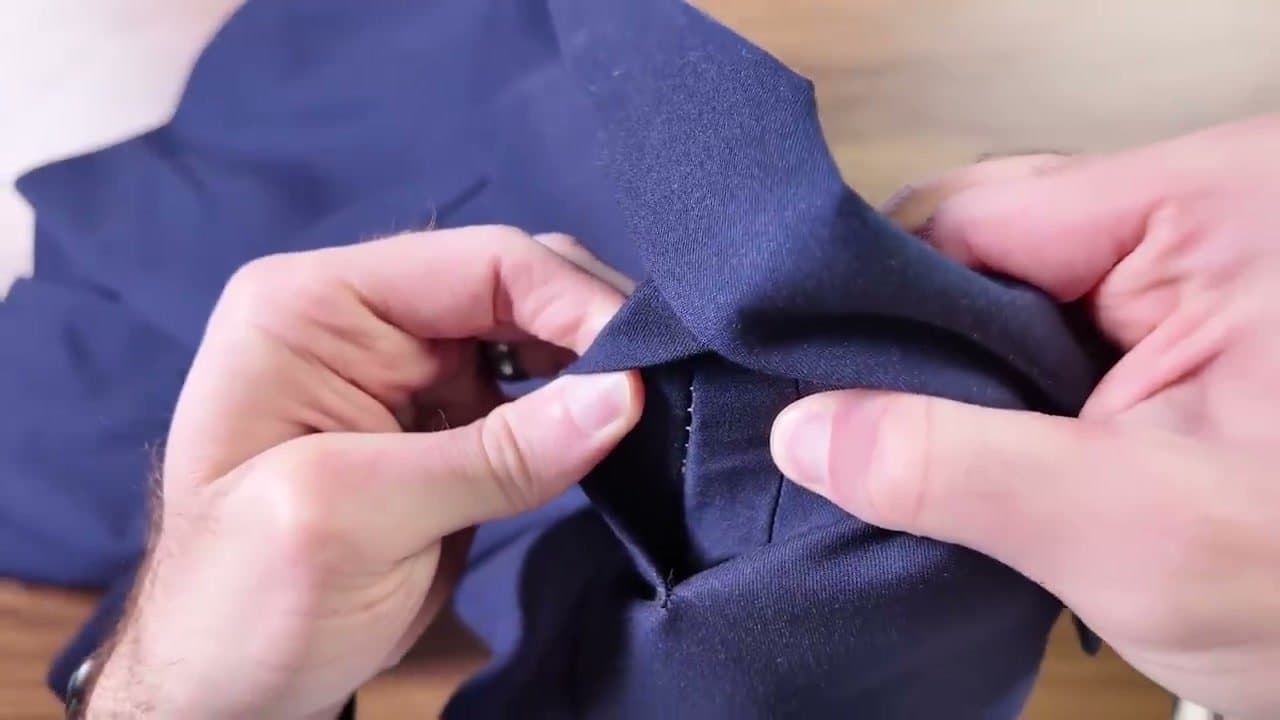
Take off your jacket so you can work with it flat on a table. New jackets often have the breast pocket sewn shut to help the suit hang straight on the rack. Look at the inside of the pocket - if you see one stitch holding it closed, gently snip it with scissors and slide a finger inside to free the opening.

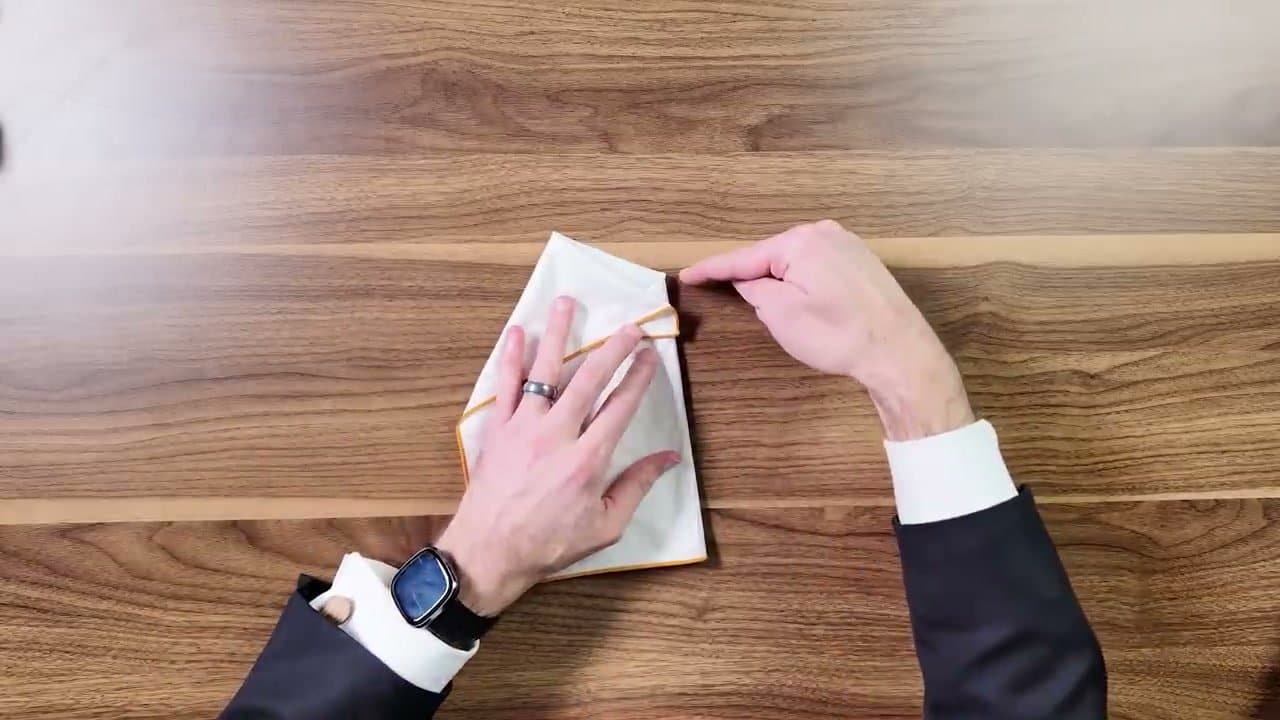
While the pocket is open, check how deep it is. Most pockets are five to six inches. You'll fold the bottom of the square up to about that depth, no matter which fold you pick.

Tip

If you can't tell whether the pocket is sewn shut, look for a thin line of stitching across the opening. Snip only that single line - don't pull threads out of the jacket.

Products used in this step

2

Step 2: Fold the Presidential

0:34
Step 2: Step 2: Fold the Presidential

The Presidential is the most iconic fold and the standard choice for black tie. Lay your pocket square upside down with one straight edge facing you. Fold it in half toward you, then in half to the left, then in half again. You'll end up with a small rectangle.

Now fold the bottom up so the top edge sits a little above the depth of your pocket. Slip it into your jacket with the flat top edge showing about a quarter inch above the seam.

Tip

Press a hot iron over the rectangle before pocketing it - the crisp edge is what makes this fold look right. Cotton holds the crease best.

3

Step 3: Fold the Puff

1:59
Step 3: Step 3: Fold the Puff

The Puff is the easiest fold in the lineup and works for everything from a wedding to a casual dinner. Lay the pocket square right side up. Pinch the very center with your fingers and lift, letting the corners hang down naturally.

Wrap your free hand around the pinch and pull it through so the fabric inverts into a soft round shape on top. Drop the result into your pocket points-down. The rounded fabric showing above the pocket is what you want.

Tip

Don't fold this one in half - the whole appeal of the Puff is the natural curve at the top. A flatter fold kills the look.

Products used in this step

4

Step 4: Fold the Angled Peaks

2:39
Step 4: Step 4: Fold the Angled Peaks

The Angled Peaks fold gives you a sharp, multi-pointed top that catches the eye. Lay the square upside down with one corner pointing toward you so it looks like a diamond. Fold the bottom corner up about an inch shy of the top corner so a single peak shows above.

Hold the square just right of center. Take the top peak and fold it next to the first one. Move your finger a touch to the right and bring the next peak over. Repeat one more time so four peaks line up across the top. Fold the bottom edge up to your pocket depth and tuck the side in.

Tip

The peaks don't have to be perfectly even. A small variation looks intentional and handmade.

Products used in this step

5

Step 5: Fold the Reverse Center

3:35
Step 5: Step 5: Fold the Reverse Center

The Reverse Center fold is one of the most photogenic when you use a pocket square with a pattern. Lay the square upside down. Fold each of the four corners into the middle so the points meet. Pinch all four points together at the center.

Wrap your other hand around the pinch and lift. Drop it into the pocket points-down and shape the visible edges. A small twist before you set it adds dimension and makes the pattern pop.

Tip

This fold rewards larger silk squares - 14 inches or more. Smaller cotton squares look too plain because the pattern can't catch light.

6

Step 6: Fold the Three Stairs

4:40
Step 6: Step 6: Fold the Three Stairs

The Three Stairs fold leans into the natural up-and-left angle of a breast pocket. Lay the square upside down with a corner toward you. Fold the bottom corner up to the center, then flip the whole thing over.

Pinch about two inches from the top and fold up - that's pleat one. Repeat to make pleat two. Flip the square so the pleats face you. Fold the left corner across to the right, then fan the pleats apart on one side so the layers look like stairs climbing up to the right.

Tip

The fan should angle up and to the left when worn - that direction matches the natural lean of most breast pockets.

Products used in this step

7

Step 7: Fold the Prophet

5:34
Step 7: Step 7: Fold the Prophet

The Prophet is a fresh alternative to the Presidential - same minimal vibe but with a slight angle that flatters the natural lean of the breast pocket. Lay the square upside down with a straight edge toward you. Fold the top right corner down to the middle of the bottom edge.

Fold the right edge over the left, then fold the top left point so the new top edge matches the width of your pocket. Fold the left edge over the right one more time, then bring the bottom up until the right side hits your pocket depth.

Tip

Slide the top right corner farther left along the bottom edge if you want a more dramatic angle. Keep it close to center for a subtle slant.

Products Used

Your Guide

MyNiceTie

As an Amazon Associate we earn from qualifying purchases. Links on this page may be affiliate links - clicking them and buying doesn't change your price, but helps support ShowMeStepByStep.

Tags

What's next

Weekly Digest

Liked this lifestyle tutorial?

Pick the categories you want to hear about. Weekly digest of new step-by-step tutorials. No spam, easy unsubscribe.

Send me tutorials about

We only email about new tutorials. Easy unsubscribe anytime.