1
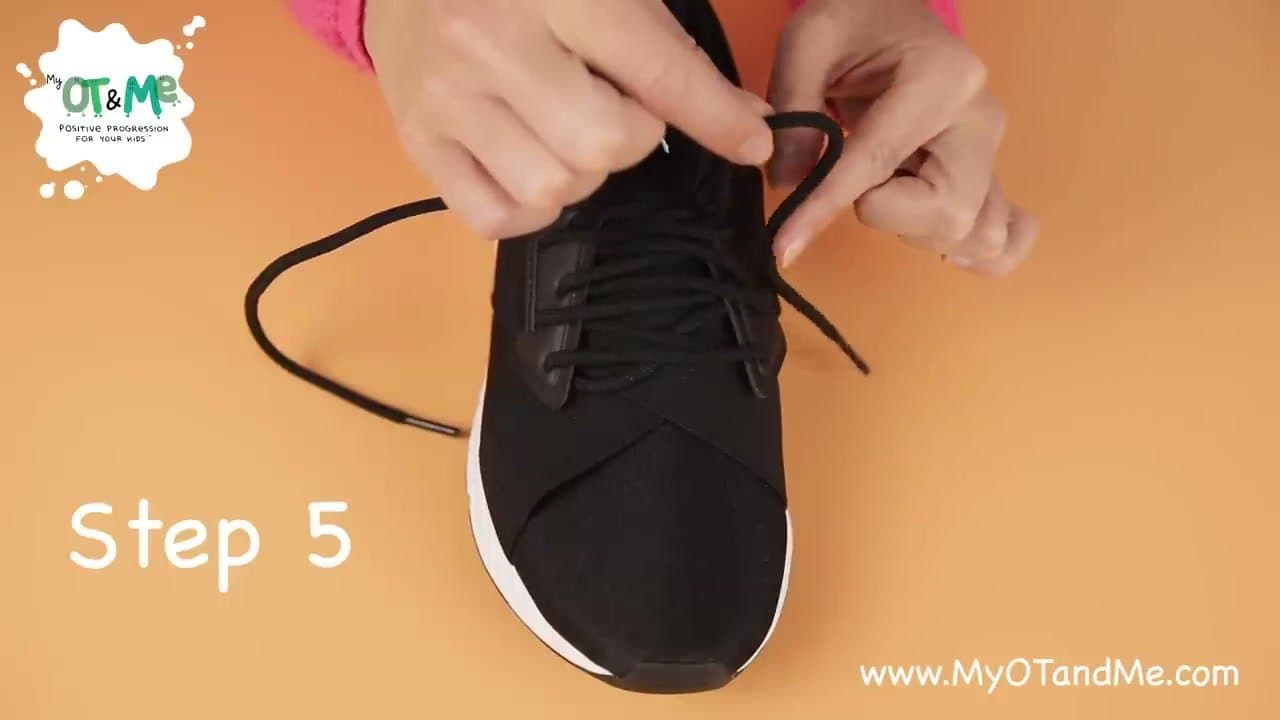
Pinch and Pull to Tighten
0:22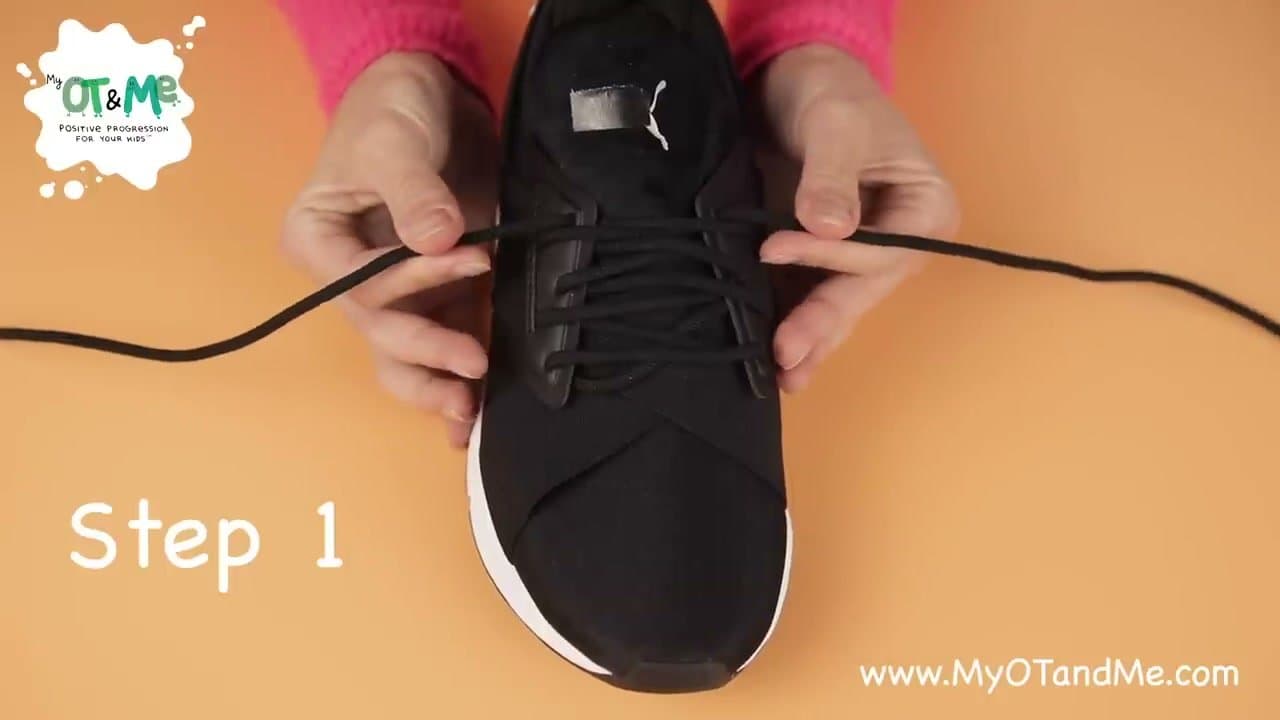
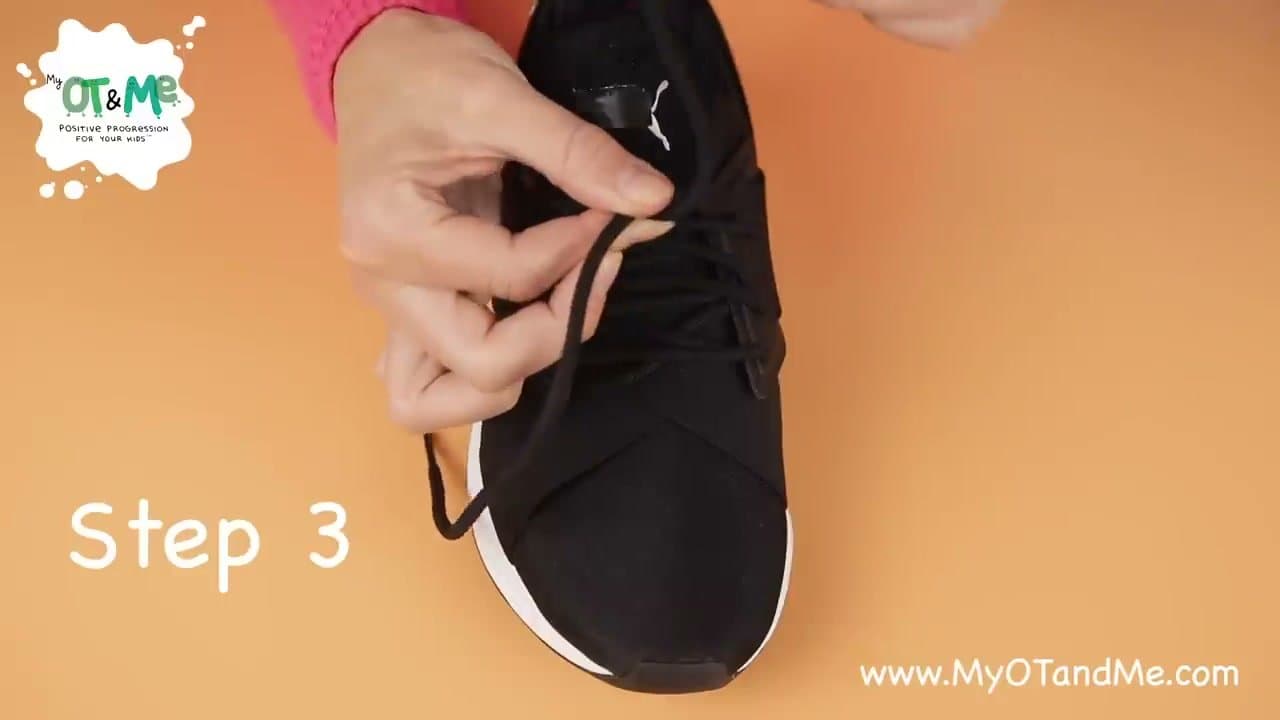
Put the shoe in front of you, laces fully open on each side. Slide your thumbs under both laces near the top of the shoe and pinch each one between your thumb and forefinger. Now pull outward in opposite directions to pull the laces snug against the foot.
Getting this tight first matters. If the shoe is loose before you start the knot, it'll stay loose once you're done.
Tip
Pinch close to the shoe, not near the ends of the laces. The closer your grip, the more control you have over the tension.