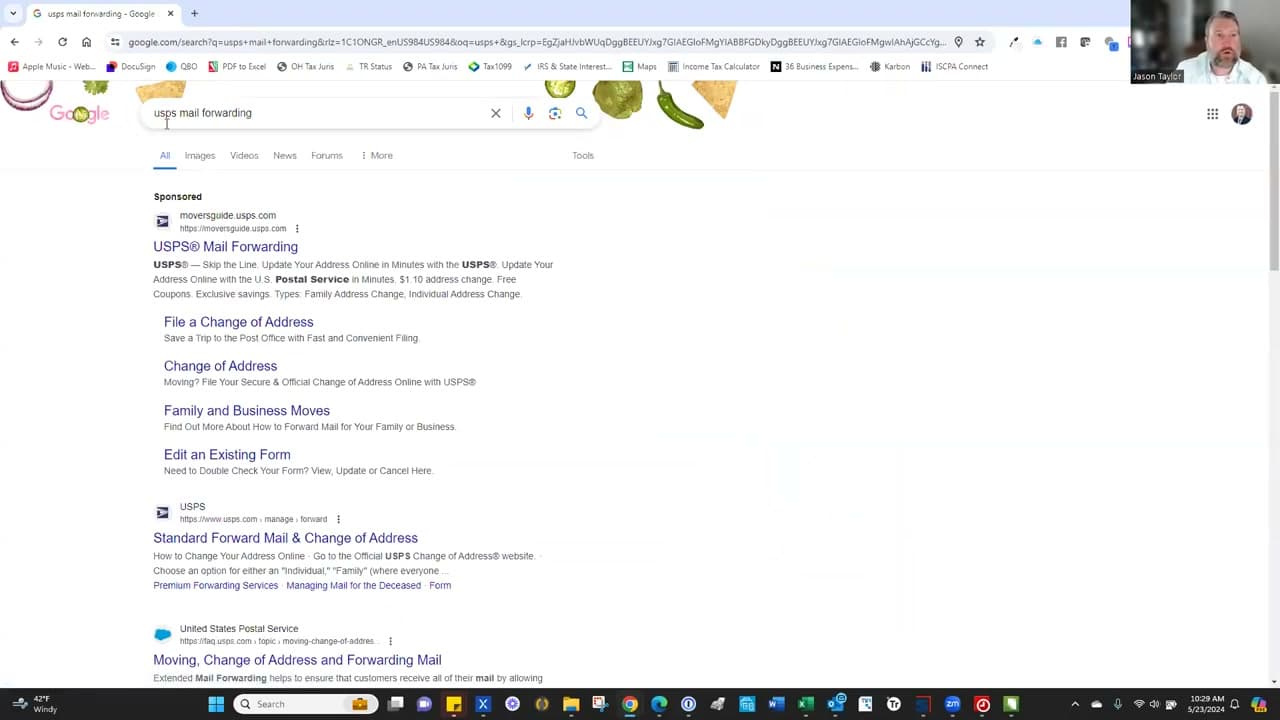
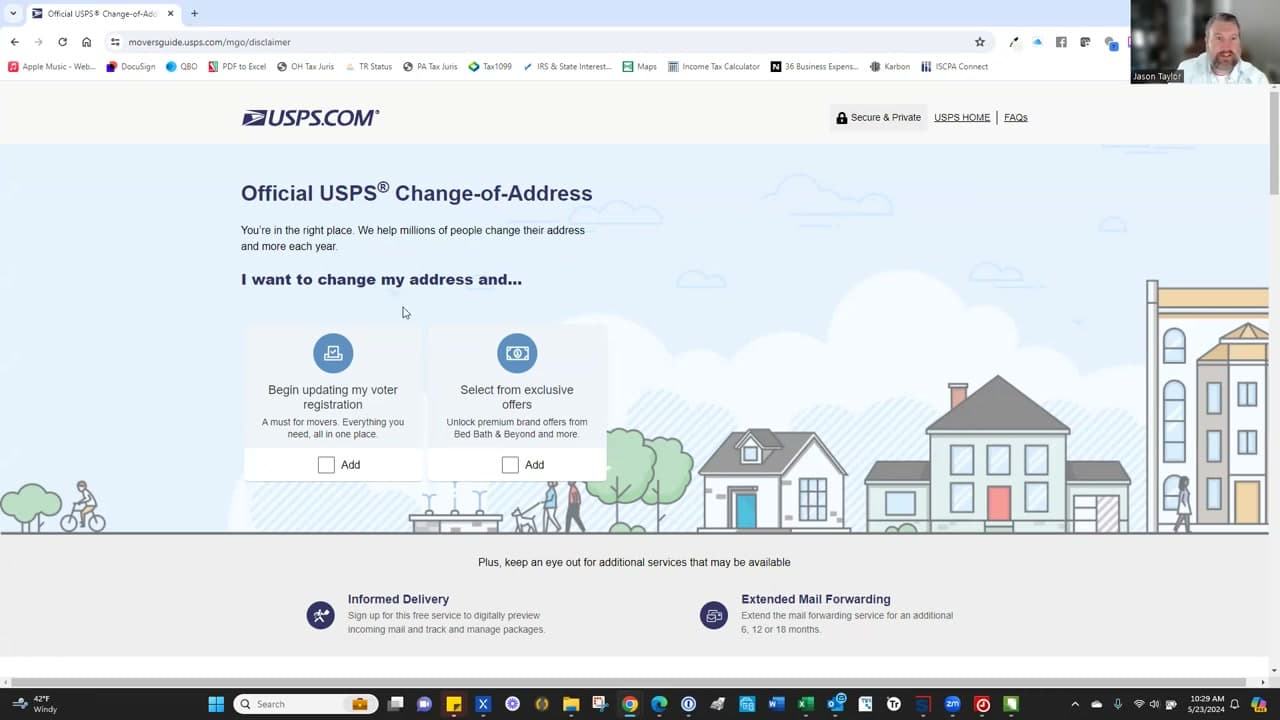
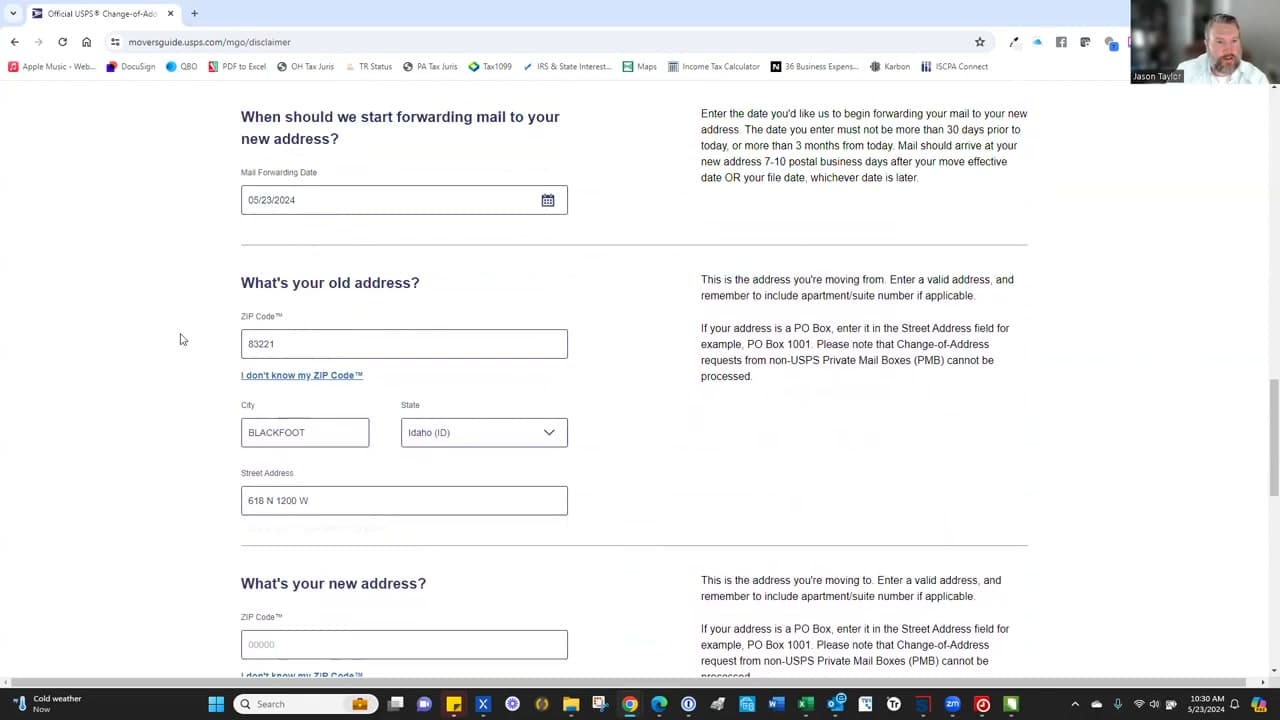
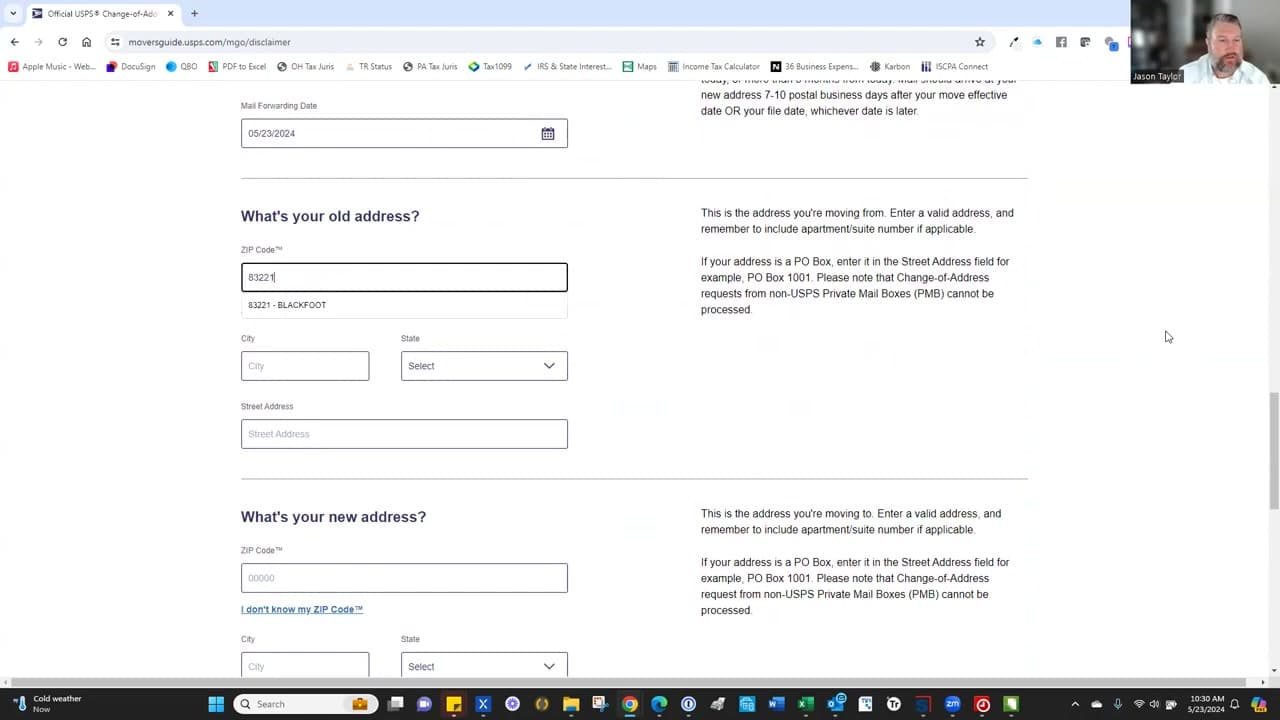
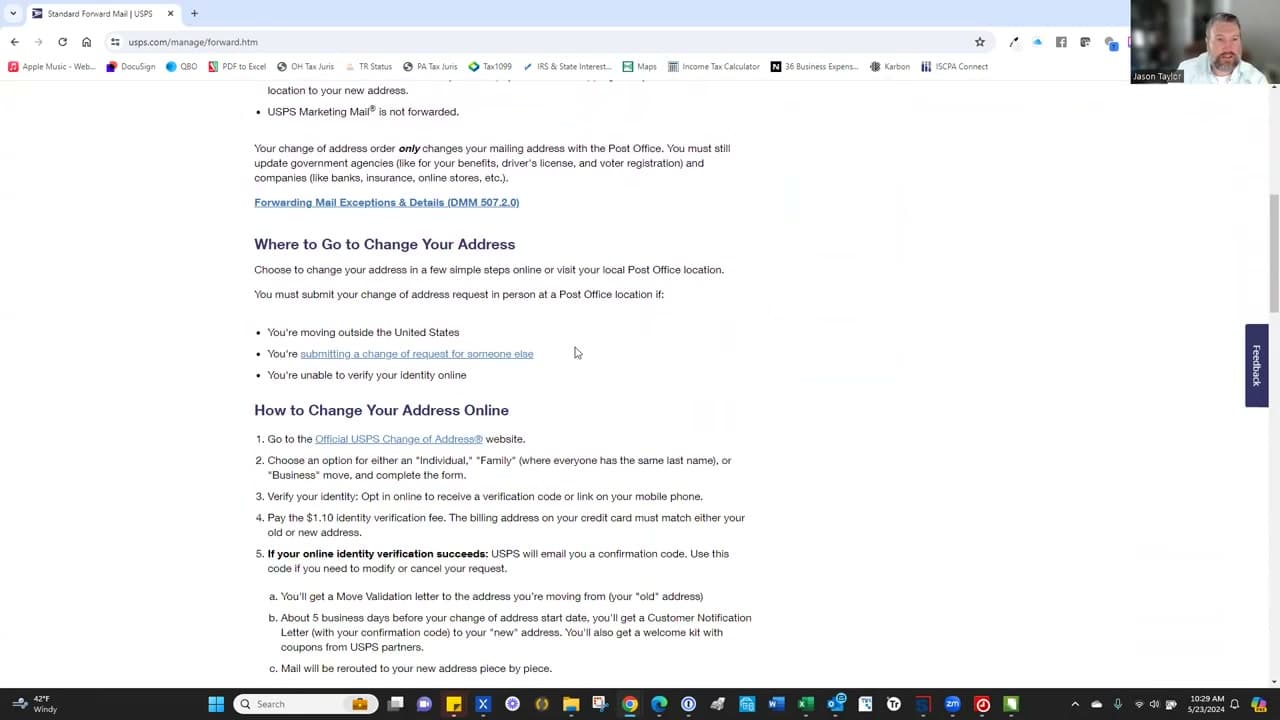
Forward mail USPS in about 10 minutes from your phone or laptop. The fastest way is the online Change-of-Address form at moversguide.usps.com: pick start date, mark the move as permanent or temporary, pay a $1.10 fee on a credit card that matches your old address (that's how USPS verifies you), and the post office begins rerouting your mail within 7 to 10 business days. This guide walks through how to forward your mail without leaving the couch.
USPS mail forwarding runs for 12 months on First-Class Mail and Priority Mail. Magazines forward for 60 days. Junk mail and bulk advertising won't be forwarded at all - that's by design. If you'd rather file in person, PS Form 3575 is the paper version at any post office counter and is free, but you'll need ID. For the rest of the adulting basics, see how to deposit a check, how to dispute a charge on your credit card, how to descale a Keurig, and how to disassemble a bed frame for moving day.
How long does USPS mail forwarding last?
First-Class Mail and Priority Mail forward for 12 months. Magazines and other periodicals forward for 60 days. After that window closes, mail goes back to being delivered to your old address - or returned to sender if you've fully moved out. You can extend a forward online before it expires, but you'll pay the $1.10 fee again.
Can I forward mail temporarily?
Yes. The online form lets you pick Temporary or Permanent. Temporary forwarding runs from 15 days up to 12 months and is what you want for an extended trip, a snowbird stay, or a short-term rental. You set both a start date and an end date, and mail snaps back to your original address automatically when the window closes.
What's the difference between temporary and permanent change of address?
A permanent change of address tells USPS you've moved for good - the post office updates its records and starts sharing your new address with the National Change of Address (NCOA) database, which is what banks and the IRS pull from. A temporary forward only reroutes the mail and leaves your address on file at the original location unchanged.
How much does USPS mail forwarding cost?
$1.10 online for the identity-verification charge on your credit card - that's the entire fee. Filing PS Form 3575 in person at the post office is free, but you'll need a photo ID. Watch out for copycat sites that charge $40 or more to file the same form. The only official URL is moversguide.usps.com.
USPS Change-of-Address Online vs In-Person: Which Is Faster?
The online USPS Change-of-Address form at moversguide.usps.com is faster end-to-end, but the in-person paper form is free. Online filings take about 10 minutes from your couch, charge $1.10 to a credit card whose billing address matches your old address (that's the identity check), and start rerouting mail within 7 to 10 business days. In-person filings at any post office counter use PS Form 3575, cost nothing, and need a government photo ID. The lead time from a paper filing is the same 7 to 10 business days because the local post office still has to enter it into the same USPS database.
Pick the online form if your credit card billing address still matches your old address. If you already changed your card's billing address before you filed the forward, the $1.10 charge will fail the identity check and you'll have to do the paper filing anyway. The post office is also the right call when you don't have a credit card on file, when you're filing on behalf of someone who can't use the online form (an elderly parent, a deployed military member with power of attorney), or when you're filing a business change of address, which still requires a paper form at the counter.
Avoid the third-party sites that show up in Google ads above the real USPS link. Sites like ChangeAddress.com and USChangeOfAddress.com charge $40 to $80 to submit the same free $1.10 form on your behalf, and they aren't affiliated with the postal service. The only official URLs are moversguide.usps.com (the online form) and usps.com (the agency itself).
PS Form 3575: Paper USPS Change of Address Step-by-Step
PS Form 3575 is the paper Change-of-Address form USPS hands out at the post office counter. It is free, takes 5 minutes to fill out, and is the only way to file if your credit card billing address does not match either your old or new address - that mismatch breaks the $1.10 online identity check. It is also required for business change-of-address filings and for anyone filing on behalf of someone else (an elderly parent, a deployed service member with power of attorney).
Walk into any post office and ask the clerk for PS Form 3575. The form is single-sided and asks for: who is moving (individual, family, or business), permanent or temporary, start date, old address, new address, and a signature. Fill it out in pen, hand it back to the clerk with a government photo ID (driver license, passport, or state ID), and you are done. The clerk will not charge anything - PS Form 3575 itself is free.
Drop-box filing also works. If you cannot get to the counter, drop a completed PS Form 3575 in any blue USPS collection box. There is no postage required because the form is pre-addressed to the USPS verification center. Drop-box filings take 7 to 10 business days to take effect, the same lead time as online and counter filings. Skip the drop-box route if you need confirmation faster than that - USPS sends a paper Move Validation Letter to the old address either way, but online and counter filings show up in the moversguide.usps.com portal the same day.
The paper form does not include a confirmation code. If you ever want to edit, extend, or cancel a paper filing, you have to go back in person with another PS Form 3575 marked Edit, Extension, or Cancellation. Online filings can be managed at moversguide.usps.com with the confirmation code USPS emails after the $1.10 charge clears. That is one practical reason to file online if your card billing address allows it.
Temporary vs Permanent Forwarding: How to Choose
USPS gives you two options when you file: temporary forwarding (15 days to 12 months, extendable once for a maximum of 12 months total) or permanent change of address (no end date, mail reroutes for 12 months and your address record updates everywhere). The choice matters because it controls what gets shared with the National Change of Address (NCOA) database, which banks, the IRS, magazine subscriptions, and most online retailers pull from when they update your address on their end.
Pick temporary forwarding for a snowbird stay, an extended work trip, a sabbatical, a summer at the lake house, or a short-term rental where you plan to return to your original address. Set both a start date and an end date when you file. On the end date, USPS automatically stops forwarding and mail goes back to the original address, no second filing required. Your address record at the post office never changes, and NCOA is not notified. Banks and the IRS still send mail to your old address the entire time.
Pick permanent change of address when you're actually moving. USPS updates its records, pushes the new address to NCOA, and most major billers will update on their own within 6 to 8 weeks. The 12-month forward window is the grace period to catch anything that doesn't pull from NCOA. After 12 months, mail to the old address is returned to sender or trashed by the new occupant. Use that year to update the IRS, your bank, your insurance, your employer's HR system, and your state DMV, since none of those are guaranteed to pull from NCOA automatically.
Who Is Covered by Your Change of Address: Family, Roommates, Business
USPS offers three types of Change-of-Address filings: individual, family, and business. An individual filing covers only mail addressed to one specific name. A family filing covers everyone living at the address who shares the same last name. A business filing covers a registered company name. Pick the right one or some of your mail will keep going to the old address.
The family option is the most common and covers a married couple with the same last name, parents and children, or any household members who share a surname. If your spouse kept a different last name, or a roommate with a different last name lives with you, each person needs their own individual filing. Same goes for adult children with different surnames. The $1.10 online fee applies once per filing, so a couple with different last names pays $2.20 to cover both. Stepkids, in-laws who share the household but have different surnames, and unmarried partners all need their own individual forms.
Business filings cover mail addressed to a registered business name and have to be filed by an authorized representative. They can only be filed in person on PS Form 3575 at the post office - the online form does not accept business changes. Bring proof you're authorized: a business license, a federal EIN letter, or your role on the company's incorporation paperwork.
How Much Does USPS Change of Address Cost? Online vs Mail-in
The official USPS Change of Address fee is $1.10 online and $0.00 at the post office counter. That is the entire price list. The $1.10 online charge is an identity-verification fee that runs on your credit or debit card - USPS does not pocket it, and the only purpose is to confirm that the card billing address matches the old or new address you typed into the form. PS Form 3575 filed in person at the counter is free because the clerk uses your photo ID for the same identity check.
Watch out for third-party sites that charge $19.95, $39.95, or $80 to file the same form. ChangeAddress.com, USChangeOfAddress.com, MailForwarding.com, and dozens of similar lookalike domains buy Google ads above the real USPS result and submit the same free form on your behalf. They are not affiliated with USPS, and the only thing they add is a markup. The only official URLs are moversguide.usps.com (the online form) and usps.com (the agency homepage that links to it).
One legitimate paid upsell does exist on the real USPS site: Extended Mail Forwarding. After the standard free 12 months of First-Class forwarding, you can pay USPS $24.55 for 6 more months or $44.45 for 12 more months at moversguide.usps.com. Most movers do not need it - the 12-month window is enough time to update the IRS, your bank, your employer, your insurance, and your subscriptions. Extended forwarding is worth it for snowbirds with a long return trip or for households still receiving important mail after the first year.
What Does NOT Get Forwarded (and What to Do About It)
USPS forwards First-Class Mail and Priority Mail for the full 12 months. Almost everything else either stops forwarding sooner or doesn't forward at all. Most movers don't find this out until packages start going missing or the magazine subscription stops showing up. Here's the actual rule set, by mail class.
- Magazines and periodicals (Periodicals class): forward for 60 days only. After that the publisher has to be notified directly, or the subscription dies.
- Pre-sort standard mail (most marketing and catalogs): does not forward at all. Senders pay a discount rate that doesn't include forwarding, so the post office returns it to the sender or discards it.
- USPS Marketing Mail (formerly Standard Mail): does not forward. This includes most coupon mailers, local circulars, and political mail.
- Media Mail (books, DVDs, educational materials): forwards for 60 days only, and only if the sender pays the extra forwarding fee at the original address.
- USPS Retail Ground packages: forwards for 12 months, same as First-Class.
- UPS, FedEx, and Amazon packages: not USPS, not forwarded. Update the address directly in each carrier's account and at every retailer that ships to you.
For magazines and subscription boxes, log into each publisher's account and change the address there. Most major publishers have a "change of address" link in account settings. For Amazon, update your default shipping address in account settings and your saved addresses in the Amazon app - Amazon pulls from those, not from USPS NCOA. For FedEx and UPS, sign up for free FedEx Delivery Manager and UPS My Choice accounts at your new address; both let you reroute in-flight packages and update your default address on file.
How to Update Your Address With the IRS, DMV, and Banks After Filing
Filing the USPS forward is step one. The actual address update with the IRS, the state DMV, your bank, your employer, and your insurance happens separately, because none of those agencies are required to pull from NCOA automatically. Skipping this step is how people end up missing a tax refund check or a renewed driver's license. Work through this short list within the first 30 days after the move.
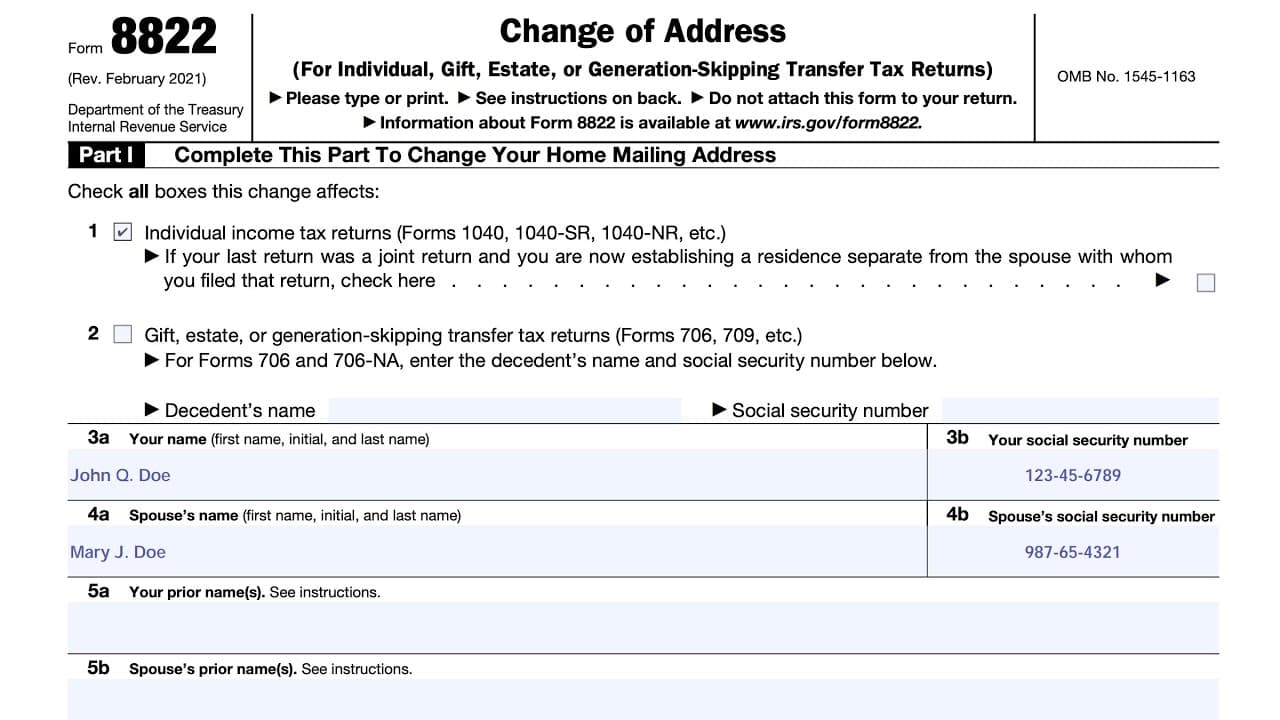
- IRS: file Form 8822 (Change of Address) by mail or update through your IRS Online Account. See how to update your address with the IRS for the step-by-step.
- State DMV: required within 10 to 30 days in most states; rules vary. Many states let you update online with just your driver's license number; others require a new license with the new address printed on it. Check your state's DMV site directly.
- Banks and credit cards: update in each bank's app or website. This is also the place to update the billing address on file with each card, which is what merchants check at checkout. While you are in the banking app, see how to deposit a check on mobile so paper checks the IRS or your old landlord might still mail you do not pile up unprocessed.
- Employer HR: update your W-2 mailing address before year-end. A W-2 that bounces back delays your tax filing in January.
- Voter registration: required within 30 days in most states. Use vote.gov to find your state's registration portal.
- Auto and homeowners insurance: required immediately; your rate is partly based on the address. A stale address can void a claim.
- Social Security: update through your my Social Security account, especially if you receive benefits or are within a year of filing.
The USPS forward buys you a 12-month grace period to catch anything you miss on this list. After that, mail goes back to the original address. Build a checklist the day you file the forward and work through it over the first month.