How to Address an Envelope

By ShowMeStepByStepPublished Updated

Based on a video by Cristin Sierra.

Addressing a letter is one of those things you don't realize you don't know until you're standing at a desk with an envelope in your hand. Cristin Sierra's video demonstrates the layout step by step on a real envelope, including a PO Box example. The format is consistent every time you write one, so once it clicks you're set for life.

The non-negotiables: stamp in the top right, your address (the sender) in the top left, and the recipient's address centered horizontally and vertically on the front. Print don't cursive. Skip the back of the envelope - that's blank.

Step-by-Step Guide

1

Put a Stamp in the Top Right Corner

0:08
Step 1: Put a Stamp in the Top Right Corner

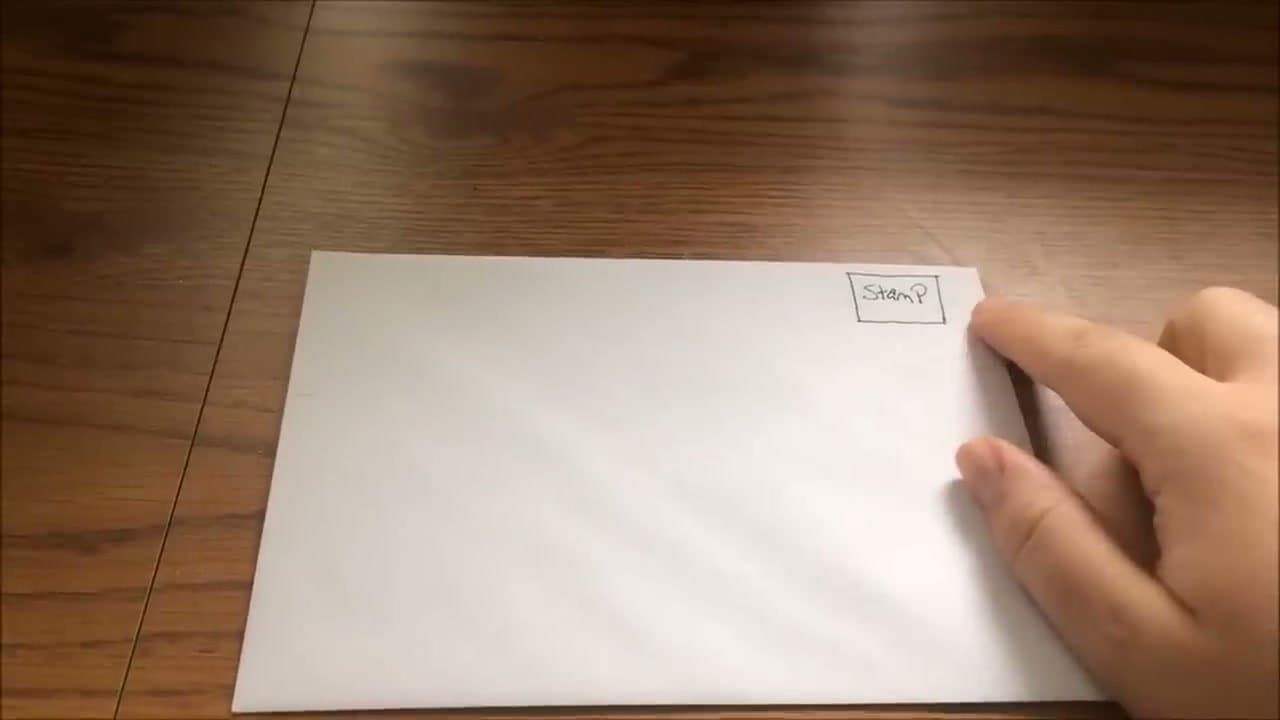
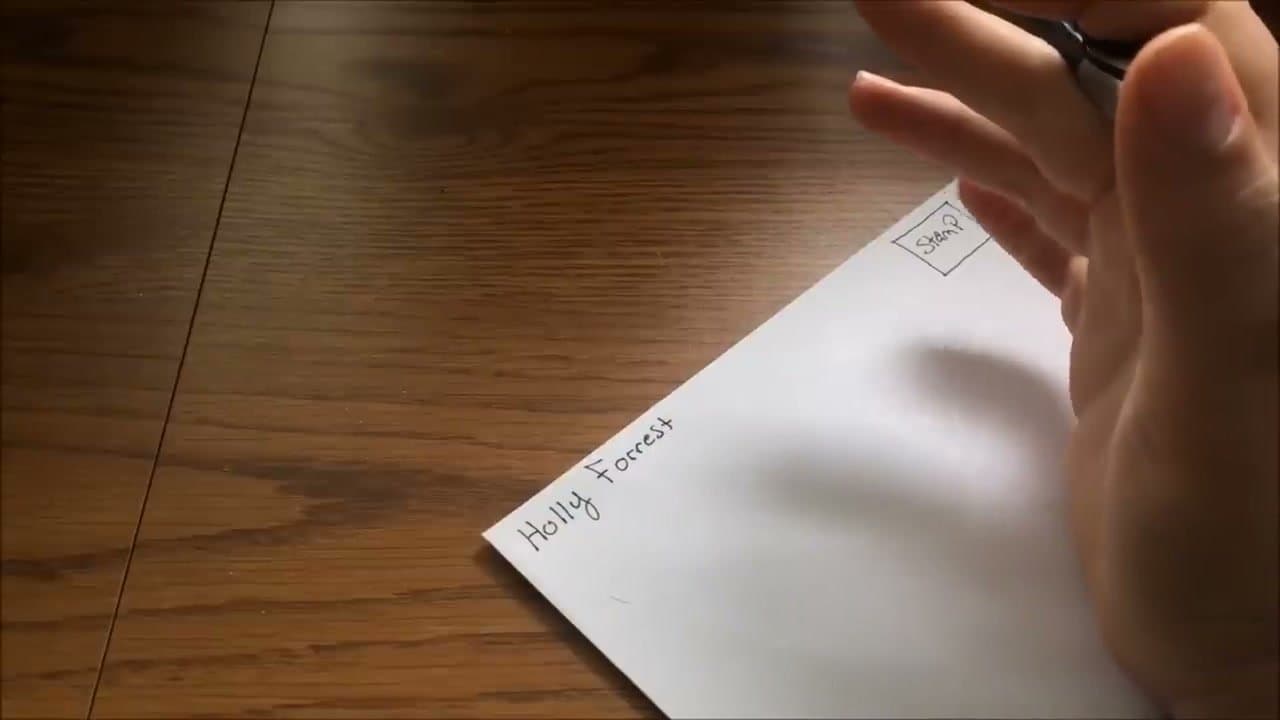
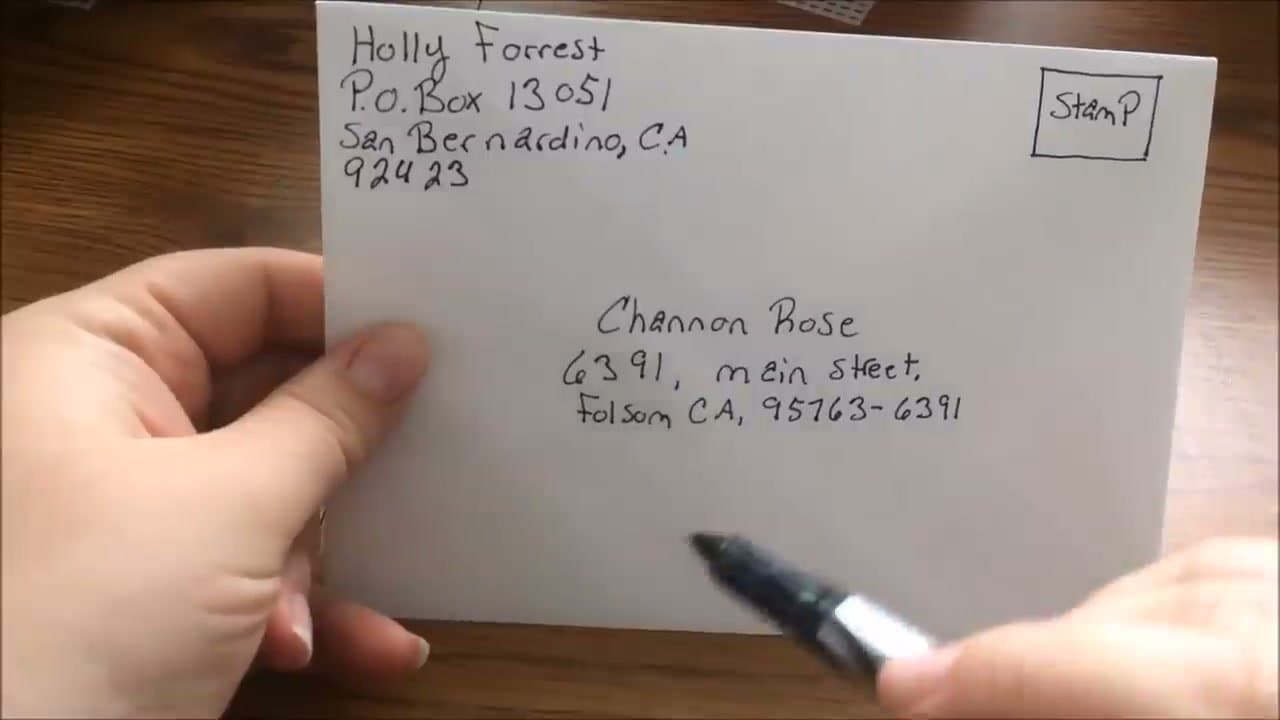
Place a stamp in the top right corner of the envelope. A Forever stamp covers any standard letter under 1 ounce. Add it before you start writing so you don't forget - it's the easiest part to skip past.

Tip

If you don't have a stamp handy, write a small box in pencil where the stamp will go. It keeps you from accidentally writing the recipient's name too high on the envelope.

Products used in this step

2

Write Your Return Address in the Top Left

1:20
Step 2: Write Your Return Address in the Top Left

Start with your name on the first line, written in the top-left corner. Print clearly so the post office can read it - if the letter doesn't make it to the recipient, this is the address it gets returned to.

Products used in this step

3

Add Your Street Address (or PO Box)

1:50
Step 3: Add Your Street Address (or PO Box)

On the line below your name, write your street address (house number + street name) or PO Box number. One line is fine - no need to abbreviate words like 'Street' if you have room to spell it out, although 'St' is also acceptable.

Products used in this step

4

Add City, State, and ZIP

2:55
Step 4: Add City, State, and ZIP

On the next line write your city, comma, two-letter state abbreviation, then your ZIP code. If you don't know your state's abbreviation, you can spell out the state name and drop the ZIP to the next line - both formats work for the post office.

Tip

State abbreviations are always two capital letters with no period: CA, TX, NY, FL. The post office's ZIP database links each ZIP to a state, so a small typo is usually still routable.

5

Write the Recipient's Name and Address in the Center

4:05
Step 5: Write the Recipient's Name and Address in the Center

Write the recipient's name on the first line, centered horizontally and roughly in the vertical middle of the envelope. Below that, their street address (or PO Box). Below that, their city, state, and ZIP. Same blocky format as your return address.

Tip

Leaving extra space below the recipient address is fine - postal sorting machines read the bottom-most address line, not the top, so they'll still find it.

6

Use 5-Digit ZIP (or 9-Digit ZIP+4)

4:50
Step 6: Use 5-Digit ZIP (or 9-Digit ZIP+4)

The 5-digit ZIP code is all the post office requires - mail with just 5 digits arrives fine. The full 9-digit ZIP+4 (with a hyphen, like 95763-6391) routes a little faster because it points to a specific city block or address range. Use whichever you have on hand.

Tip

You can look up any ZIP+4 at tools.usps.com/zip-code-lookup.htm if you want to add the last four digits.

Products Used

Your Guide

Cristin Sierra

As an Amazon Associate we earn from qualifying purchases. Links on this page may be affiliate links - clicking them and buying doesn't change your price, but helps support ShowMeStepByStep.

Tags

What's next

Weekly Digest

Liked this adulting tutorial?

Pick the categories you want to hear about. Weekly digest of new step-by-step tutorials. No spam, easy unsubscribe.

Send me tutorials about

We only email about new tutorials. Easy unsubscribe anytime.