1
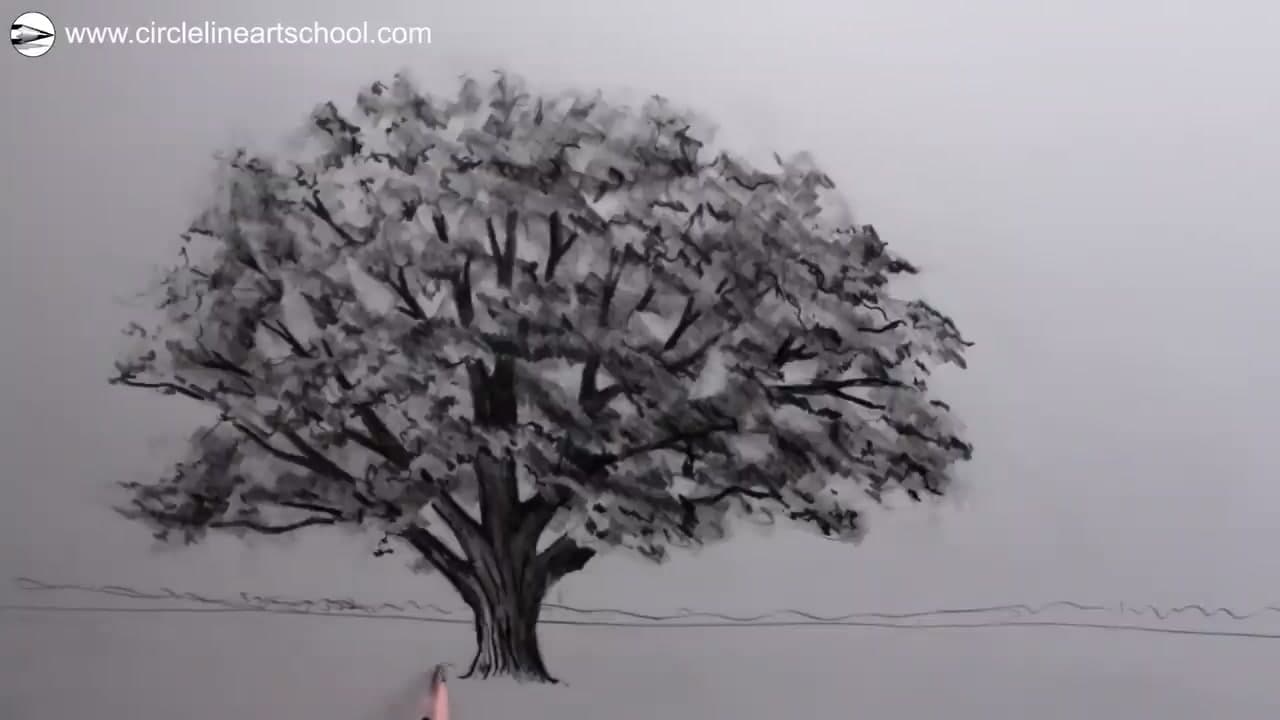
Sketch the Basic Shape of the Tree
0:50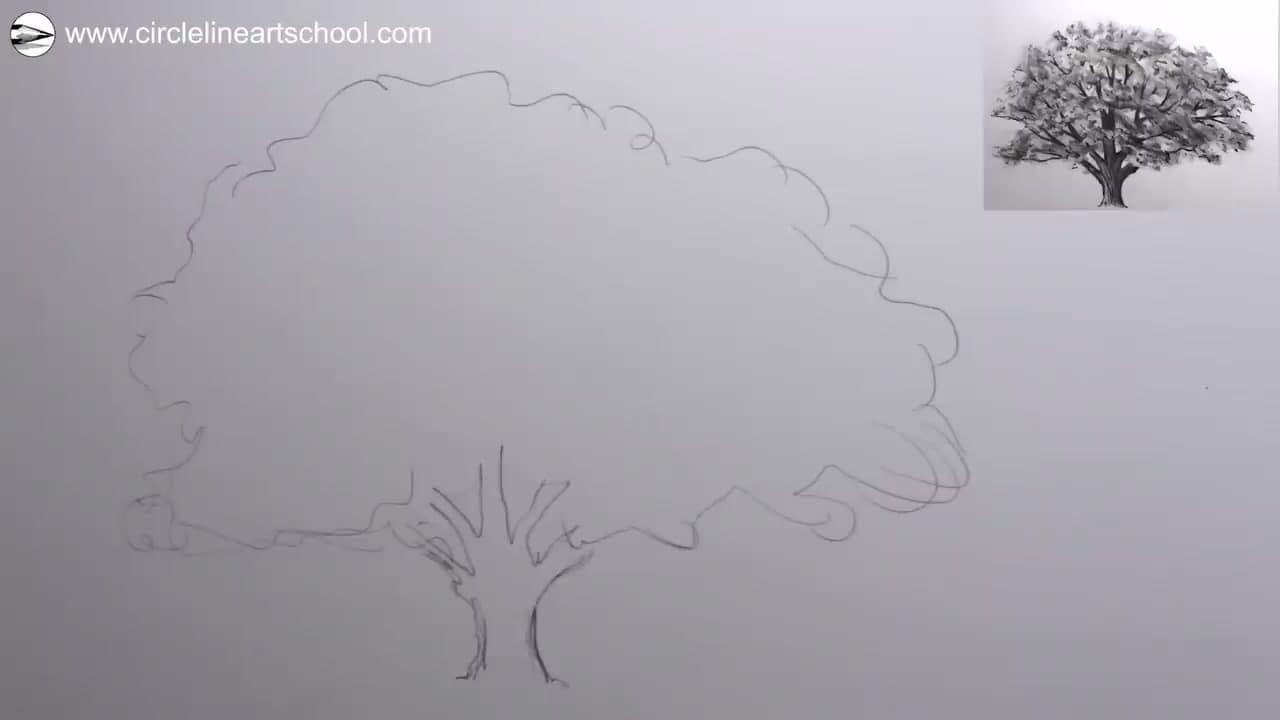
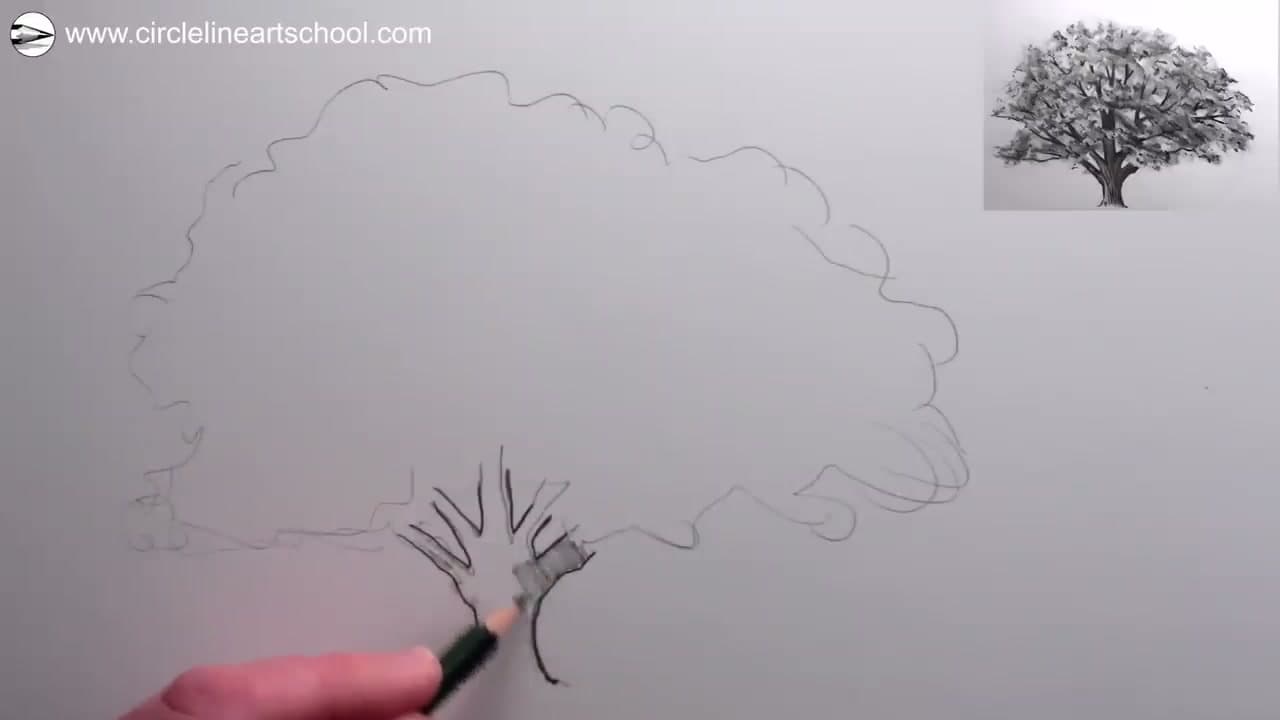
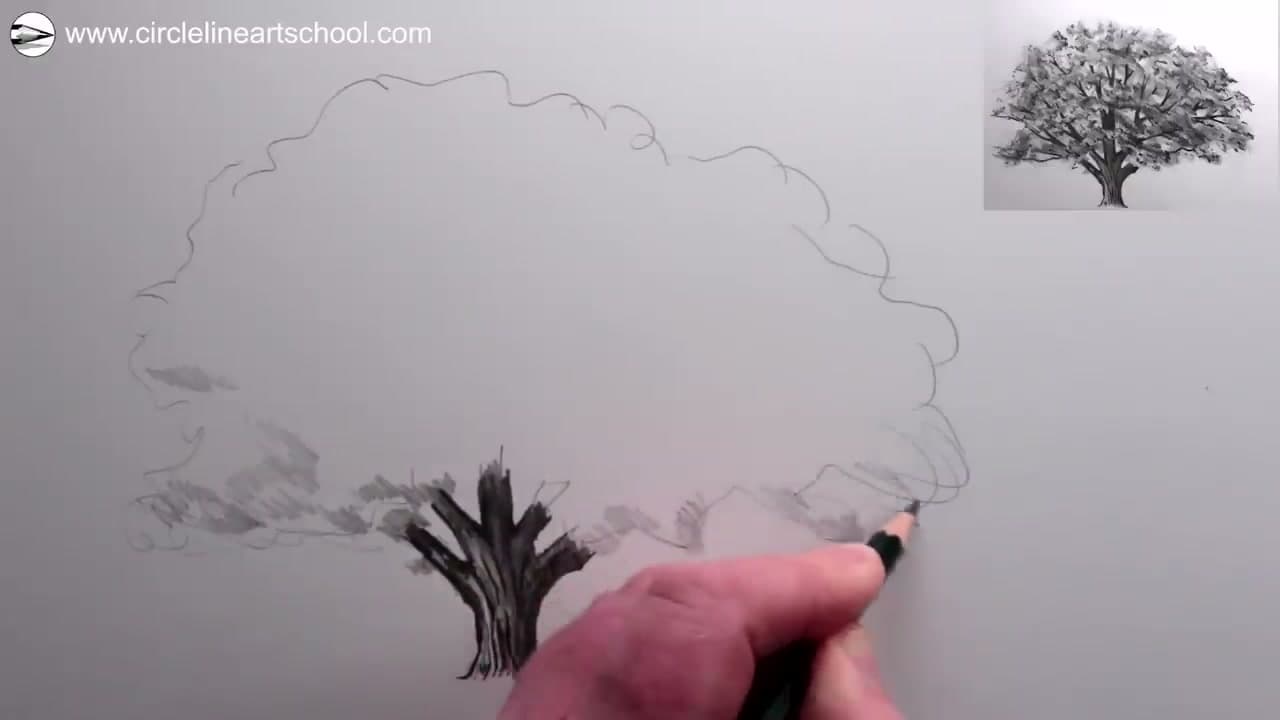
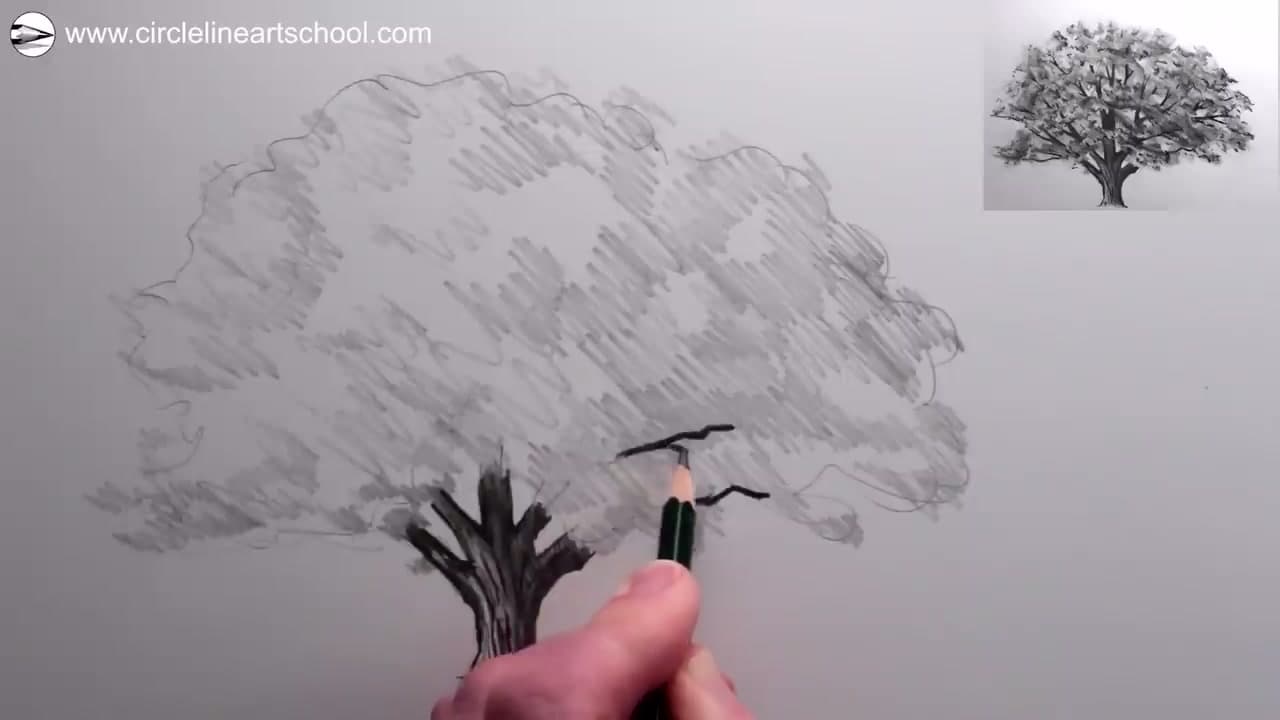
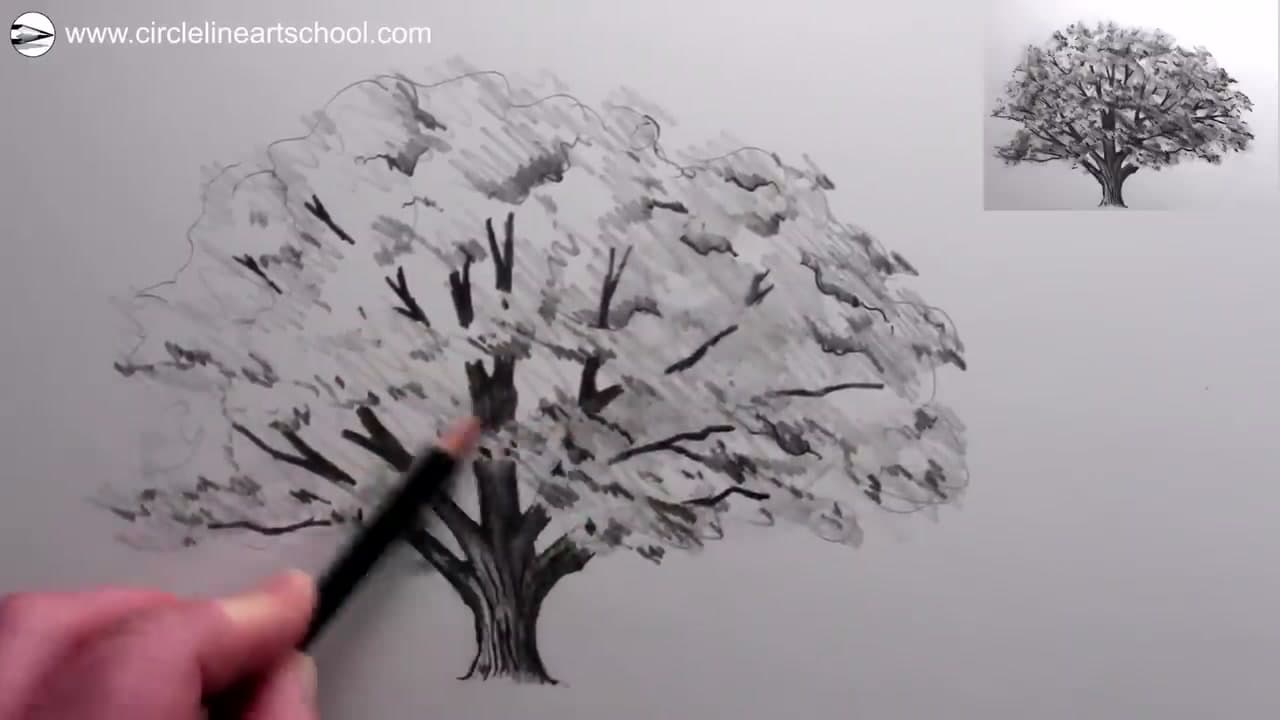
Start with a short wide trunk near the base of the paper. From the top of the trunk, lift a few light lines for the main branches, then draw the overall outline of the canopy with a soft fluid stroke. Keep it loose. These are guideline marks, not the final tree.
The whole shape should sit comfortably on the page, with room above for the canopy and room below for the trunk and the ground shadow you will add later.
Tip
Hold the pencil a little farther back from the tip than you would for writing. It lightens your pressure and keeps these first lines easy to draw over.