1
Curl Your Hair for Soft Waves
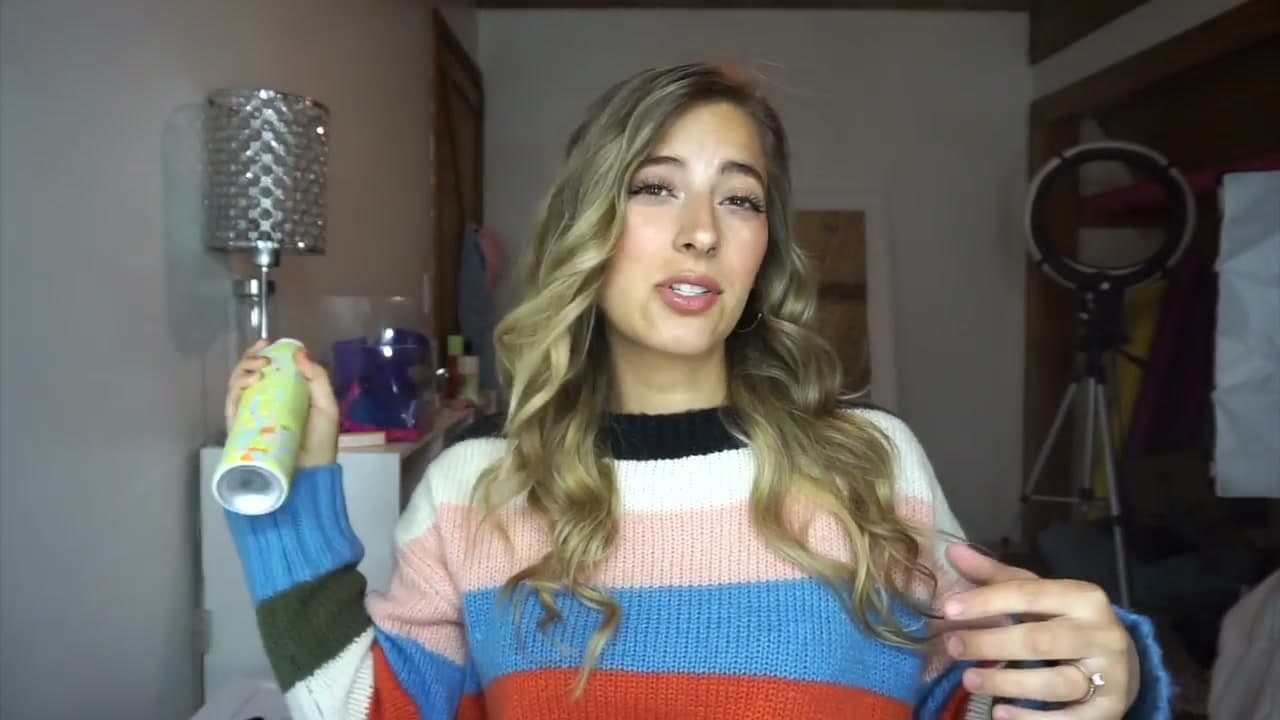
0:50
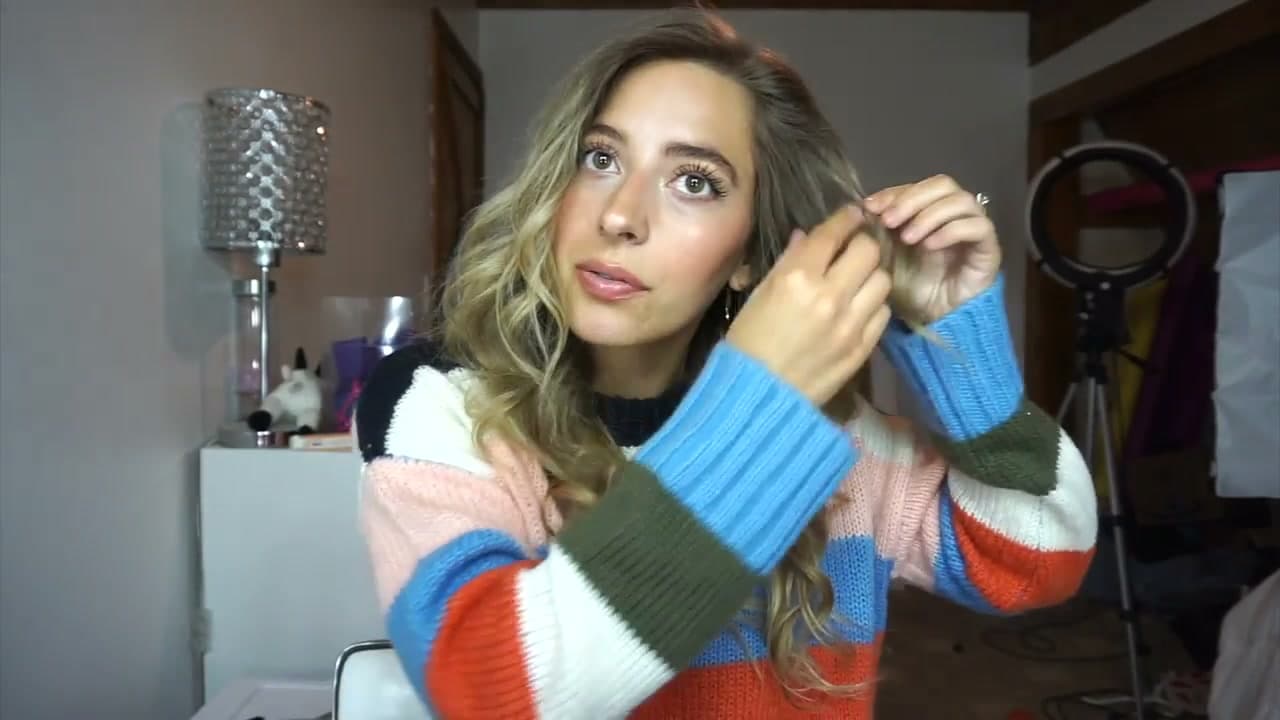
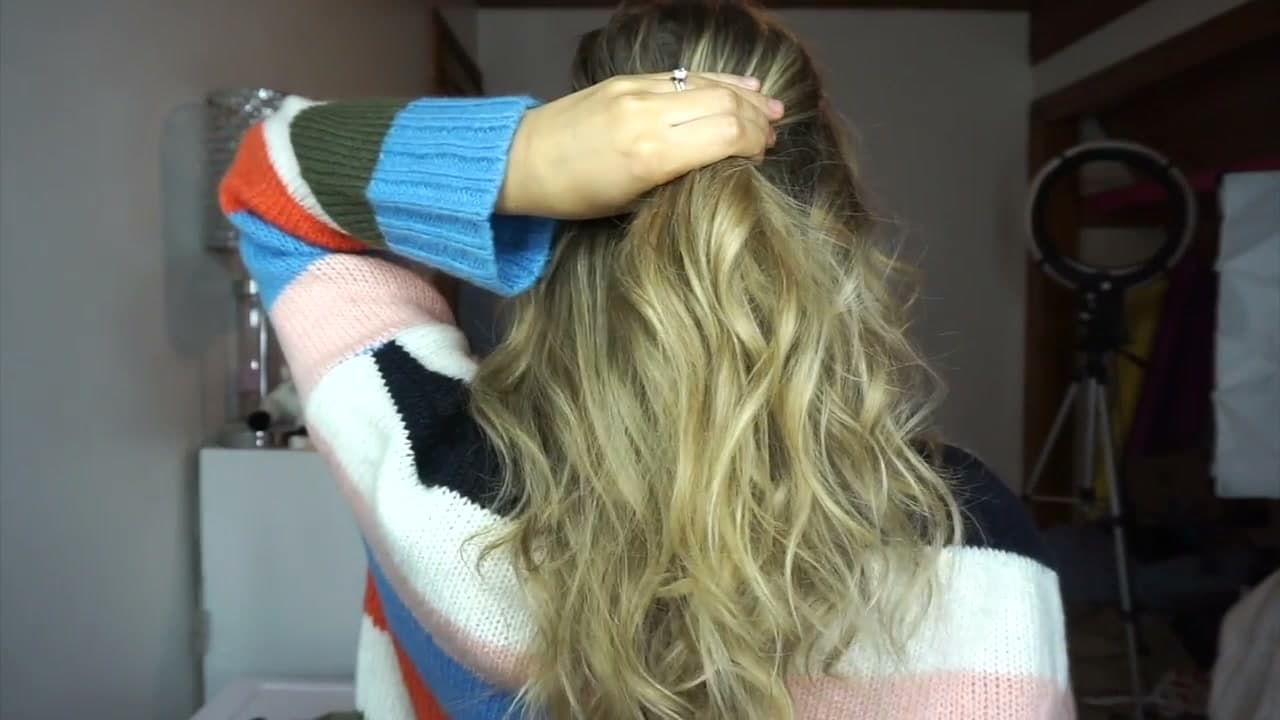
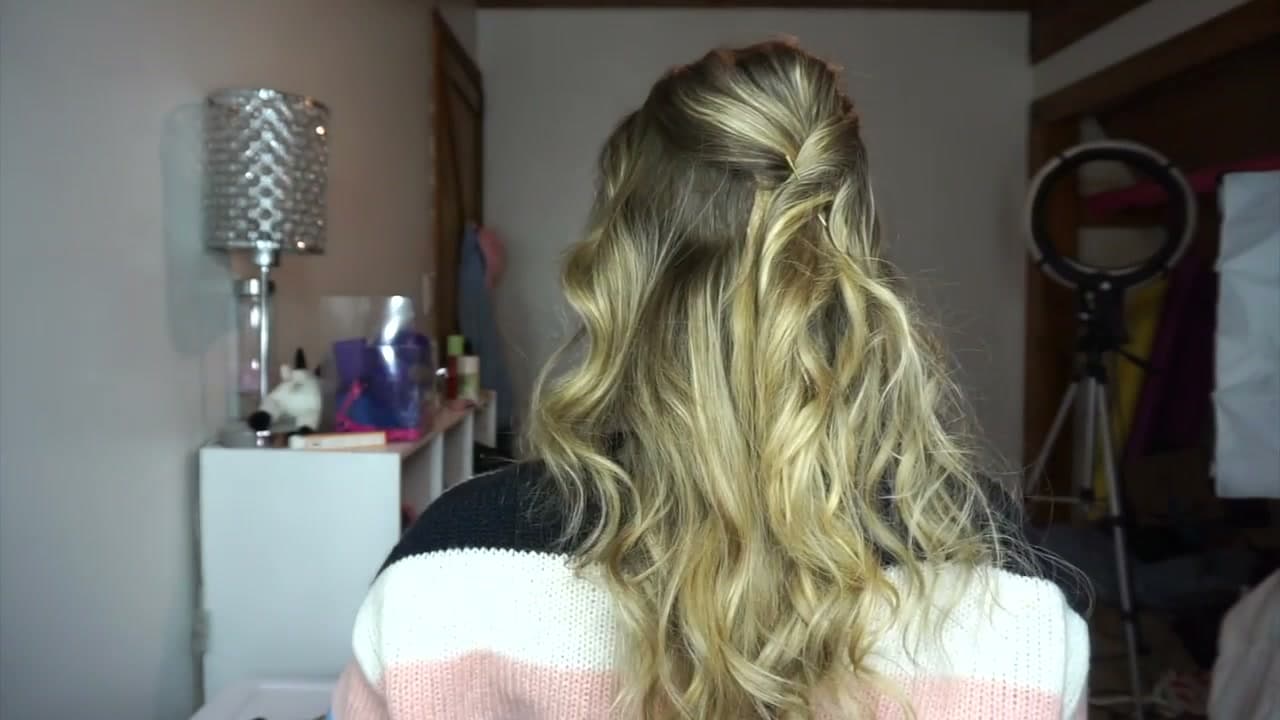
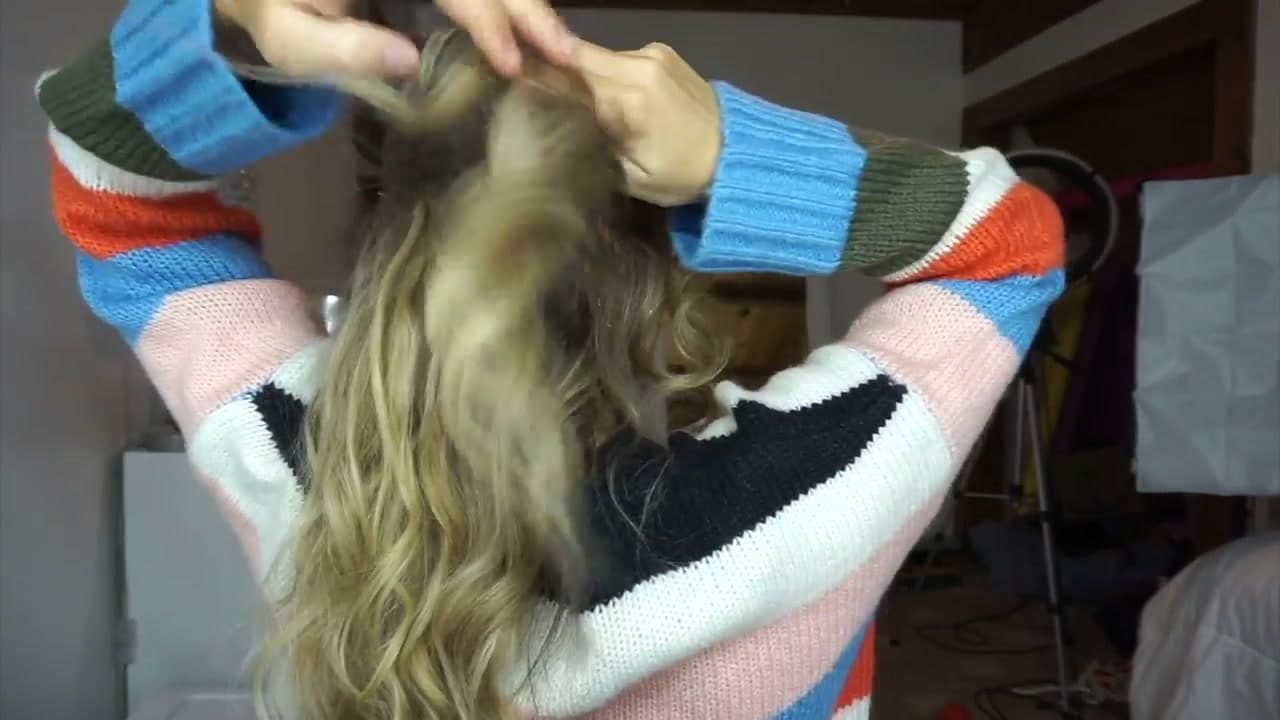
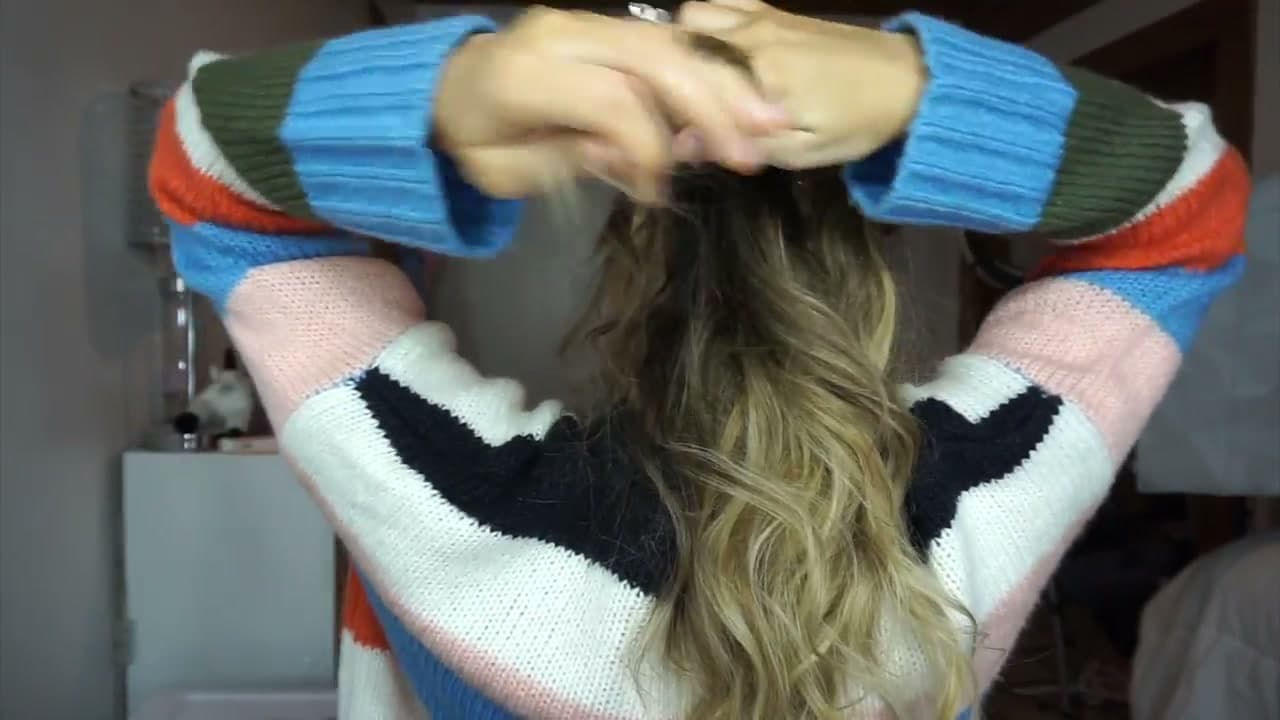
Start with hair that has a soft wave or loose curl. Lainey uses a clipless curling wand (her favorite is the Beachwaver) and wraps one-inch sections around the barrel for a few seconds each. If your hair is already wavy or naturally curly, you can skip this step entirely. Straight hair holds the twisted half-up shape best when there's a little texture to it, so even a quick once-over makes a difference.
Watch the wand demo at 0:50.
Tip
Leave the very ends of your hair uncurled for a more lived-in, beachy look. Curling all the way to the tips gives a more polished finish.