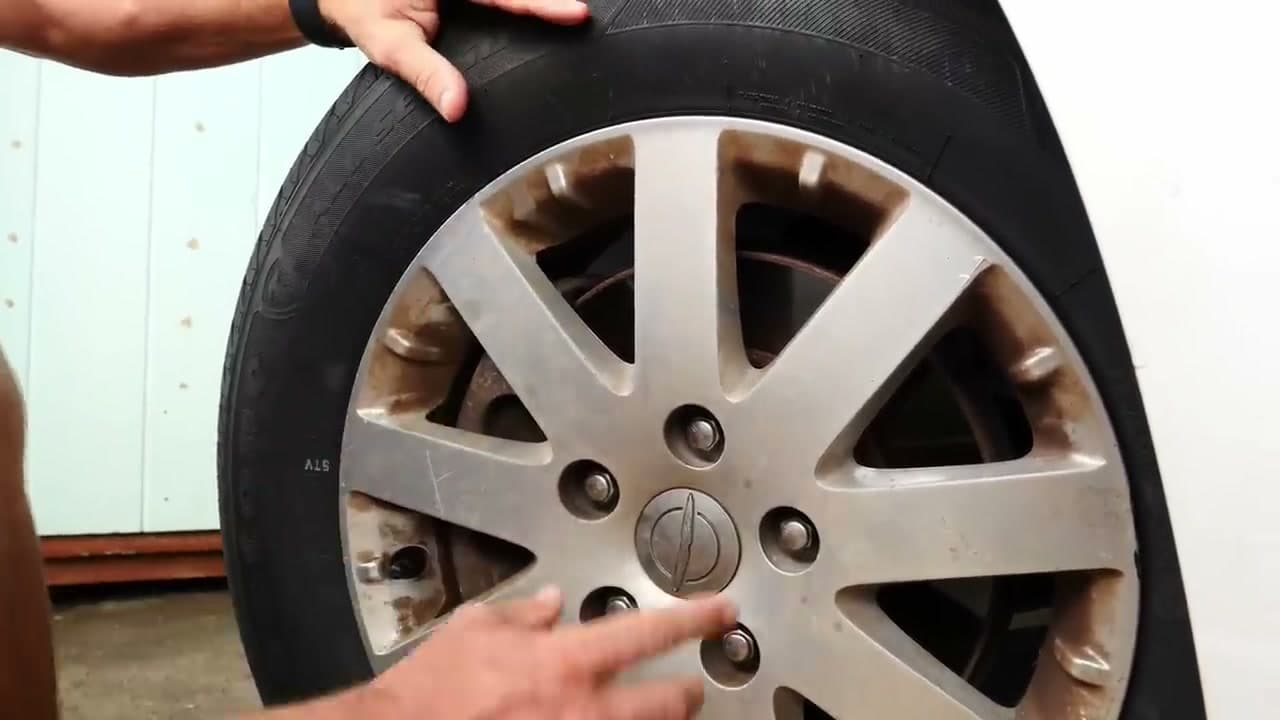
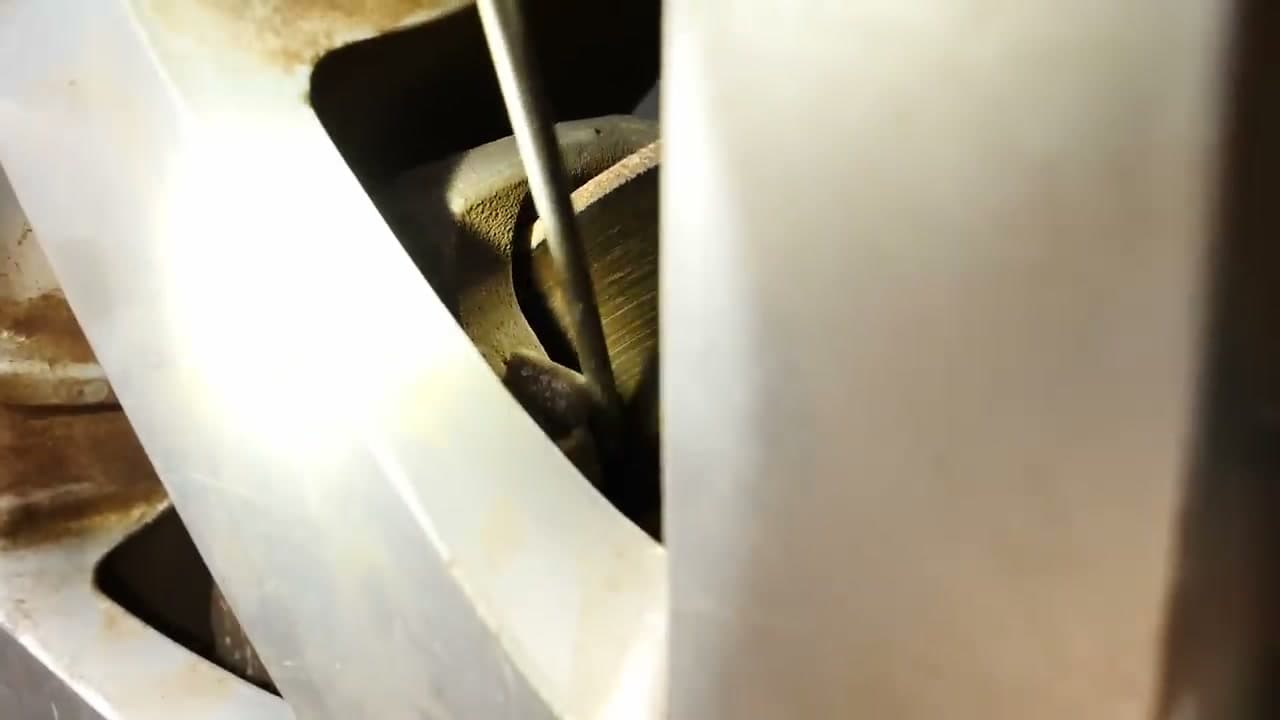
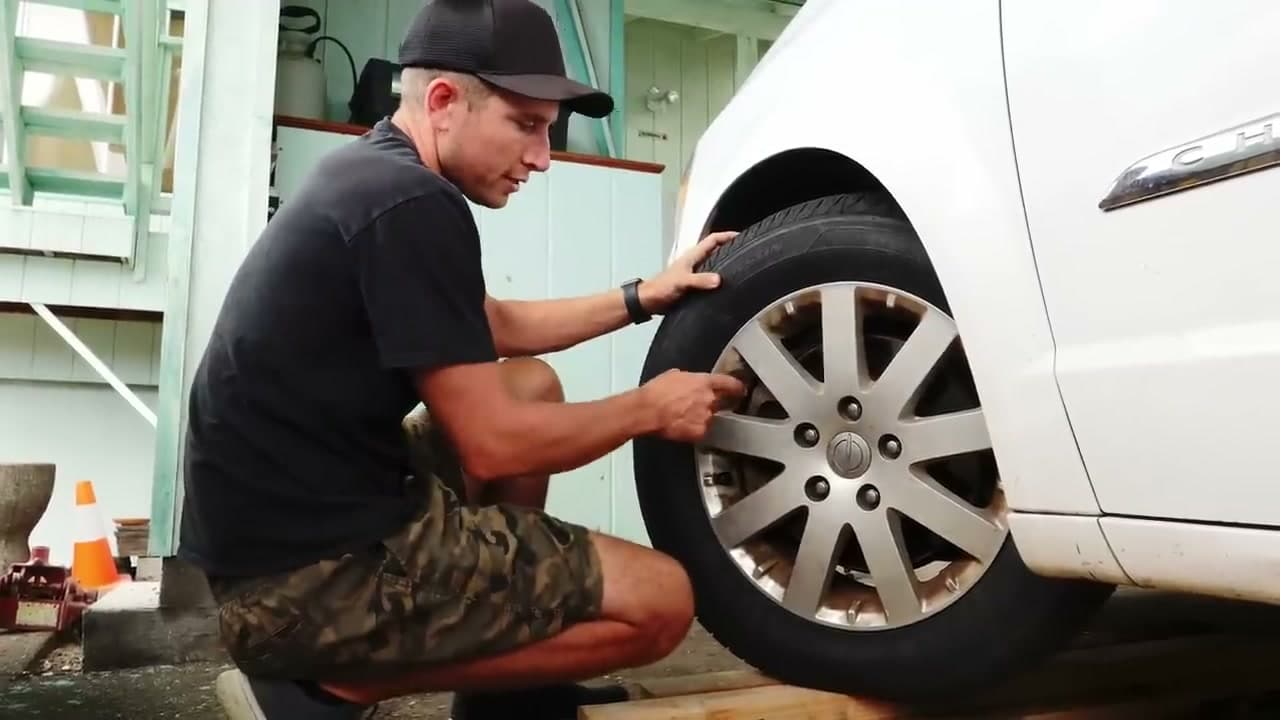
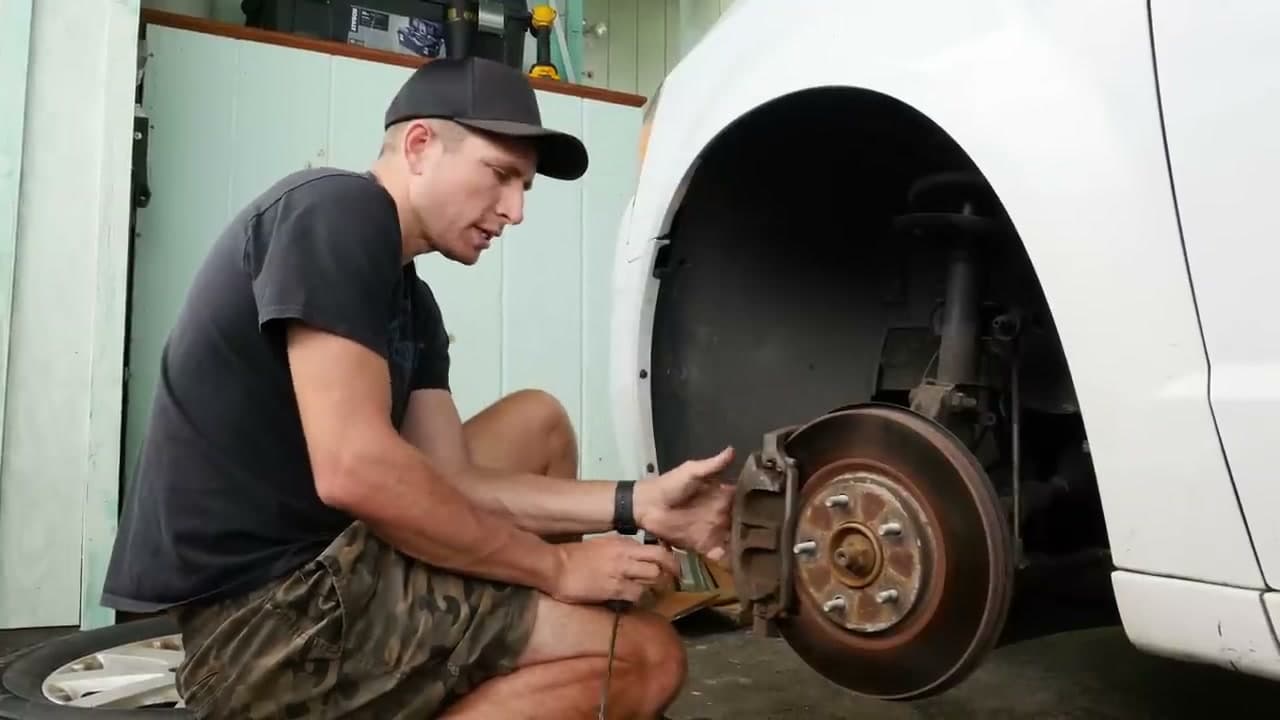
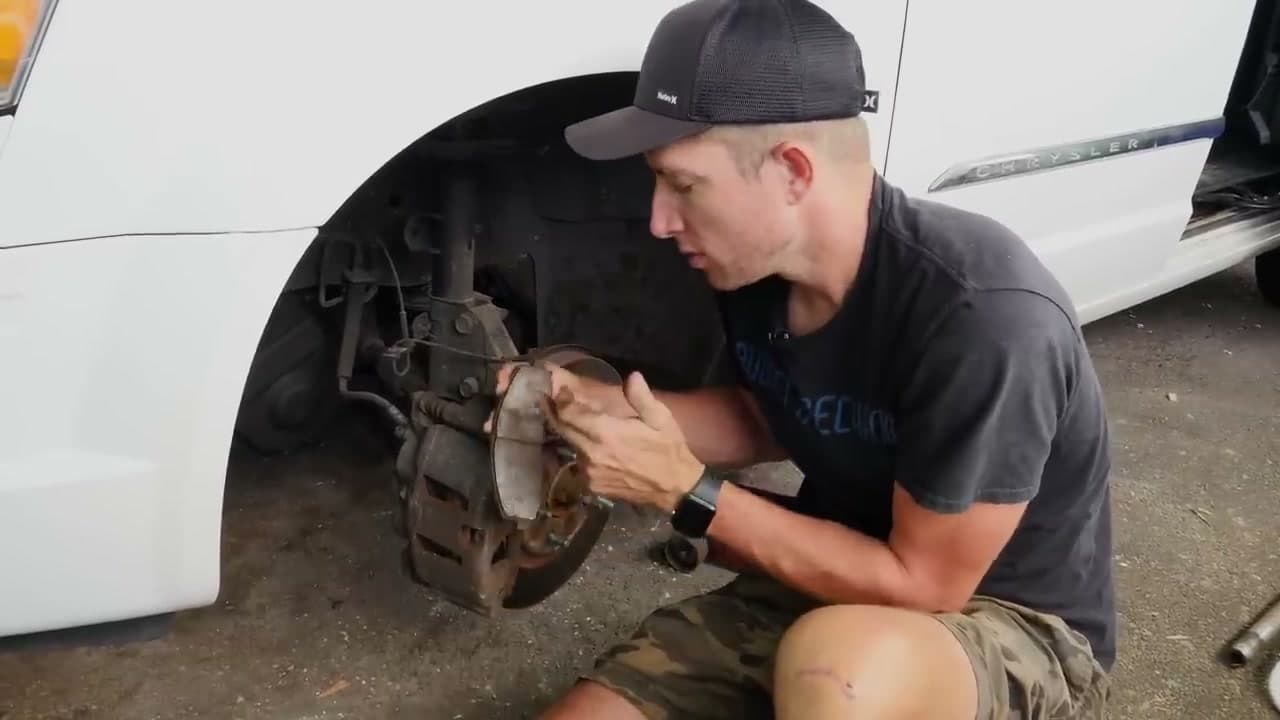
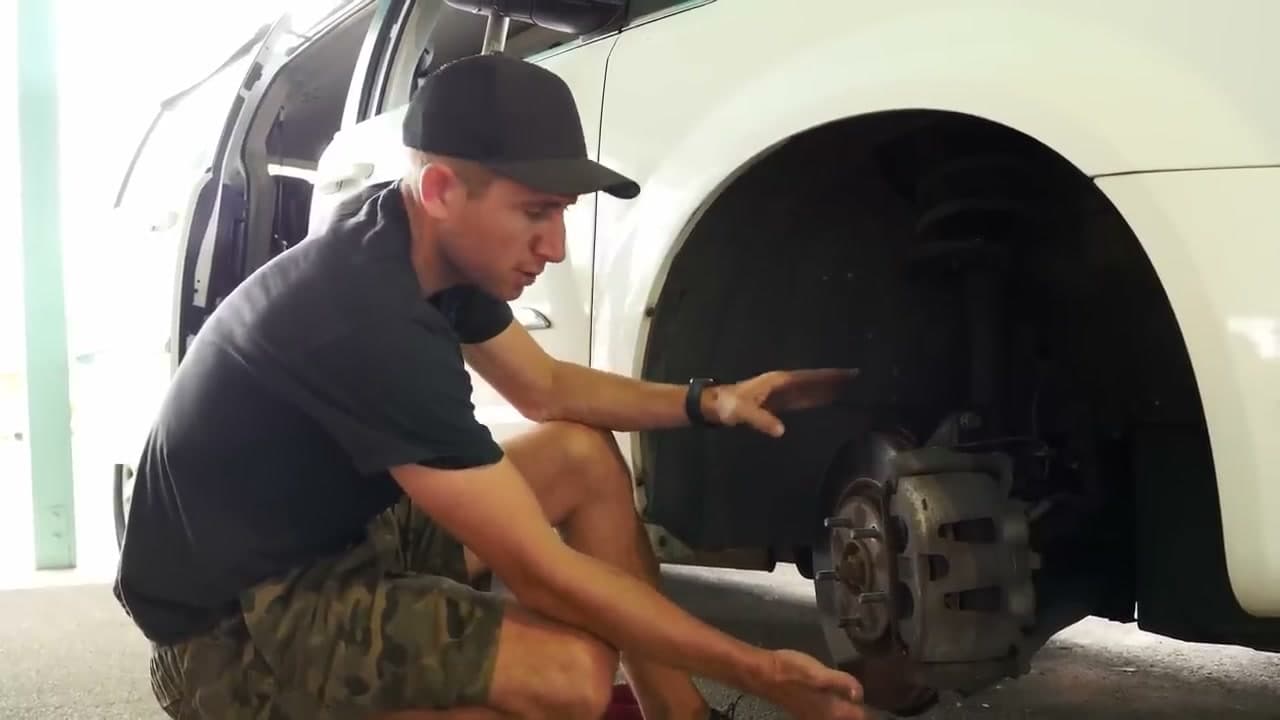
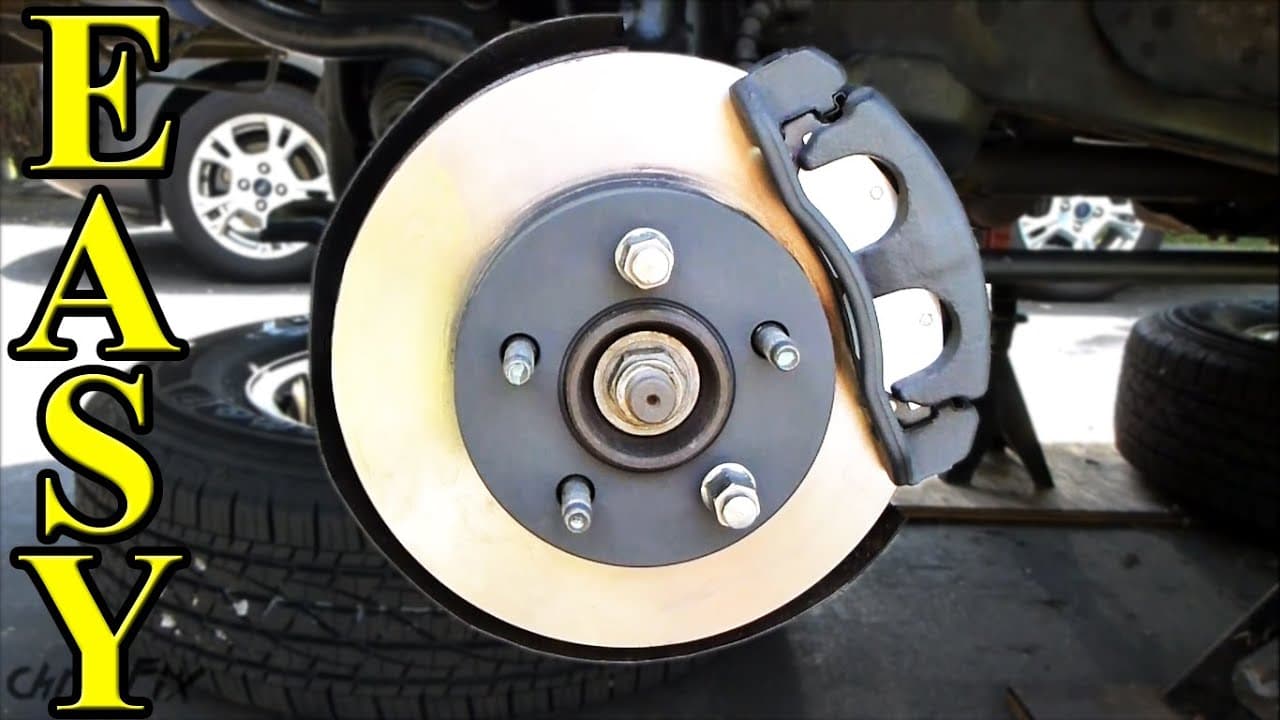
Your mechanic just told you the brake pads are at four millimeters and you need a $600 brake job today. Before you say yes, take five minutes and check the pads yourself. On most cars you do not even have to take a wheel off - a flashlight aimed through the spokes is enough to see the pad thickness for yourself.
Safety first. Never crawl under a car supported only by a jack - use jack stands. Chock the rear wheels before lifting. Loosen the lug nuts on the ground first, lift, then set jack stands under the manufacturer's lift points. Skip these steps and a tipped jack can kill you. There is no version of this job that is worth that.
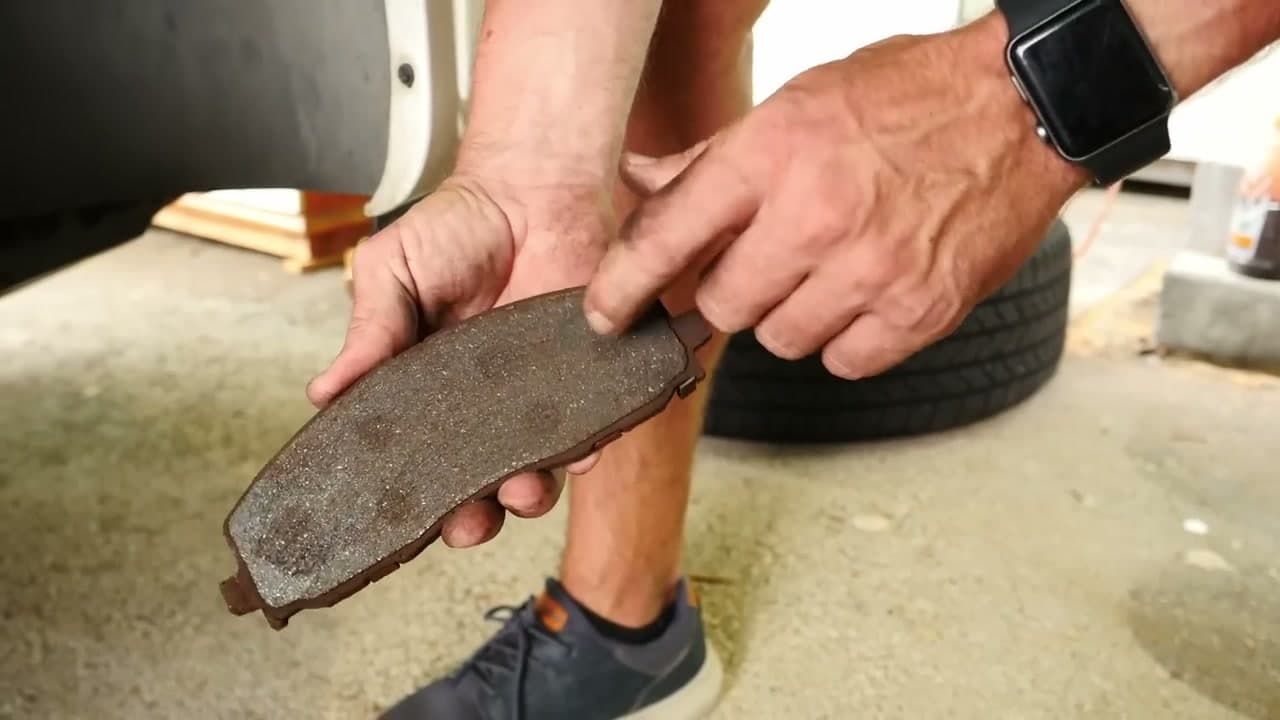
What the numbers mean. A brand-new brake pad is about 12mm thick (half an inch). Mechanics tend to recommend replacement at 4-5mm to play it safe. The real danger zone starts below 3mm, and most pads have a metal wear indicator that squeals every stop once you drop to 2mm. That gives you a clear range: 4mm+ is still in service, 3mm is the watch zone, under 3mm needs new pads soon.
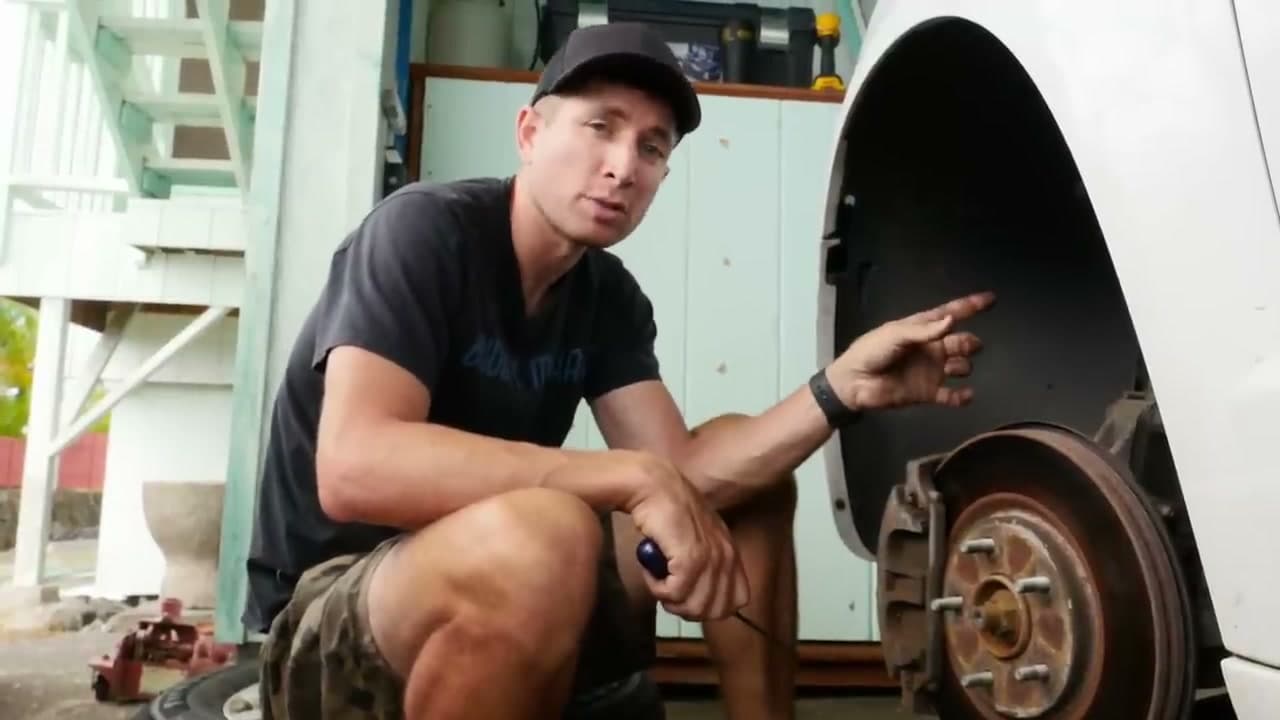
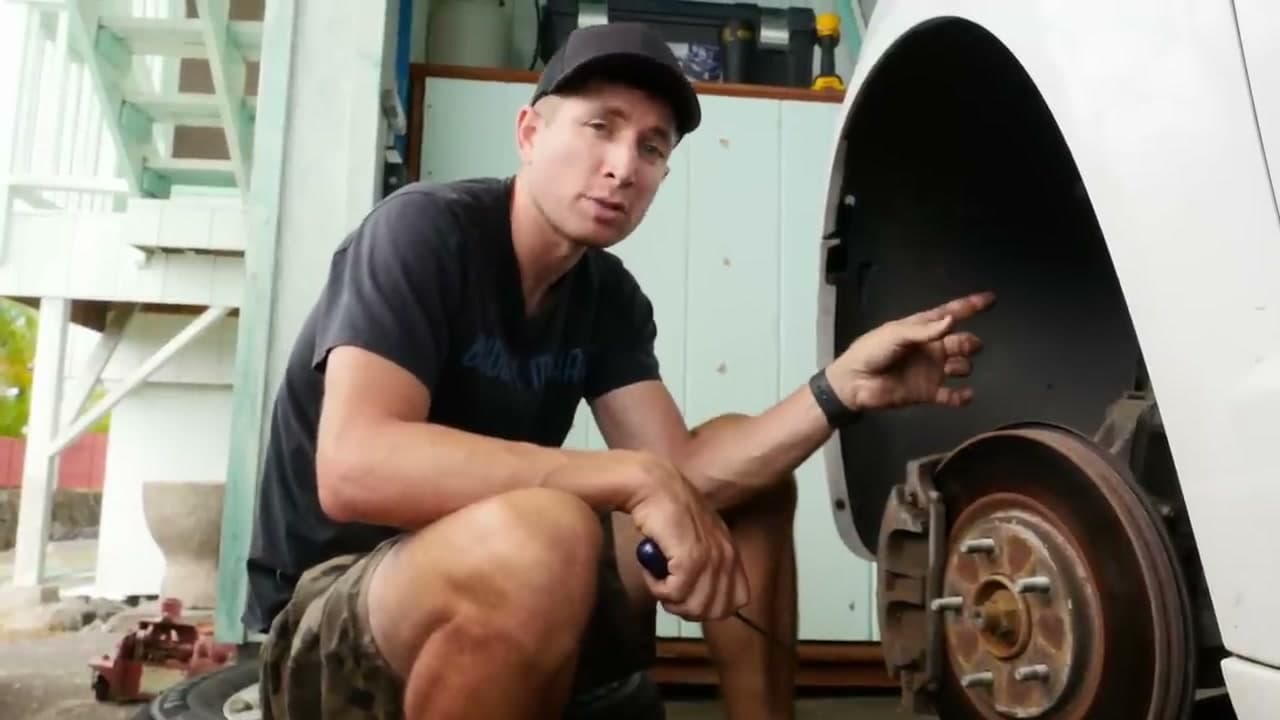
This walkthrough from Josh at Budget Mechanic covers the whole inspection: peek through the wheel spokes, check from behind the caliper, pull the wheel when needed, measure pad thickness, compare both sides, look at the rotor surface, and know when to DIY versus when to hand it to a shop.
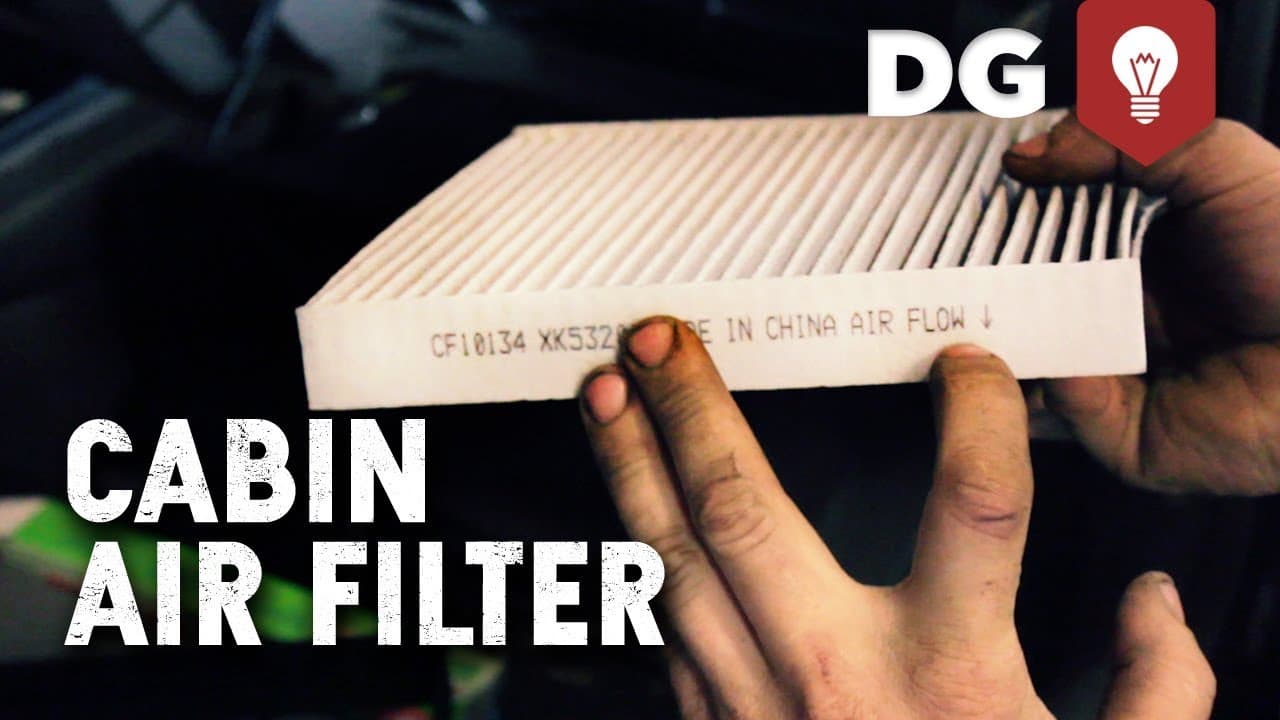
While you are getting comfortable poking around the wheels, also worth knowing: how to check tire pressure, how to replace a car battery, how to check coolant, and how to replace a cabin air filter.