How to Replace Spark Plugs (DIY Tune-Up in 30 Minutes)

AdultingMedium6:567 stepsBrowse more →

By ShowMeStepByStepPublished

Based on a video by AutoZone.

Spark plugs are the cheapest tune-up in your toolbox. Most modern plugs cost $4 to $12 each, the job takes 30 to 45 minutes the first time, and a fresh set fixes rough idle, hard starts, and that mystery 2-3 MPG drop you have been blaming on the gas station. The procedure is the same on almost every gasoline engine: pull the wire or coil, unscrew the old plug, gap and anti-seize the new one, torque it in, snap the boot back on. Eight steps, basic hand tools, no scary fluids.

When to replace. Standard copper plugs last about 30,000 miles. Platinum plugs go 60,000 to 100,000. Iridium plugs go 100,000 plus. Pull your owner's manual or check the side of the old plug for wear - a worn electrode looks rounded off instead of sharp, and the porcelain may be brown, oily, or cracked. If the engine is misfiring, idling rough, or throwing a P0300-series code, plugs are the first thing to check before anyone sells you ignition coils.

One critical rule: cold engine only. Aluminum cylinder heads (almost every modern car) expand when hot. Pulling steel plug threads out of hot aluminum threads is how you strip a $3,000 head. Let the car sit overnight, or at least three hours after a drive, before you touch a plug.

This walkthrough from AutoZone's Bruce Bonebrake covers the full plug-and-wire replacement on a 4-cylinder Toyota Camry, but the same procedure works on V6 and V8 engines, coil-on-plug systems, and old distributor cars. The key difference: on coil-on-plug engines you unbolt one ignition coil per cylinder instead of pulling a spark plug wire.

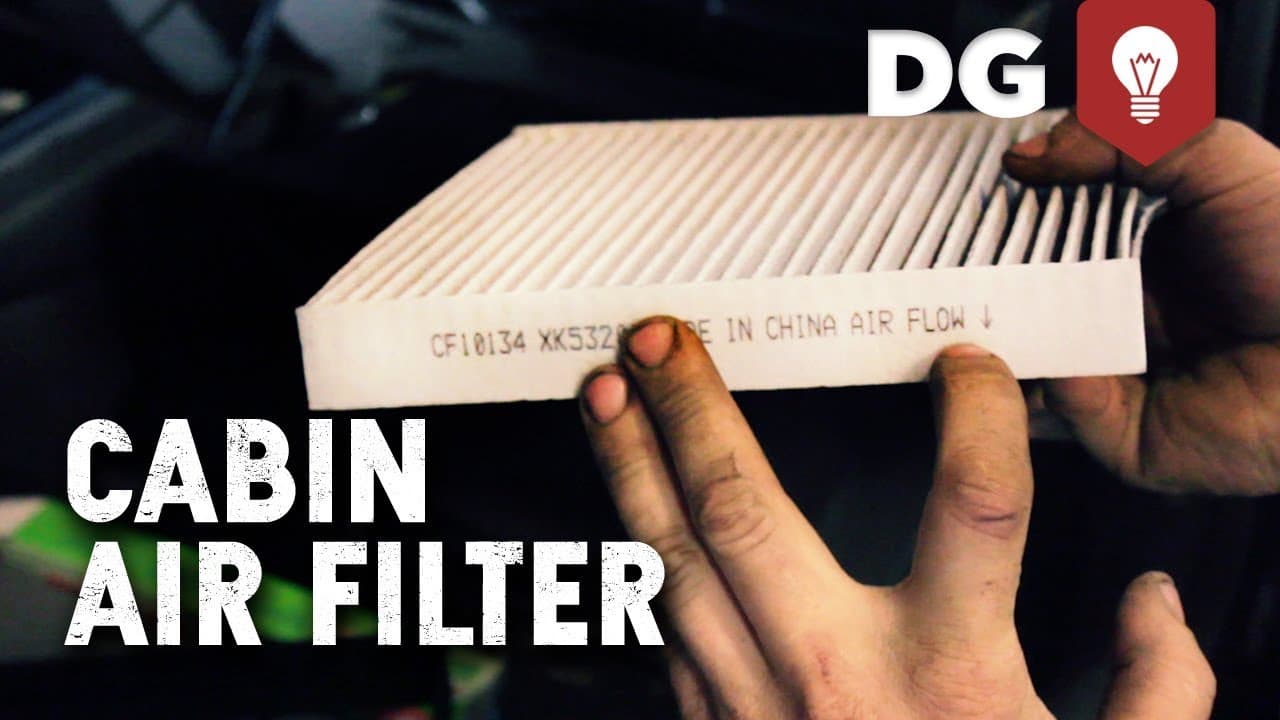
While you have the hood open, this is also a good time to check the rest of the basics: how to check coolant, how to check your oil, how to replace a cabin air filter, and how to change brake pads.

Step-by-Step Guide

1

Step 1: Gather Tools and the Correct Spark Plugs

1:10
Step 1: Step 1: Gather Tools and the Correct Spark Plugs

Lay everything out before you open the hood. You need a spark plug socket (5/8 inch for most modern engines, 13/16 inch for some older ones), a ratchet, a 3 to 6 inch extension, a torque wrench, a gap gauge, anti-seize compound, dielectric grease, and a shop towel.

Match the new plugs to your engine. The owner's manual lists the exact part number, or the parts counter can look it up by year/make/model. Buy the right number for your engine - a 4-cylinder needs four plugs, a V6 needs six, a V8 needs eight. Bring the old plug to the counter if you are not sure which type fits.

Tip

Park on level ground and let the engine cool completely. Aluminum heads + hot plugs = stripped threads. Wait at least three hours after a drive, ideally overnight.

2

Step 2: Disconnect the Spark Plug Wire (One Cylinder at a Time)

0:51
Step 2: Step 2: Disconnect the Spark Plug Wire (One Cylinder at a Time)

Pop the hood and find the spark plug wires running into the top of the engine. On a 4-cylinder you will see four wires going into four wells. Grip the rubber boot at the bottom of the wire - never the wire itself - twist gently to break the seal, then pull straight up.

Move that one wire out of your way and leave the rest connected. Working one cylinder at a time means you never have to remember which wire goes where. The wires are different lengths and the firing order matters - mixing them up will cause a no-start or a violent misfire.

Tip

If a boot is stuck, a plug wire removal tool gives you leverage without ripping the wire off the core. Pulling on the wire instead of the boot is the #1 way to ruin a perfectly good plug wire.

3

Step 3: Loosen and Remove the Old Spark Plug

1:15
Step 3: Step 3: Loosen and Remove the Old Spark Plug

Fit the spark plug socket on the extension and the extension on the ratchet. Drop the socket straight down into the well until it engages the hex on top of the plug. The magnet or rubber insert inside a real spark plug socket keeps the plug centered as you turn - this is why a regular deep-well socket is a bad idea. Off-center pressure cracks the porcelain.

Turn counterclockwise (lefty loosey) to break the plug loose. Once it spins freely, set the ratchet aside and unscrew the rest of the way by hand. You should be able to lift the old plug straight out of the well with the magnetic socket.

Tip

Before you pull the new plug out, blow compressed air or use a vacuum to clear dirt and grit from around the plug well. Anything that falls into the cylinder when the plug is out can damage the piston when the engine fires.

4

Step 4: Inspect the Old Plug and Check the Gap on the New One

1:55
Step 4: Step 4: Inspect the Old Plug and Check the Gap on the New One

Look at the old plug. A healthy plug has a light tan color on the porcelain and a clean, sharp electrode. Black sooty buildup means a rich fuel mixture. Oily plugs mean valve seals or piston rings are leaking oil into the cylinder. White or blistered porcelain means the plug ran too hot. Snap a photo of any plug that looks abnormal and ask a mechanic.

Check the gap on the new plug with a gap gauge. Many modern plugs come pre-gapped from the factory, especially platinum and iridium types - the source video shows dual-ground electrode plugs that cannot be re-gapped at all. If yours need gapping, check the spec in your owner's manual (typically 0.028 to 0.060 inch) and tap the side electrode gently against a hard surface to close the gap, or pry it open with the gauge tool to widen.

Tip

Save one old plug. If the engine runs rough later, you can pull a new plug and compare wear patterns to figure out which cylinder is having issues.

5

Step 5: Apply Anti-Seize to the Plug Threads

2:55
Step 5: Step 5: Apply Anti-Seize to the Plug Threads

Squeeze a small dab of anti-seize compound onto the threads of the new plug. The goal is a thin coating on the threads only - about the size of a grain of rice spread around the threaded section. Aluminum heads grab steel plug threads as they cycle through heat, and a year from now the plug can be welded in. Anti-seize prevents that.

Keep anti-seize off the electrode tip and off the porcelain insulator. Compound on the tip will foul the plug and cause a misfire. If you get a smudge on the tip, wipe it clean with a shop rag before installing.

Tip

Some plug manufacturers (including NGK) say not to use anti-seize on their plugs because their threads are pre-coated. Check the box. When in doubt, a very thin coat is safer than none on an aluminum head.

6

Step 6: Hand-Thread, Then Torque to Spec

3:35
Step 6: Step 6: Hand-Thread, Then Torque to Spec

Drop the new plug into the well using the magnetic socket. Once it touches the threads, start turning it in by hand using the socket and extension - no ratchet yet. Hand-starting gives you instant feedback if the plug catches the threads wrong. If it does not spin in smooth, back it out and start over. Forcing a cross-threaded plug with a ratchet is how you ruin a $3,000 cylinder head.

Once the plug is finger-tight (you can feel it bottom against the crush washer), switch to the torque wrench. Most spark plugs torque to 13 to 22 ft-lbs - look up the exact spec in your service manual. If you do not have a torque wrench, the rule of thumb is hand-tight plus 1/2 turn for a new crush washer or 1/16 turn for a used plug. Do not gorilla it - a snapped plug in the head means an emergency tow.

Tip

A 1/4 inch drive torque wrench is the right size for plug-tightening - 3/8 drive is usually too much. The small wrench gives you finer control in the low ft-lb range that plugs live in.

7

Step 7: Dielectric Grease the Boot and Snap It Back On

4:15
Step 7: Step 7: Dielectric Grease the Boot and Snap It Back On

Squeeze a small amount of dielectric grease inside the rubber boot at the end of the spark plug wire. Coat the inside of the boot - this seals out moisture, prevents the boot from welding to the porcelain over time, and keeps the wire's connection clean. Do not use regular grease - dielectric grease is non-conductive and rated for high-voltage ignition contact.

Push the boot down onto the new plug until you feel a positive click. The metal terminal inside the boot snaps onto the top of the plug. Tug gently to confirm it is seated. Route the wire back through any cable separators or guides. Repeat steps 2 through 7 for the next cylinder, one at a time, until every plug is replaced. Start the engine - it should fire on the first crank and idle smoother than before.

Tip

If the engine cranks but will not start, you may have left a wire off or seated a boot poorly. Pull the wires back off one by one and confirm each is fully clicked onto its plug. Misfire-on-startup is almost always a loose boot.

Products Used

☐ The Checklist

How to Replace Spark Plugs (DIY Tune-Up in 30 Minutes)

Tools
6
Materials
3
Steps
7
Video
7 min

Your Guide

AutoZone

As an Amazon Associate we earn from qualifying purchases. Links on this page may be affiliate links - clicking them and buying doesn't change your price, but helps support ShowMeStepByStep.

Tags

What's next

Related collections

Curated theme pages that include this tutorial.

Weekly Digest

Liked this adulting tutorial?

Pick the categories you want to hear about. Weekly digest of new step-by-step tutorials. No spam, easy unsubscribe.

Send me tutorials about

We only email about new tutorials. Easy unsubscribe anytime.