1
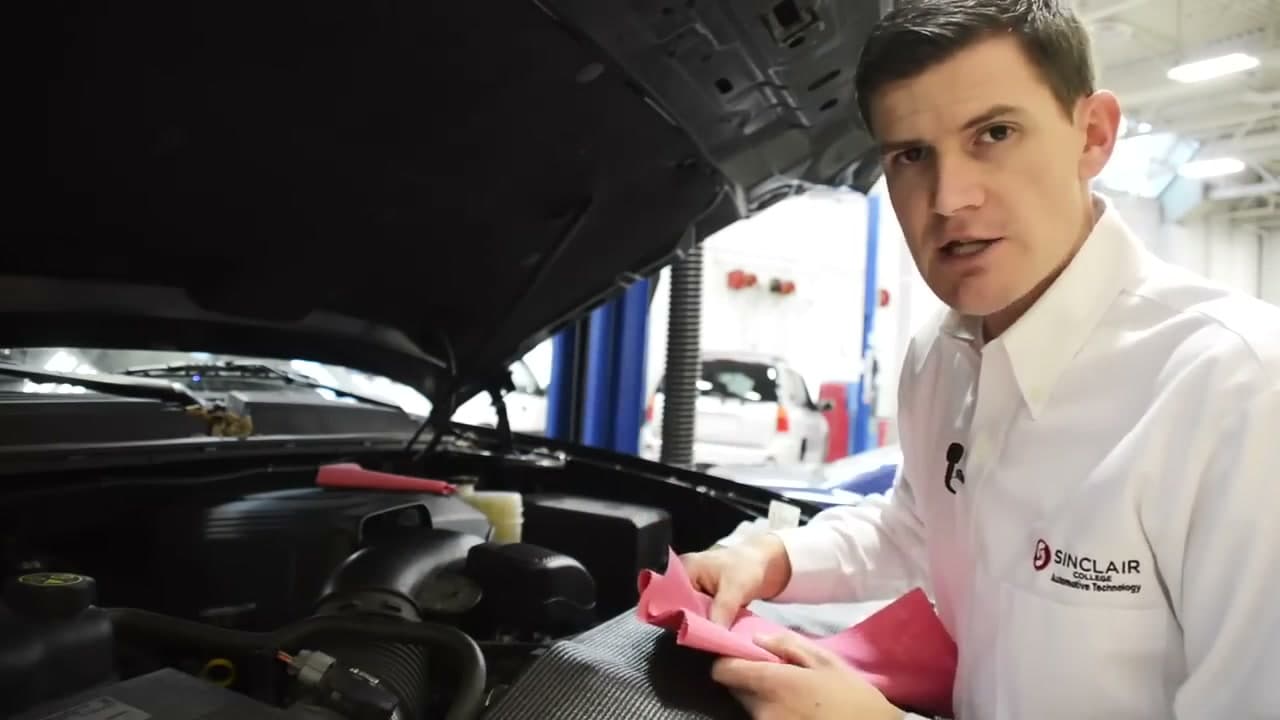
Step 1: Park on Level Ground and Let the Engine Cool a Few Minutes
0:30
Park the car on flat, level ground - a sloped driveway throws the reading off by half a quart or more. If you just drove the car, shut it off and wait three to five minutes so the oil has time to drain back down into the pan. A reading taken right after a long highway run will look low because most of the oil is still up in the engine.
Cold-engine readings work fine too, especially first thing in the morning before you have driven anywhere. Just pick one routine and stick with it so your monthly checks are comparable.
Tip
Do not check the level with the engine running. The oil is being pumped through the system and the dipstick reading will be nonsense. Engine off, parking brake on.