How to Replace Your Cabin Air Filter (8 Easy Steps)

AdultingEasy6:298 steps
Also in:Car Care

By ShowMeStepByStepPublished

Based on a video by DEBOSS GARAGE.

If you have never changed your cabin air filter, this is the first job you should learn. It is one of the cheapest, easiest pieces of car maintenance you can do, the dealer charges 60 bucks for it, and most drivers go years without realizing the filter even exists. A clean cabin filter means your defrost works on cold mornings, your AC blows full strength in summer, and you stop breathing the dust, pollen, and leaf bits that the old filter has been recirculating into your face.

About 80% of cars built after the year 2000 have a cabin air filter, and on most of them - Toyota, Honda, Ford, Chevy, Subaru - it sits in a housing right behind the glove box. The video below uses a Honda Civic, but the steps work the same on almost every modern car.

How often to change it. Every 15,000 to 30,000 miles, or once a year, whichever comes first. If you drive in dusty areas, with the windows down a lot, or under trees that drop leaves and seed pods, lean toward the shorter interval.

What you need. A replacement cabin air filter that matches your make, model, and year (FRAM Fresh Breeze, K&N, Bosch, and OEM all fit), a pair of gloves so old filter dust stays off your skin, and maybe a small handheld vacuum or a rag to clean out the housing. That is it - no tools required on most cars.

While you have your sleeves rolled up, also worth knowing: how to check your brake pads, how to check your oil, how to replace a car battery, and how to check your coolant.

Step-by-Step Guide

1

Step 1: Locate the Cabin Air Filter (Behind the Glove Box)

2:02
Step 1: Step 1: Locate the Cabin Air Filter (Behind the Glove Box)

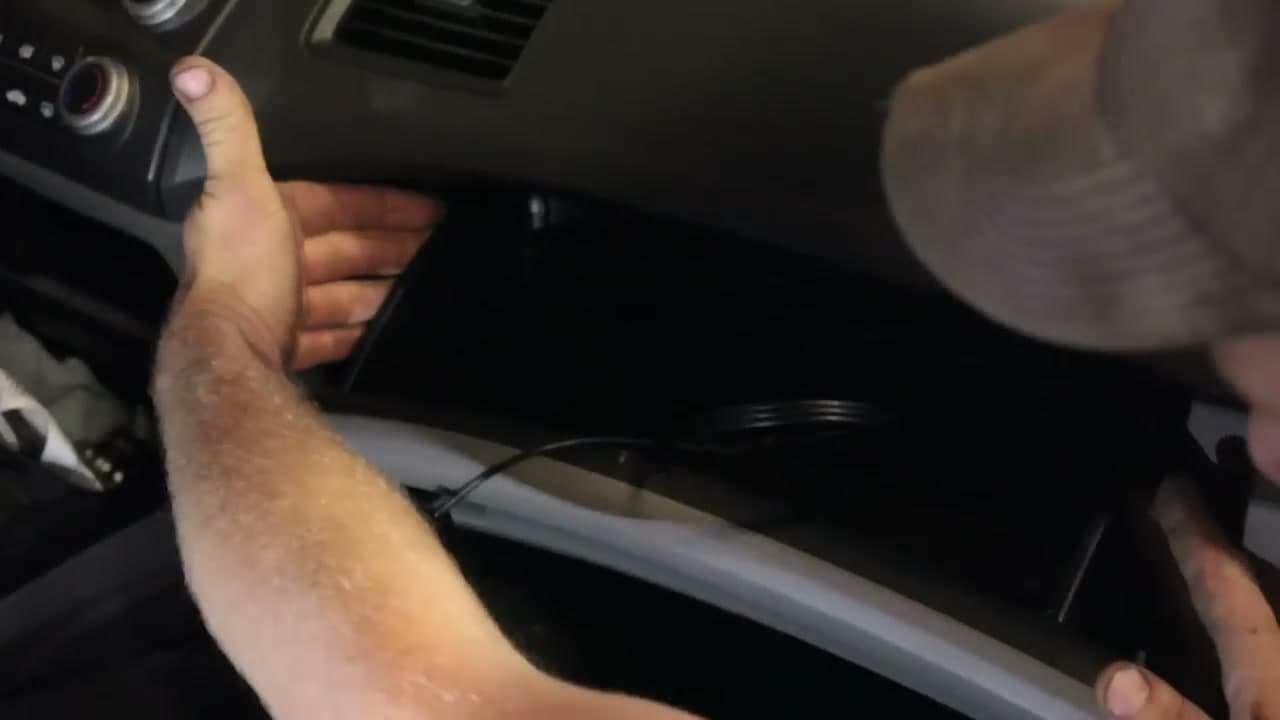
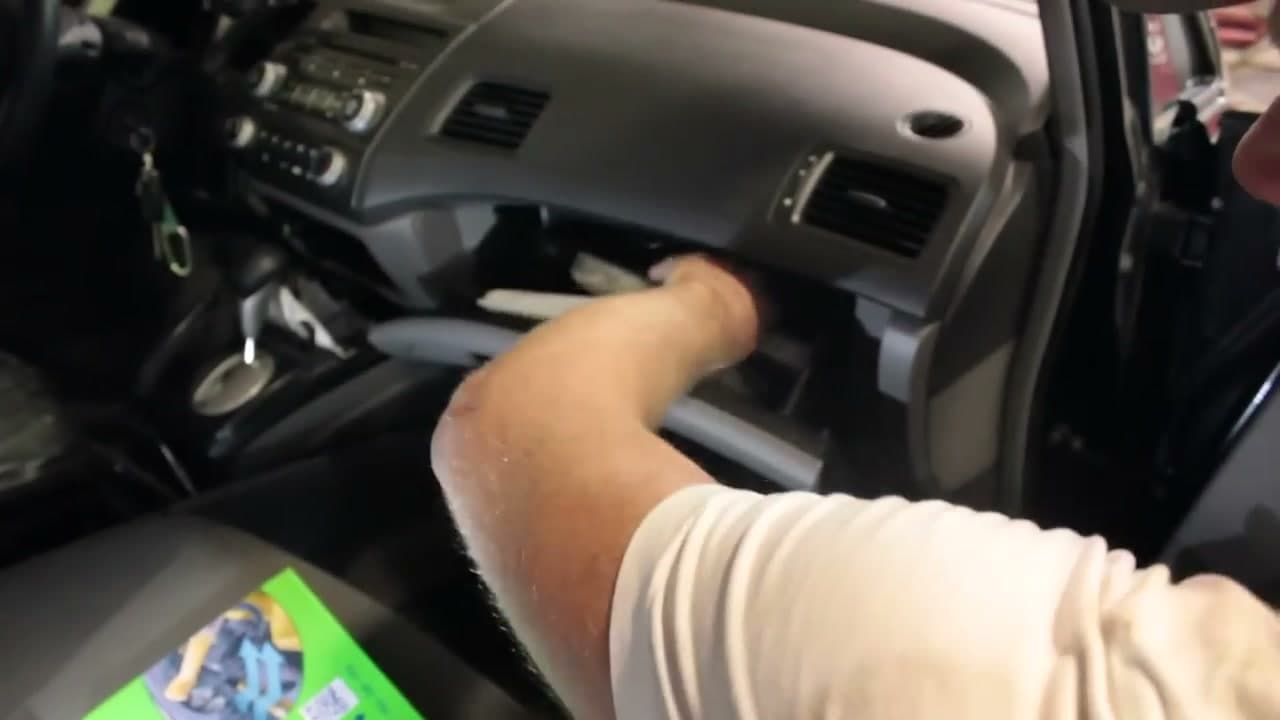
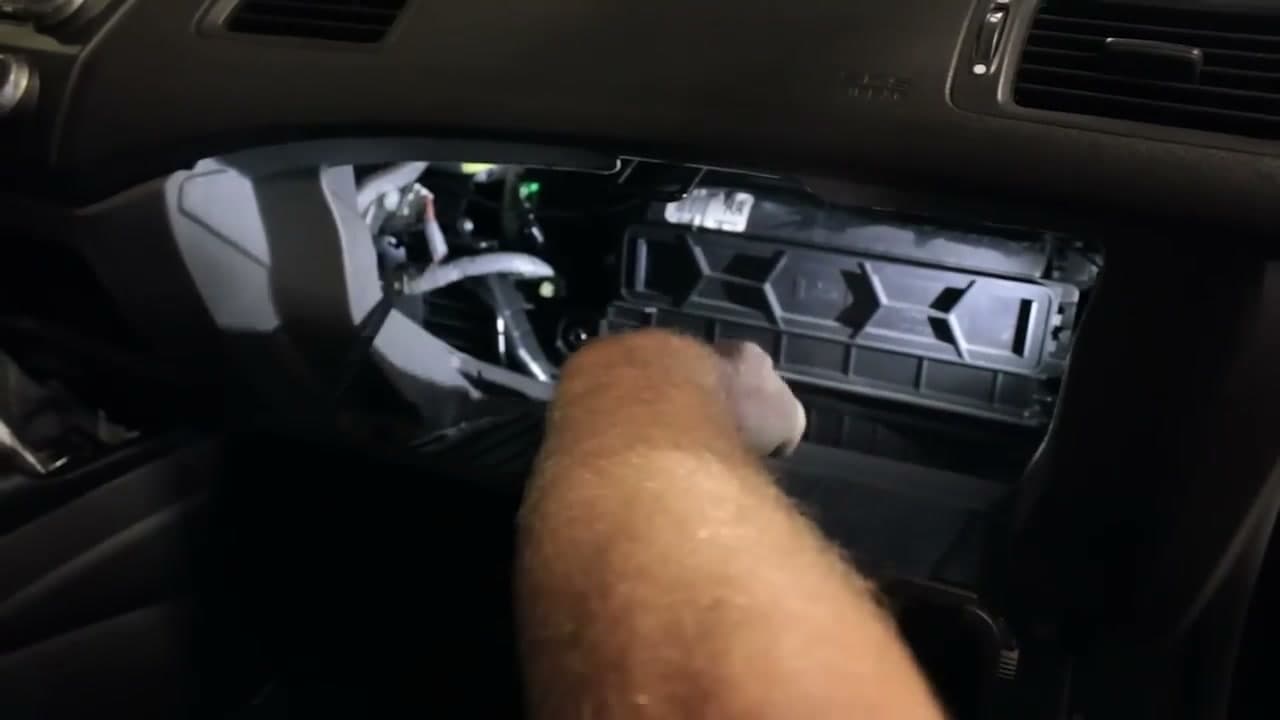
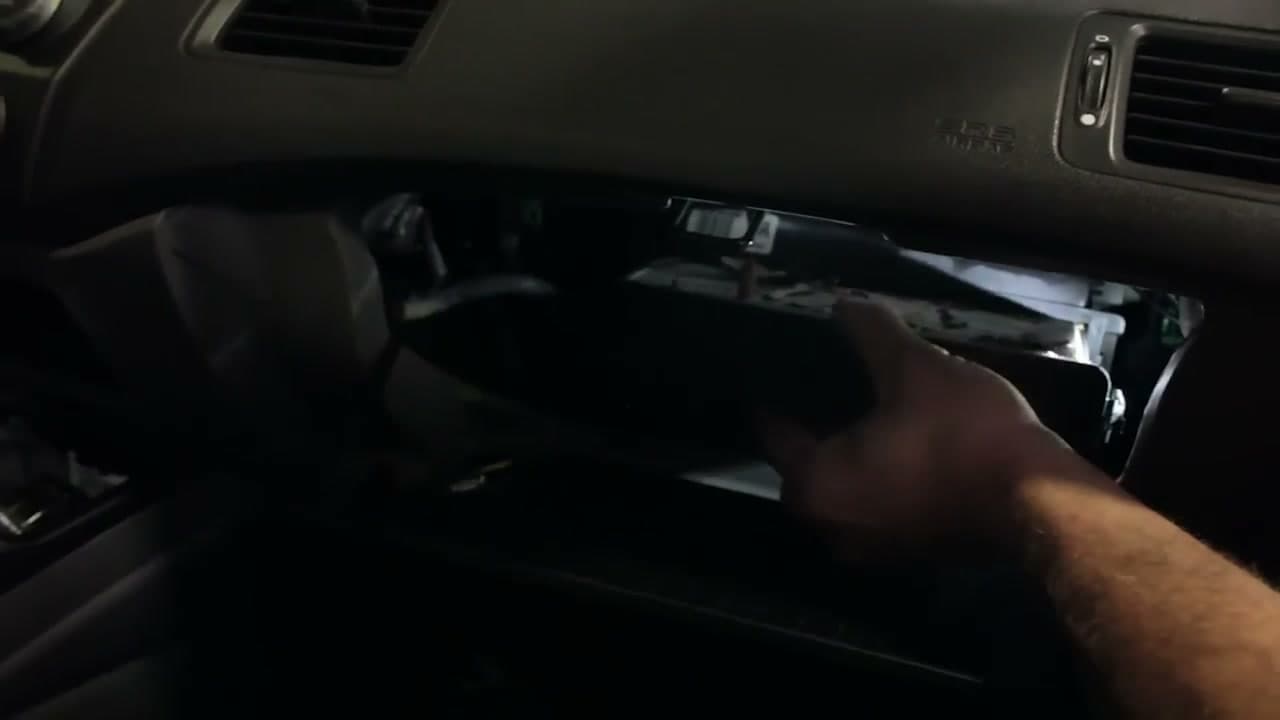
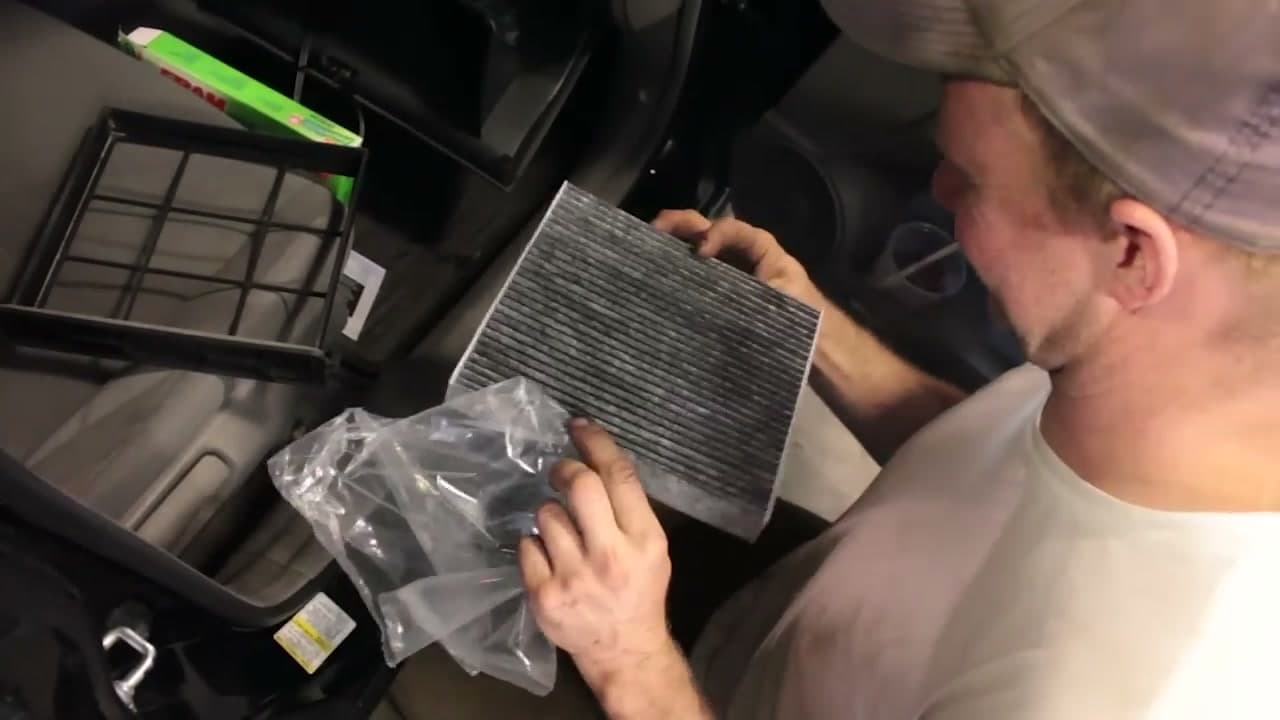
About 80% of vehicles built after the year 2000 have a cabin air filter, and on most of them it sits in a housing behind the glove box. Open your owner's manual or search 'your make and model cabin air filter location' if you are not sure. On this Honda Civic - and on most Toyota, Ford, Chevy, and Subaru models - you will see the filter housing once the glove box drops out of the way.

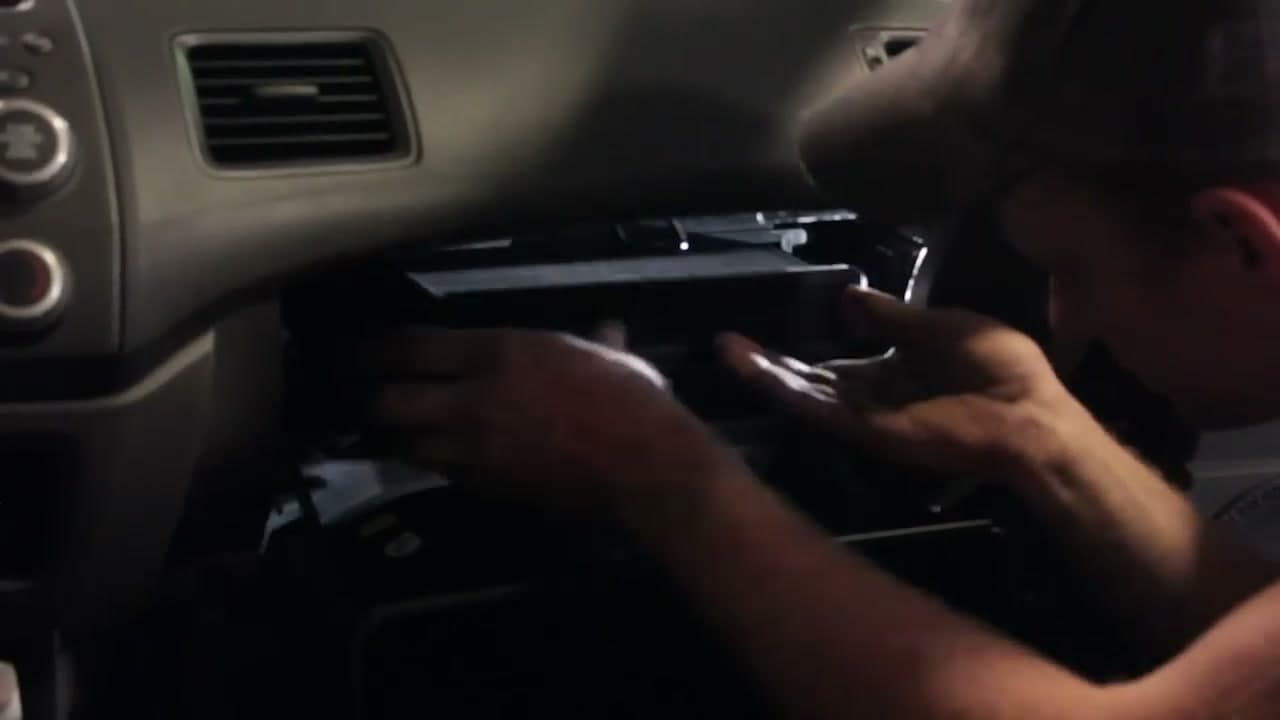
Park the car on flat ground, turn it off, and pop the glove box open. You do not need to disconnect the battery or drain any fluids for this job. The whole thing happens from the passenger seat.

Tip

If your car is older than 2000 or a stripped-down work truck, it may not have a cabin filter at all. A 30-second look at the owner's manual saves you a trip to the parts counter.

2

Step 2: Empty the Glove Box and Drop It Down

2:22
Step 2: Step 2: Empty the Glove Box and Drop It Down

Take everything out of the glove box - registration, owner's manual, napkins, all of it. An empty box is lighter and nothing falls into the dash when you swing it open. Set the contents on the passenger seat where you can put them back later.

With both hands grab the side walls of the glove box and squeeze them inward. The walls have small tabs that catch on stops on the dash. Squeezing past those tabs lets the whole glove box swing down out of the way. On some cars there is also a damper arm on the right side - pop that off its peg so the box hangs all the way open.

Tip

If the box will not drop, do not yank it. Re-check the side walls - the squeeze has to be firm enough that the tabs clear their stops. Older glove boxes get stiff, sometimes you need both thumbs flexed in hard.

Products used in this step

3

Step 3: Find the Filter Access Door and Tabs

2:40
Step 3: Step 3: Find the Filter Access Door and Tabs

Behind the open glove box you will see the cabin air filter housing. It is usually a plastic rectangle with a removable cover or two squeeze-tabs on the sides. Some models have small arrows molded into the cover showing exactly where to press.

Air flows from your dashboard ducts, through this filter, and then down to the fan below - so the housing always sits between the ductwork and the blower motor. If you see two arrow shapes pointed at each other, those are your squeeze points.

Tip

Phone-camera the housing before you open it. If anything looks different when you go to reassemble, you have a picture to reference.

4

Step 4: Squeeze the Tabs and Slide the Old Filter Out

2:47
Step 4: Step 4: Squeeze the Tabs and Slide the Old Filter Out

Pinch both side tabs inward and pull the filter holder straight toward you. The old filter and its plastic frame should slide out together as a single cassette. Go slow - dirty filters can dump a surprising amount of leaves, dust, and bug debris when they come free.

Have a trash bag or paper towel handy to catch anything that drops. Keep the filter flat so loose junk does not fall back into the housing or onto your floor mat. If yours has not been changed in years, expect a small pile of leaves.

Tip

Wear gloves if the filter looks really nasty. The mold spores and pollen trapped in an old filter can set off allergies if you handle it bare-handed.

5

Step 5: Inspect the Old Filter and Wipe the Housing Clean

3:15
Step 5: Step 5: Inspect the Old Filter and Wipe the Housing Clean

Look at the old filter side by side with the new one. If you can see solid layers of dirt, leaves, or dark grey dust, that is exactly what your passengers have been breathing. The inside of a cabin can be up to six times dirtier than the outside air, because the system recirculates everything.

Note the airflow arrow printed on the side of the old filter - you will match it on the new one in step 6. Then grab a clean rag or a small vacuum and wipe out any debris from inside the housing so the fresh filter starts in a clean pocket.

Tip

Save the old filter for two minutes before throwing it out. Looking at how filthy it was builds the habit of changing it on schedule next time.

6

Step 6: Slide In the New Filter With the Airflow Arrow Pointed Correctly

4:36
Step 6: Step 6: Slide In the New Filter With the Airflow Arrow Pointed Correctly

Pull the new filter out of the box. Look along the long edge for an arrow labeled 'Airflow'. That arrow has to point in the same direction as the arrow on the housing or the holder, which is usually downward toward the fan. Install it backwards and the filter still works, but it does not seal correctly and dirt gets past the edges.

Slide the new filter into the plastic holder, push the holder back into the housing, and feel the side tabs click home. If you do not feel a click, the holder is not seated - back it out a quarter inch and push it in firmly.

Tip

FRAM Fresh Breeze and similar premium filters have a layer of baking soda built in to neutralize odors. Worth the extra few dollars if your car has had pets, smokers, or a long-forgotten gym bag.

7

Step 7: Reseat the Glove Box and Close It Up

4:55
Step 7: Step 7: Reseat the Glove Box and Close It Up

Squeeze the glove box side walls inward again and swing the box up into place. The tabs that you squeezed past in step 2 should snap back into their stops. If you popped a damper arm off, hook it back onto its peg before closing.

Open and close the glove box once to confirm it latches cleanly and that the side walls feel firm. If it sags or the hinges feel loose, one tab is still misaligned - drop the box again and reset. Put your registration and owner's manual back inside.

Tip

If the box closes but rattles when you drive, one of the side walls did not snap fully past the stop. Pop it down and push that wall in hard until you hear two clicks.

8

Step 8: Turn the Key and Listen for a Clean Fan

5:09
Step 8: Step 8: Turn the Key and Listen for a Clean Fan

Turn the ignition to the accessory position without starting the engine, then turn the fan on at medium speed. Listen for a smooth, steady whoosh. If a stray leaf fell into the squirrel-cage fan during the swap, you will hear a rattle or click - shut the fan off and re-check inside the housing.

Once you hear a clean even sound, you are done. Mark your calendar or set a phone reminder to swap the filter every 15,000 to 30,000 miles or once a year, whichever comes first. A clean filter is the cheapest upgrade your HVAC will ever get.

Tip

While you have the engine off and the dash quiet, this is also a good time to check that the AC vents all blow with equal pressure. If one vent is weak, the duct flap behind it may be stuck - usually a separate fix but worth catching now.

Products Used

☐ The Checklist

How to Replace Your Cabin Air Filter (8 Easy Steps)

Tools
1
Materials
1
Steps
8
Video
6 min

Your Guide

DEBOSS GARAGE

As an Amazon Associate we earn from qualifying purchases. Links on this page may be affiliate links - clicking them and buying doesn't change your price, but helps support ShowMeStepByStep.

Tags

Related Tutorials

Weekly Digest

Liked this adulting tutorial?

Pick the categories you want to hear about. Weekly digest of new step-by-step tutorials. No spam, easy unsubscribe.

Send me tutorials about

We only email about new tutorials. Easy unsubscribe anytime.