The W-4 is the form your employer hands you with the new-hire paperwork to figure out how much federal income tax to pull from each paycheck. Get it right and your refund or bill at tax time stays small. Get it wrong and you either lend the IRS money interest-free all year or you owe a chunk in April plus a possible underpayment penalty.
NerdWallet's Nikita Turk does a tight 6-minute walkthrough of every section on her channel. The steps below mirror her demo, with a few extra notes on common questions (what counts as head of household, what to do if you have a side hustle, what happens if you misplace your form).
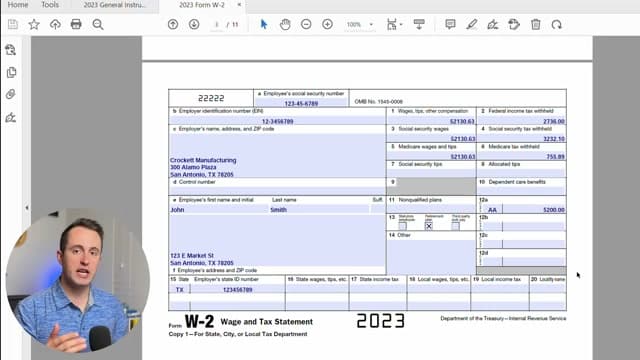
You will need a blank W-4, your Social Security card, and your filing status from last year's tax return. If you want to be precise, run the IRS Tax Withholding Estimator at irs.gov/W4App first so you have a target number for the extra withholding line. Common confusion: the W-4 is not the W-2. You fill out a W-4 when you start a job. The W-2 is what your employer mails you in January showing what you earned. If you do contract work, you fill out a W-9 instead. See our walkthroughs of filing taxes online with TurboTax, forwarding your mail when you move, and sending money with Zelle for related adulting basics.
The Five Steps on a W-4
The form has five numbered steps, and most people only have to touch two of them. Steps 1 and 5 are required for everybody. Steps 2, 3 and 4 only apply if the situation they describe is yours, and leaving them blank is a valid answer rather than a mistake.
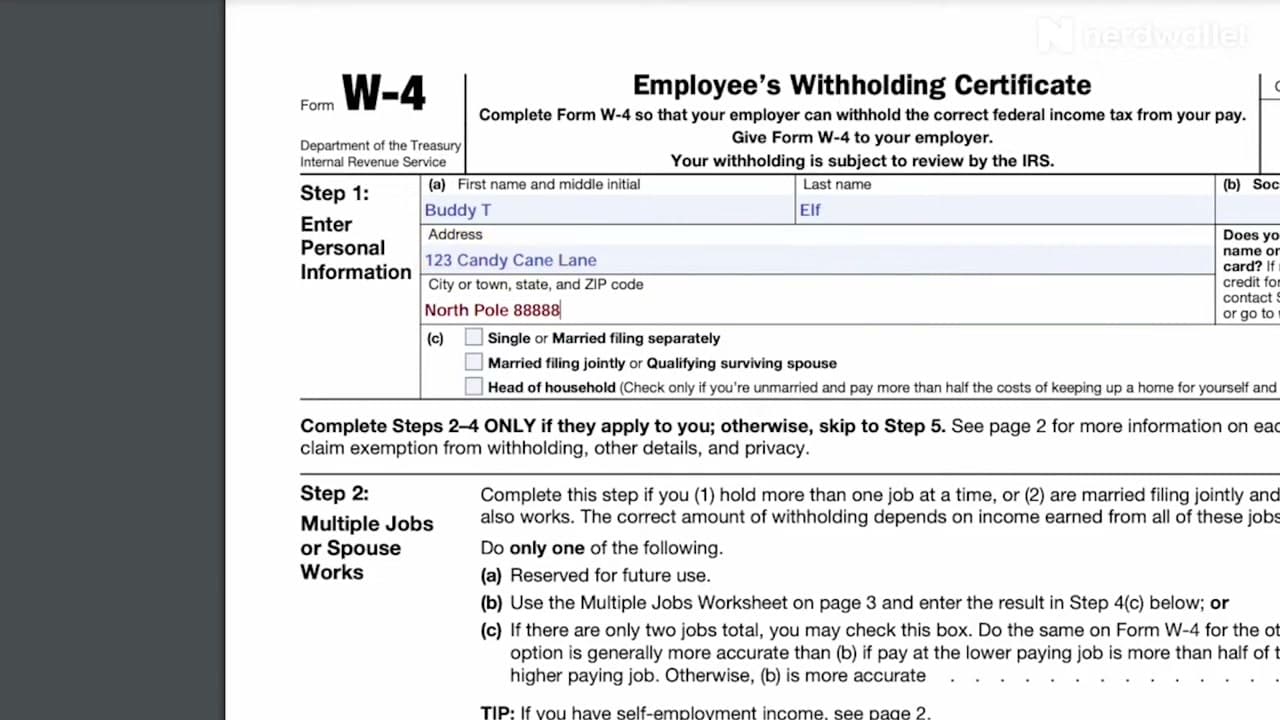
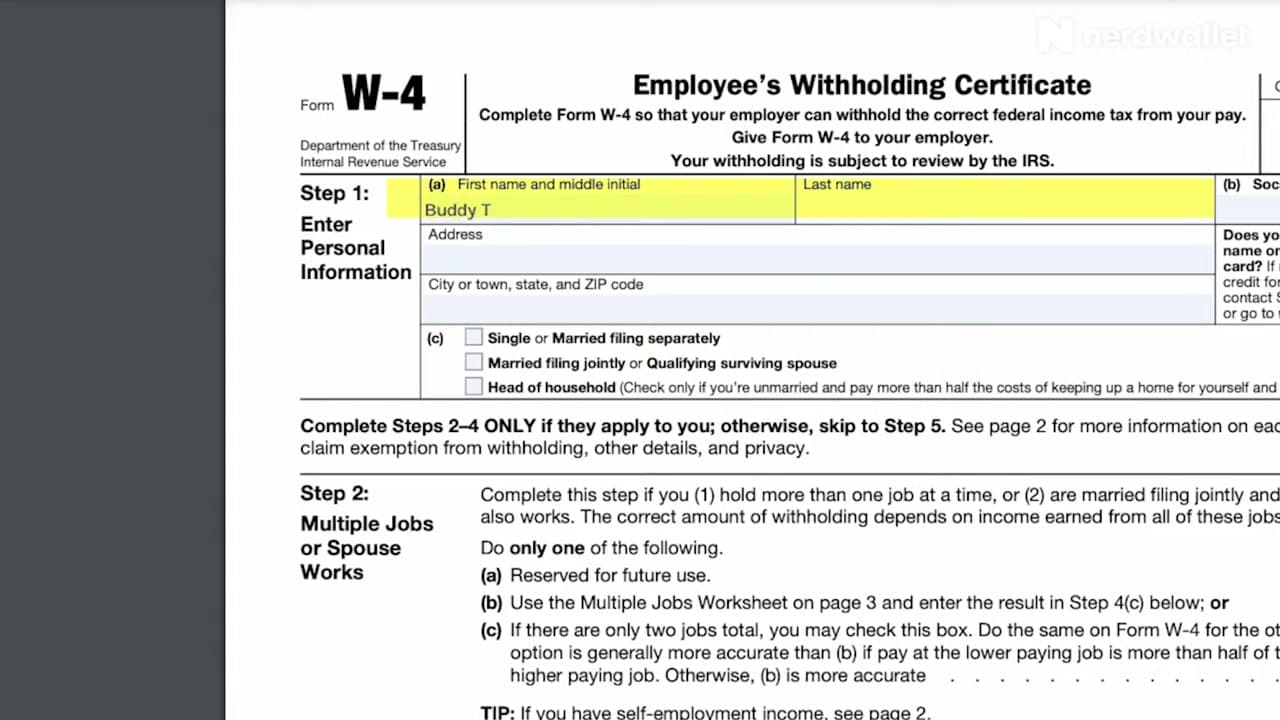
- Step 1: personal information. Name, address, Social Security number, and your filing status. The status choices are single or married filing separately, married filing jointly or qualifying surviving spouse, and head of household. Head of household is the one people get wrong: it is for someone unmarried who pays more than half the cost of keeping up a home for a qualifying person, not for anyone who happens to be the higher earner.
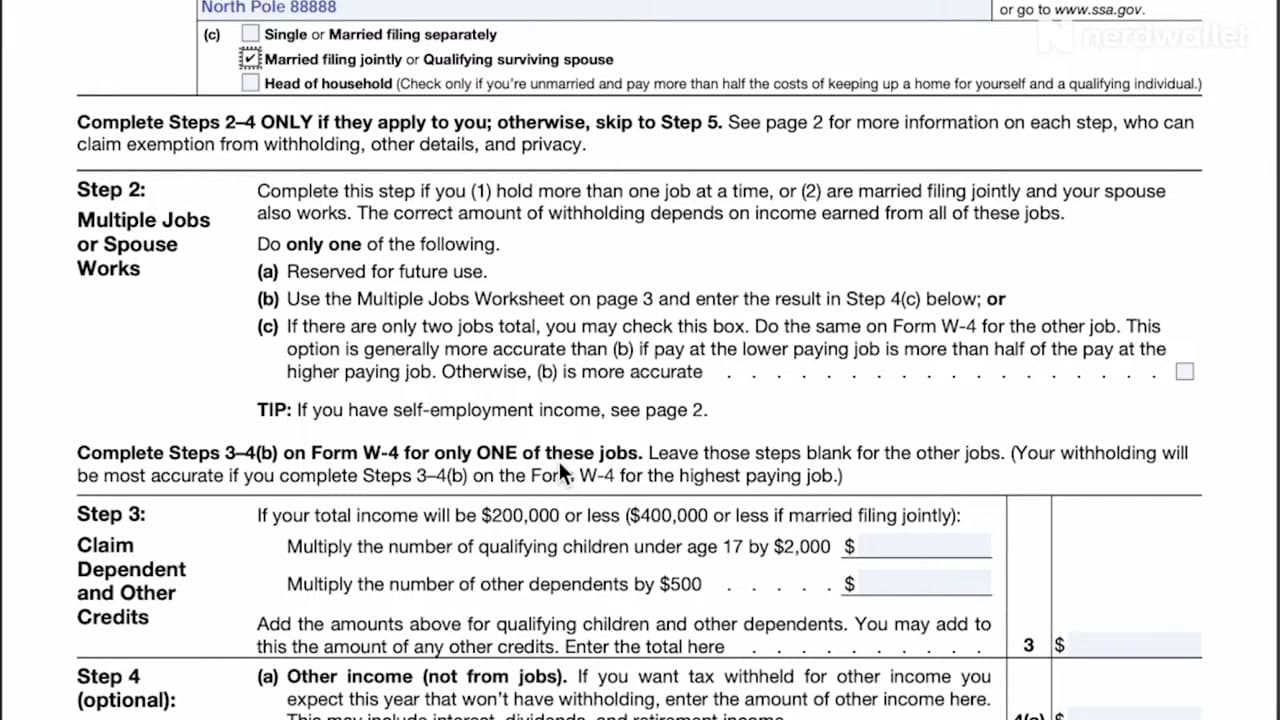
- Step 2: multiple jobs or a working spouse. Only for people holding more than one job at a time, or married filing jointly where both spouses work. Skip it if a single job is the whole picture.
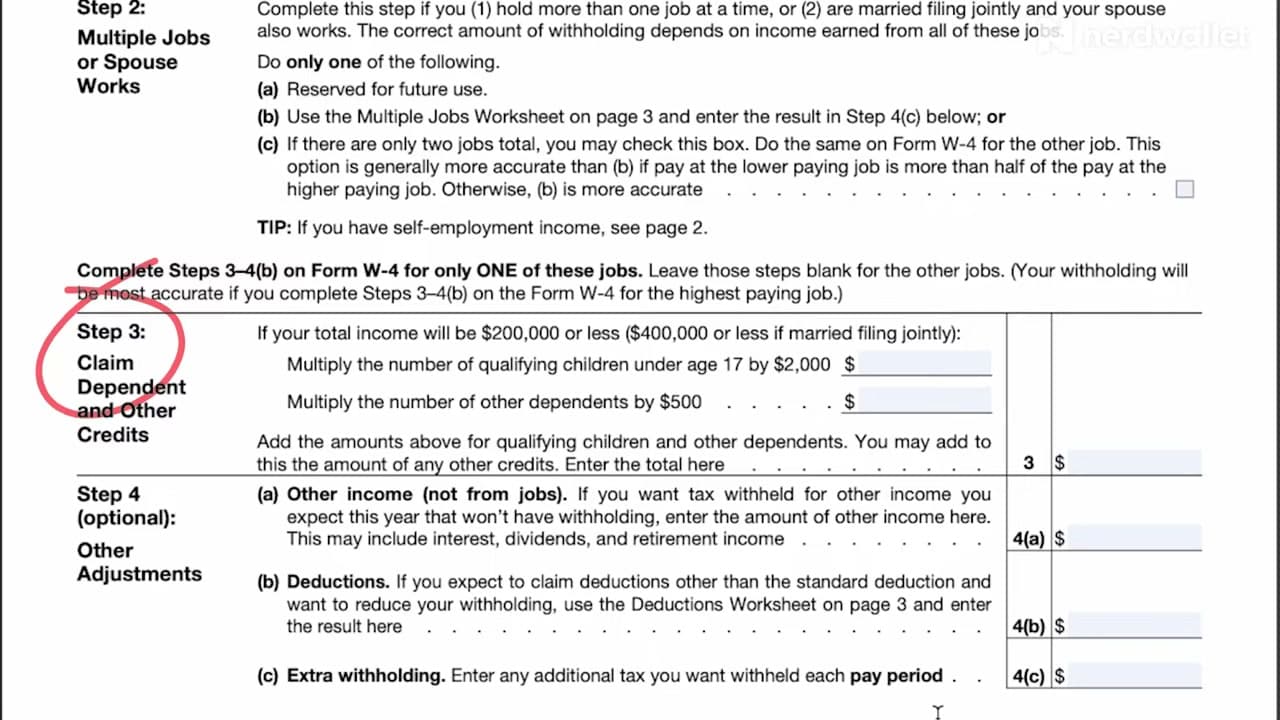
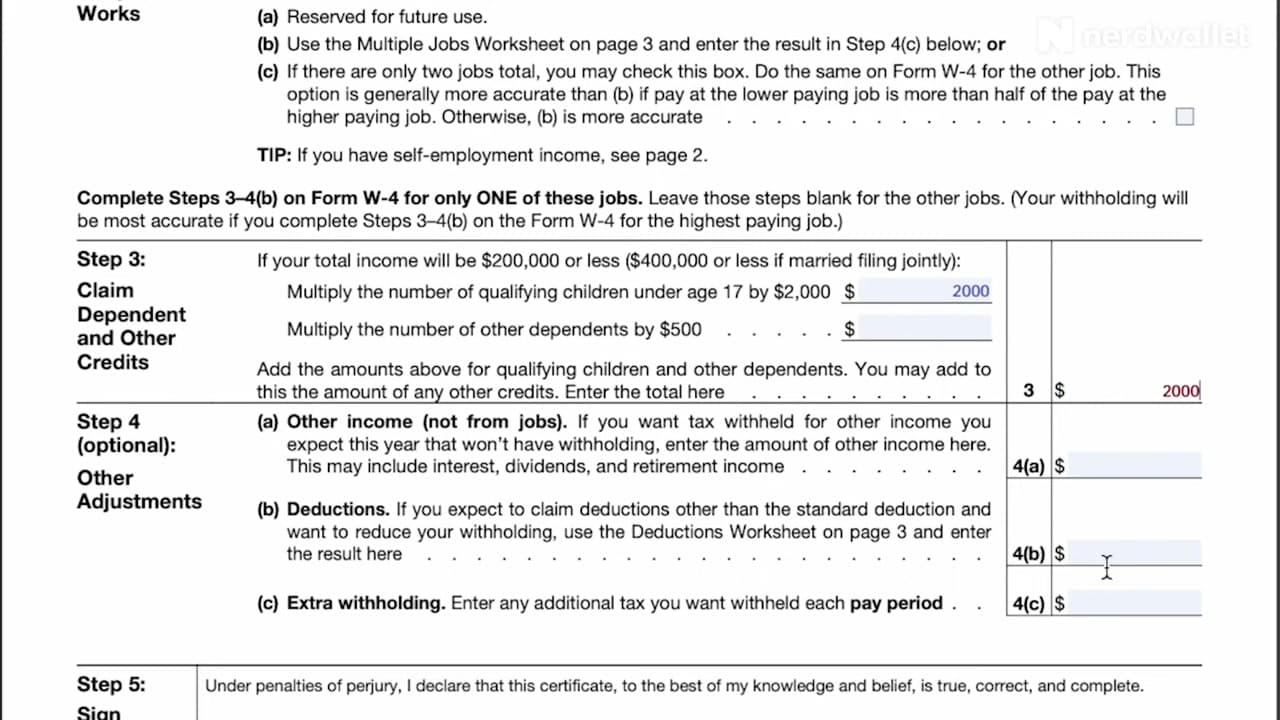
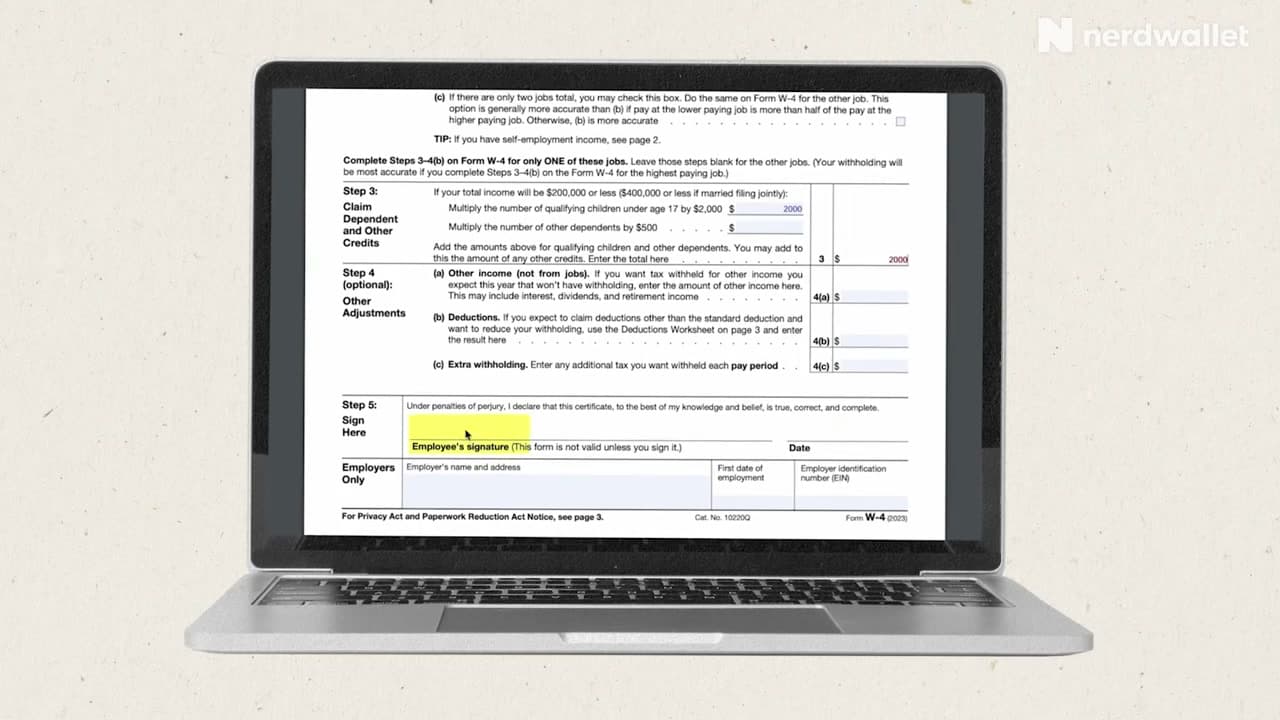
- Step 3: dependents and other credits. If you expect to earn $200,000 or less, or $400,000 or less filing jointly, multiply the number of qualifying children under 17 by $2,000, multiply any other dependents by $500, and put the total on the line.
- Step 4: other adjustments, all optional. Line 4(a) is income with no withholding of its own, like interest, dividends or retirement money. Line 4(b) is deductions beyond the standard deduction. Line 4(c) is a flat extra dollar amount you want held back from every paycheck.
- Step 5: sign and date. An unsigned W-4 is not a valid W-4, and payroll will either return it or default you to the highest withholding.
One thing worth unlearning if you have filled out a W-4 before: allowances are gone. The form was redesigned in 2020 and no longer asks how many allowances you are claiming, so advice built around "claim 1" or "claim 0" is describing a form that no longer exists.
What Is Step 2(c) on the W-4?
Step 2(c) is a single checkbox, and it is the shortcut through the most confusing part of the form. Check it when there are exactly two jobs in the household total and the two salaries are roughly similar. Both people check it, on both W-4s. That is the whole instruction.
What it does under the hood is tell payroll to withhold as though the standard deduction and tax brackets are split across two incomes rather than applied twice. Applied twice is the classic reason a two-income household gets a surprise bill in April: each employer withholds as if its salary were the only money coming in, so both under-withhold.
The tradeoff is accuracy. The checkbox assumes the two jobs pay similarly, so the further apart the two salaries are, the more approximate it gets. When one job pays much more than the other, the Multiple Jobs Worksheet on page 3 or the IRS Tax Withholding Estimator will land closer. And if you check 2(c), leave the Multiple Jobs Worksheet alone. Doing both double-counts the adjustment.
The rule that saves the most grief: complete Steps 3 and 4 on the higher-paying job's W-4 only, and leave those steps blank on the lower-paying one. Dependent credits and deductions are household totals, not per-job totals, so entering them on both forms claims them twice and under-withholds by roughly the value of the credits.
From there it comes down to how far apart the two salaries are. If they are close, both of you check the box in Step 2(c) and you are done. If one job pays considerably more, skip the checkbox and run the IRS Tax Withholding Estimator instead, then put whatever extra amount it recommends on line 4(c) of the higher earner's form.
Two situations worth flagging. If one spouse is self-employed, that income has no withholding attached to it at all, so it belongs on line 4(a) or gets handled with quarterly estimated payments rather than through anyone's W-4. And if you got married partway through the year, the withholding done under your old single status still stands for those months, which is a common reason a newly married couple lands short even after filing a correct W-4 in July.
A second W-2 job is a Step 2 problem. The employer paying less should be the one where you leave Steps 3 and 4 empty, same logic as the married case: the credits belong to you, not to each job.
A 1099 side hustle is not a W-4 problem at all, because nobody is withholding from it. There are two ways to cover it. Put the expected annual amount on line 4(a) of your main job's W-4 and let that employer withhold enough to cover both, which is the simpler route for most people. Or pay it directly as quarterly estimated tax, which is what you would do if the side income is large or arrives unevenly. Contract work also means a W-9 at the start rather than a W-4.
Common W-4 Mistakes
- Claiming dependents on both spouses' forms. The single most expensive error on this form, and the easiest to make, because each form asks the same question and neither one mentions the other.
- Treating Step 4(c) as a total rather than per paycheck. The line is extra withholding from each pay period. Someone who wants an extra $1,200 held back over the year and writes 1200 on a monthly payroll has asked for $14,400.
- Filling out a new W-4 and never handing it in. The form goes to your employer, not to the IRS. Nothing changes until payroll has it.
- Setting it once and never revisiting. Marriage, divorce, a new baby, a second job, or a spouse leaving work all change the right answer. A new W-4 can be submitted any time, as many times as you like.
- Aiming for the biggest possible refund. A large refund is money the government held all year without paying interest on it. Withholding close to the real number puts that money in your paychecks instead.
How to Check Whether Your W-4 Is Right
Wait for one or two paychecks after the new form takes effect, then compare the federal income tax withheld against what the IRS Tax Withholding Estimator projected. Payroll usually applies a new W-4 within one or two cycles, so checking the same week you hand it in tells you nothing.
The best time to run the check is early in the year, because a correction made in February spreads across the remaining paychecks while one made in November has to come out of a couple of them. Mid-year is also worth a look for anyone who started a job, left one, or had a household change since January.