How to Balance a Checkbook

BankingEasy13:255 steps
Also in:Adulting

By ShowMeStepByStepPublished Updated

Based on a video by The Rifter.

Most banks stopped mailing paper checkbook registers years ago, and most schools stopped teaching this. The result is a lot of people who don't actually know how much money they have - they check the bank app, pay something, and hope they didn't miss a pending charge.

The Rifter walks through a simple Excel-based version of the classic checkbook register. Five columns, one row per transaction, a running balance at the bottom. Same method works on paper, in a spreadsheet, or in any budgeting app. The point isn't the format - it's the habit of writing things down before they hit your account.

You'll need a register (paper, Excel, Google Sheets, anything with rows and columns), about 15 minutes to set it up, and 5 minutes a week to keep it current.

Step-by-Step Guide

1

Step 1: Set up the register columns

0:43
Step 1: Step 1: Set up the register columns

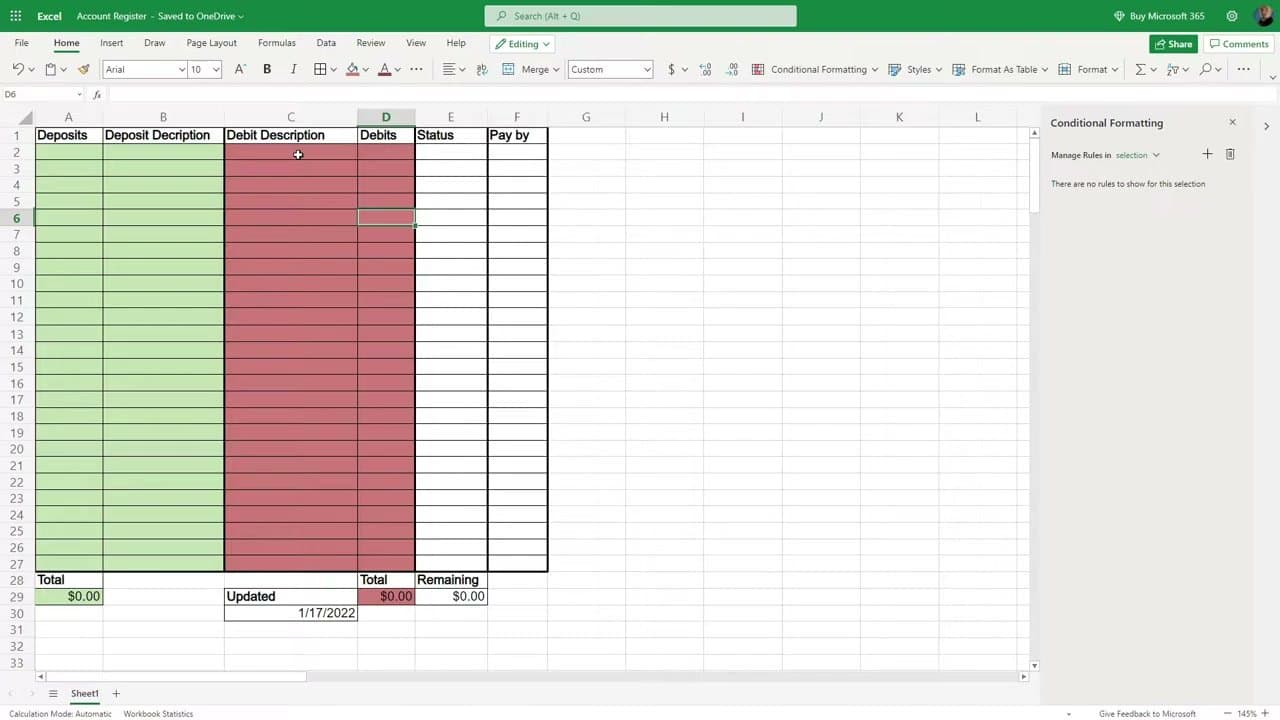
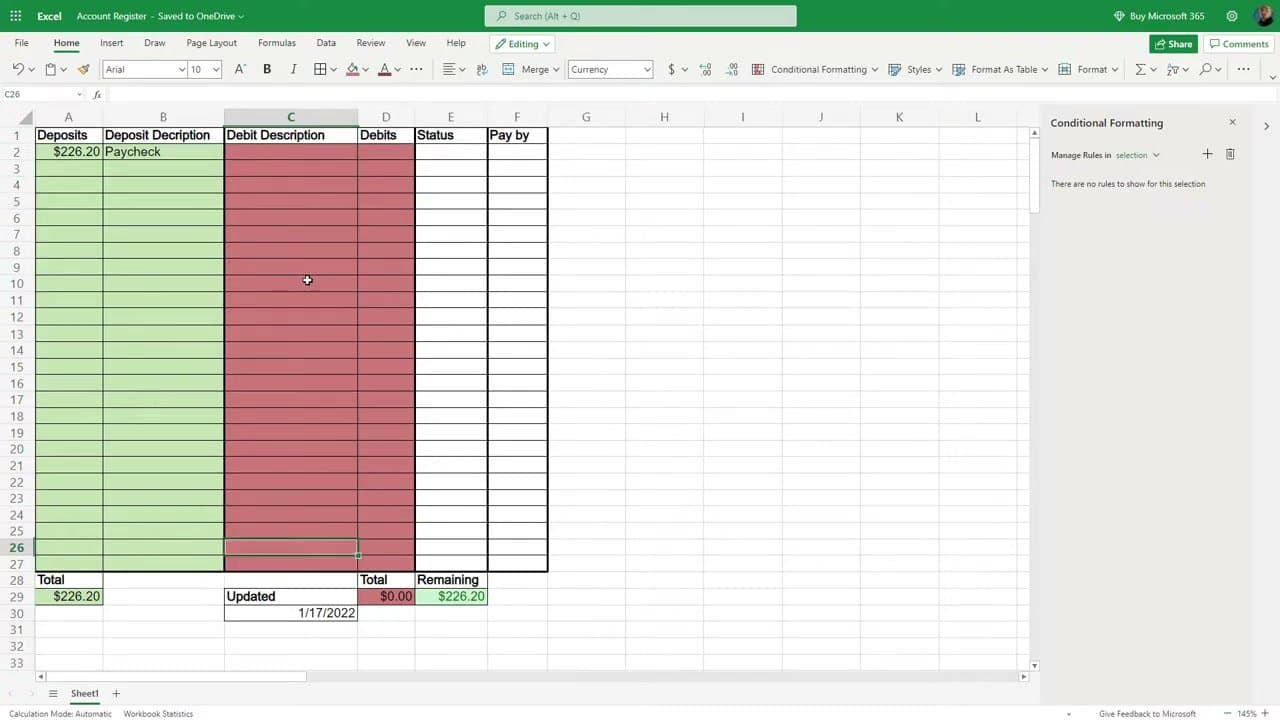
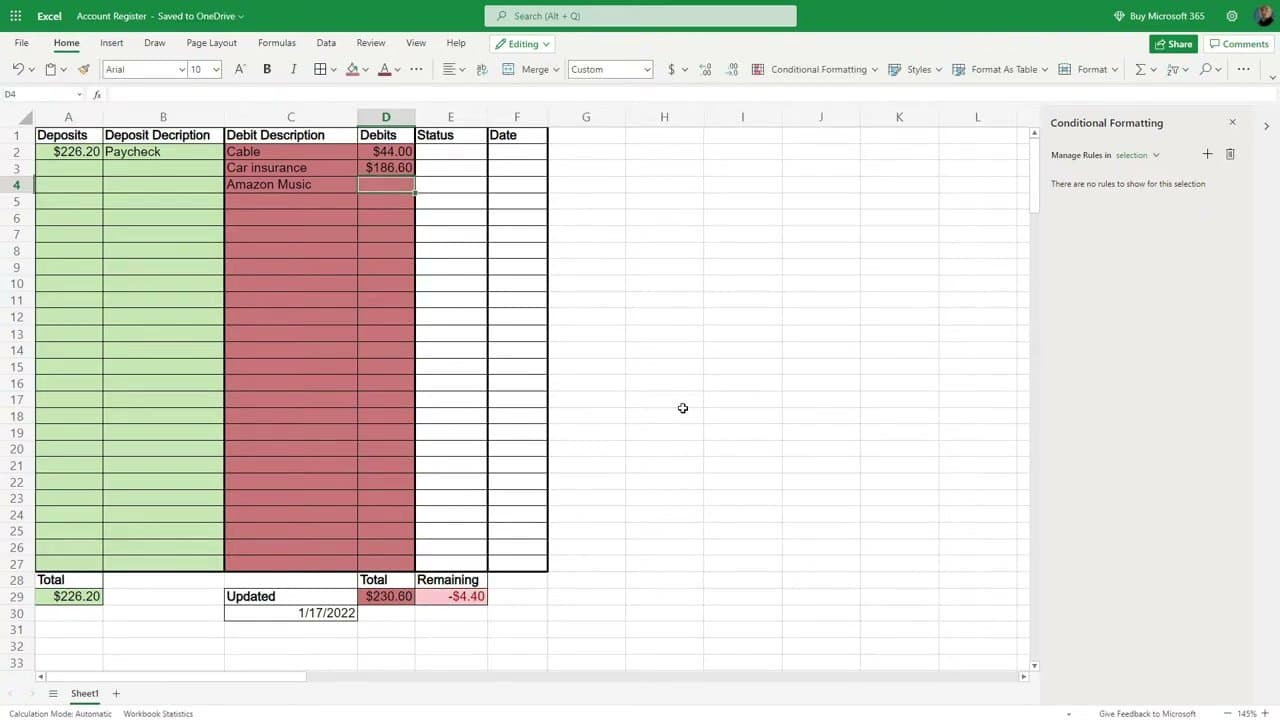
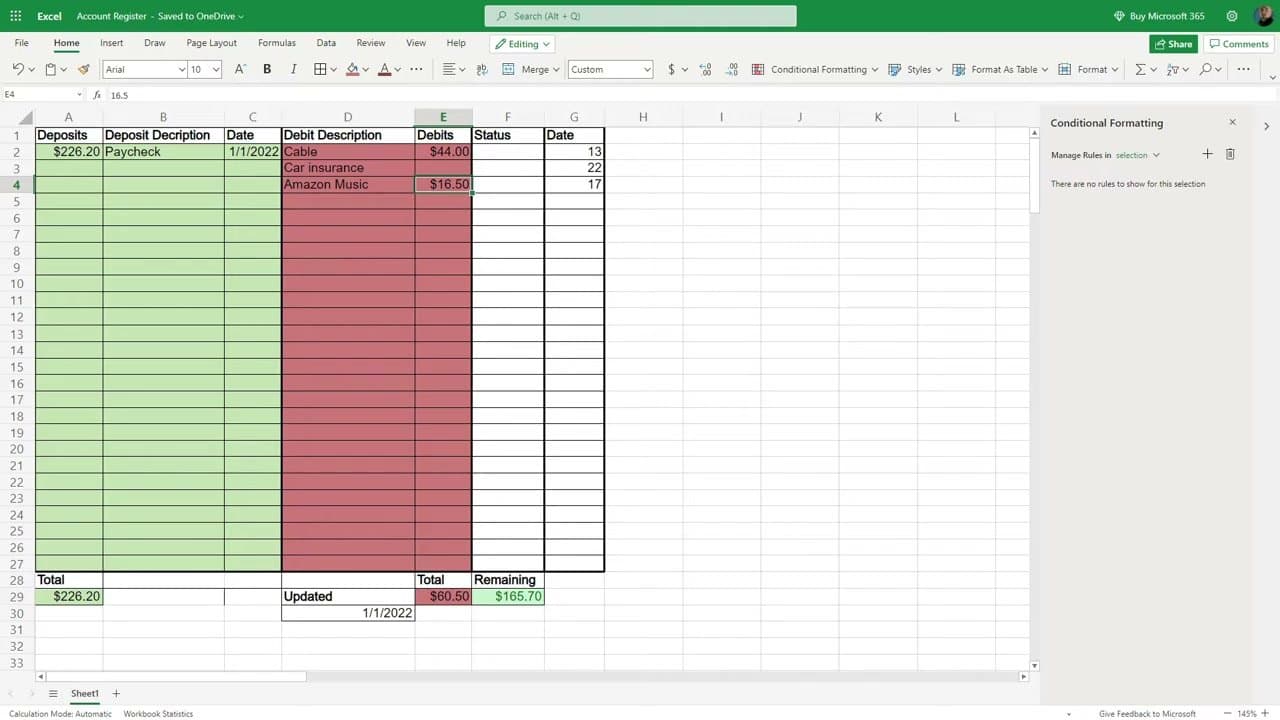
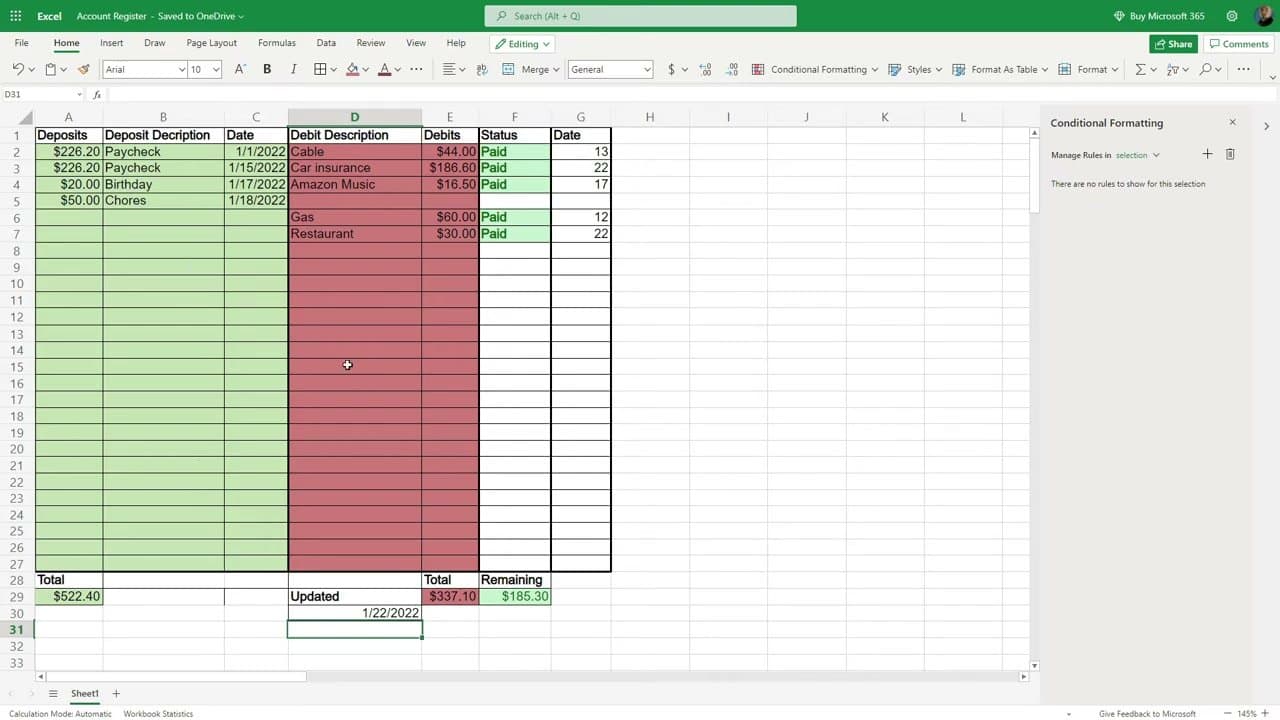
Make a row at the top with these columns: Deposits, Deposit Description, Debit Description, Debits, Status, and Date. Use a paper register if you have one, or open a fresh sheet in Excel, Google Sheets, or LibreOffice Calc.

Add two more rows at the bottom for Total deposits, Total debits, and Remaining (deposits minus debits). That total cell is what you're going to watch.

Tip

Color the deposit columns green and the debit columns red. Six months from now you'll thank yourself for the visual cue.

2

Step 2: Enter your starting balance and first paycheck

3:35
Step 2: Step 2: Enter your starting balance and first paycheck

On the next row down, enter your current bank balance as the first deposit. Label it 'Starting balance' so future-you knows where the math began.

Then add a row for your most recent paycheck. Use the after-tax (net) amount, not the gross. If you make $7.25 an hour for 20 hours, that's about $145 gross, roughly $113 after tax depending on your state. The number that hits your bank is the number that goes here.

3

Step 3: List your recurring bills with due dates

4:30
Step 3: Step 3: List your recurring bills with due dates

For each recurring bill, add a row in the debit columns: Description, amount, and due date. Cable, internet, car insurance, phone, streaming subscriptions - everything that comes out automatically.

Don't try to remember them off the top of your head. Pull up your last bank statement and copy the recurring charges over. Anything you don't recognize is a clue worth chasing down.

Tip

If a bill varies (utilities), enter the highest recent amount instead of an average. Better to overestimate and have money left than to underestimate and overdraw.

4

Step 4: Mark each bill paid as it clears

6:00
Step 4: Step 4: Mark each bill paid as it clears

When a bill actually clears your account (not just the due date - the actual clear date), update the Status column to 'Paid' and record the date.

The total at the bottom updates automatically. Watch the Remaining cell. If it goes red, you've overspent and need to either move money in or hold off on discretionary spending until the next paycheck.

Tip

Don't subtract a bill before it clears. Banks sometimes take 1-3 days to post charges, and your register has to match what the bank shows.

5

Step 5: Reconcile against your bank balance weekly

10:20
Step 5: Step 5: Reconcile against your bank balance weekly

Once a week, open your bank app and compare the actual balance to the Remaining number on your register. They should match within a few dollars (pending transactions account for the gap).

If they're off by more than that, scan the register for missed transactions, transposed digits, or charges you didn't recognize. Catching a fraudulent charge in week one is much easier than catching it in month three.

Tip

The point of this isn't perfection - it's catching surprises early. If your bank says you have $300 less than your register thinks, something is wrong, and finding out today is better than finding out at the gas pump.

Products Used

Your Guide

The Rifter

As an Amazon Associate we earn from qualifying purchases. Links on this page may be affiliate links - clicking them and buying doesn't change your price, but helps support ShowMeStepByStep.

Tags

Related Tutorials