How to Use a Router

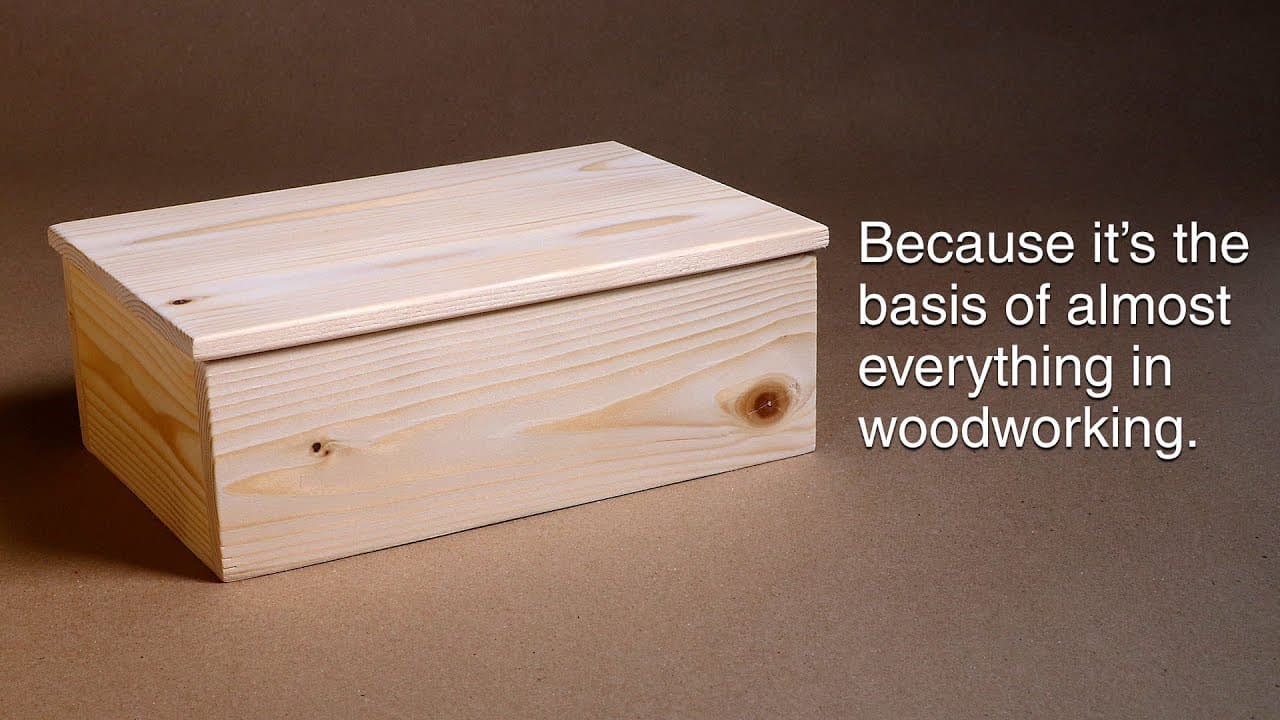
The finished result: How to Use a Router

By ShowMeStepByStepPublished Updated

Based on a video by 731 Woodworks.

A wood router is one of the most versatile power tools in any shop. You can use it to soften a sharp edge with a roundover, cut a clean groove for a T-track, copy a shape from a template with a flush-trim bit, or chop a dovetail joint. Most beginners look at the spinning bit, get nervous, and put off learning it for a year. Don't. The router is friendlier than it looks once you understand four things: which base to use, how to install the bit, which direction to feed, and how shallow to cut.

This walkthrough is built from 731 Woodworks' beginner guide. After it you'll be ready to tackle a cutting board, a wooden box, or refinishing a table with confidence.

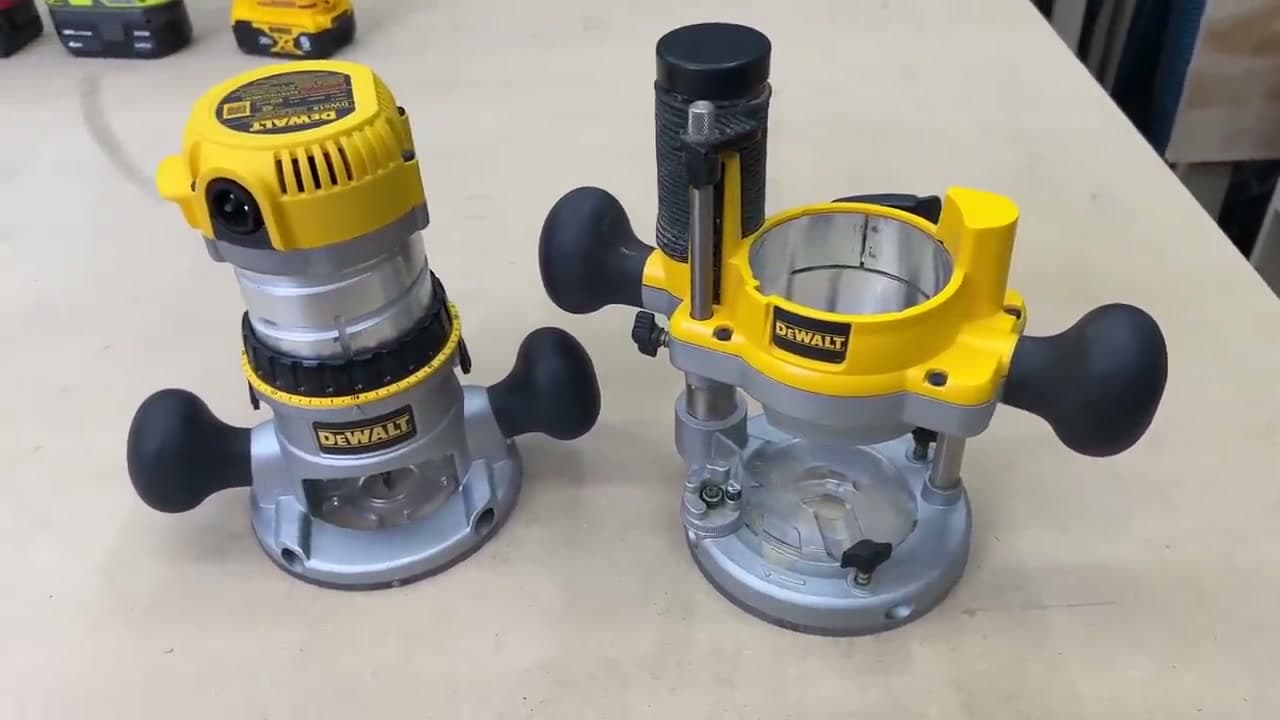
Fixed, plunge or trim router

TypeBest forTrade-off
Fixed-baseEdge profiles, router tablesCan't start a cut mid-board
PlungeGrooves, dados, mortises, stopped cutsTaller, harder to balance on an edge
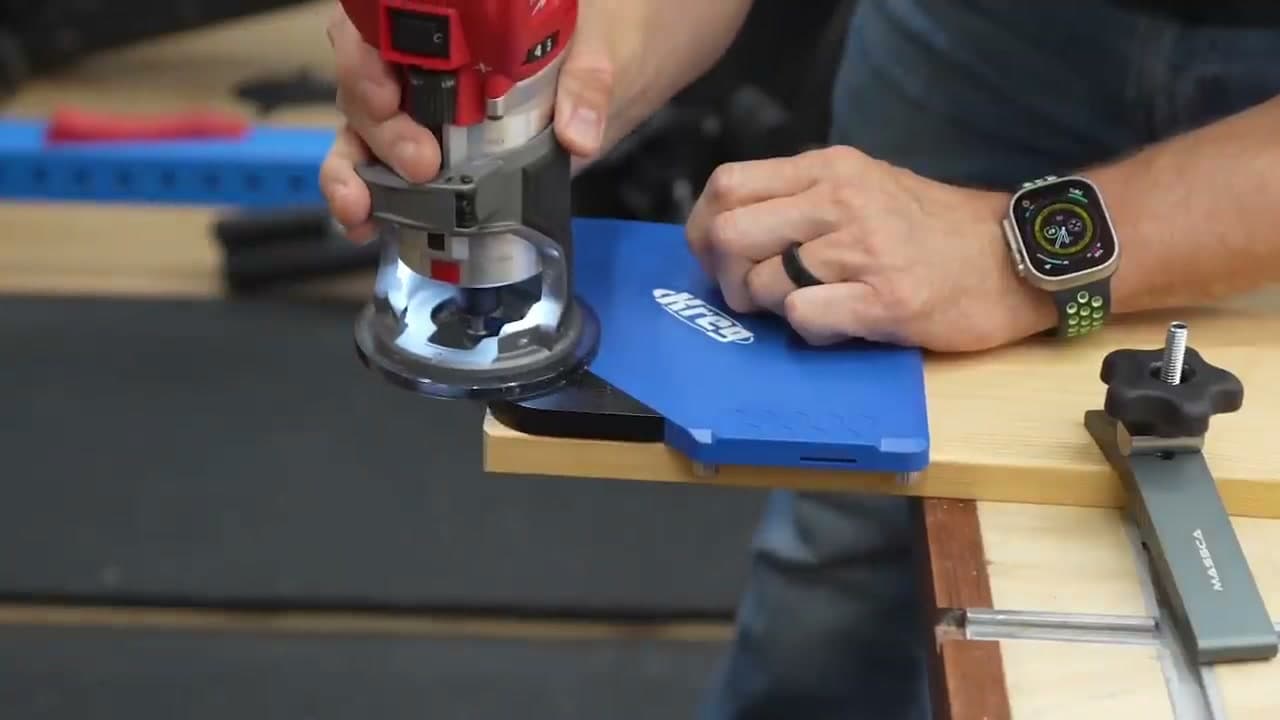
Trim (palm)Small roundovers, chamfers, flush-trimming1/4-inch shank, light cuts only

Five beginner bits and what they make

  • Straight: grooves, dados and shelf slots.
  • Roundover: soft edges on trays, tabletops and cutting boards.
  • Chamfer: a crisp 45-degree bevel along an edge.
  • Flush-trim: copies a template, or trims one surface level with another.
  • Rabbet: a stepped notch for box bottoms, back panels and frame glass.

Feed direction

Seen from above, a handheld router bit spins clockwise. Around the outside edge of a board, move counterclockwise so the bit pulls into the wood and the bearing stays tight. Inside an opening, go clockwise. On a router table the bit points up, so feed the wood right to left against the fence.

Several shallow passes

One deep pass bogs the motor and tears the wood. Around 1/8 to 1/4 inch per pass is a comfortable start in hardwood. The bit stays cool, the router stays controllable, and the last light pass leaves a clean surface.

How to avoid burn marks

Burns come from a bit rubbing instead of cutting. Keep the router moving at an even pace; pausing at a corner is the usual cause. Use a sharp, clean bit, since pitch build-up acts like a dull edge. Drop the speed for large bits. Cherry and maple scorch faster than pine.

Route end grain first

Profiling all four sides? The bit chips the corner as it leaves an end-grain edge. Do both end-grain edges first. The long-grain passes that follow cut that blowout away.

Common router mistakes

  • Bit not seated deep enough. A shallow grip lets the bit creep out or snap. Get at least three-quarters of the shank into the collet, then back it off about 1/16 inch so it isn't bottomed out.
  • Wrong direction. A climb cut makes the router run away from you and grab the grain.
  • One deep pass. Burns, tear-out and a router that fights you.
  • Starting with the bit touching. Switch on with the bit clear and let it reach speed.

Cut your parts to size first with a miter saw or a circular saw.
What you'll need

Step-by-Step Guide

8 steps · about 13 minutes.Check off each step as you go and your progress saves automatically.

1

Pick the Right Router for the Work

1:00
Step 1: Pick the Right Router for the Work - How to Use a Router

There are two router styles. A fixed-base router locks the bit at one depth and stays there - perfect for edge profiles like roundovers and chamfers. A plunge-base router rides on spring-loaded posts, so the motor can drop the spinning bit into the wood mid-cut - that's what you want for grooves, dados, mortises, and any stopped cut.

For most beginners, a combo kit that comes with both bases is the smartest buy. You swap the motor between bases in about ten seconds and cover every job. Small trim routers (also called palm routers) like the Makita 1 HP are great for edge work but stop short of bigger jobs. Whatever you pick, get variable speed. You'll need to slow down for large bits.

Tip

Already on a battery platform? A brushless cordless trim router in that battery lineup is the cleanest pickup - no cord catching on your work and longer runtime than older brushed motors.

2

Set Up the Plunge Depth Before You Cut

2:05
Step 2: Set Up the Plunge Depth Before You Cut - How to Use a Router

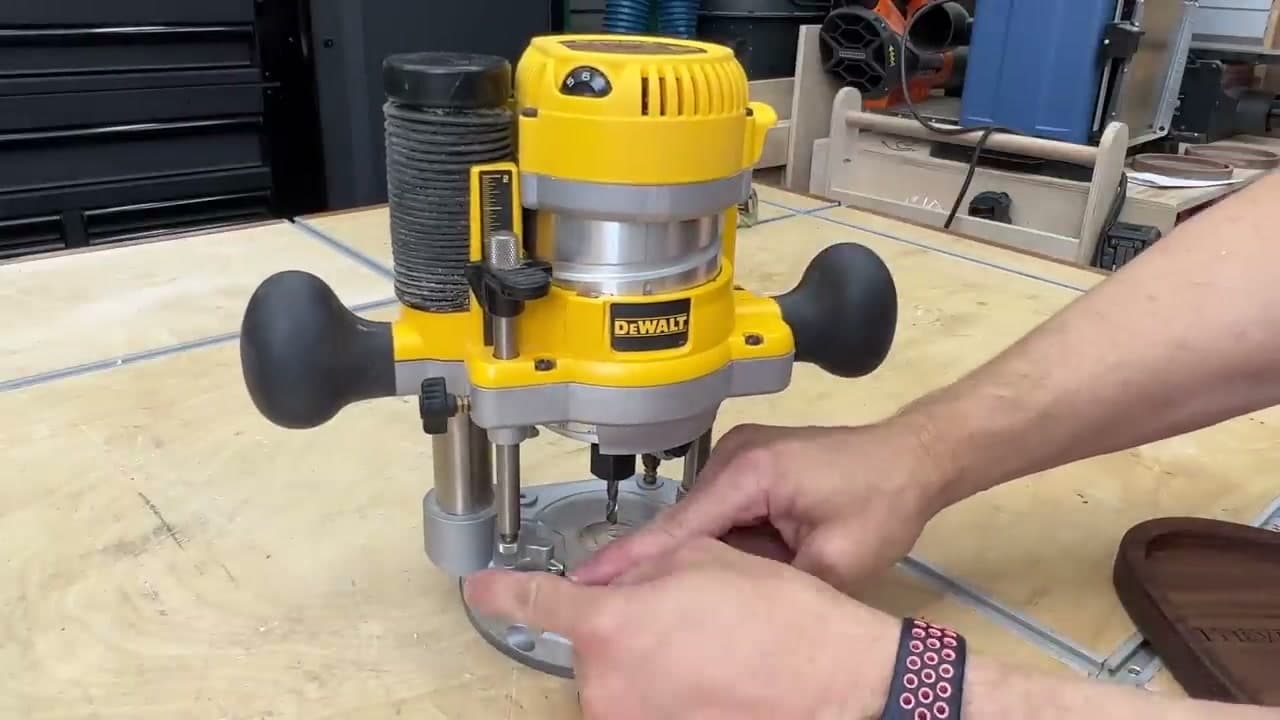
A plunge router's depth stop is the system that keeps you from going too deep. Set the bit just kissing the surface of your wood, lock the depth-stop pin on the side, and turn the three-position turret to its highest setting. That's now your starting depth.

Each click of the turret drops you a quarter inch. So instead of plowing through in one pass, you take three shallow passes - top, middle, full depth - and the bit cuts cleaner, the wood doesn't tear out, and you don't bog the motor down. For micro-adjustments smaller than a quarter inch, use the flat-head screw on the depth rod to dial in the last sixteenth.

Tip

Shallow passes are the difference between a clean groove and a splintered mess. The deeper the cut, the more lateral force the bit takes, and a router bit that wants to wander is how beginners get hurt.

3

Install the Bit and Tighten the Collet

9:15
Step 3: Install the Bit and Tighten the Collet - How to Use a Router

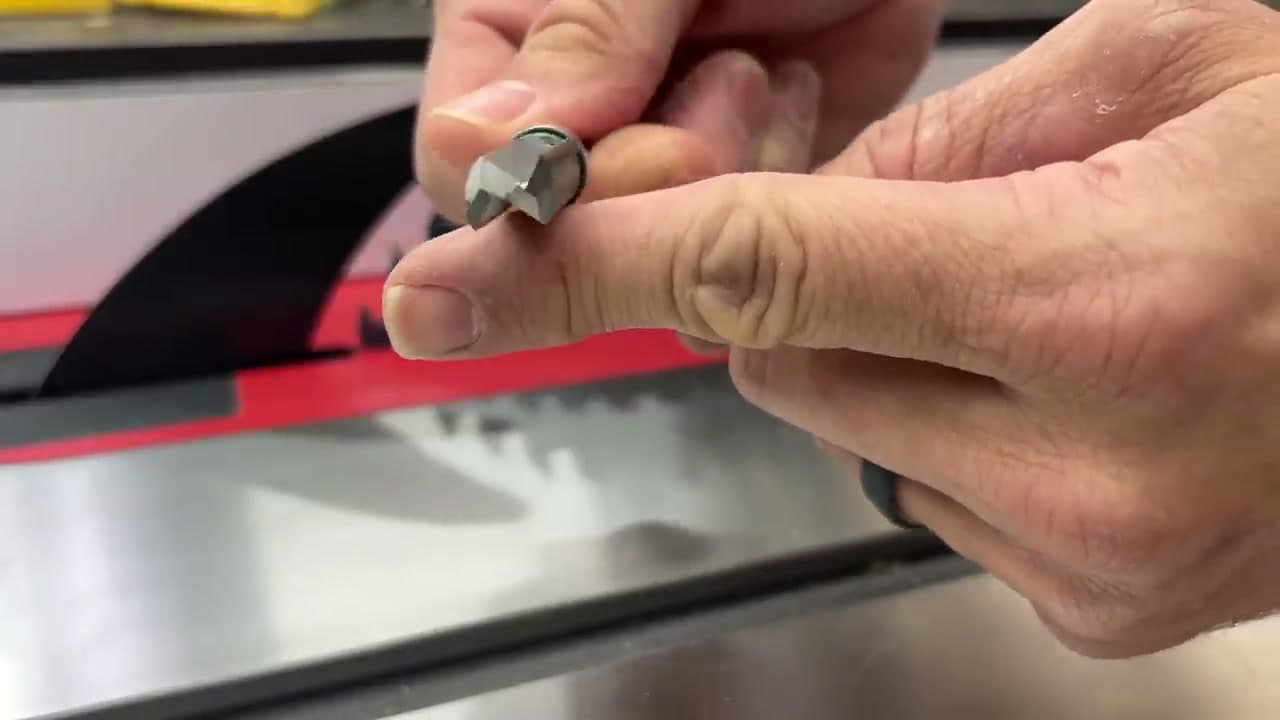
Unplug the router or pull the battery before you change a bit. Slide the bit into the collet leaving about a quarter to a half inch of shank exposed - don't bottom it out, that can damage the bit when it's tightened. Press the spindle-lock button (or hold the spindle with a second wrench) and tighten the collet nut with the supplied wrench until it's firmly snug. You don't need gorilla strength.

Router bits come in two shank sizes: 1/4 inch and 1/2 inch. Many combo kits like the DeWalt include interchangeable collets so you can run either. Whenever a router supports 1/2-inch bits, buy the 1/2-inch version - the bigger shank vibrates less, deflects less under load, and leaves a cleaner cut.

Tip

The on-screen text in this clip is the rule: take the battery out or unplug the router before swapping bits. A router that turns on while your fingers are on the bit is the single fastest way to lose a fingertip.

4

Adjust the Bit Height for Edge Profiles

7:40
Step 4: Adjust the Bit Height for Edge Profiles - How to Use a Router

For roundovers and chamfers, height matters as much as direction. Most fixed-base routers adjust with a twisting ring at the base or a gear-driven thumb knob. Drop the bit too far past the base and you'll cut a flat shoulder into the edge. Don't drop it enough and the profile looks weak.

The rule: start with the bit sticking past the base, then dial it up until the flat reference shoulder of the bit is just below the wood's top surface. Lock it down, run a test pass on scrap, and check the edge. If you see a tiny ledge, raise the bit a hair. If the profile feels small, lower it. Five minutes of test cuts saves you from ruining the real piece.

Tip

1/8-inch and 3/8-inch roundover bits feel similar in the package but give very different results. The 1/8 is a soft 'broken' edge - barely there. The 3/8 is a beefy curve you can feel. Get one of each.

5

Learn the Five Bits Every Beginner Needs

6:05
Step 5: Learn the Five Bits Every Beginner Needs - How to Use a Router

Five bits will handle 90% of what you build in your first year of woodworking. A 45-degree chamfer bit cuts a clean angled edge. A 1/8-inch roundover softens a sharp edge to a barely-there break. A 3/8-inch roundover gives a much bigger curve - the kind you feel on a tray or cutting board.

A flush-trim bit (with the bearing on top of the cutter) rides against a template so you can copy a shape over and over - this is the bit that lets you make ten identical cutting boards or trace the curve of a radius jig. Add a straight bit for grooves, dados, and T-track slots, and a dovetail bit if you start building jigs or drawer joints. A solid starter set like the Whiteside 5-bit pack runs about $100.

Tip

Buy carbide-tipped bits, not high-speed steel. Carbide stays sharp 5 to 10 times longer in hardwood and won't burn when you slow down.

6

Route in the Correct Direction (Push Cut, Not Climb Cut)

4:28
Step 6: Route in the Correct Direction (Push Cut, Not Climb Cut) - How to Use a Router

A router bit cuts the same way a table saw blade cuts - by spinning into the wood as you feed the wood into the teeth. Look down at the router from above and the bit spins clockwise. That means the bit wants to push the router to the left as it cuts. Your job is to feed the router in the opposite direction so it pulls itself into the wood, not away from it.

The rule for the outside of any rectangular project (trays, cutting boards, picture frames): go counterclockwise around the piece. On the inside of an opening or pocket: go clockwise. Anything else is called a climb cut - the router runs away from you and the bit grabs the grain. It's intentional only in rare cases where you're rescuing tear-out on tricky figured wood, and even then with great care.

Tip

The first time you start a cut, you'll feel the router try to walk sideways. That's the bit grabbing the wood. Brace your forearms against the workbench and let the body do the holding, not your wrists.

7

Add the Edge Guide for Grooves and Parallel Cuts

3:50
Step 7: Add the Edge Guide for Grooves and Parallel Cuts - How to Use a Router

An edge guide is two rods that thread into the router base and ride against the side of the workpiece. It keeps the bit a fixed distance from the edge for the entire length of the cut - no clamping a fence to the board, no fighting to keep the router parallel. Most routers either include one or sell one as a $30 accessory. Get it. You'll use it every week.

Loosen the thumb screws, slide the guide so the bit sits exactly where you want the groove, snug it down, and run the cut. It's perfect for T-track channels, stopped grooves in a shelf side, hinge mortises in a door, and any time you'd otherwise clamp a straightedge to the work.

Tip

The edge guide rides best on a clean, straight edge. If your board has a wavy edge from rough lumber, joint it flat first or clamp a sacrificial straightedge along the side.

8

Decide If You Need a Router Table

11:35
Step 8: Decide If You Need a Router Table - How to Use a Router

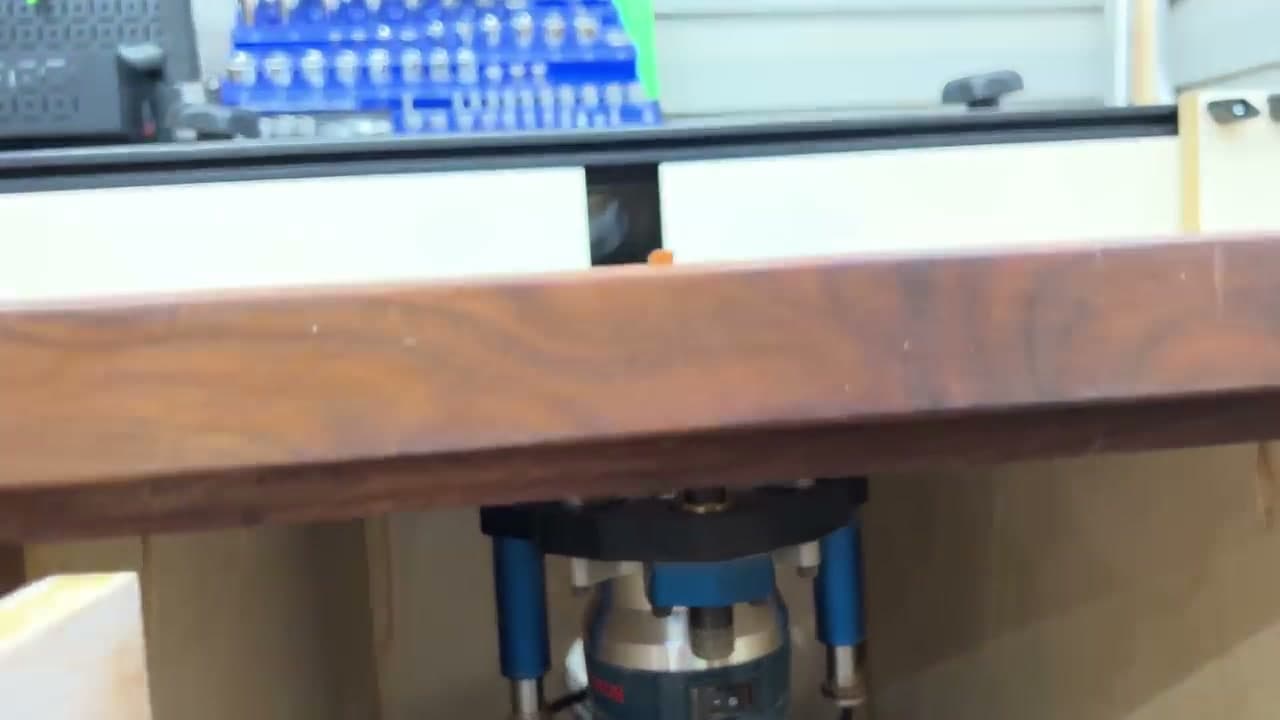
A router table flips the workflow upside down. You mount the router under a flat work surface, the bit sticks up through a hole, and you move the wood instead of moving the router. That's safer and more accurate for small parts like picture frames, narrow boards, trays, and edge profiles on cutting boards - anything where balancing a handheld router on a thin edge feels sketchy.

You also get a fence for grooves and dados, stop blocks for repeating the same cut on multiple pieces, and dramatically better dust collection than handheld routing. A basic combo like the Skil router-and-table kit runs around $200 and makes a beginner shop noticeably more capable. Whatever you're routing - on the bench or on a table - wear safety glasses and hearing protection every time. Routers are loud and they throw chips fast.

Tip

You don't have to buy a fancy router table. A flat piece of MDF with a router mounted underneath and a straight board as a fence will get you 80% of the way there for the cost of a few screws.

Keep going

How to Wood Burn

Products Used

The Checklist

How to Use a Router

Tools
12
Materials
2
Steps
8
Video
13 min

Tools we recommend

Your Guide

731 Woodworks

As an Amazon Associate we earn from qualifying purchases. Links on this page may be affiliate links - clicking them and buying doesn't change your price, but helps support ShowMeStepByStep.

Tags

Sunday How-To

New woodworking crafts tutorials, every Sunday

One short email with the week's best step-by-step guides. Free, no spam, unsubscribe anytime.

Test your knowledge

Did the lesson stick? Start with this one.

5 questions covering what you just read. No signup, no score saved, and you can stop after this one.

Question 1 of 5

What's the difference between a fixed-base and a plunge-base router?

Quick reference

Key takeaways from How to Use a Router

5 questions, answers, and one-line explanations. Tap to expand.

  1. 1.What's the difference between a fixed-base and a plunge-base router?

    Answer: Fixed locks the bit at one depth; plunge can drop the spinning bit into the wood mid-cut

    Fixed = edge profiles like roundovers and chamfers; plunge = grooves, dados, mortises, and stopped cuts.

  2. 2.Why take multiple shallow passes instead of one full-depth pass?

    Answer: Cleaner cuts, less tear-out, and doesn't bog down the motor

    Three shallow passes beat one deep one for finish quality and bit life.

  3. 3.Before changing a router bit, what's the FIRST safety step?

    Answer: Unplug the router or pull the battery

    Power off and disconnect before any bit change - no exceptions.

  4. 4.When routing the OUTSIDE of a rectangular project, which direction do you go?

    Answer: Counterclockwise around the piece

    Outside counterclockwise, inside clockwise - the bit pulls into the wood instead of running away.

  5. 5.What's a 'climb cut'?

    Answer: Running the router in the WRONG direction - causes it to run away from you and grab the wood

    Climb cuts pull the router away and can launch the wood - dangerous; avoid unless skilled.

Did this work for you?

What's next

Related collections

Curated theme pages that include this tutorial.

Weekly Digest

Liked this woodworking crafts tutorial?

Pick the categories you want to hear about. Weekly digest of new step-by-step tutorials. No spam, easy unsubscribe.

Send me tutorials about

We only email about new tutorials. Easy unsubscribe anytime.