How to Use a Drill

The finished result: How to Use a Drill

By ShowMeStepByStepPublished Updated

Based on a video by seejanedrill.

If one power tool belongs in every home, it's a drill. You'll use it to hang a picture, fix a wobbly chair, mount a curtain rod, build a shelf, or put together flat-pack furniture without stripping a screw. The first time you pick one up, the chuck, the direction button and the clutch numbers look like a puzzle. They're not. A drill is four parts working together, and once you can name them, the tool makes sense.

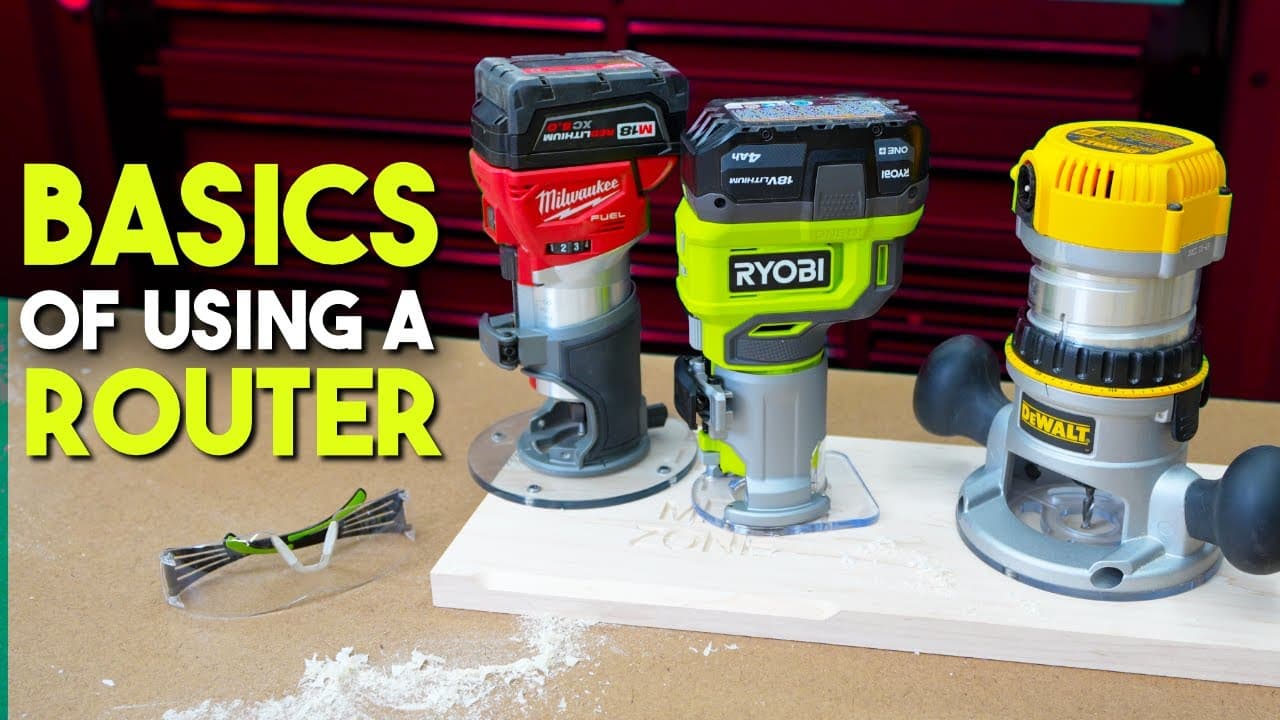
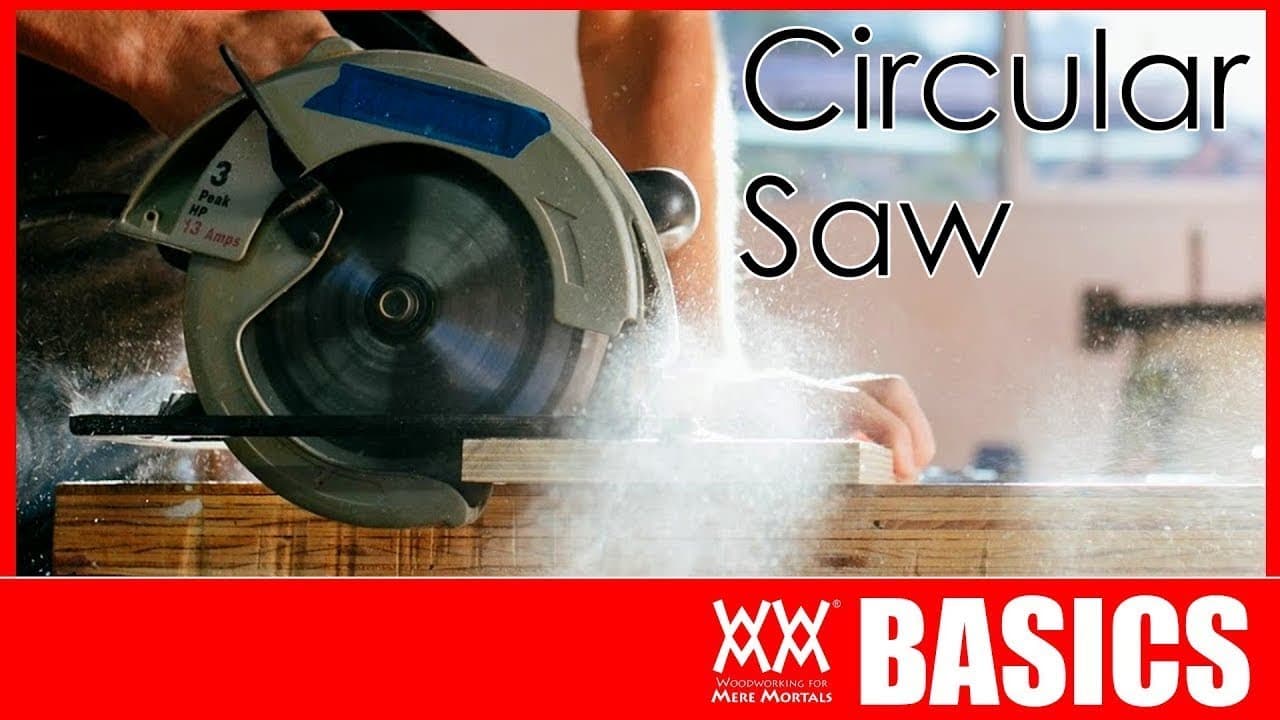
This walkthrough is built from Leah Bolden's See Jane Drill beginner video. She shows both styles - the cordless battery drill you'll grab most of the time, and the heavier corded drill for big jobs. When you're comfortable here, move on to a circular saw for straight cuts, or a router when you want shaped edges.

Drill or impact driver?

A drill spins smoothly, which is what you want for clean holes and for screws that need a light touch. An impact driver looks similar but hammers in short rotational bursts. It sinks long screws with almost no effort and only takes 1/4-inch hex-shank bits. Own one tool? Make it the drill. It drills and drives. The impact driver is the second purchase.

The clutch numbers and drill mode

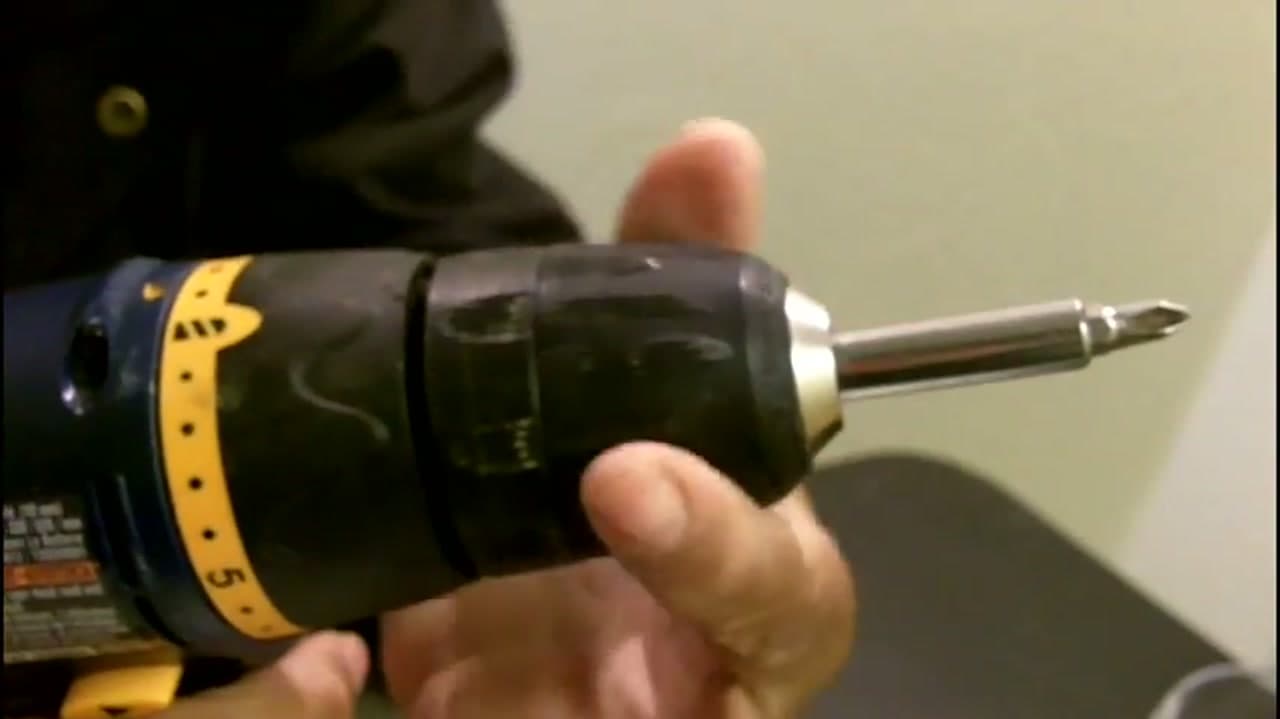
The numbered ring behind the chuck is the clutch. It sets how much twisting force the drill delivers before it slips with a clicking sound. Low numbers stop early, so a small screw doesn't sink too deep or snap. Start low when driving screws and turn it up a click at a time until the head sits flush.

The drill-bit icon at the end of the ring bypasses the clutch. Use it for holes. A hammer icon means hammer mode, which is for masonry only.

Which bit for which material

BitUse it for
TwistGeneral holes in wood, plastic and thin metal
Brad-pointClean, exact holes in wood
SpadeFast, rough wood holes from 1/2 inch up
MasonryBrick, block and concrete
Hole sawBig round holes, like a doorknob bore

Pilot holes and why wood splits

A screw pushes wood fibers apart as it goes in. Near the end of a board, or in hardwood, they have nowhere to go and the board cracks. A pilot hole clears the way. Match the bit to the solid core of the screw, not the threads: hold the bit in front of the screw and you should still see threads on both sides. Oak and maple always get a pilot.

Drilling straight, and other materials

Judging 90 degrees by eye is hard. Stand a speed square or a square scrap block beside the bit and line the drill up with its edge. Clamp a scrap board behind the work so the bit exits into wood instead of splintering the back face.

  • Tile: an X of masking tape over the mark, a tile bit, slow speed, no hammer mode.
  • Masonry: masonry bit, hammer mode, back out often to clear the dust.
  • Metal: center-punch the mark, run slow, add a drop of oil.

Drill safety

Safety glasses, every time. Clamp small pieces instead of holding them; if a bit catches, a loose part spins with it. No loose gloves, sleeves or long hair near a spinning bit. Hold big spade bits and hole saws with both hands, because when they bind the drill body twists hard.

Common drill mistakes

  • Wrong direction. The bit squeals but goes nowhere. Check the direction button.
  • Bit walking. The tip skates off the mark. Dimple it with an awl and start slow.
  • Too much pressure. It stalls the motor, overheats the bit and leaves a ragged hole.

Ready for angled cuts? The miter saw guide is next.
What you'll need

Step-by-Step Guide

8 steps · about 6 minutes.Check off each step as you go and your progress saves automatically.

1

Meet the Two Drill Types

0:12
Step 1: Meet the Two Drill Types - How to Use a Drill

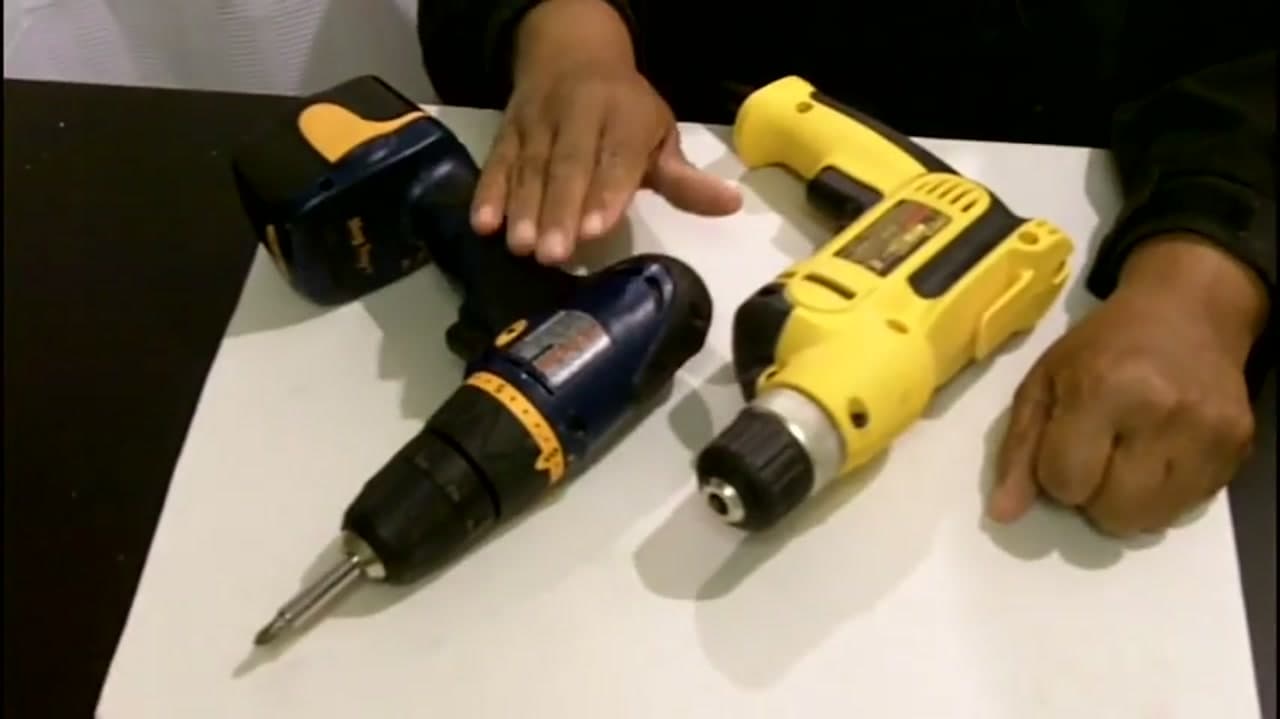
There are two drills worth knowing. The cordless drill is battery-powered, light enough to reach for one-handed, and the one you'll grab for 90% of jobs around the house. The corded drill plugs into the wall, has noticeably more torque, and shines on bigger jobs - long deck screws, large spade-bit holes, mixing thinset.

Either one belongs in your toolbox. If you only buy one, start with a cordless. Modern 18V or 20V lithium-ion drills have more than enough power for hanging shelves, building furniture, and most home repairs. Add a corded later if you find yourself stalling the cordless on heavy work.

Tip

Look at the drill in the right hand of the photo - the silver collar at the front of the chuck. That's the manual tightening ring on a corded drill. The cordless on the left tightens with the trigger. Same job, different mechanism.

2

Charge the Battery on a Cordless

0:50
Step 2: Charge the Battery on a Cordless - How to Use a Drill

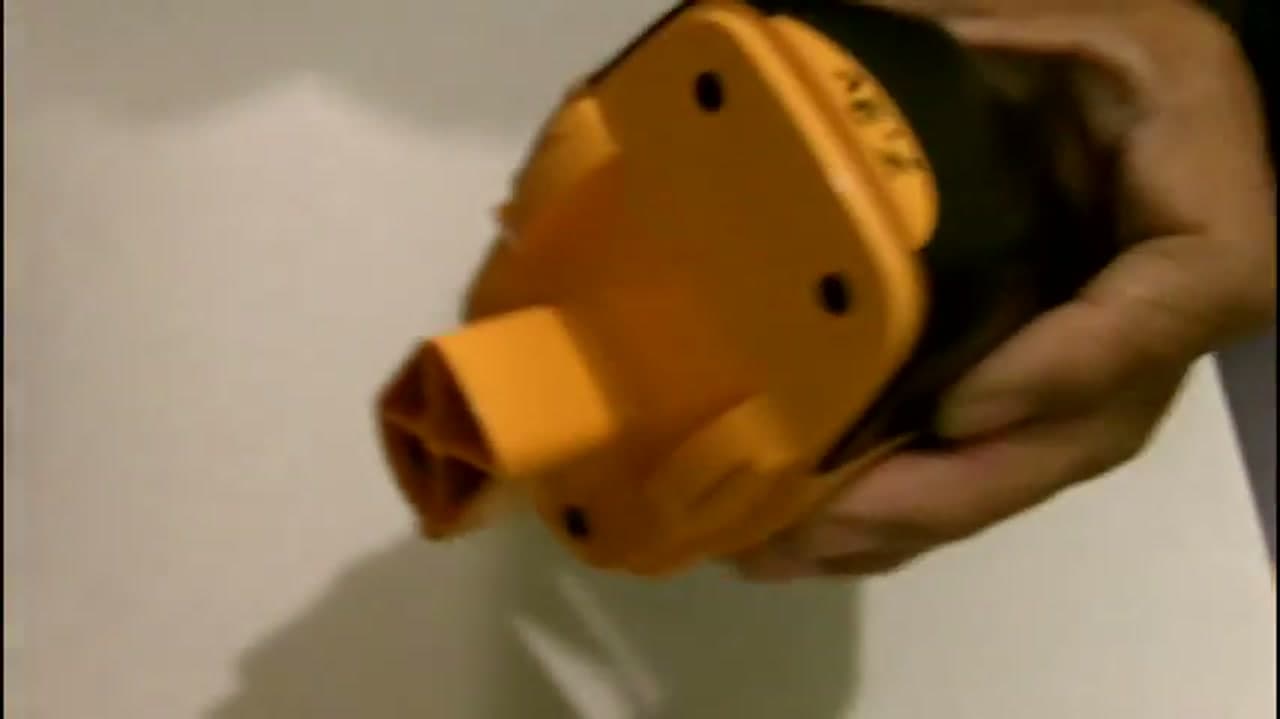
The battery slides into the bottom of the drill's grip. To charge it, press the release tab and pull the battery straight down out of the drill. Snap it into the docking station that came in the box, then plug the dock into a wall outlet. A light on the dock shows charging; it changes color or turns off when full.

Most lithium batteries top up in 30 to 60 minutes. When you're done, snap the battery back into the drill - it only goes in one way, you'll feel it click. A second battery is the upgrade everyone wishes they bought sooner. One on the drill, one on the charger, no downtime.

Tip

Store batteries indoors at room temperature. Lithium cells lose capacity fast in a hot garage in August or a cold shed in January.

3

Find the Chuck and Direction Button

1:35
Step 3: Find the Chuck and Direction Button - How to Use a Drill

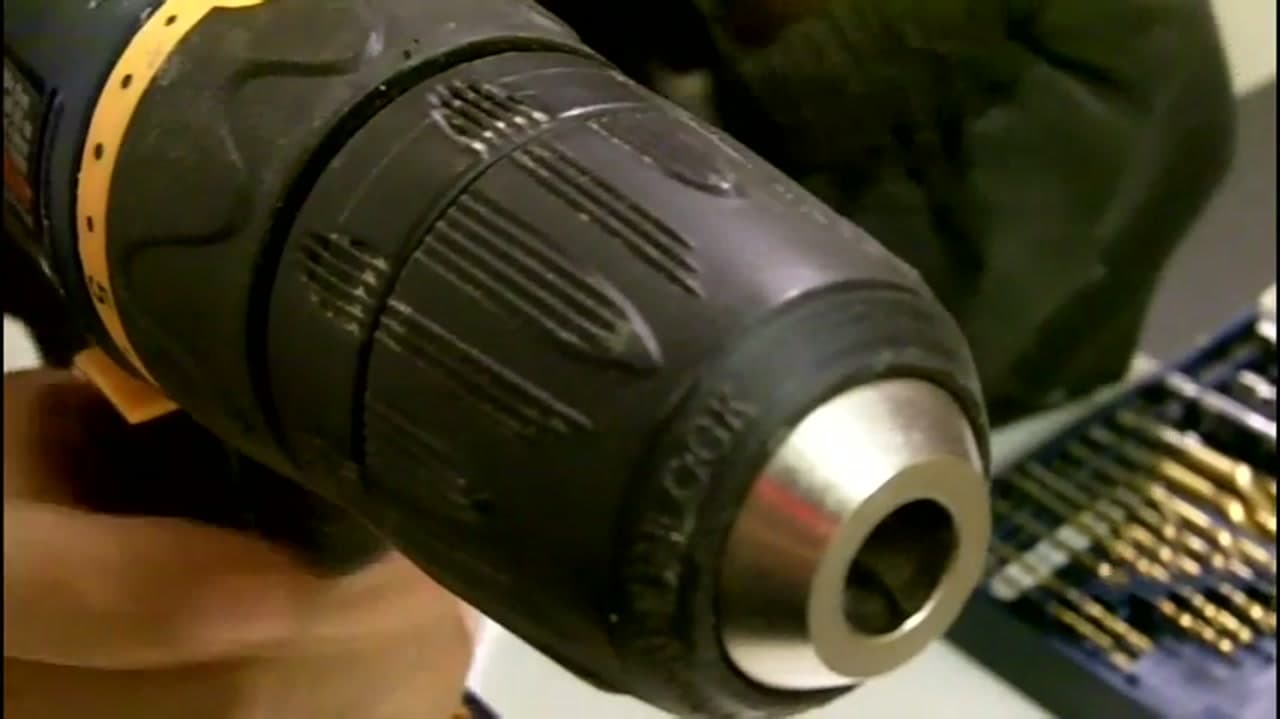
The chuck is the round metal cylinder at the front of the drill. It's the part that grips the bit, and it's the part you'll touch every time you swap one out. Don't grab the bit when you're loosening or tightening - grab the chuck itself, all the way around.

Look at the body of the drill just above the trigger. There's a button that sticks out one side and pokes through to the other. Push it from the left and the drill spins one direction; push it from the right and it spins the opposite way. That same button controls whether the chuck is loosening or tightening when you pull the trigger. You'll also see the clutch numbers (1 through 20 or so) on the ring behind the chuck - leave them on the highest setting for drilling holes and dial them lower when you're driving screws.

Tip

If you forget which way is which, look down at the chuck while you pull the trigger gently. If it's spinning to your right (clockwise), it's tightening. To your left, it's loosening. Same rule as a jar lid.

4

Loosen the Chuck to Remove a Bit

2:25
Step 4: Loosen the Chuck to Remove a Bit - How to Use a Drill

Push the direction button to the loosen side (drill will spin counter-clockwise from your view). Wrap your hand firmly around the chuck and squeeze the trigger gently. The chuck spins inside your grip, loosens around the bit, and the bit slides free.

The same routine works for any bit: a Phillips driver bit, a small drill bit, a spade bit, a hole saw. Don't try to twist the bit itself or grab it with pliers - that's how you wreck a chuck. Always grip the chuck. If the bit is stuck after a long job, run a short burst of trigger in loosen direction and it'll let go.

Tip

Pulse the trigger - tap, tap - instead of holding it down full speed. You only need the chuck to spin a little to release the bit. Full speed launches the bit across the room.

5

Install a Small Drill Bit

3:35
Step 5: Install a Small Drill Bit - How to Use a Drill

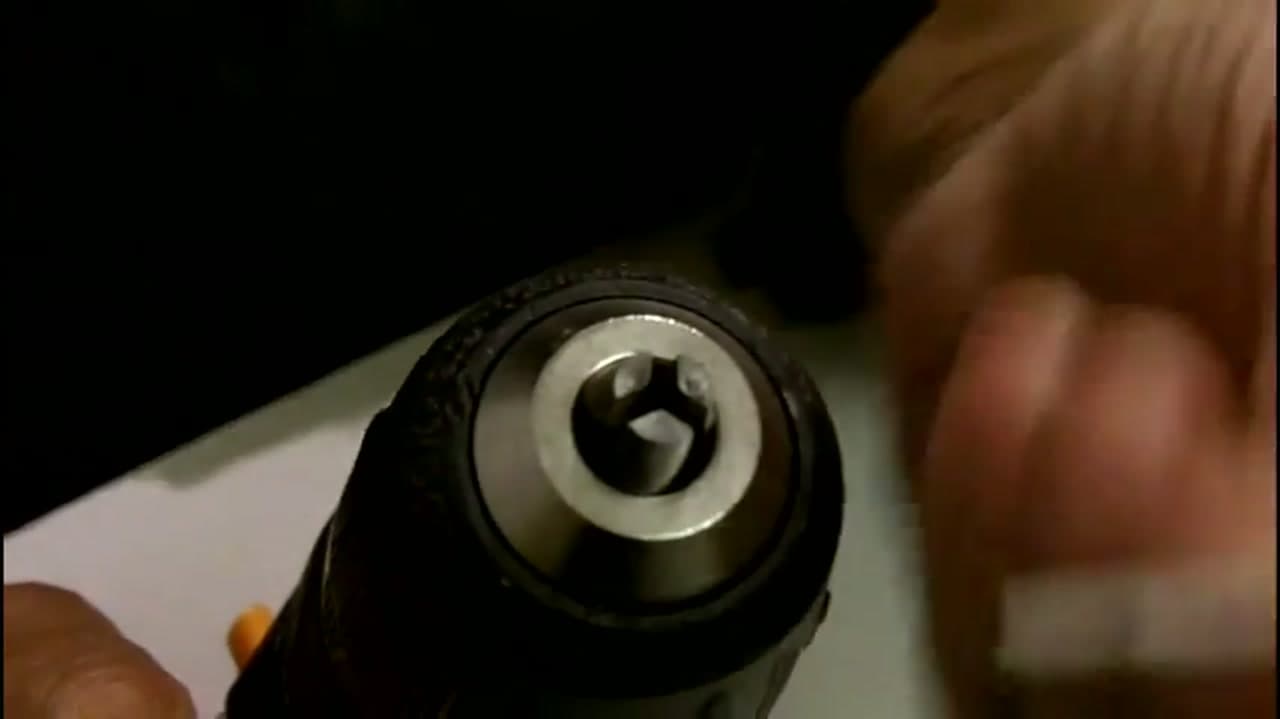
Look straight into the open chuck. You'll see three metal arms angled inward - those are the jaws. They close in toward the center when the chuck tightens, and that's what grips your bit. With a small bit, you can actually see them; with a big bit, they're hidden by the shank.

Drop the bit in and steady it with the fingers of your free hand so it stays centered. Flip the direction button to tighten. Grip the chuck firmly with one hand, the bit steady with the other, and pull the trigger. The jaws close in and grab the bit. Give it a tug to confirm it's seated. If the bit wiggles, retighten - a loose bit wobbles, leaves an oversized hole, and can fly out.

Tip

For really tiny bits (like 1/16-inch), open the chuck wider than you think you need before you drop the bit in. Tight chuck plus thin bit equals the bit slipping past the jaws into the chuck cavity, where it's a pain to fish out.

6

Install a Wider Spade Bit

4:15
Step 6: Install a Wider Spade Bit - How to Use a Drill

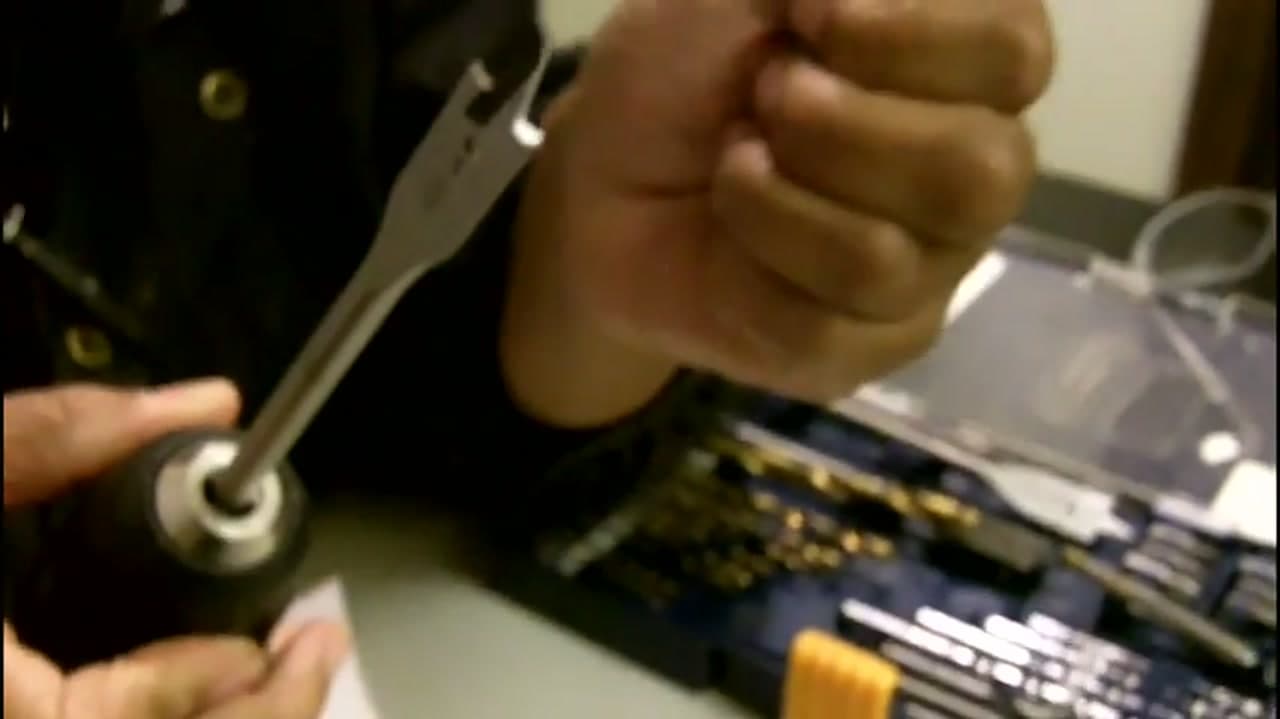
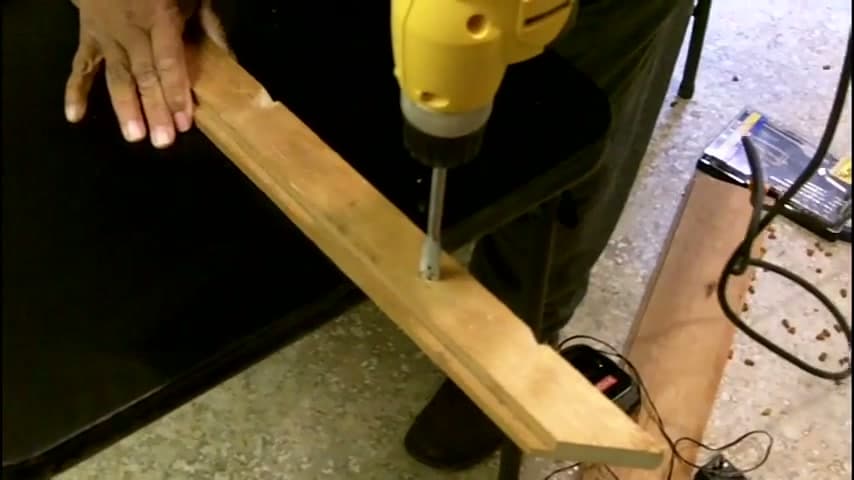
A spade bit is the flat paddle-shaped bit you use for big holes - 1/2 inch and up, for running cable, plumbing, or making a hole big enough for a finger. Because the shank is wider than a twist bit, the chuck jaws are open further when you insert it.

Steady the bit with your free hand so it's perfectly centered in the opening. Turn the chuck by hand (no trigger yet) until the jaws just grab the shank. Now wrap your fingers around the chuck, pull the trigger to tighten, and you'll feel it cinch down hard. The pointy tip in the center of the spade is your guide - line that up on your mark when you go to drill and it'll start right where you want it.

Tip

Spade bits cut aggressively. Start the hole at the slowest trigger speed until the tip bites, then ramp up. Going full speed from the first touch makes the bit wander across the wood.

7

Tighten the Chuck on a Corded Drill

5:20
Step 7: Tighten the Chuck on a Corded Drill - How to Use a Drill

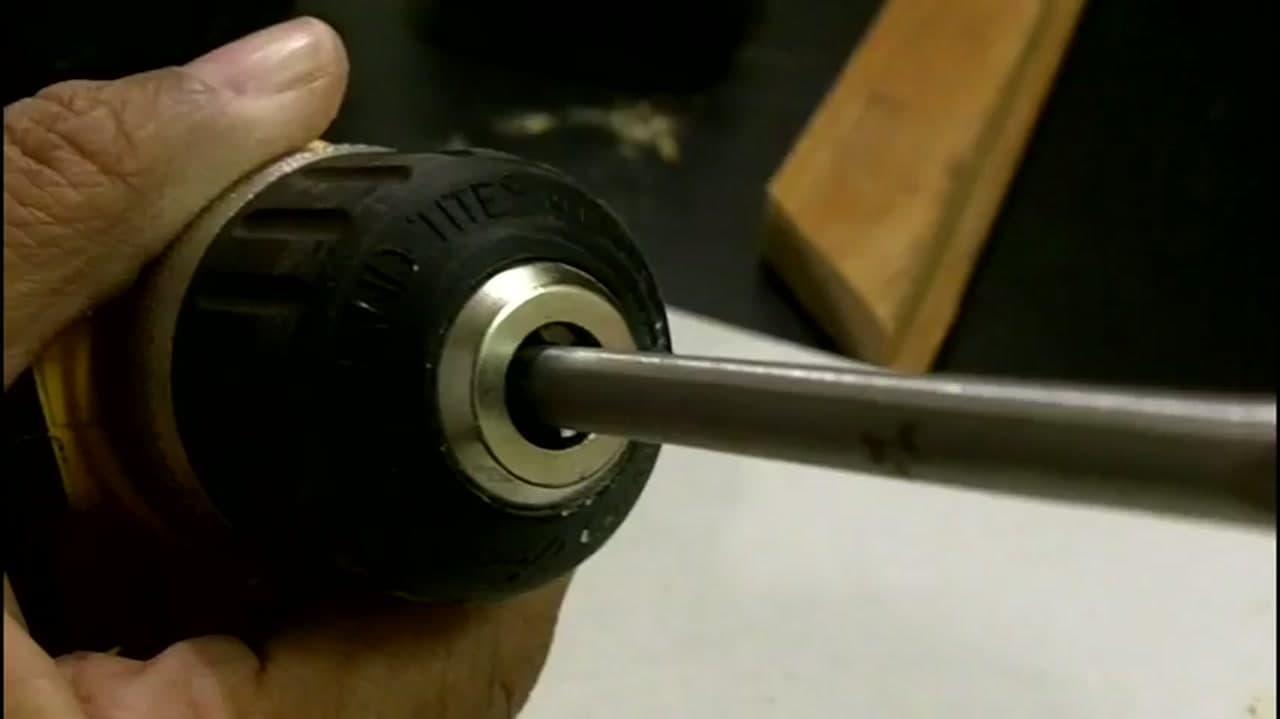
Corded drills carry a lot more power than cordless. If you try to tighten the chuck with the trigger like you would on a cordless, the chuck will grab your hand instead of the bit - exactly what you don't want. Tighten manually.

Insert the bit and steady it centered in the chuck. Grab the top half of the chuck with one hand and turn it one direction. With the other hand, grab the silver band at the base of the chuck and turn the opposite direction. You'll feel resistance build, then hear a click, click as it snugs tight. That ratchet sound is the chuck telling you it's locked. Pull on the bit to confirm.

Tip

Some heavier corded drills come with a chuck key - a little T-shaped tool that goes into a hole on the side of the chuck. Same idea, just a mechanical advantage. Don't lose the key; tape it to the cord or hang it on a hook above the drill.

8

Drill Your First Hole

5:45
Step 8: Drill Your First Hole - How to Use a Drill

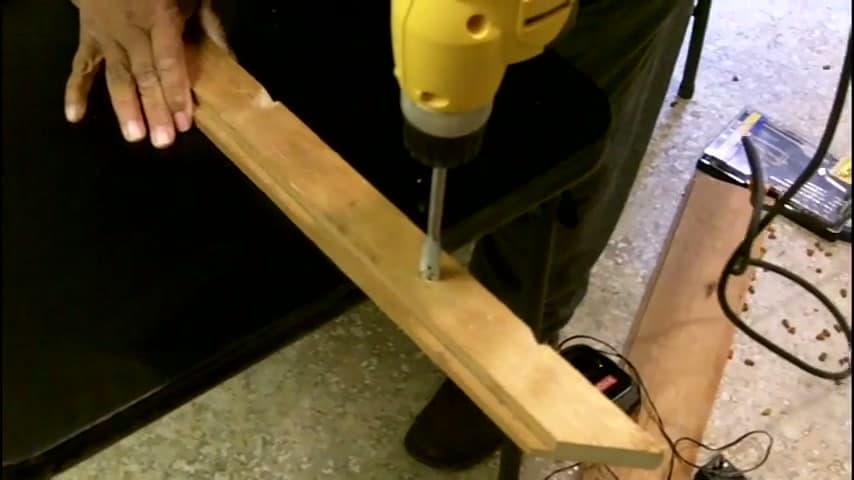
Put on your safety glasses. Mark the spot you want to drill with a pencil. For the cleanest start on wood, dimple the mark with a punch or an awl so the bit can't wander. Line the tip of the bit up on the mark, hold the drill so the bit is perpendicular to the surface, and squeeze the trigger steadily as you push.

Let the bit do the work. Heavy pressure is the rookie move - it stalls the motor, dulls the bit, and makes the hole ragged. Steady forward pressure, full trigger, smooth pull-out. If the bit binds, ease off, let it spin a second, then continue. The whole job feels the same on the cordless or the corded - same grip, same pressure, same rhythm.

Tip

Drilling into something you don't want to punch through the back of? Wrap a piece of painter's tape around the bit at the depth you want to stop. The tape gives you a clear visual stop without buying a depth collar.

Keep going

How to Install an Interior Door

Products Used

The Checklist

How to Use a Drill

Tools
7
Steps
8
Video
6 min

Tools we recommend

Your Guide

seejanedrill

As an Amazon Associate we earn from qualifying purchases. Links on this page may be affiliate links - clicking them and buying doesn't change your price, but helps support ShowMeStepByStep.

Tags

Sunday How-To

New woodworking crafts tutorials, every Sunday

One short email with the week's best step-by-step guides. Free, no spam, unsubscribe anytime.

Test your knowledge

Did the lesson stick? Start with this one.

5 questions covering what you just read. No signup, no score saved, and you can stop after this one.

Question 1 of 5

What is the chuck on a drill?

Quick reference

Key takeaways from How to Use a Drill

5 questions, answers, and one-line explanations. Tap to expand.

  1. 1.What is the chuck on a drill?

    Answer: The round metal cylinder at the front that grips the bit

    Chuck is the front cylinder; always grip it (not the bit) when swapping bits.

  2. 2.When loosening or tightening a bit, what do you grip?

    Answer: The chuck - all the way around

    Grabbing the bit wrecks the chuck; always grab the chuck.

  3. 3.How do you tighten a chuck on a CORDED drill (which has more torque than cordless)?

    Answer: MANUALLY - turn the top of the chuck one way while turning the silver band at the base the opposite way, listening for the ratchet click

    Corded torque is too much for trigger-tighten - it grabs your hand. Tighten by hand with the chuck and base ring.

  4. 4.Before drilling a clean hole in wood, what's the trick to stop the bit from wandering?

    Answer: Dimple the mark with a punch or awl so the bit can't wander

    A dimple from a punch or awl gives the bit a seat so it starts dead-on the mark.

  5. 5.Heavy pressure on the drill is...

    Answer: The rookie move - stalls the motor, dulls the bit, makes a ragged hole

    Let the bit do the work; steady forward pressure beats forcing it.

Did this work for you?

What's next

Related collections

Curated theme pages that include this tutorial.

Weekly Digest

Liked this woodworking crafts tutorial?

Pick the categories you want to hear about. Weekly digest of new step-by-step tutorials. No spam, easy unsubscribe.

Send me tutorials about

We only email about new tutorials. Easy unsubscribe anytime.