How to Take a Screenshot on an HP Laptop (5 Easy Methods)

TechEasy10:227 stepsBrowse more →
Also in:Adulting

By ShowMeStepByStepPublished

Based on a video by Kevin Stratvert.

If you have an HP laptop and you have ever needed to grab a quick picture of what is on your screen, Windows gives you five different ways to do it. None of them require a download. Most of them are one or two keys.

This walkthrough covers every built-in option, plus one free upgrade if you take a lot of screenshots. The methods are the same on every HP laptop running Windows 10 or Windows 11, whether it is an HP Pavilion, Envy, Spectre, Stream, or a basic 15-inch ProBook. The only HP quirk is that on some smaller laptops the Print Screen key is sized down and shares a key with another function, so you may need to hold Fn to use it.

Quick reference. Print Screen alone copies the whole desktop to your clipboard. Alt + Print Screen copies only the active window. Windows key + Print Screen saves a PNG straight into Pictures, Screenshots. Windows + Shift + S launches the Snipping Tool for partial captures. ShareX is the free power-user app that adds scrolling captures and OCR.

Where the screenshots end up. Most methods place the image on your clipboard, so you have to paste it into Paint, Word, an email, or a chat window with Ctrl+V. The Windows + Print Screen shortcut is the one that saves a file directly to your computer.

While you are here, also worth picking up: how to update Windows, how to factory reset your computer, and how to make a video call.

Step-by-Step Guide

1

Step 1: Find Your Print Screen Key on the HP Keyboard

1:15
Step 1: Step 1: Find Your Print Screen Key on the HP Keyboard

Look at the top row of your HP keyboard, just past F12 toward the upper right. The key is usually labeled PrtScn, PrtSc, or PrtScrn. On full-size HP keyboards it sits between F12 and the Delete key.

On smaller HP laptops, like the Stream or a 14-inch Envy, the Print Screen label is printed in small text and shares a key with another function. If the label looks faint or sits in the bottom-half of the keycap, you will need to hold the Fn key in the lower-left corner together with Print Screen. Try the key on its own first - if nothing happens, add Fn.

Tip

Some HP laptops put Print Screen on a function key like F11. Look for tiny PrtScn text under the F-number. Hold Fn and press that key.
2

Step 2: Press Print Screen to Copy the Whole Desktop

1:30
Step 2: Step 2: Press Print Screen to Copy the Whole Desktop

Tap the Print Screen key once. Nothing visible happens. Windows just quietly copies a snapshot of your entire desktop to the clipboard - including all open windows, the taskbar, and every connected monitor.

To see the screenshot, open Paint, Word, an email, or any app that accepts pasted images. Press Ctrl + V. The screenshot drops in. From Paint you can crop it, save it as a JPG or PNG, or print it. This is the fastest way to grab everything at once when you do not care about cropping.

Tip

If Ctrl + V pastes nothing, the Print Screen key probably did not register. Hold Fn and try again - on most HP laptops Print Screen needs Fn.

Products used in this step

3

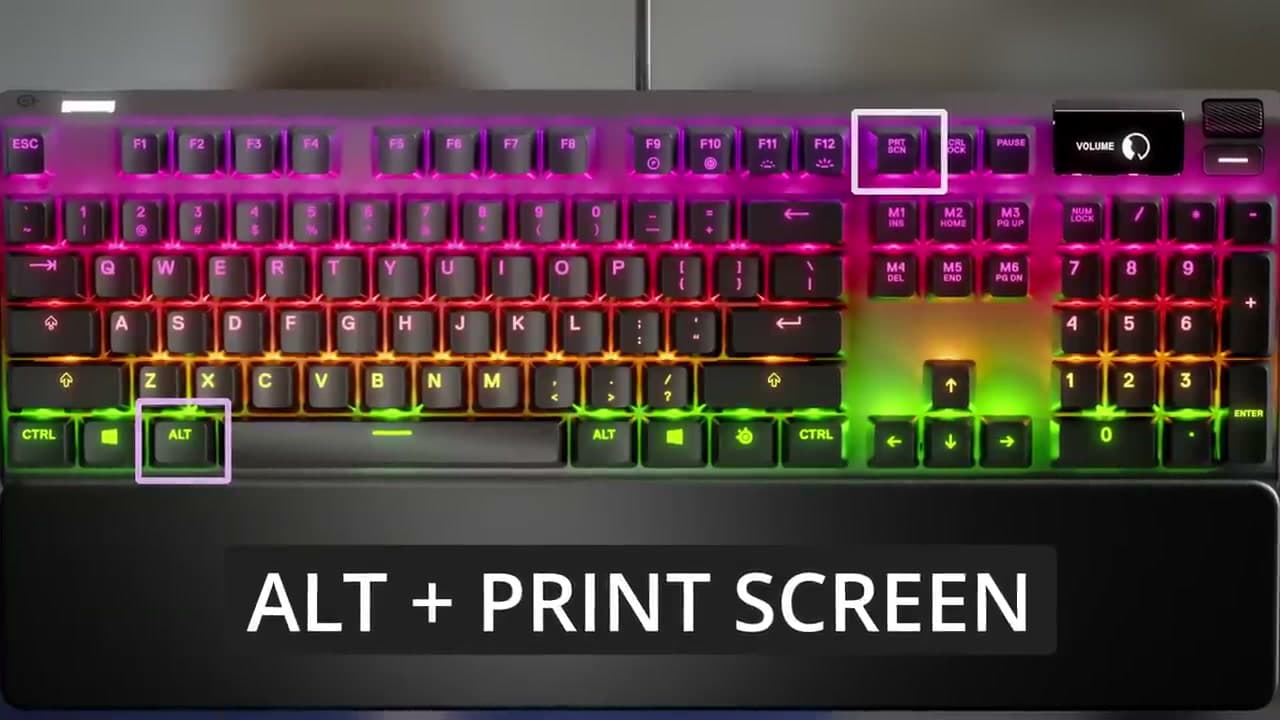
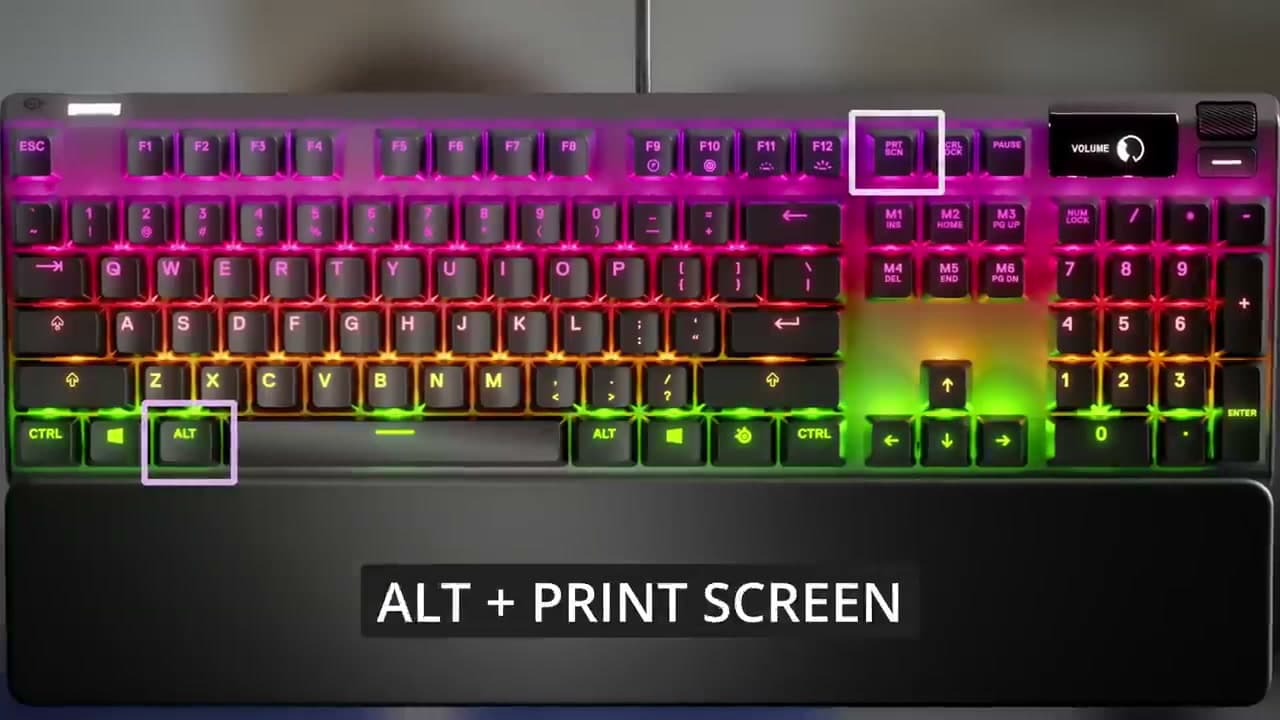
Step 3: Use Alt + Print Screen for Just the Active Window

2:00
Step 3: Step 3: Use Alt + Print Screen for Just the Active Window

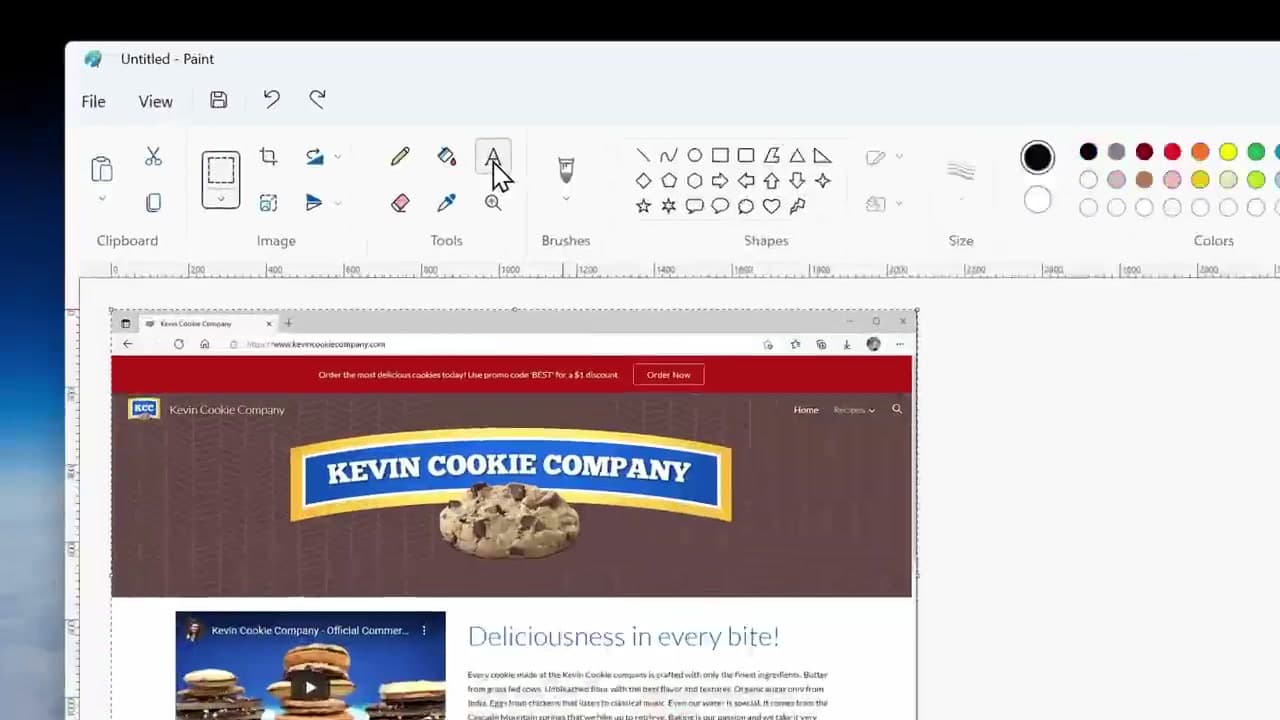
Click the window you want to capture so it is the active window. Then hold Alt and tap Print Screen. Windows copies only that window to the clipboard - skipping your desktop, your taskbar, and any other open apps.

This is the cleanest way to share a screenshot of a single program. No cropping, no extra background. Paste it into Paint or an email with Ctrl + V. The screenshot will match the exact size of the window border, so big windows make big screenshots and small windows make small ones.

Tip

On HP laptops that need Fn for Print Screen, the combo becomes Fn + Alt + Print Screen. Press all three together.

Products used in this step

4

Step 4: Press Windows + Print Screen to Auto-Save a File

3:15
Step 4: Step 4: Press Windows + Print Screen to Auto-Save a File

Hold the Windows logo key and tap Print Screen. The screen dims for half a second to confirm the capture. Behind the scenes Windows saves a PNG file straight to your computer.

Open File Explorer, go to This PC, then Pictures, then a folder called Screenshots. Your image is in there, named Screenshot (1), Screenshot (2), and so on. No clipboard, no pasting, no extra apps - the file is already saved and ready to attach to an email or upload anywhere.

Tip

If the screen does not dim and no file appears, your HP probably needs Fn. Try Windows key + Fn + Print Screen instead.

Products used in this step

5

Step 5: Press Windows + Shift + S for the Snipping Tool Overlay

3:50
Step 5: Step 5: Press Windows + Shift + S for the Snipping Tool Overlay

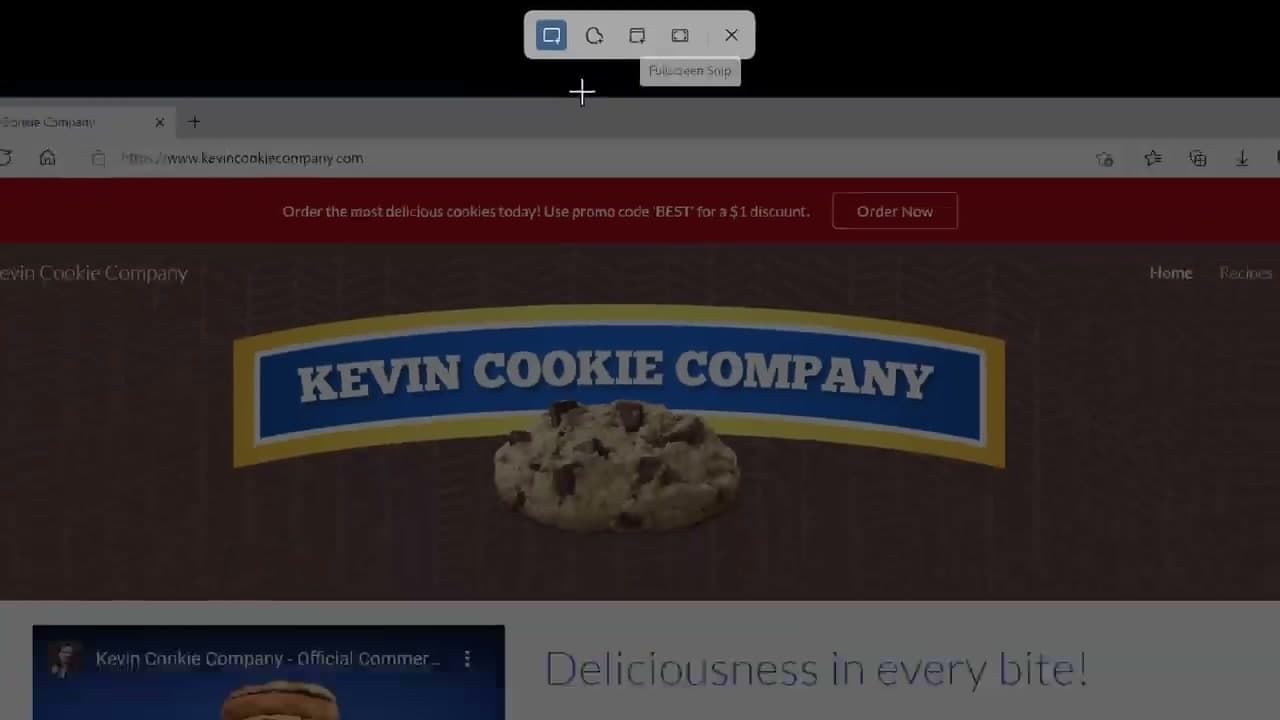
This is the most flexible built-in option. Press Windows + Shift + S together. Your screen dims and a small toolbar appears at the top with four icons: rectangular snip, freeform snip, window snip, and fullscreen snip.

Click the rectangular icon, then drag a box around the part of the screen you want. Release the mouse and Windows copies that region to your clipboard. A small notification pops up in the bottom-right corner. You can paste the snip into any app with Ctrl + V, or click the notification to open it for markup.

Tip

Freeform snip lets you draw a wavy outline around an object. Useful for screenshotting just one item out of a busy page.

6

Step 6: Annotate and Save Your Snip in the Snipping Tool Editor

4:30
Step 6: Step 6: Annotate and Save Your Snip in the Snipping Tool Editor

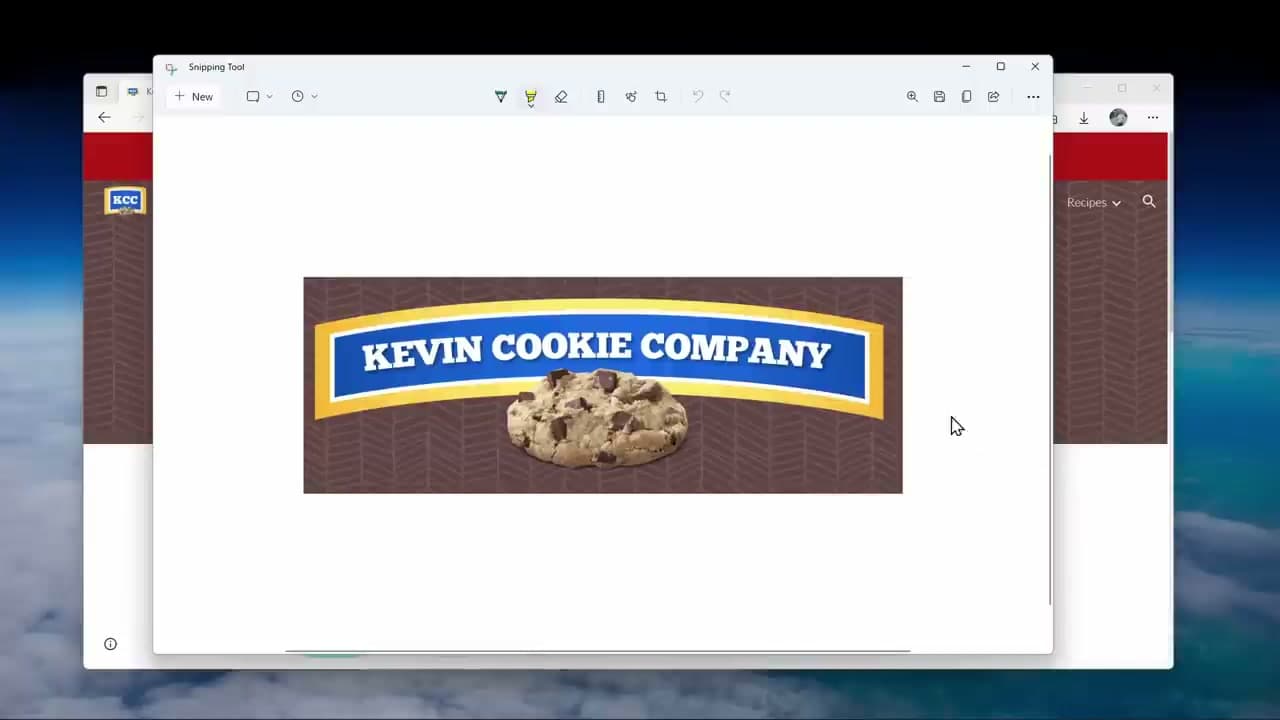
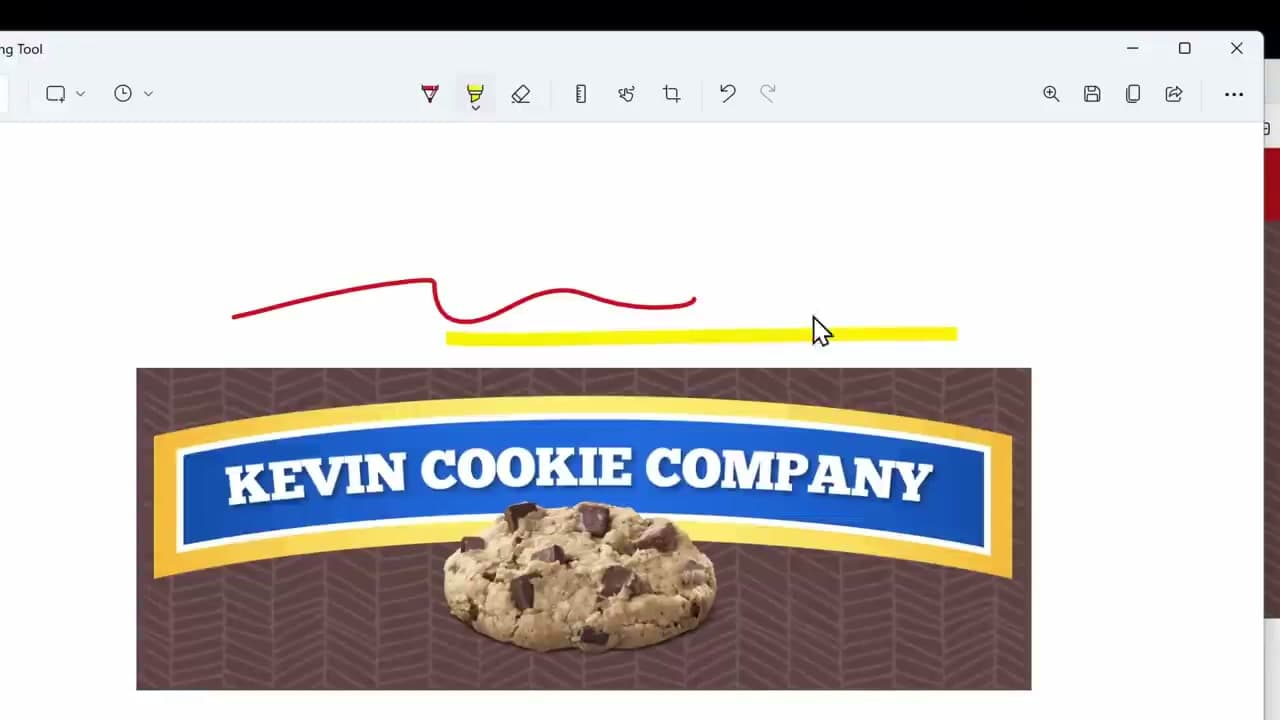
Click the small notification that popped up after your snip. The Snipping Tool editor opens with your screenshot loaded. The toolbar gives you a red ballpoint pen, a yellow highlighter, an eraser, a ruler, and a crop tool.

Draw a circle around the important part, highlight a sentence, or crop off any extra space at the edges. When the snip looks the way you want, click the small save icon in the upper right (it looks like a floppy disk). Pick a folder, name the file, and click Save. The image saves as PNG by default.

Tip

The built-in editor is basic on purpose. For arrows, text boxes, and numbered callouts, paste the snip into PowerPoint or use ShareX in step 7.

Products used in this step

7

Step 7: Install ShareX for Scrolling Captures and OCR (Free)

6:50
Step 7: Step 7: Install ShareX for Scrolling Captures and OCR (Free)

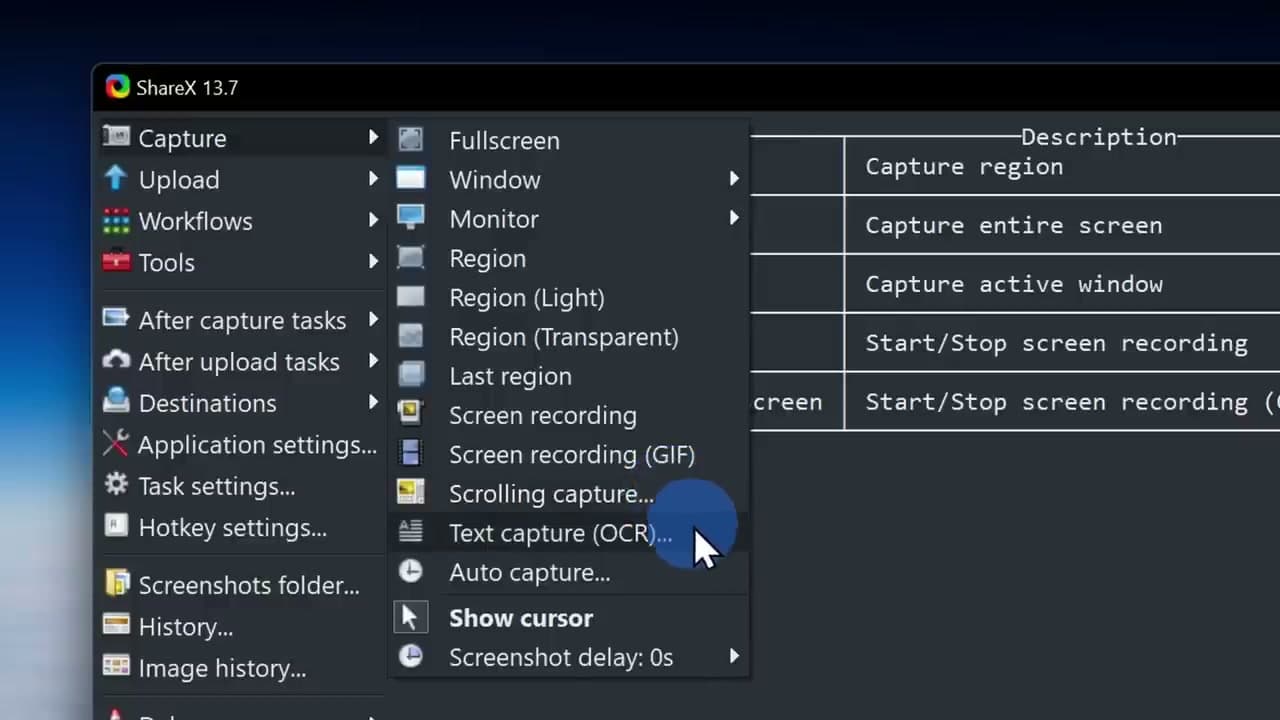
If you take screenshots every day, install ShareX from getsharex.com. It is completely free and open source. Once installed, ShareX adds three things Windows does not have out of the box: scrolling screenshots that capture an entire long web page, OCR text capture that converts a screenshotted block of text into copy-pasteable words, and a real annotation editor with shapes, text boxes, arrows, and numbered step markers.

From the ShareX main window, click Capture, then pick Region, Window, Scrolling capture, or Text capture (OCR). You can also set a global hotkey so a single key press starts a snip. After capture, ShareX can copy to your clipboard, save to a folder, and upload to Google Drive or Imgur all at the same time.

Tip

ShareX has a lot of menus, which can feel overwhelming at first. Just leave the defaults alone - the Region capture and the editor are all you need for the first month.

Products Used

☐ The Checklist

How to Take a Screenshot on an HP Laptop (5 Easy Methods)

Tools
2
Steps
7
Video
10 min

Your Guide

Kevin Stratvert

As an Amazon Associate we earn from qualifying purchases. Links on this page may be affiliate links - clicking them and buying doesn't change your price, but helps support ShowMeStepByStep.

Tags

What's next

Related collections

Curated theme pages that include this tutorial.

Weekly Digest

Liked this tech tutorial?

Pick the categories you want to hear about. Weekly digest of new step-by-step tutorials. No spam, easy unsubscribe.

Send me tutorials about

We only email about new tutorials. Easy unsubscribe anytime.