How to Cast On Knitting: Long Tail Method for Beginners

The finished result: How to Cast On Knitting: Long Tail Method for Beginners

By ShowMeStepByStepPublished Updated

Based on a video by Sheep & Stitch.

Casting on is the very first move in any knitting project - it puts the foundation row of stitches onto your needle. The long tail cast on (also called the slingshot or thumb method) is the workhorse technique that most knitters learn first. Once you have it down, every project starts the same way.

This walkthrough from Davina at Sheep & Stitch breaks the long tail cast on into seven manageable steps. Use chunky yarn and 10mm needles while you're learning - thick yarn is much easier to see and grip than fingering weight.

Both strands work at once. The tail around your thumb forms each loop, the working yarn over your index finger forms the stitch that stays on the needle. Holding both feels strange in your hands for ten stitches and automatic by the fiftieth.

What you need

  • Bulky or chunky yarn - big stitches let you see what your hands are doing
  • 10mm bamboo or wooden needles, with enough drag to hold a new stitch. Slick metal plus new hands sends stitches to the floor
  • A tape measure, until you can eyeball a tail
  • Removable stitch markers for counting

How much tail to leave

Run out of tail at stitch 54 of 60 and the long tail cast on has no rescue - you pull it out and start over. Three ways to measure:

  • Three times the width. Three times the finished width of the piece. A 5-inch dishcloth wants about 15 inches.
  • An inch per stitch. Worsted on 5mm needles eats about an inch per stitch, bulky on 10mm about an inch and a half. Add six inches for weaving in.
  • The ten-wrap trick. Wrap the yarn around the needle ten times and measure. That length casts on ten stitches in this yarn on this needle, so multiply up.

When two answers disagree, believe the longer one.

Other cast ons and when to reach for them

Knitted cast on

One strand, no tail math. You knit into the stitch on the left needle and slide the new loop back onto it. Learn this one if the slingshot grip refuses to click, and use it whenever a pattern adds stitches partway through a row. Looser edge.

Cable cast on

Same motion, but the needle goes between the last two stitches instead of into one. Firm, ropey edge that holds its shape - good for a ribbed cuff or a buttonhole.

Backward loop cast on

Twisted loops thrown on with your thumb. Seconds to do, no measuring, but floppy to knit into. Use it for adding two or three stitches at the end of a row.

Counting your cast on stitches

Count the loops on the needle, not the bumps along the bottom edge, and the slipknot is stitch one. Work in tens and drop a removable marker on after every tenth stitch, so a recount means checking markers, not 60 loops. Recount before row one.

When it goes wrong

Too tight. The most common complaint - the stitches will not slide and row one is a wrestling match. The cause is the last move of each stitch: snug the loop against the needle instead of yanking the tail. Cast on over two needles held together and slip one out at the end, or go up two needle sizes for the cast on row only. Go too far the other way and you get gappy loops, so back off to one needle and let the tail set the tension.

Twisted stitches. Every loop should sit the same way, leading leg at the front. One reversed stitch shows as a bump along the edge, and a twist anywhere in that row locks in a permanent spiral once you knit in the round.

Row one fights you. Normal - a fresh cast on row has no fabric under it to hold tension. It settles after a few rows.

What comes after casting on

Cast on, work knit and purl, then bind off so the stitches leave the needle without unravelling. Never held needles? Start with knitting for absolute beginners.

What you'll need

Step-by-Step Guide

7 steps · about 8 minutes.Check off each step as you go and your progress saves automatically.

1

Pick Beginner-Friendly Yarn and Needles

0:20
Step 1: Pick Beginner-Friendly Yarn and Needles - How to Cast On Knitting: Long Tail Method for Beginners

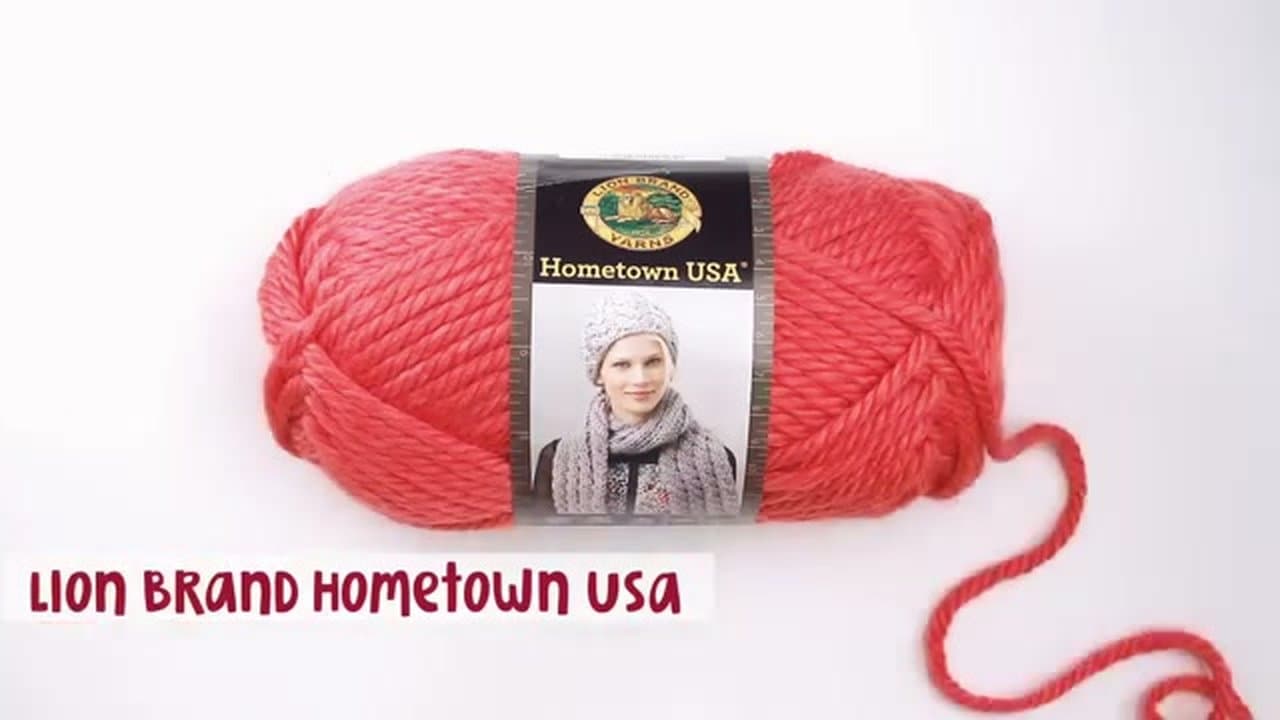
Use bulky weight yarn for your first cast on. Lion Brand Hometown USA, Wool-Ease Thick & Quick, or any chunky yarn works - the thick strands are easier to see and harder to drop than fine yarn.

Pair the yarn with 10mm needles in bamboo or wood. Bamboo and wooden needles have just enough surface drag to grip the yarn and keep stitches from sliding off while you learn the motions.

2

Measure a Long Tail

0:55
Step 2: Measure a Long Tail - How to Cast On Knitting: Long Tail Method for Beginners

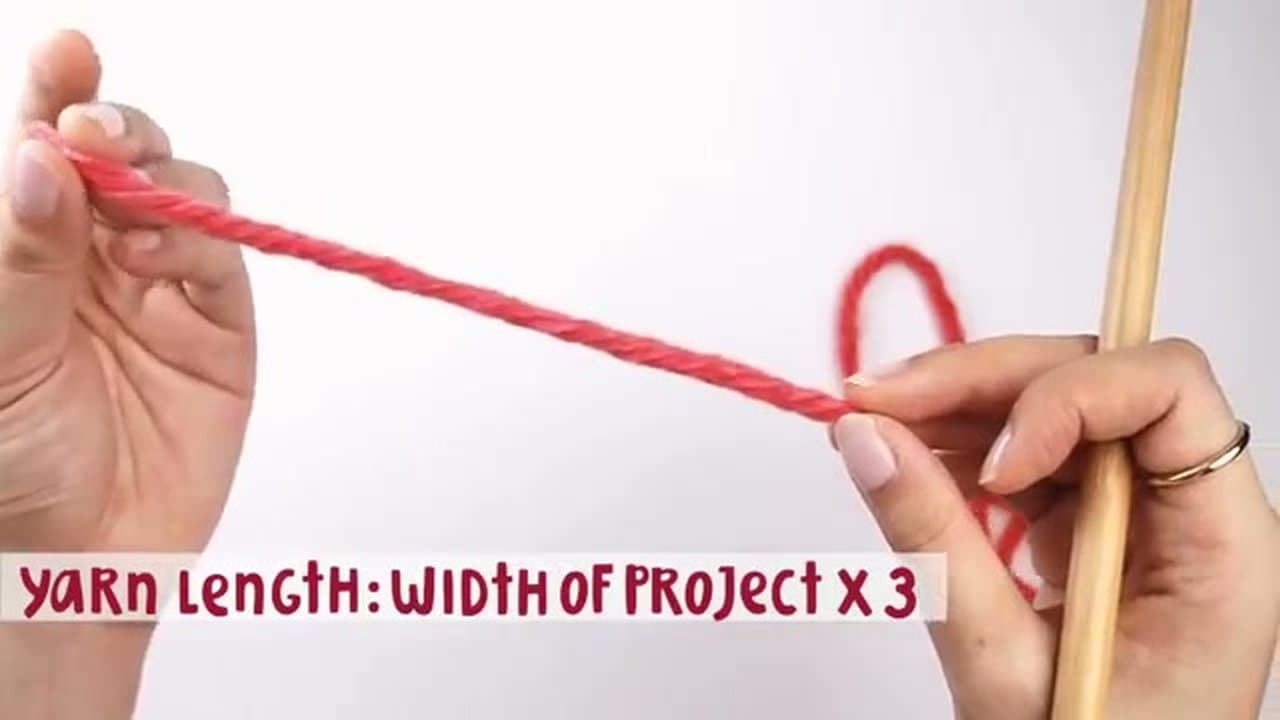
The long tail cast on uses two strands of yarn - the working yarn and a tail. The tail needs to be long enough to make every stitch in your foundation row.

The shortcut: measure a tail equal to about three times the width of your finished project. For a 5-inch wide scarf, that's roughly 15 inches of tail. This is where you'll start making the slipknot.

Used in this stepTape Measure
3

Make a Slipknot and Slide It On the Needle

2:10
Step 3: Make a Slipknot and Slide It On the Needle - How to Cast On Knitting: Long Tail Method for Beginners

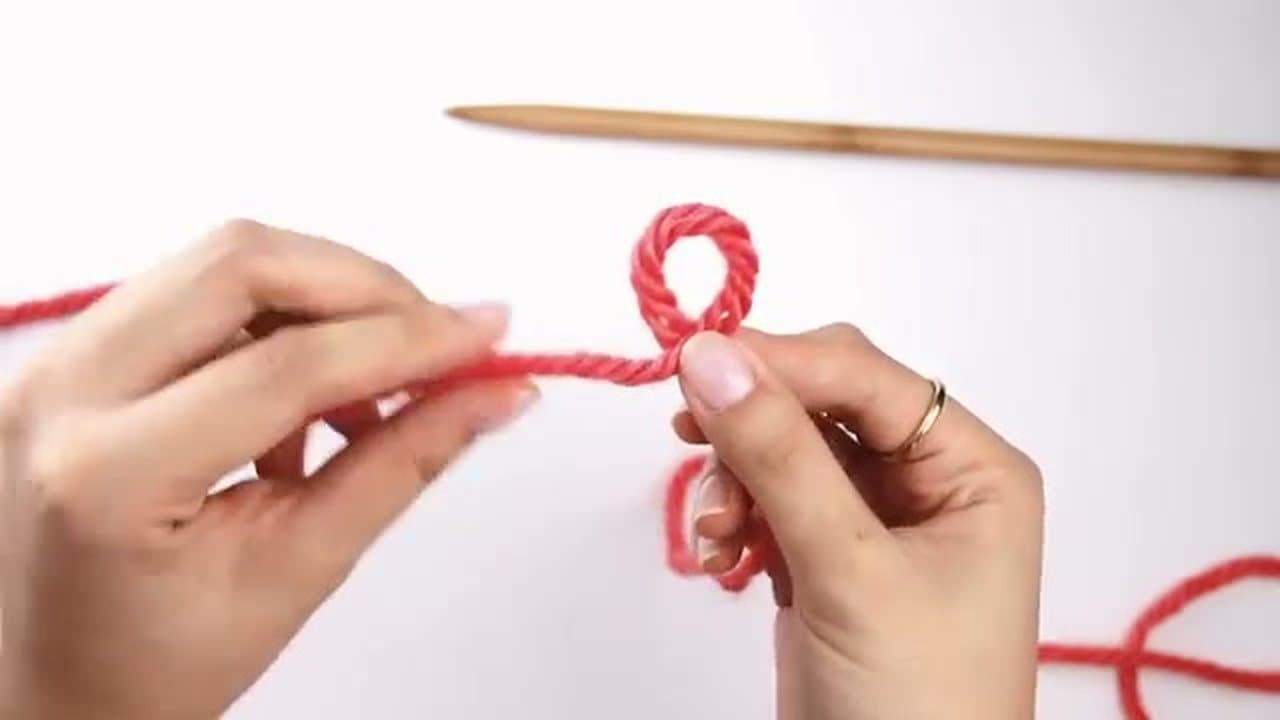
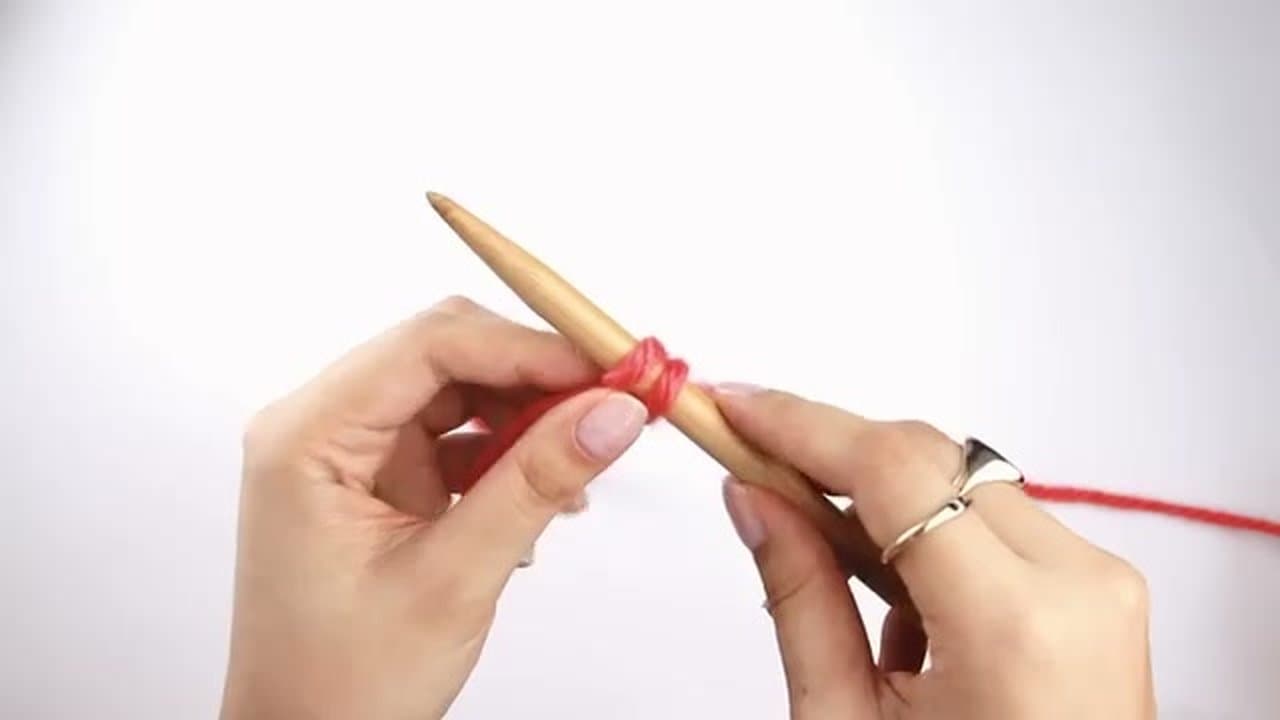
At your tail measurement point, make a loop with the yarn. Bring the working strand behind the loop so it bisects it, then reach through the loop and pull that strand through to form a slipknot.

Slide the slipknot onto your needle and pull the two strands gently to snug it up against the needle. Not too tight - you still want the loop to slide freely along the needle.

4

Hold the Yarn in Slingshot Grip

3:20
Step 4: Hold the Yarn in Slingshot Grip - How to Cast On Knitting: Long Tail Method for Beginners

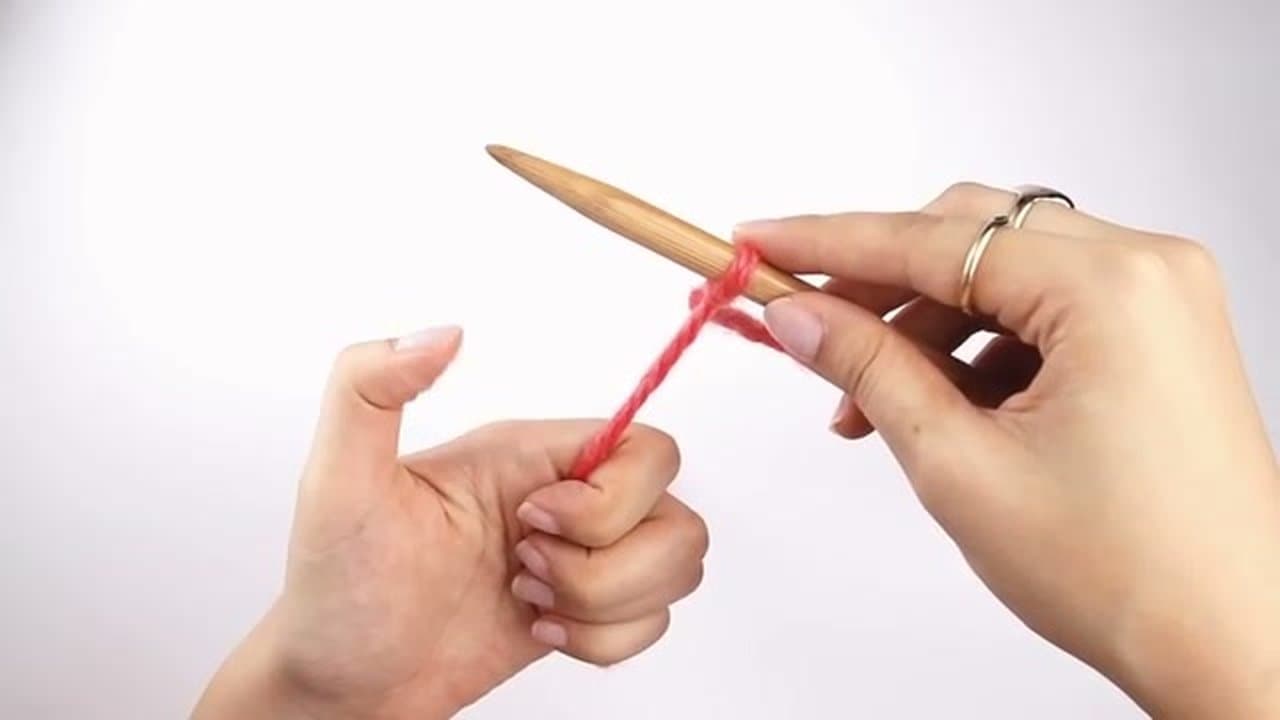
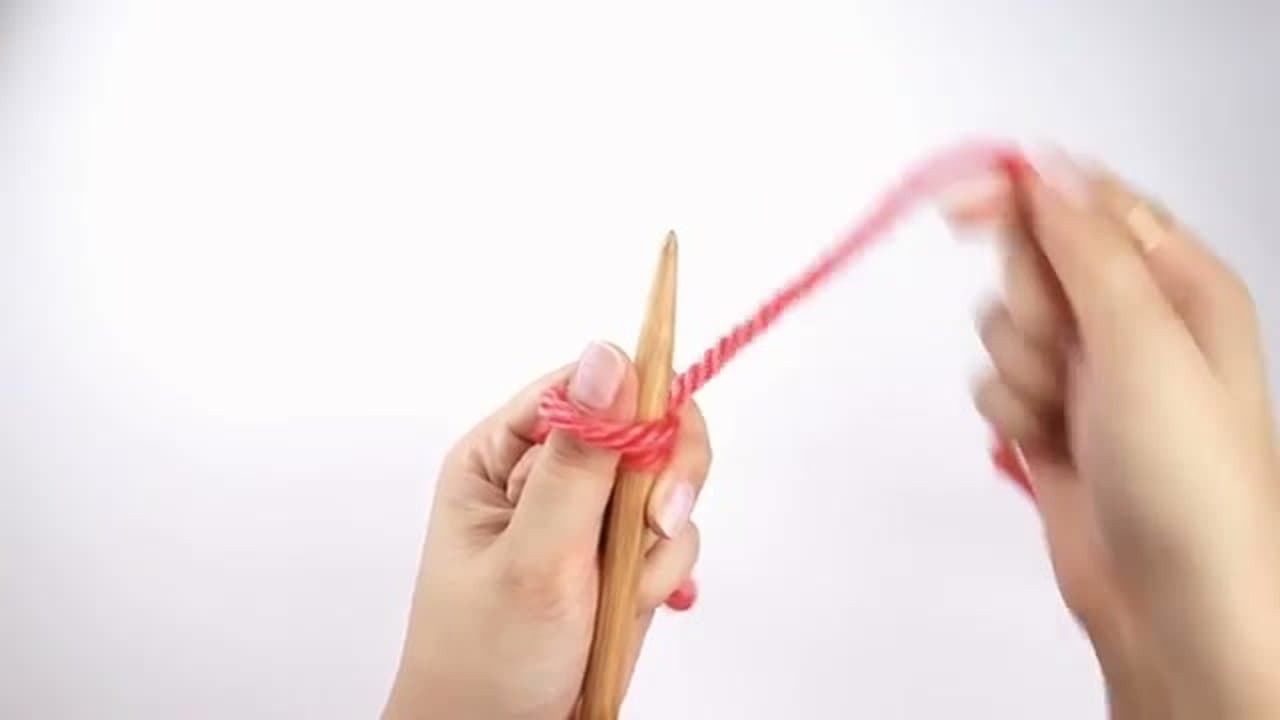
Pinch the slipknot against the needle with your right index finger to keep it from rolling. With your left hand, dip your fingers under both strands of yarn and grip them with your bottom three fingers.

Your thumb goes behind the front strand (the tail) and lifts up so the yarn wraps around it. Your index finger holds the back strand (the working yarn). The whole grip looks a bit like a slingshot.

5

Insert Needle Into the Thumb Loop

3:50
Step 5: Insert Needle Into the Thumb Loop - How to Cast On Knitting: Long Tail Method for Beginners

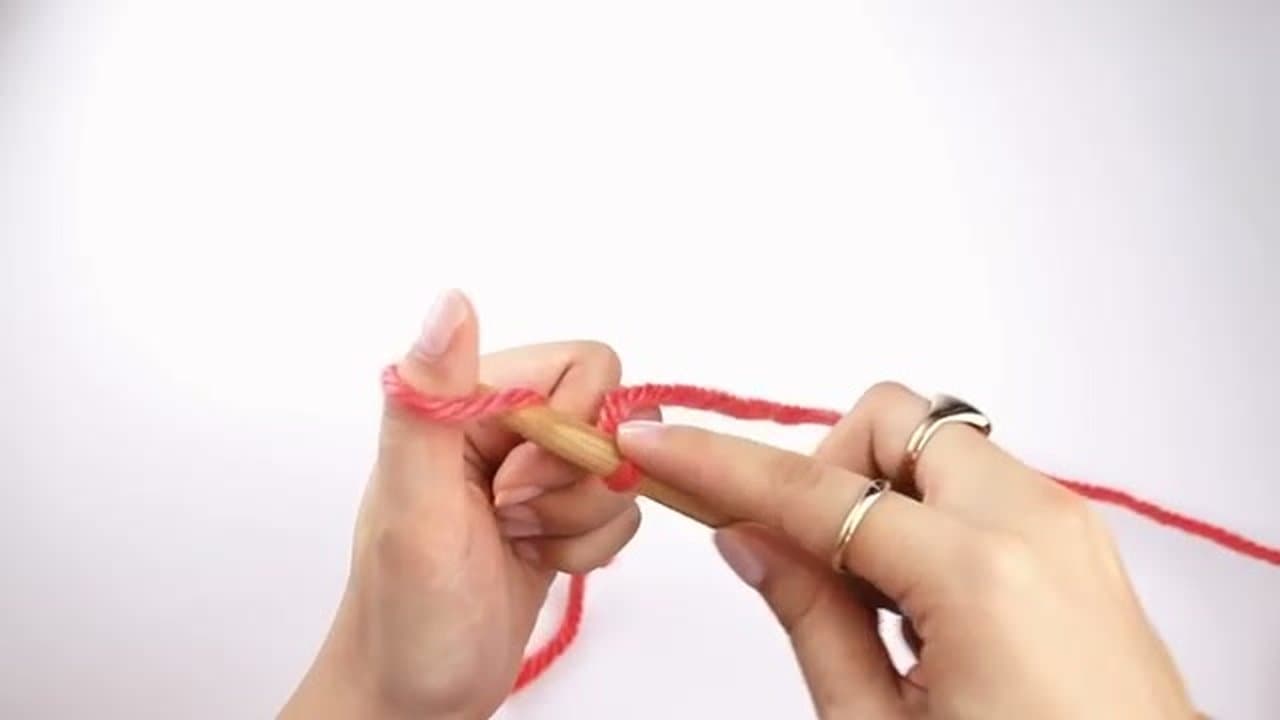
With your right hand, bring the needle tip down to touch the front of your thumb. Slide the needle up into the loop your thumb has formed - the needle is now inside the thumb loop, touching the strand that runs along your thumb.

Keep tension in your left hand so the loop doesn't go slack. The needle should sit naturally in the bottom of the thumb loop.

6

Wrap the Working Yarn Around the Needle

4:15
Step 6: Wrap the Working Yarn Around the Needle - How to Cast On Knitting: Long Tail Method for Beginners

The strand running along your left index finger is the working yarn (still attached to the ball). Use the needle tip to scoop that strand from back to front, so it wraps over the top of the needle.

The yarn now sits on the needle, with the thumb loop still around the needle below it. You're almost there - one move left.

7

Lift the Thumb Loop Over and Tighten

4:45
Step 7: Lift the Thumb Loop Over and Tighten - How to Cast On Knitting: Long Tail Method for Beginners

Use your needle tip to lift the thumb loop up and over the wrapped yarn, then drop the loop off your thumb completely. Pull the tail strand down gently to snug the new stitch against the needle.

You just made your first cast on stitch. Repeat steps 4-7 - reset the slingshot grip, insert the needle into the thumb loop, wrap the working yarn, lift the thumb loop over - until you have as many stitches as your pattern calls for.

Tip

If your stitches end up tight against the needle and hard to slide, you're pulling the tail too hard at the end. Cast on stitches should sit snug but still glide along the needle freely.

Keep going

How to Pick Up Stitches Knitting a Neckband

Products Used

The Checklist

How to Cast On Knitting: Long Tail Method for Beginners

Tools
2
Materials
1
Steps
7
Video
8 min

Tools we recommend

Your Guide

Sheep & Stitch

As an Amazon Associate we earn from qualifying purchases. Links on this page may be affiliate links - clicking them and buying doesn't change your price, but helps support ShowMeStepByStep.

Tags

Sunday How-To

New knitting tutorials, every Sunday

One short email with the week's best step-by-step guides. Free, no spam, unsubscribe anytime.

Test your knowledge

Did the lesson stick? Start with this one.

5 questions covering what you just read. No signup, no score saved, and you can stop after this one.

Question 1 of 5

Which yarn weight is best for your first cast on?

Quick reference

Key takeaways from How to Cast On Knitting: Long Tail Method for Beginners

5 questions, answers, and one-line explanations. Tap to expand.

  1. 1.Which yarn weight is best for your first cast on?

    Answer: Bulky weight

    Bulky yarn's thick strands are easier to see and harder to drop than fine yarn.

  2. 2.How long should the long tail be (rule of thumb)?

    Answer: About three times the width of the finished project

    3x project width covers every stitch in the foundation row with some slack to spare.

  3. 3.In the 'slingshot grip,' which finger holds which strand?

    Answer: Thumb behind the front strand (tail), index finger on the back strand (working yarn)

    Thumb behind tail, index holding working yarn - looks like a slingshot.

  4. 4.What's the three-move sequence to form a new stitch on the needle?

    Answer: Insert needle into thumb loop, wrap working yarn over the top, lift the thumb loop over the wrap

    Insert, wrap, lift-and-drop - same three moves for every stitch.

  5. 5.What kind of needles work best for learning?

    Answer: Bamboo or wooden needles for the grip drag

    Wood/bamboo has just enough drag to grip the yarn - stops stitches sliding off mid-cast-on.

Did this work for you?

What's next

Weekly Digest

Liked this knitting tutorial?

Pick the categories you want to hear about. Weekly digest of new step-by-step tutorials. No spam, easy unsubscribe.

Send me tutorials about

We only email about new tutorials. Easy unsubscribe anytime.