How to Knit an Ear Warmer With a Twist Front

KnittingEasy10:0310 stepsPart of Crafting for BeginnersBrowse more →
The finished result: How to Knit an Ear Warmer With a Twist Front

By Show Me Step by StepPublished

Based on a video by The Snugglery.

This twist front ear warmer is a flat strip of ribbing with one clever cross in the middle. Michelle of The Snugglery channel designed it, and she says it was the first thing she ever sold in her Etsy shop. If you can knit and purl, you can make it. The twist looks fancy, but it is two short strips laid over each other and joined back up. Her free video covers the small adult size, and her printable pattern adds sizes from newborn to large adult.

How to knit an ear warmer with a twist: the short version

  • Cast on 15 stitches with two strands of worsted yarn held together.
  • Work knit one, purl one rib for 6.5 inches.
  • Split the stitches, knit two narrow 4 inch strips, cross them and join them again.
  • Rib another 6.5 inches, bind off and whip stitch the ends together.

Yarn and needles

Michelle uses Paintbox Yarns Aran, a worsted weight acrylic, held double on US 9 (5.5 mm) needles. Two strands at once make a thick, warm band. Pull one strand from each of two balls, or use the outside end and the center end of one ball. You will not use a whole ball.

Have a different yarn on hand? One strand of chunky yarn (weight 5) on the same needles gives a similar fabric. Short 9 inch straight needles are easier to manage on 15 stitches than long ones.

Gauge and sizing

Gauge does not matter much here. You knit to a length, not a stitch count, so you can measure as you go. Wrap a tape around your head over your ears and across your forehead. Rib stretches a lot, so the band should be a few inches shorter than that number to hug without slipping. For a bigger head, add a little length to each 6.5 inch half. For a teen or child, take some off both halves evenly so the twist stays at the front.

How long it takes

A beginner can finish one in an evening or two. Thick doubled yarn grows fast. The twist row takes the most thought, so do it when you are not tired.

Finishing and care

Whip stitch lies flat, so the seam does not press on your head. Weave in the ends on the side you like less. Here is how to weave in ends so they stay put. Acrylic does not need blocking. A light steam held above the fabric relaxes it, but never press the iron down on it. Machine wash on gentle and lay flat to dry. If you switch to wool, hand wash in cool water so it does not felt.

Ideas to change it up

  • Stripes. Hold one strand each of two colours for a tweedy marled look.
  • Chunkier. Go up to US 10 or 10.5 needles for a softer, wider band.
  • Gift set. Knit a pair, one for you and one for a friend, and tie them with ribbon. A crocheter can try a crochet headband to match.

Troubleshooting

  • The twist faces the wrong way. Your working yarn should end up in the center of the cross. If it sits on the outside, uncross the strips and lay them the other way.
  • The edges curl. Rib should lie flat. Curling means you knit a few stitches that should have been purled. Knit the knits and purl the purls as they face you.
  • A tight cast on. Cast on over two needles held together, then slide one out. See how to cast on and how to knit ribbing for a refresher.
  • A gap at the join. Close it with the tail when you weave in your ends.

What you'll need

Step-by-Step Guide

10 steps · about 10 minutes.Check off each step as you go and your progress saves automatically.

1

Cast On 15 Ear Warmer Stitches With a Long Tail and Doubled Yarn

1:50
Step 1: Cast On 15 Ear Warmer Stitches With a Long Tail and Doubled Yarn - How to Knit an Ear Warmer With a Twist Front

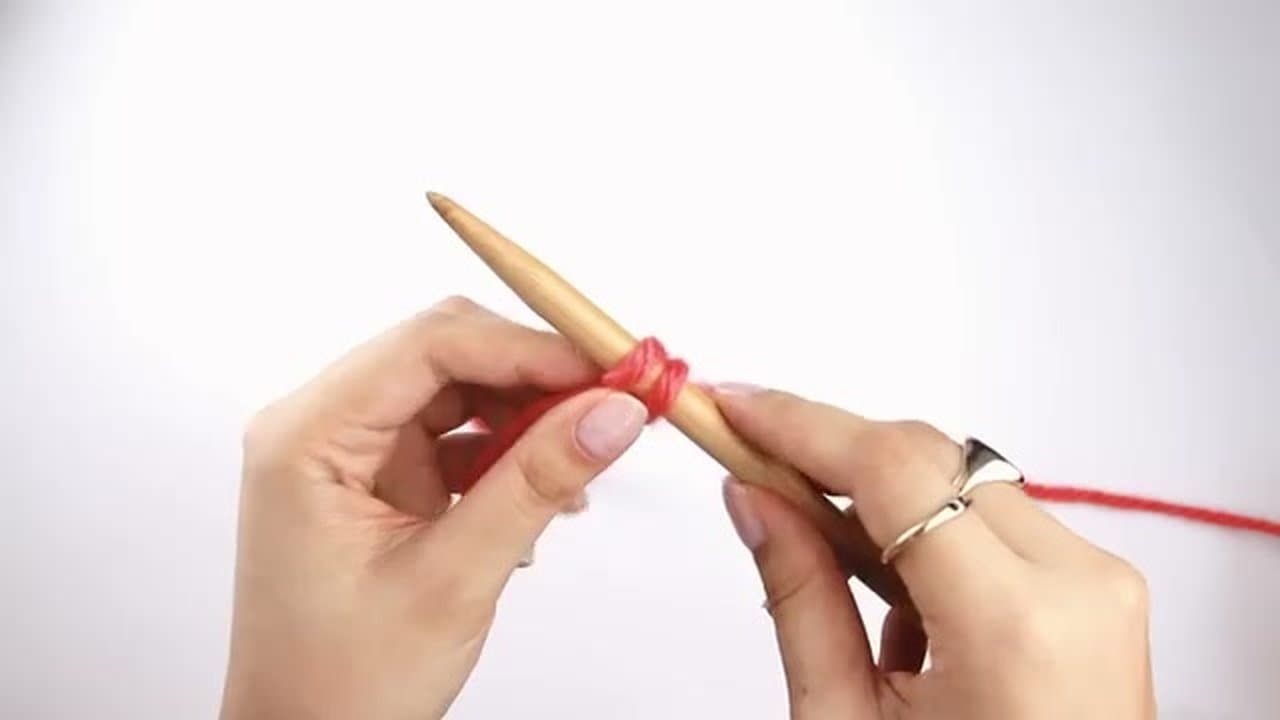
Hold two strands of worsted yarn together as if they were one. Make a slip knot and put it on your needle. Then use the long tail cast on to add stitches until you have 15. The doubled yarn makes a thick, cozy band, so it is fine if the stitches feel chunky. Leave a tail about 8 inches long. You can use it to sew the seam later.

Tip

If your cast on comes out tight, work it over two needles held together and pull one out.

2

Knit One Purl One Rib for the Ear Warmer Band

3:19
Step 2: Knit One Purl One Rib for the Ear Warmer Band - How to Knit an Ear Warmer With a Twist Front

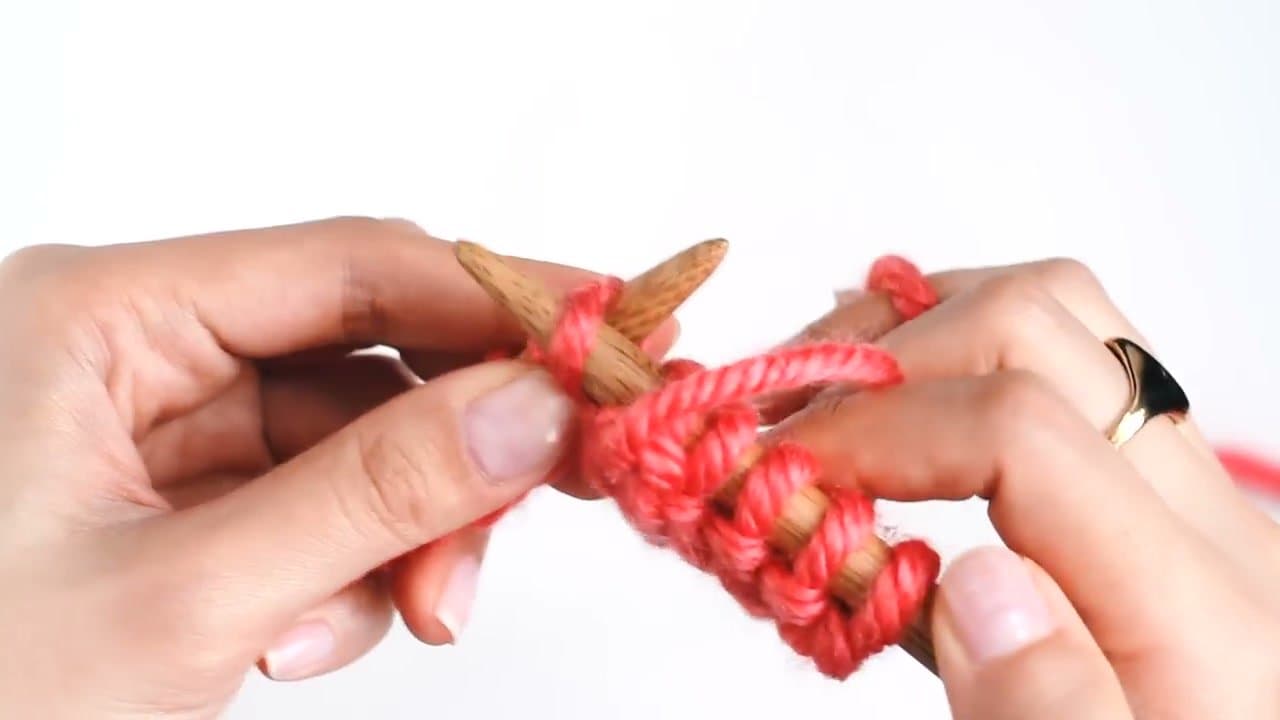
Knit the first stitch, purl the next, and keep going knit one, purl one to the end of the row. With 15 stitches you end on a knit. On the way back, start with a purl. Look at each stitch: knit the ones that look like a V and purl the ones with a bump. Keep going until the piece measures 6.5 inches from the cast on edge.

Tip

Lay the piece flat to measure it. Stretching it gives you a false reading.

3

Knit Two Stitches Together at the Center of the Rib

3:53
Step 3: Knit Two Stitches Together at the Center of the Rib - How to Knit an Ear Warmer With a Twist Front

Work in rib across the first six stitches. Now knit stitches seven and eight together. Put the right needle into both at once, as if to knit, and knit them as one. That takes away one stitch. You now have seven stitches on each needle. Do not worry if your row started with a purl instead of a knit. The measurements matter more.

Tip

Count both needles before you go on. Seven and seven means you are on track.

4

Move Seven Ear Warmer Stitches to a Locking Stitch Holder

4:18
Step 4: Move Seven Ear Warmer Stitches to a Locking Stitch Holder - How to Knit an Ear Warmer With a Twist Front

Put the seven stitches still on your left needle on hold. Slide a locking stitch holder through them, close it, and slip the needle out. A piece of scrap yarn threaded on a tapestry needle works too. The held stitches wait there while you knit the first narrow strip with the seven stitches on your right needle.

Tip

Slip the holder in from the same side the needle goes in, so the stitches stay facing the right way.

5

Knit the First Narrow Strip of the Twist to 4 Inches

4:50
Step 5: Knit the First Narrow Strip of the Twist to 4 Inches - How to Knit an Ear Warmer With a Twist Front

Turn your work and keep going in rib on those seven stitches. Your last row decides where to start. If it began with a purl, this one begins with a knit. Work this narrow strip until it measures 4 inches, or 10 cm, from the split. Then cut the yarn, leaving a tail. The fresh end becomes the working yarn for the other side.

Tip

Mark the split row with a scrap of yarn so you measure from the same spot each time.

6

Slip the Held Stitches Back on the Needle for the Second Strip

5:10
Step 6: Slip the Held Stitches Back on the Needle for the Second Strip - How to Knit an Ear Warmer With a Twist Front

Slide the seven held stitches off the holder and onto your free needle. Then put the stitches from the strip you finished on the holder instead. Join your yarn to the new side and work in rib until this second strip is also 4 inches long. Now you have two narrow strips side by side, each attached to the wide band.

Tip

Lay the two strips next to each other to check they match before you cross them.

7

Cross the Two Narrow Strips to Form the Ear Warmer Twist

6:10
Step 7: Cross the Two Narrow Strips to Form the Ear Warmer Twist - How to Knit an Ear Warmer With a Twist Front

This is the twist. Point your needle toward the outside of the work. Lay one strip over the other so they make an X, with the working yarn sitting in the center of the cross. Now slip the held stitches back onto your left needle and take the holder out. Turn the work so the yarn is in your right hand. Both strips now sit on needles again.

Tip

If the yarn ends up on the outside of the cross, uncross the strips and lay them the other way over.

8

Knit Front and Back to Rejoin the Twisted Strips

6:52
Step 8: Knit Front and Back to Rejoin the Twisted Strips - How to Knit an Ear Warmer With a Twist Front

You need one stitch back to make 15 again. Knit into the next stitch as normal but leave it on the left needle. Then knit into the back leg of that same stitch and slip it off. That is knit front and back, and it adds one stitch. A backwards loop cast on works too. Carry on in rib to the end of the row. The twist is done.

Tip

The first stitch after the join can look loose. Snug it up when you weave in that end.

9

Knit the Second Half of the Ear Warmer to 6.5 Inches and Bind Off

7:36
Step 9: Knit the Second Half of the Ear Warmer to 6.5 Inches and Bind Off - How to Knit an Ear Warmer With a Twist Front

Keep working knit one, purl one across all 15 stitches. Measure from the center of the cross to your needle. When this half reaches 6.5 inches, the strip should match the first half. Bind off in rib, knitting the knits and purling the purls as you go. That keeps the edge as stretchy as the cast on. Cut the yarn and leave a long tail for sewing.

Tip

Leave a tail about 12 inches long so you have plenty to seam with.

10

Whip Stitch the Ear Warmer Ends Together With a Tapestry Needle

8:36
Step 10: Whip Stitch the Ear Warmer Ends Together With a Tapestry Needle - How to Knit an Ear Warmer With a Twist Front

Thread the long tail on a tapestry needle. Hold the cast on edge and the bind off edge together, with the twist facing out. Go under one stitch on each edge, pull the yarn through, and wrap over the top. Repeat all the way across. Whip stitch lies flat and is comfy to wear. Weave in the ends on the side you like less, and your headband is ready.

Tip

Either side can be the right side. Michelle likes the purl edge facing out.

How to Knit Socks

Keep going

How to Knit Socks

10 steps · about 20 minutes

Products Used

The Checklist

How to Knit an Ear Warmer With a Twist Front

Tools
5
Materials
2
Steps
10
Video
10 min

Tools we recommend

Your Guide

The Snugglery

As an Amazon Associate we earn from qualifying purchases. Links on this page may be affiliate links - clicking them and buying doesn't change your price, but helps support Show Me Step by Step.

Tags

Sunday How-To

New knitting tutorials, every Sunday

One short email with the week's best step-by-step guides. Free, no spam, unsubscribe anytime.

Did this work for you?

What's next

Weekly Digest

Liked this knitting tutorial?

Pick the categories you want to hear about. Weekly digest of new step-by-step tutorials. No spam, easy unsubscribe.

Send me tutorials about

We only email about new tutorials. Easy unsubscribe anytime.