How to Weave In Ends Knitting (2 Methods for a Clean Finish)

Also in:Crafts

By ShowMeStepByStepPublished

Based on a video by Studio Knit.

Weaving in ends is the part most knitters secretly dread, but it is the difference between a project that looks handmade and one that looks finished. Every time you cast on a new ball of yarn or finish a piece, you end up with a tail hanging off the work - those tails have to be tucked back into the fabric so they do not unravel and do not show on the right side.

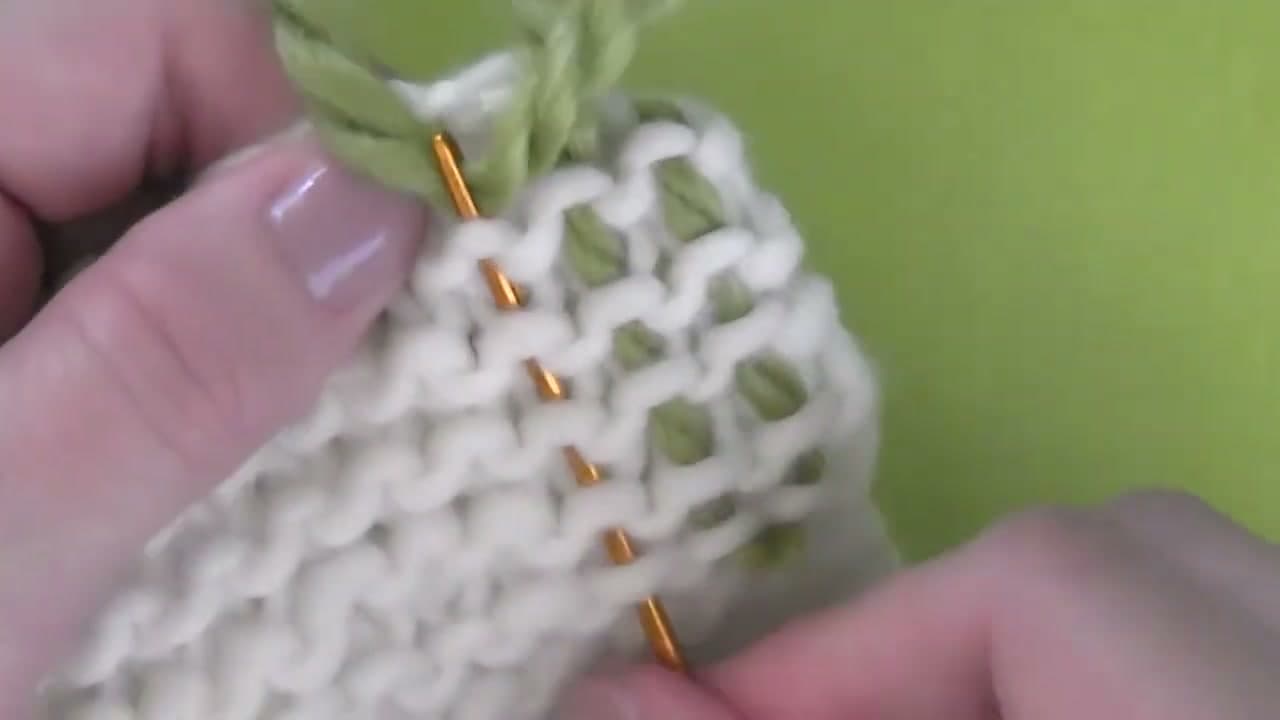
Kristen from Studio Knit teaches two go-to methods. The first weaves the tail along the edge of the piece using the surface loops on the wrong side. The second weaves on a slight diagonal through the body of the work, which hides the tail even better when you are using a contrasting yarn color. Both take about five minutes per tail once you have the rhythm.

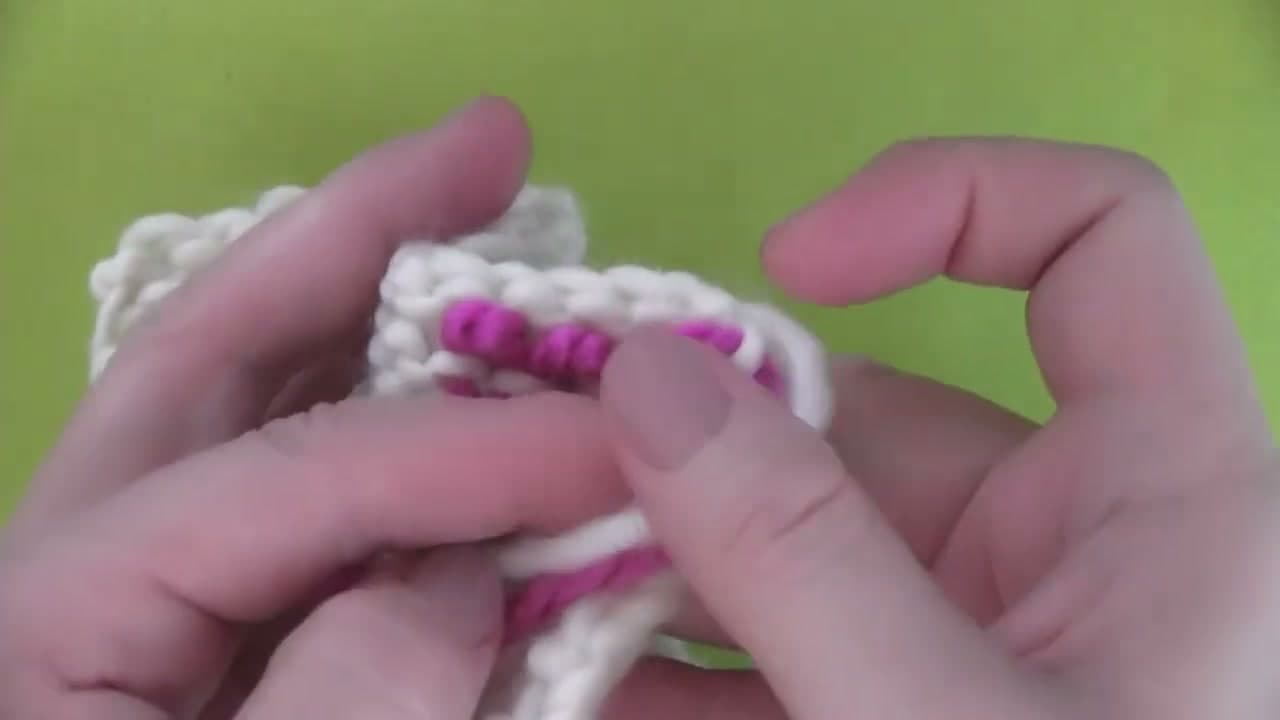
She uses a contrasting color (green and then hot pink) on a white knit swatch so the path of the yarn is easy to see on camera. In your own work you will be weaving with the same color you knit with, and the tail will disappear into the fabric.

If you crochet too, the technique is similar but the fabric is different - we walk through the crochet version in how to weave in ends in crochet. And if you are still working your way through the basics, start with how to knit for absolute beginners - this finishing step is the last thing you do on every project from that walkthrough.

Step-by-Step Guide

1

Step 1: Thread Your Tapestry Needle

0:38
Step 1: Step 1: Thread Your Tapestry Needle

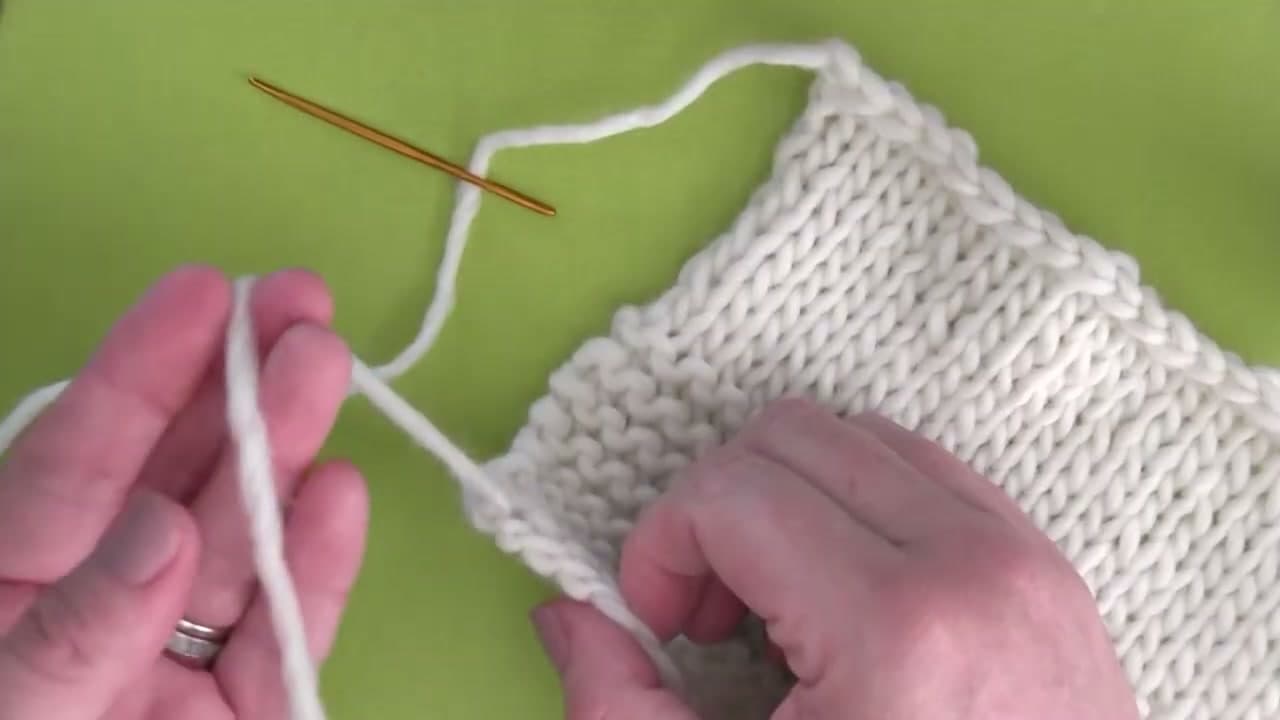
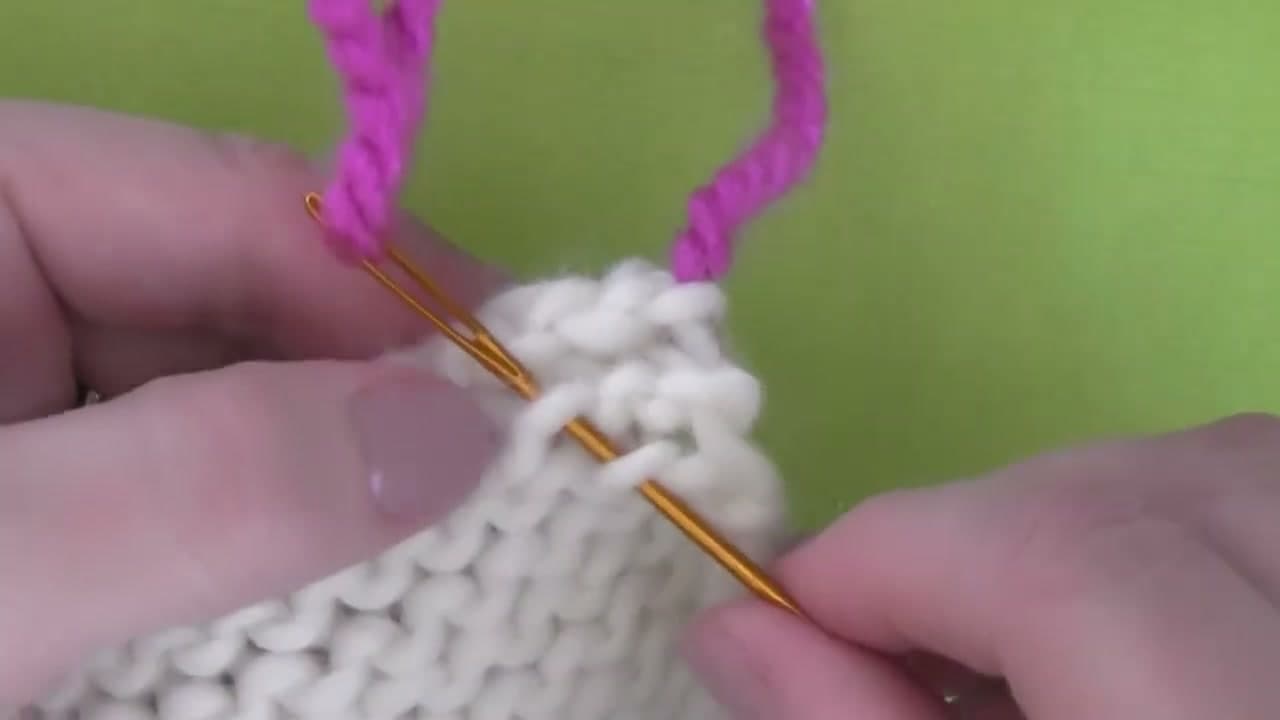
You should have a few inches of yarn tail hanging off the corner of your finished knit piece. Thread the tail through the eye of your tapestry needle. A blunt-tip darning needle or tapestry needle is what you want - sharp embroidery needles split the strands of yarn and look messy, blunt needles slide between the strands cleanly.

If your tail is too short to thread comfortably, work the yarn back through one or two loops by hand to lengthen it, then thread the needle.

Tip

A bent-tip tapestry needle (sometimes called a darning needle) is worth the extra two dollars. The angle makes it easier to slide under stitches without the tip catching on the fabric.

Products used in this step

2

Step 2: Weave Along the Edge (First Direction)

0:45
Step 2: Step 2: Weave Along the Edge (First Direction)

Flip the knit piece over so the wrong side - the back - is facing up. The wrong side of garter stitch has the same bumpy look as the front, but for stockinette it is the smooth purl side.

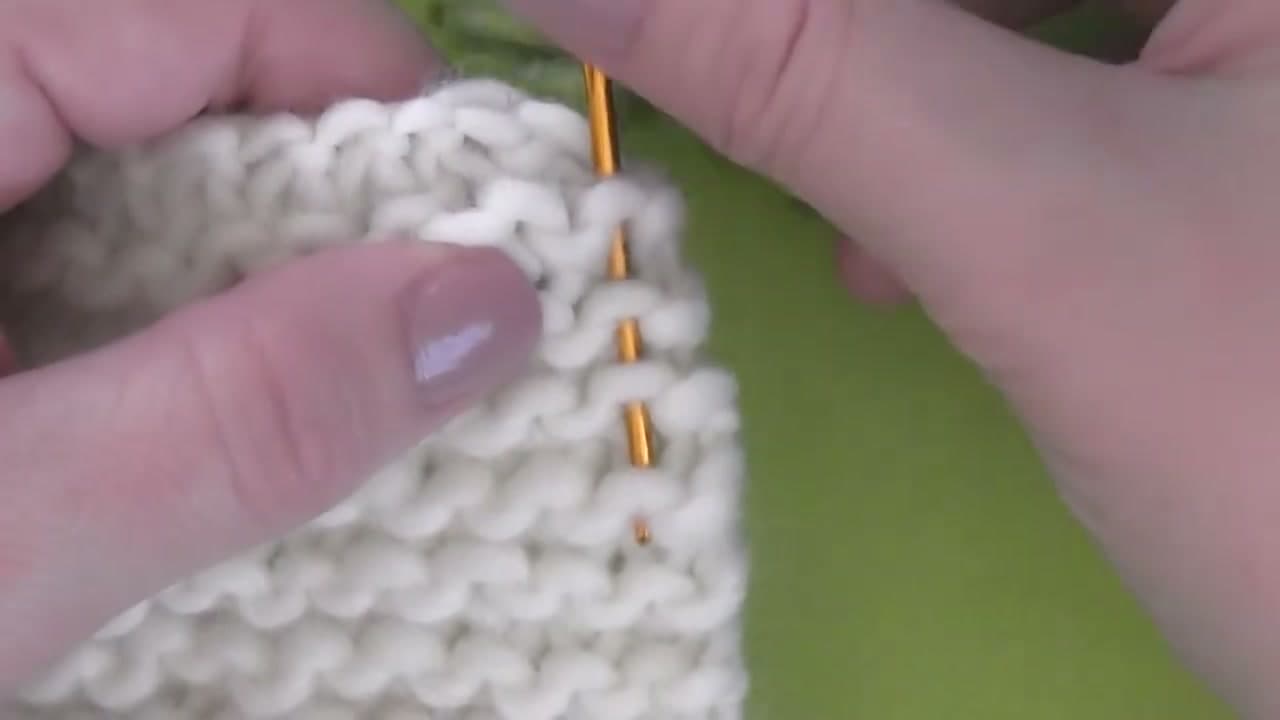
Bring the threaded needle to the side edge of the work and start weaving the tail through the surface loops along that edge. Go down for at least an inch. For chunky yarn that is about five loops; for fingering weight closer to ten. The yarn rides on the surface of the wrong side and never shows on the front.

3

Step 3: Reverse Direction Through the Same Column

0:55
Step 3: Step 3: Reverse Direction Through the Same Column

Once you have woven about an inch in the first direction, change direction and come back up the same column of surface loops, threading the tail through them exactly the same way you went down.

This is what locks the yarn in place. The first pass alone would slide right back out, but the second pass through the same loops creates friction in both directions. Take your time and pull the yarn snug after each loop so the woven tail sits flat against the fabric.

Products used in this step

4

Step 4: Third Pass for Extra Security

1:30
Step 4: Step 4: Third Pass for Extra Security

For anything that gets washed or worn regularly - hats, sweaters, socks, washcloths - add a third pass alongside the first column. Same idea: travel down through five or so loops, in the same row of surface loops you have been working.

Three passes is enough for any project that gets normal wear. The finished weave-in sits invisibly on the wrong side of the work along the seam edge. The benefit of this edge method is that it is quick and simple. The trade-off is that if you used a strongly contrasting color, you may see a faint hint of it on the right side - the diagonal method (next) hides contrasting colors better.

5

Step 5: Start the Diagonal Method

2:25
Step 5: Step 5: Start the Diagonal Method

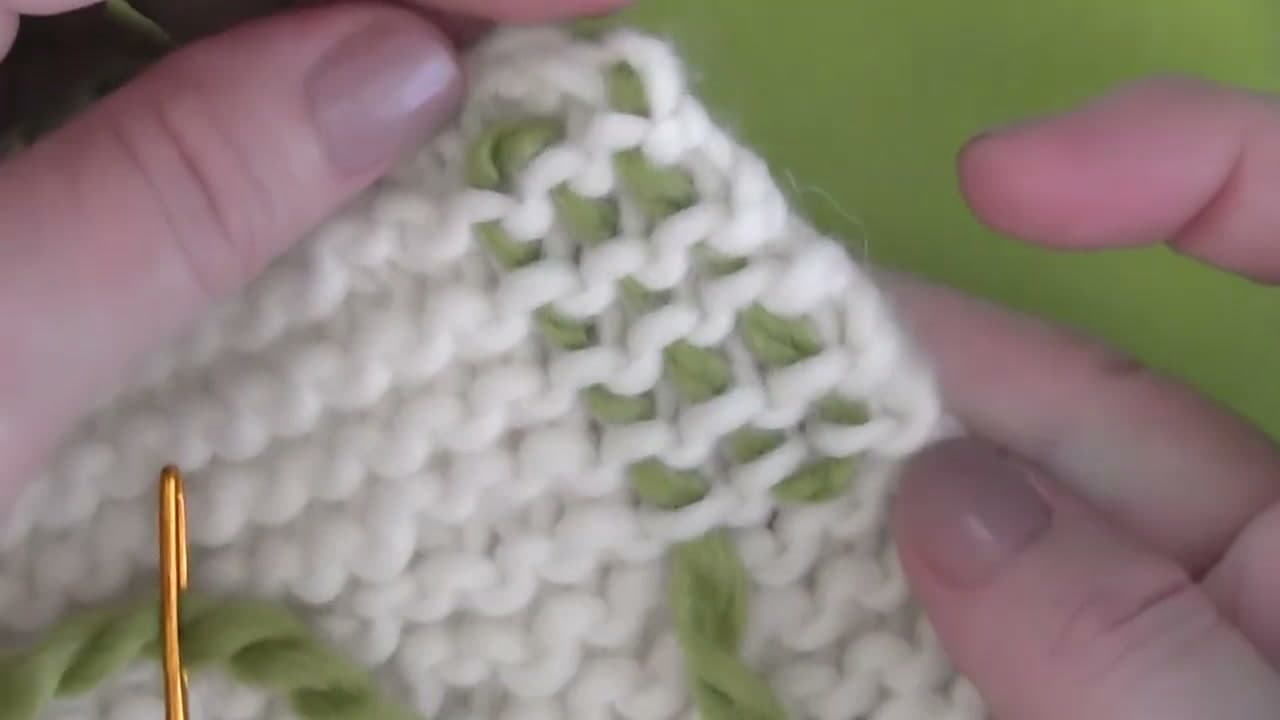
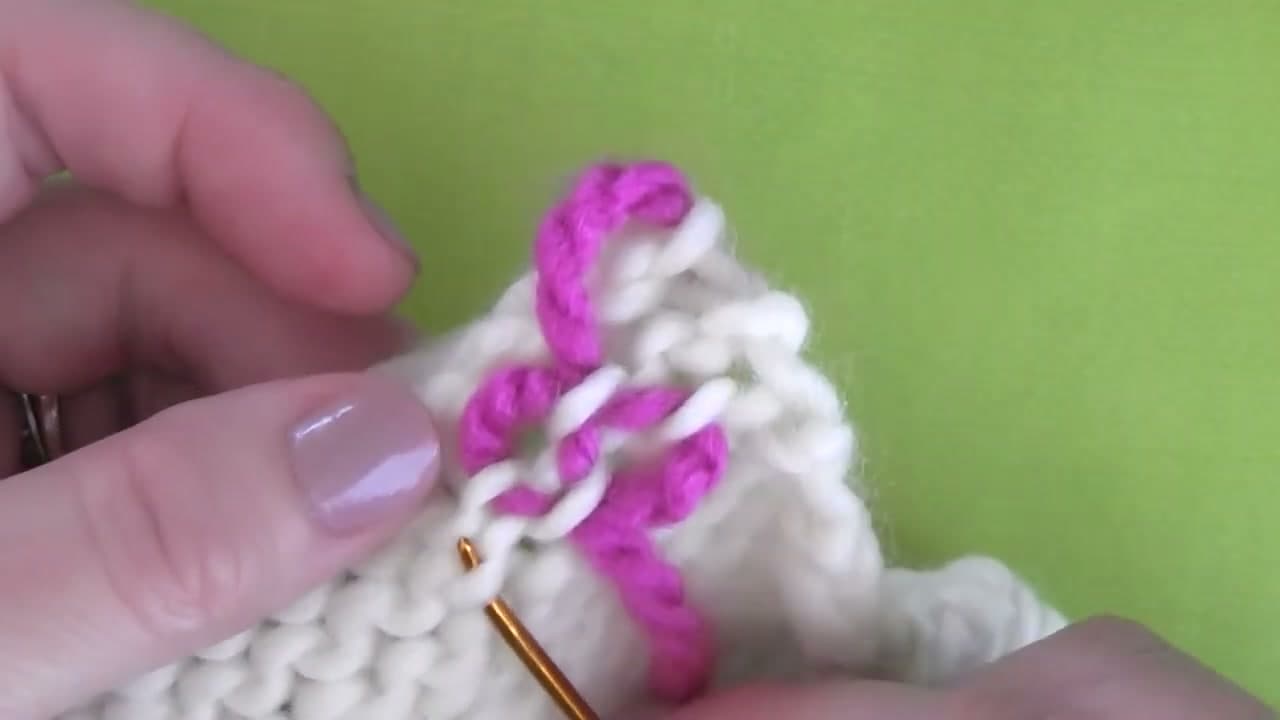
Here is the second method, useful when you have a contrasting yarn color or when the weave-in needs to be completely invisible. With the wrong side facing up, slide your needle under one strand of a knit stitch, then move one stitch over and pick up the next strand at a slight angle.

The needle is now traveling diagonally through the fabric instead of straight along the edge. The diagonal path is much harder for the eye to spot on the right side because it does not follow a straight line of yarn that the fabric naturally creates.

6

Step 6: Continue the Diagonal Weave

3:25
Step 6: Step 6: Continue the Diagonal Weave

Keep picking up one strand at a time, moving one stitch over and one row up (or down) with each pass. The yarn traces a faint zigzag through the back of the work.

Travel about an inch in one direction, then reverse and travel back through adjacent strands to lock the yarn in place. Same principle as the edge method - the second pass through neighboring strands is what keeps the tail from sliding out - just spread across the body of the fabric instead of riding along one edge. Three diagonal segments is plenty of security for any project.

Tip

If you can see the contrasting yarn pop through to the front while you are working, you went too deep. Only catch the top strand of each stitch, not the strand below it.

Products used in this step

7

Step 7: Trim the Yarn

4:00
Step 7: Step 7: Trim the Yarn

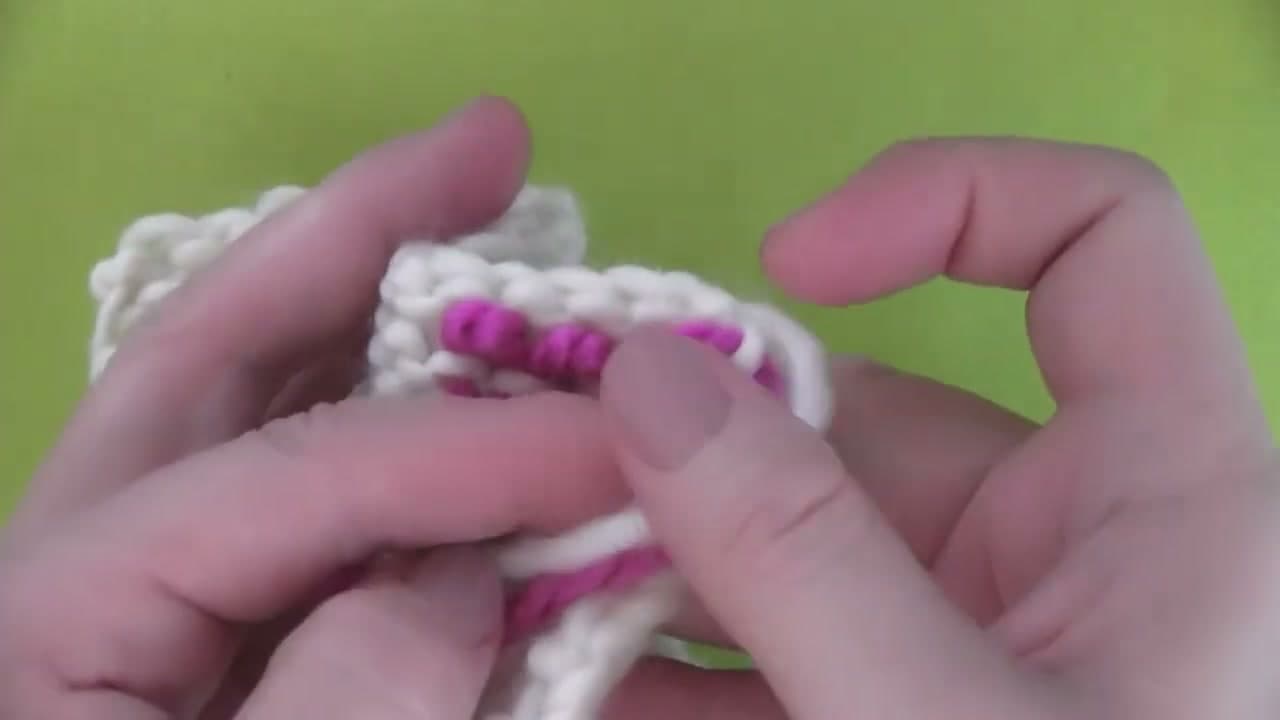
Give the woven tail a gentle stretch so it sits flush with the surrounding fabric. Then trim the leftover yarn close to the surface using sharp embroidery scissors - the small curved kind sometimes called stork scissors are ideal because they get in tight without nicking the knit.

Leave about a quarter-inch tail rather than cutting flush. When you stretch the piece once more, that tiny tail pulls itself back inside the fabric and disappears. Your project is officially done.

Products used in this step

Products Used

☐ The Checklist

How to Weave In Ends Knitting (2 Methods for a Clean Finish)

Tools
3
Materials
1
Steps
7
Video
5 min

Your Guide

Studio Knit

As an Amazon Associate we earn from qualifying purchases. Links on this page may be affiliate links - clicking them and buying doesn't change your price, but helps support ShowMeStepByStep.

Tags

What's next

Weekly Digest

Liked this knitting tutorial?

Pick the categories you want to hear about. Weekly digest of new step-by-step tutorials. No spam, easy unsubscribe.

Send me tutorials about

We only email about new tutorials. Easy unsubscribe anytime.