How to Purl Stitch: 7 Step Beginner Knitting Tutorial

The finished result: How to Purl Stitch: 7 Step Beginner Knitting Tutorial

By ShowMeStepByStepPublished Updated

Based on a video by Sheep & Stitch.

The purl stitch is the second fundamental stitch in knitting and the second one you'll learn after the knit stitch. Together, knit and purl are the building blocks for every stitch pattern in knitting - stockinette, ribbing, seed stitch, cables, lace. Master both and you can read any pattern.

This walkthrough from Davina at Sheep & Stitch breaks the purl into seven clean steps. The big difference from a knit stitch: yarn stays in FRONT of the needle, the right needle goes in from TOP to BOTTOM (purlwise), and the wrap goes BACK to FRONT. Same yarn, same needles, opposite motions.

What you need

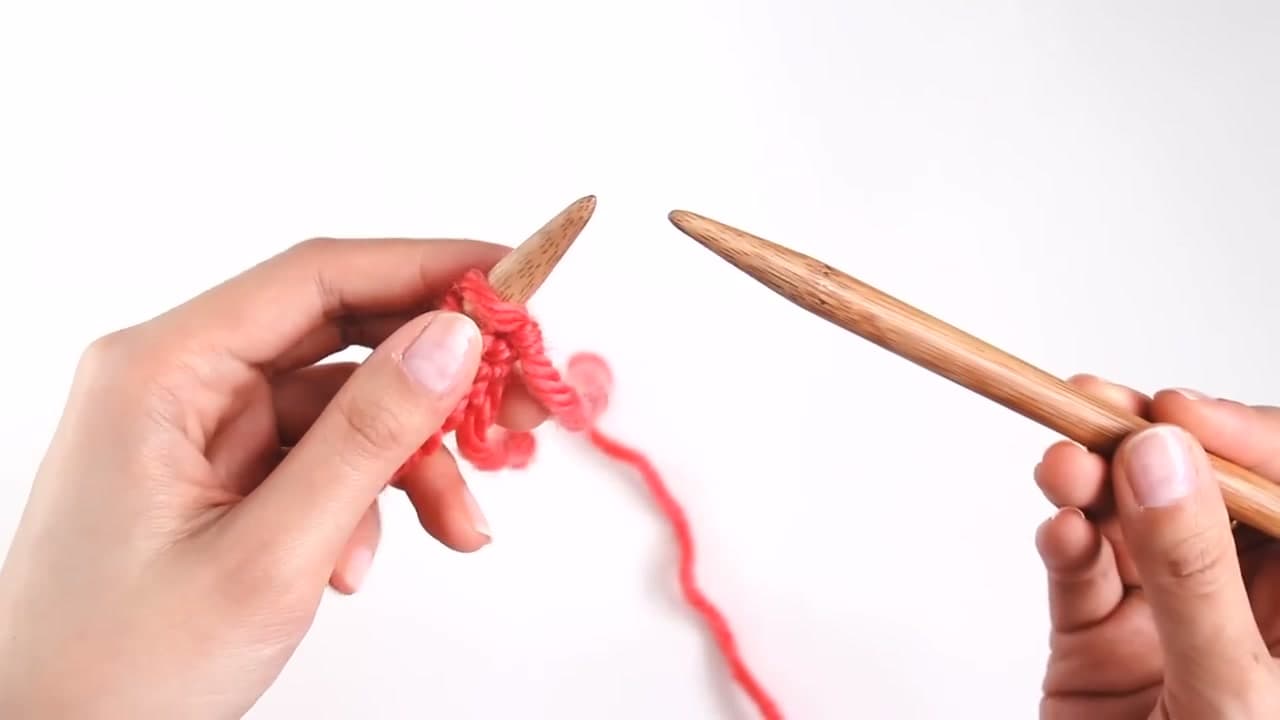
  • 8mm to 10mm bamboo or wooden needles - wood grips the yarn instead of dropping it
  • Bulky yarn in a light, solid color. Dark or fuzzy yarn hides the loop
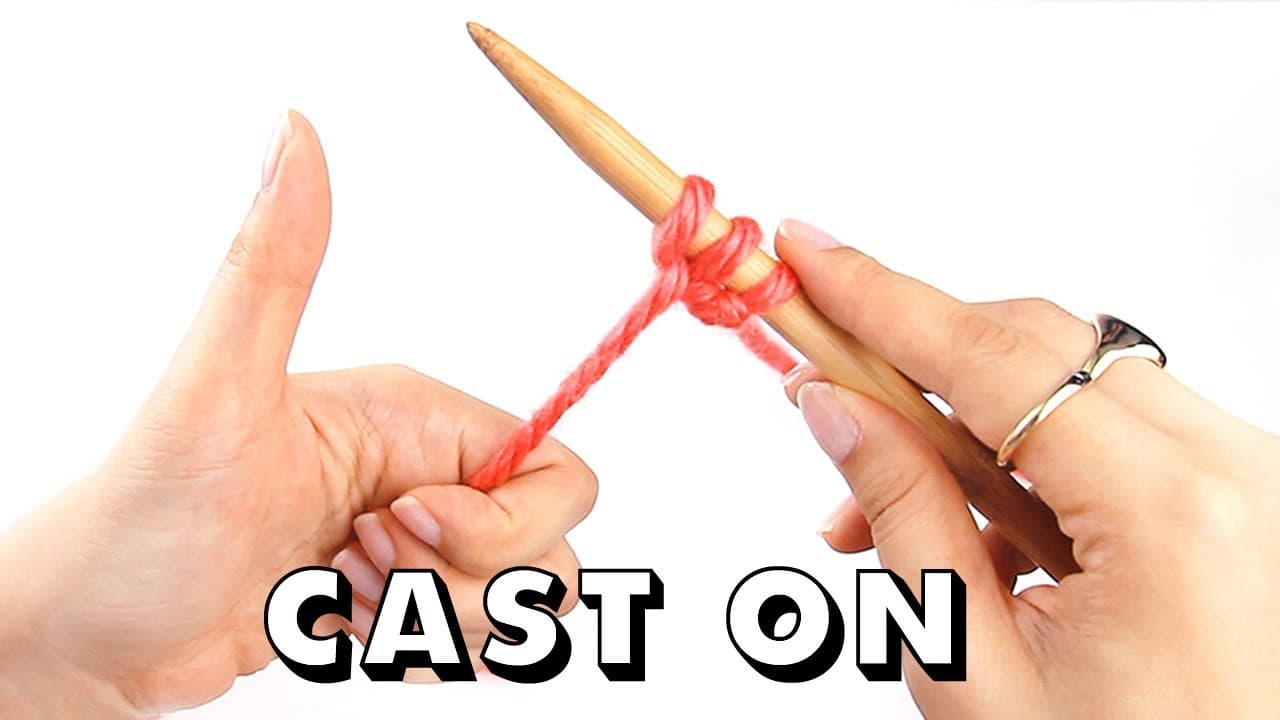
  • 10 to 15 stitches on the left needle - see how to cast on
  • Scissors

The purl stitch, move by move

Five moves, same order, every stitch: yarn to the front between the needle tips, right needle into the stitch from top to bottom, wrap back to front, pull the new loop through, slide the old stitch off.

In a pattern the purl stitch is p, so "p1" is one purl and "p to end" means purl the rest of the row. Purlwise is that top-to-bottom needle entry. Reading a knitting pattern covers the rest of the shorthand.

Why the purl stitch exists in knitting

A purl is the same loop as a knit, worked from the other side. Push the loop away from you and the front shows a V. Pull it toward you and the front shows a bump. Two directions, and that is enough to make every fabric on the needles.

  • Garter stitch - knit every row. Ridged, squishy, flat, the same on both sides.
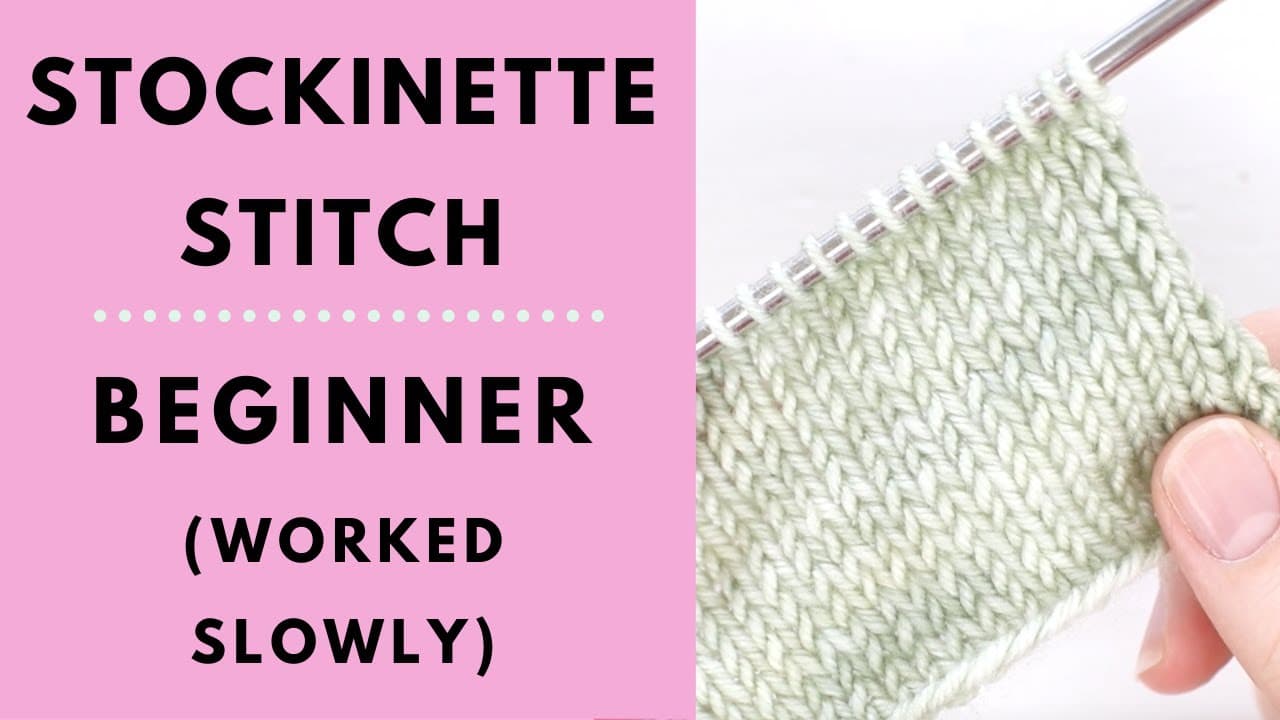
  • Stockinette - knit one row, purl the next. Smooth Vs on the front, bumps on the back. The sweater fabric, and it curls at the edges.
  • Reverse stockinette - purl every row, bumpy face out.
  • Ribbing - knits and purls alternating inside one row. Stretchy, so it lands on cuffs and hems. See how to knit ribbing.

To work both stitches inside one project rather than one at a time, combining them row by row picks up where this page stops.

Moving the yarn front and back

The error that eats more beginner rows than anything else is starting a purl with the yarn still at the back. It has to travel between the two needle tips, never over the top of them. Carry it over and you have made a yarn over: an extra loop that becomes an extra stitch with a hole under it. Count your stitches at the end of every practice row - if the number went up, a stray wrap is why.

Purl bumps and knit Vs

Look at the row closest to the needle. A knit shows a flat V, point down. A purl shows a horizontal bump sitting on the stitch below it. That is the whole of stitch reading. Lost your place halfway across a rib? A bump means you purled that stitch, so the next one is the opposite.

Purl stitch problems and how to fix them

The stitch is twisted. It sits with its legs crossed and fights the needle on the next row. You wrapped front to back instead of back to front. Lift it off, turn it so the right leg sits in front, put it back.

Purl rows looser than knit rows. Stockinette that stripes - a tight row, a loose row - is called rowing out, and most knitters do it at first because the purl motion uses a little more yarn. Tug the yarn snug after each wrap, or drop one needle size on purl rows only.

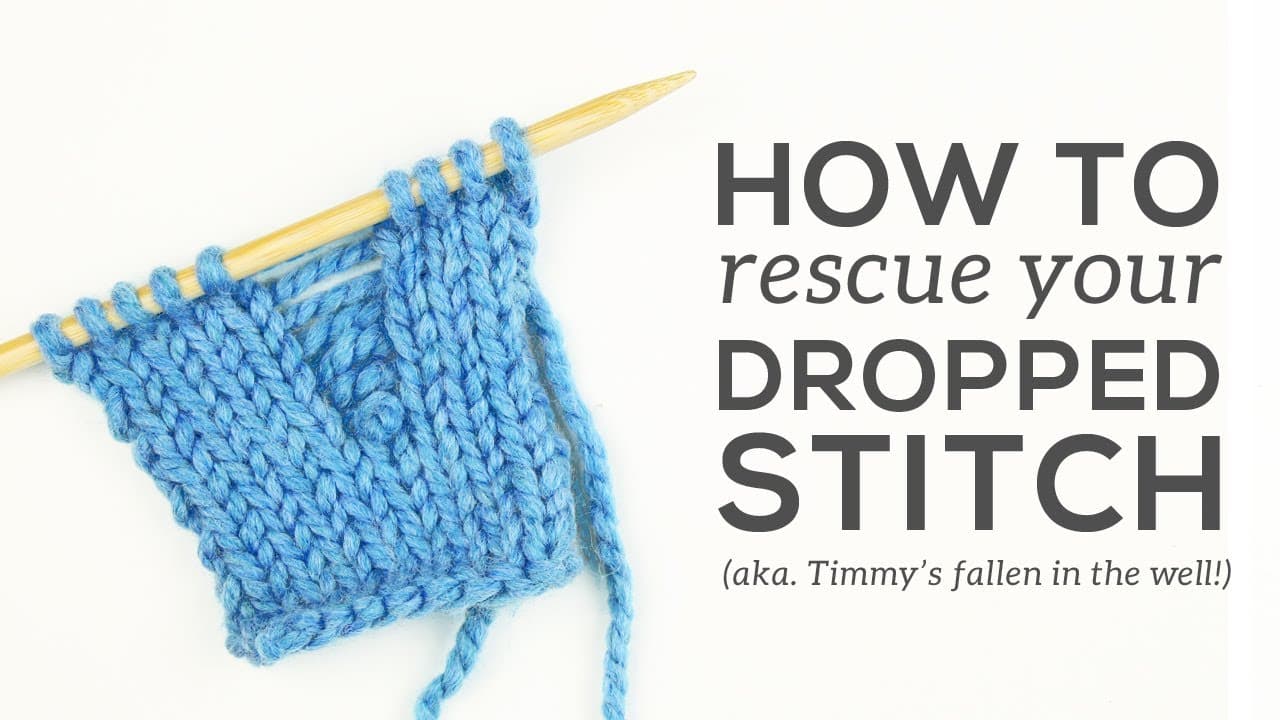
A stitch has come off the needle. On the purl side it shows as a gap with a ladder of loose bars under it. Stop pulling on the work, pin the loose loop so it cannot run, then pick the dropped stitch back up with a crochet hook.

What you'll need

Step-by-Step Guide

7 steps · about 8 minutes.Check off each step as you go and your progress saves automatically.

1

Set Up the Starting Position

0:36
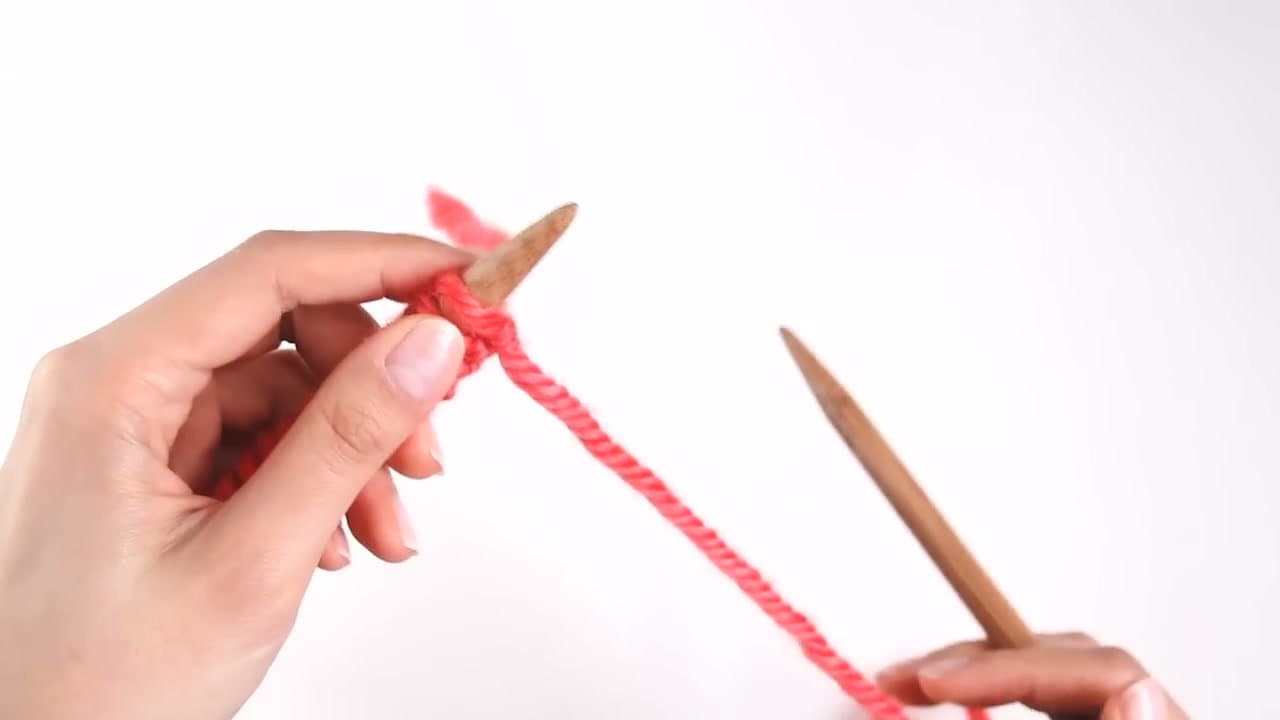
Step 1: Set Up the Starting Position - How to Purl Stitch: 7 Step Beginner Knitting Tutorial

Hold needles in standard knitting position. Your cast-on stitches sit on the LEFT needle. The RIGHT needle starts empty - that's where each new stitch will land as you work.

The working yarn comes from the right side of the cast-on row. About 10-15 cast-on stitches gives you enough to practice the row without running out before the rhythm clicks.

2

Bring Yarn to the FRONT

0:43
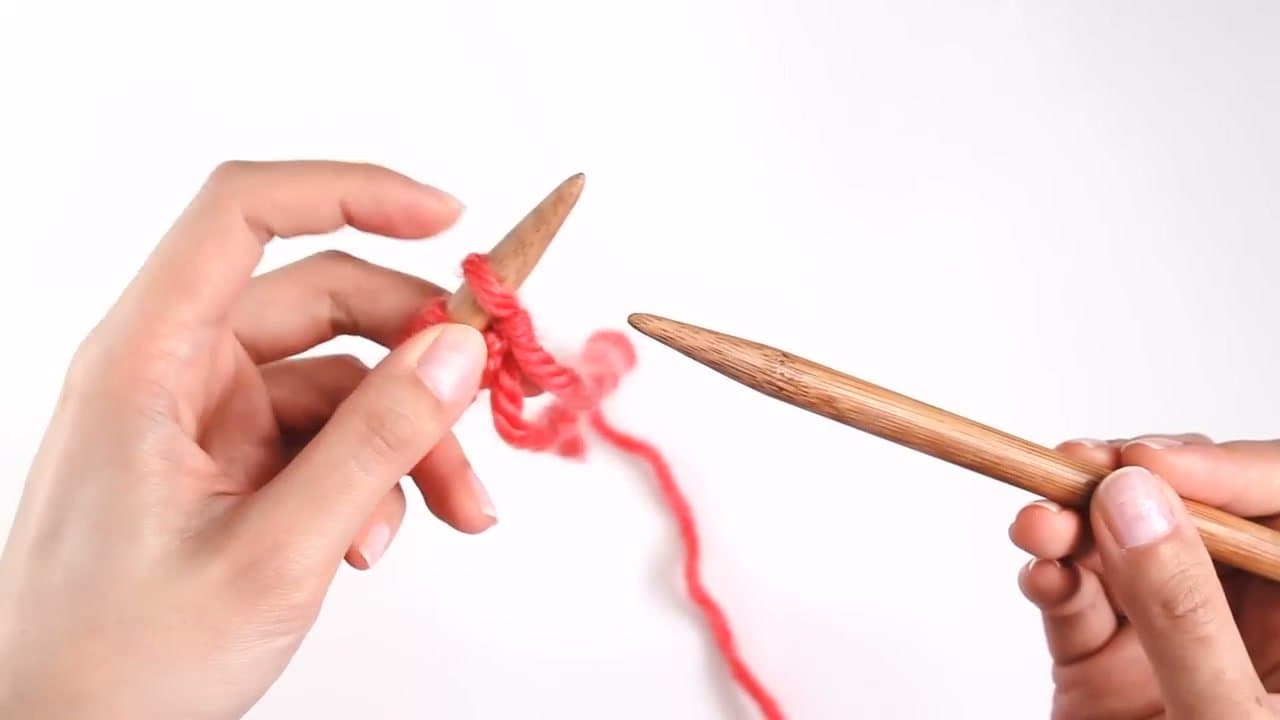
Step 2: Bring Yarn to the FRONT - How to Purl Stitch: 7 Step Beginner Knitting Tutorial

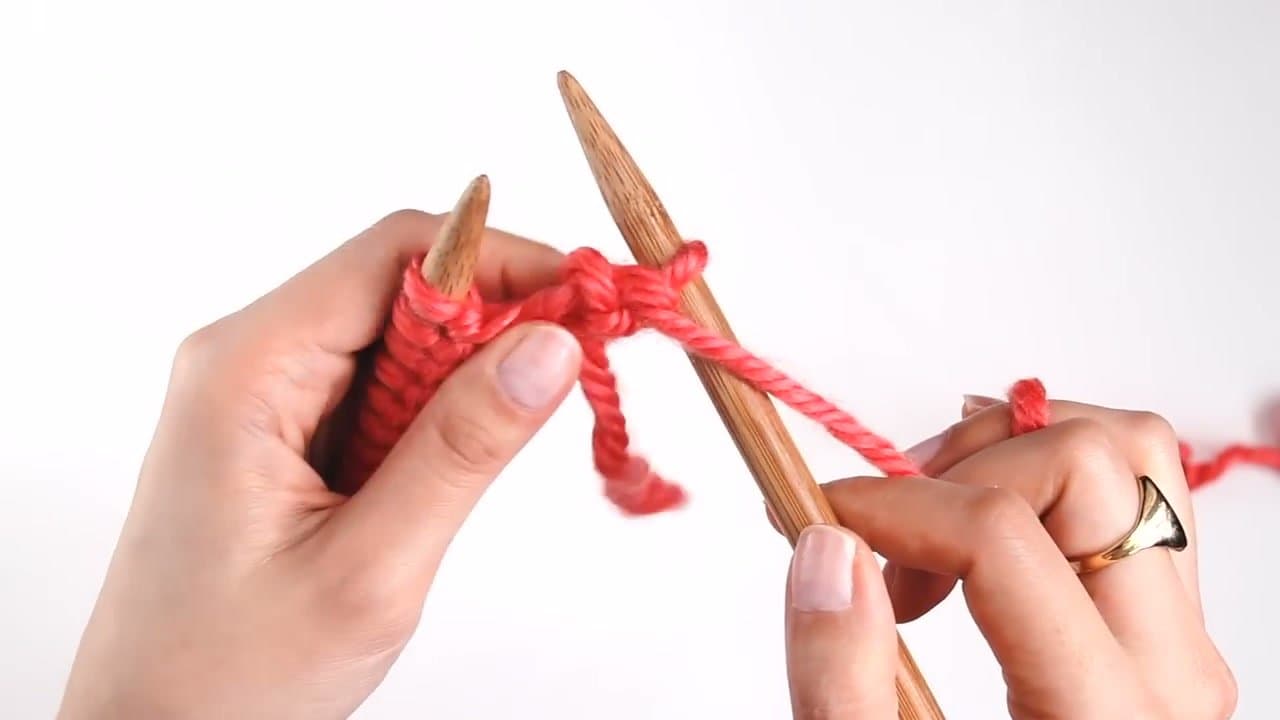
This is the single biggest difference between purl and knit. For purl stitches, the working yarn must be in FRONT of your needles - between the needles and you, not behind them.

If your yarn is behind, the resulting stitch is either a knit (wrong) or a tangled mess. Move the yarn forward by passing it between the two needle tips before starting any purl stitch.

3

Insert Right Needle Top to Bottom

0:47
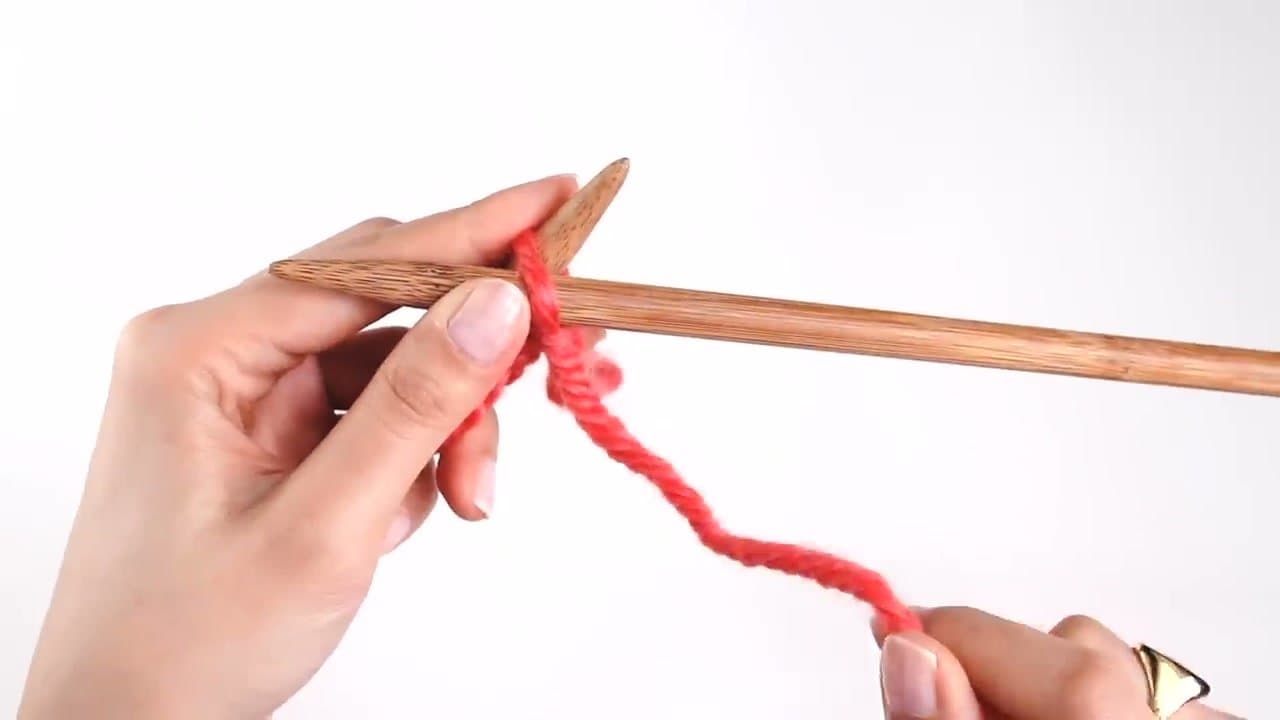
Step 3: Insert Right Needle Top to Bottom - How to Purl Stitch: 7 Step Beginner Knitting Tutorial

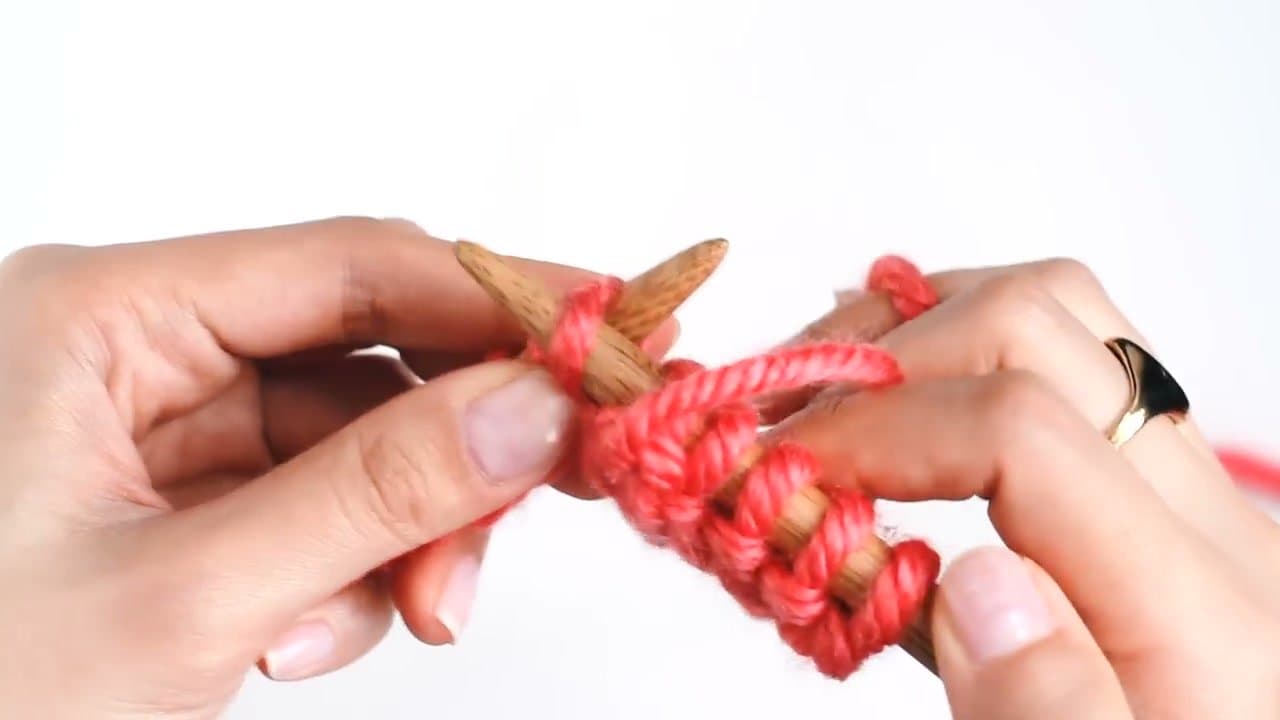
Take the right needle and push it into the first stitch on the left needle from TOP to BOTTOM. The needle enters from the front of the stitch and angles down through the stitch, coming out below.

This is also called 'purlwise' insertion. It's the opposite of how you'd insert for a knit stitch (knitwise = bottom to top). With yarn in front and needle entering top-down, your tip should now sit in front of the left needle, crossed over it.

4

Wrap Yarn Back to Front

0:56
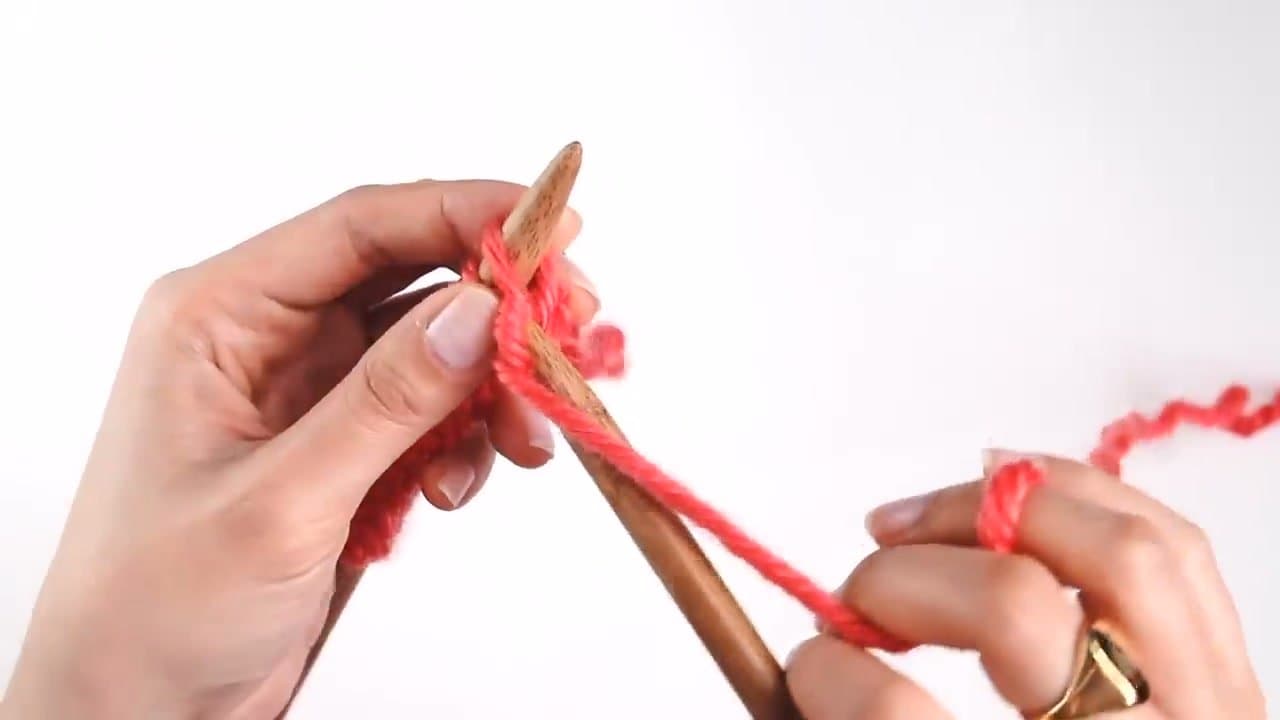
Step 4: Wrap Yarn Back to Front - How to Purl Stitch: 7 Step Beginner Knitting Tutorial

Take the working yarn (still in front) and wrap it around the right needle from BACK to FRONT. The yarn passes over the top of the right needle and comes back to the front, leaving a fresh loop on the right needle.

The wrap direction matters. Going back-to-front creates a normal purl. Going front-to-back creates a twisted stitch that looks wrong on the next row. Always back-to-front for purls.

5

Catch the Loop and Pull Through

1:24
Step 5: Catch the Loop and Pull Through - How to Purl Stitch: 7 Step Beginner Knitting Tutorial

Use the right needle to catch the new loop and pull it through the stitch on the left needle. The needle dips down through the original stitch, capturing the new yarn loop and bringing it forward.

Keep the new loop on the right needle as you pull through. If it slips off, you've dropped a stitch - stop and pick it up before continuing.

6

Slide the Original Stitch Off

1:35
Step 6: Slide the Original Stitch Off - How to Purl Stitch: 7 Step Beginner Knitting Tutorial

Slide the original stitch off the LEFT needle. The new loop is now on the right needle - your finished purl stitch.

Look at it: a purl stitch creates a small bump (called a 'purl bump') on the side facing you. Knit stitches make a flat V; purls make a bump. That's how you tell them apart later when reading your knitting.

7

Repeat Across the Row

4:45
Step 7: Repeat Across the Row - How to Purl Stitch: 7 Step Beginner Knitting Tutorial

Repeat the same five moves: yarn front, needle in top-to-bottom, wrap back-to-front, pull through, slide off. Work each stitch from the left needle onto the right needle until the row is done.

A row of purls makes 'reverse stockinette' fabric (bumpy texture). Alternate purl rows with knit rows to make 'stockinette' (the flat V on one side, bumps on the back). Once both stitches feel automatic, you can knit anything.

Tip

Knit stitch and purl stitch are two faces of the same coin - the back of a knit looks like a purl, and vice versa. Garter stitch (knit every row) actually shows alternating bumpy purl rows on both sides.

Keep going

How to Do Kitchener Stitch

Products Used

The Checklist

How to Purl Stitch: 7 Step Beginner Knitting Tutorial

Tools
2
Materials
2
Steps
7
Video
8 min

Tools we recommend

Your Guide

Sheep & Stitch

As an Amazon Associate we earn from qualifying purchases. Links on this page may be affiliate links - clicking them and buying doesn't change your price, but helps support ShowMeStepByStep.

Tags

Sunday How-To

New knitting tutorials, every Sunday

One short email with the week's best step-by-step guides. Free, no spam, unsubscribe anytime.

Test your knowledge

Did the lesson stick? Start with this one.

5 questions covering what you just read. No signup, no score saved, and you can stop after this one.

Question 1 of 5

Where does the working yarn sit for a purl?

Quick reference

Key takeaways from How to Purl Stitch: 7 Step Beginner Knitting Tutorial

5 questions, answers, and one-line explanations. Tap to expand.

  1. 1.Where does the working yarn sit for a purl?

    Answer: In front of needles

    The yarn sits in FRONT - between the needles and you. This is the single biggest difference from a knit stitch.

  2. 2.Which way does the right needle enter the stitch?

    Answer: Top to bottom

    Purlwise: top to bottom, entering from the front and angling down. Knitwise (for knit stitch) is bottom to top.

  3. 3.Which way does the yarn wrap around the right needle?

    Answer: Back to front

    Back to front. Going front-to-back creates a twisted stitch that looks wrong on the next row.

  4. 4.How does a finished purl stitch look on the side facing you?

    Answer: Small raised bump

    A 'purl bump' on your side. Knit stitches look like flat Vs; purl stitches look like little bumps. That's how you read your knitting.

  5. 5.Garter stitch is which row pattern?

    Answer: Knit every row

    Knit every row creates garter - which looks like alternating purl bumps on both sides. The back of a knit looks like a purl.

Did this work for you?

What's next

Weekly Digest

Liked this knitting tutorial?

Pick the categories you want to hear about. Weekly digest of new step-by-step tutorials. No spam, easy unsubscribe.

Send me tutorials about

We only email about new tutorials. Easy unsubscribe anytime.