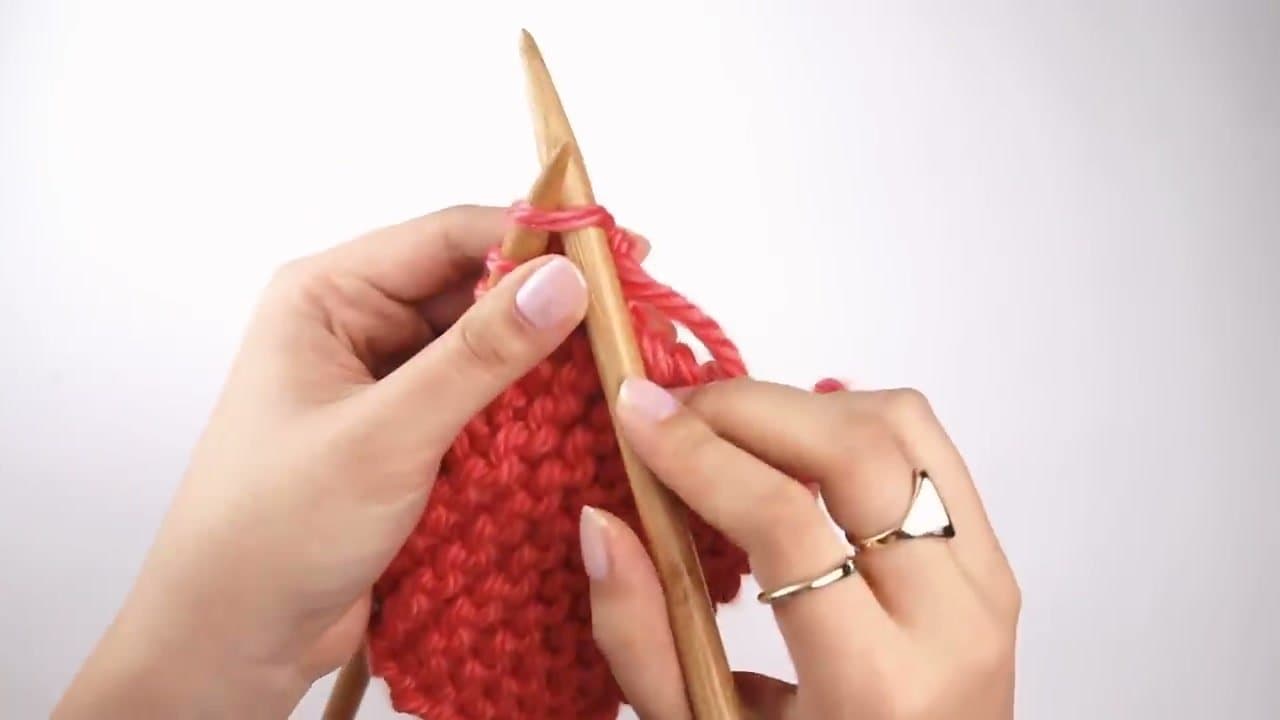
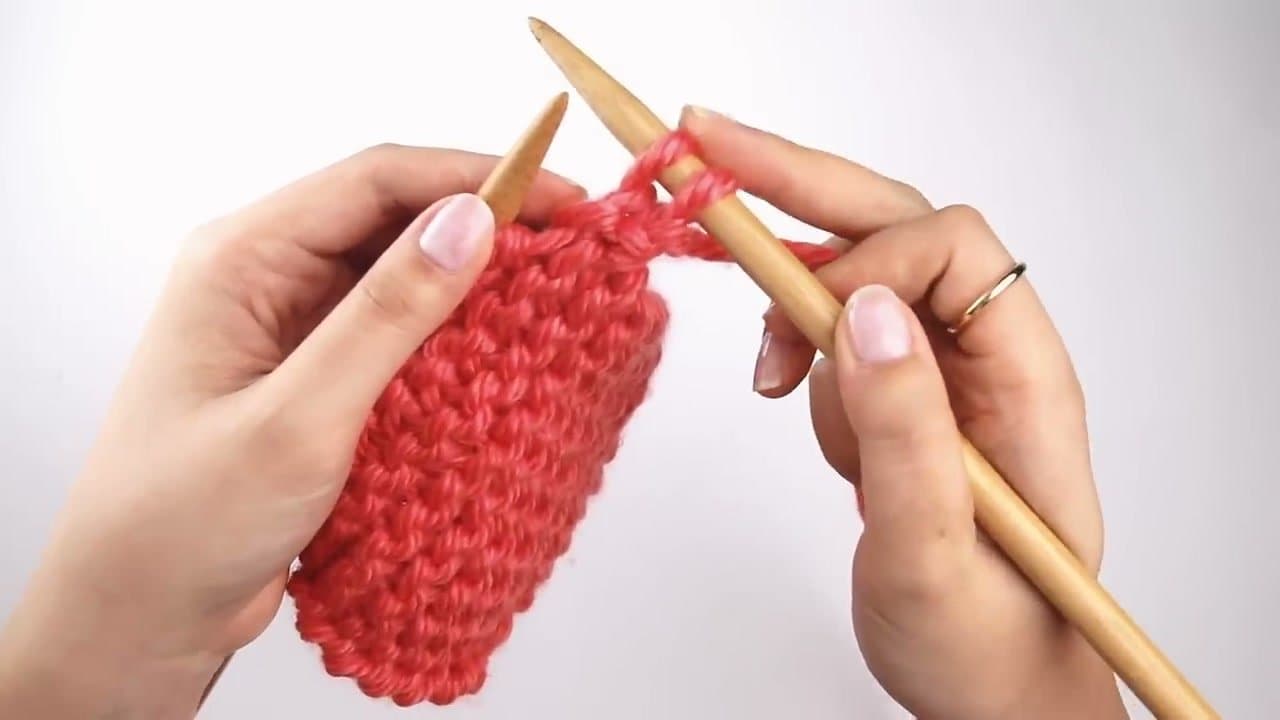
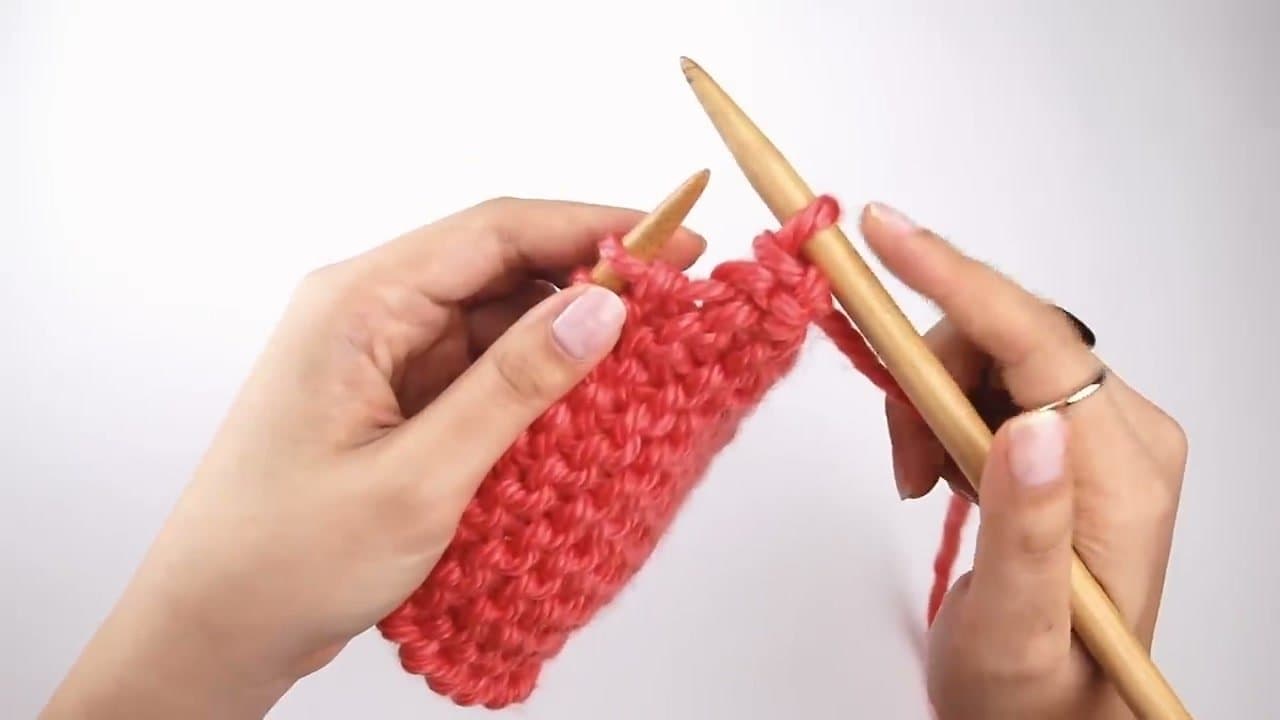
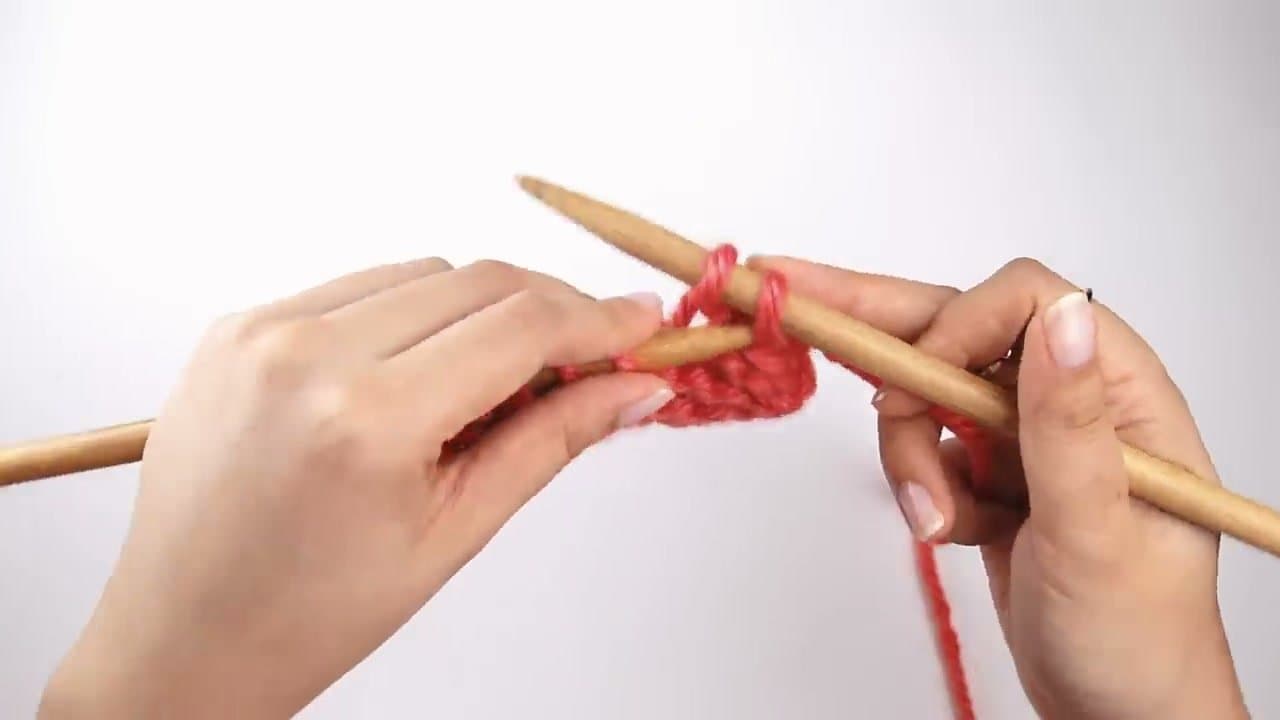
You've worked your way through a few rows. The fabric is sitting on your needle and looking pretty good. The last thing left is to get it off the needle without the whole thing falling apart - that's the bind off (sometimes called the cast off).
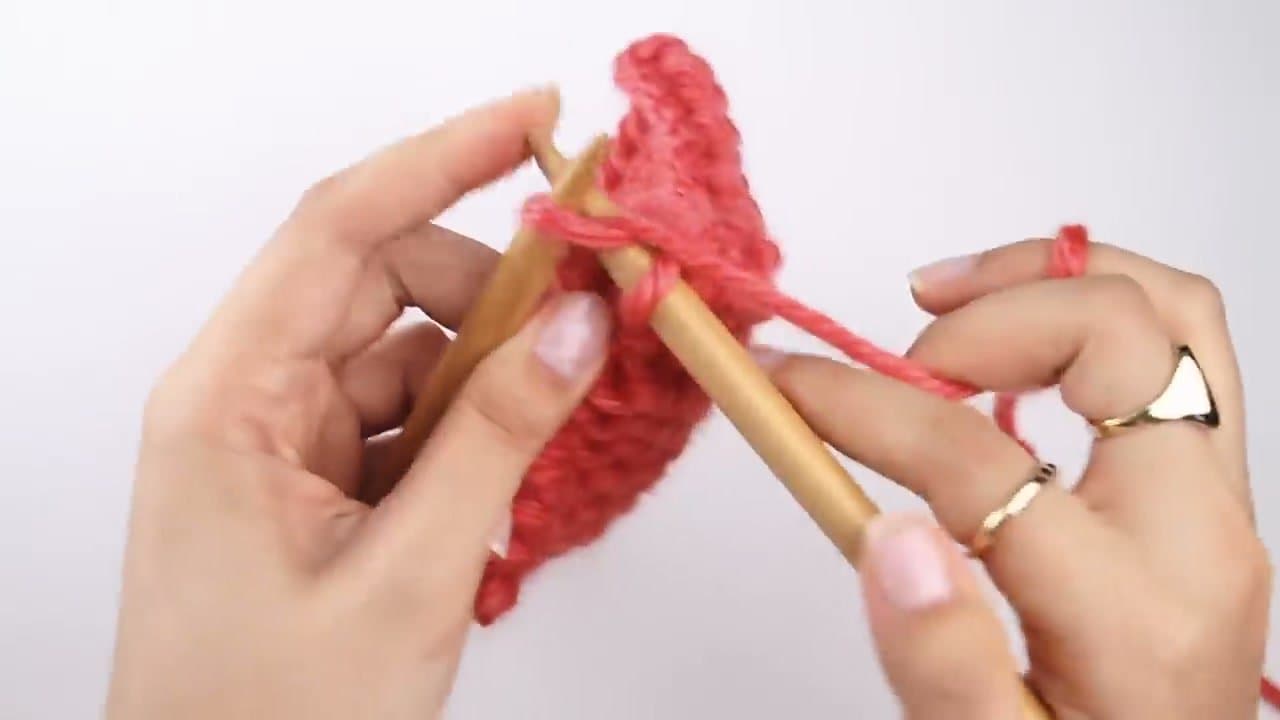
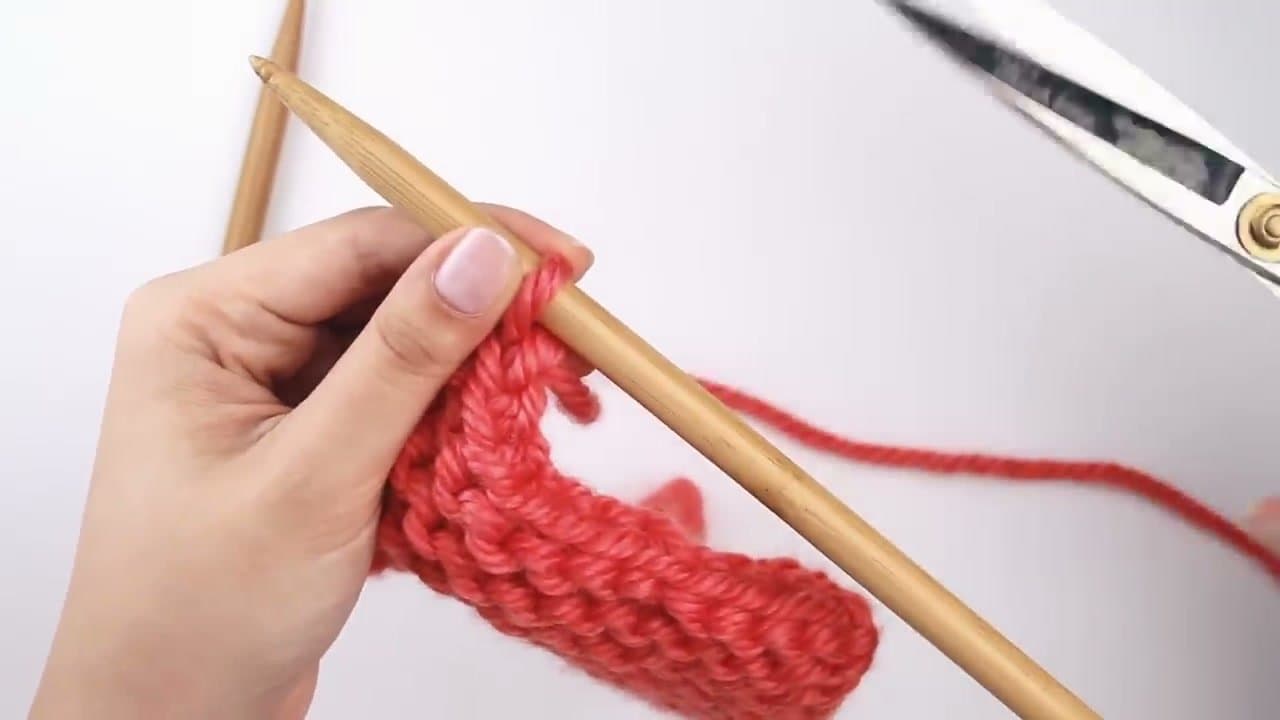
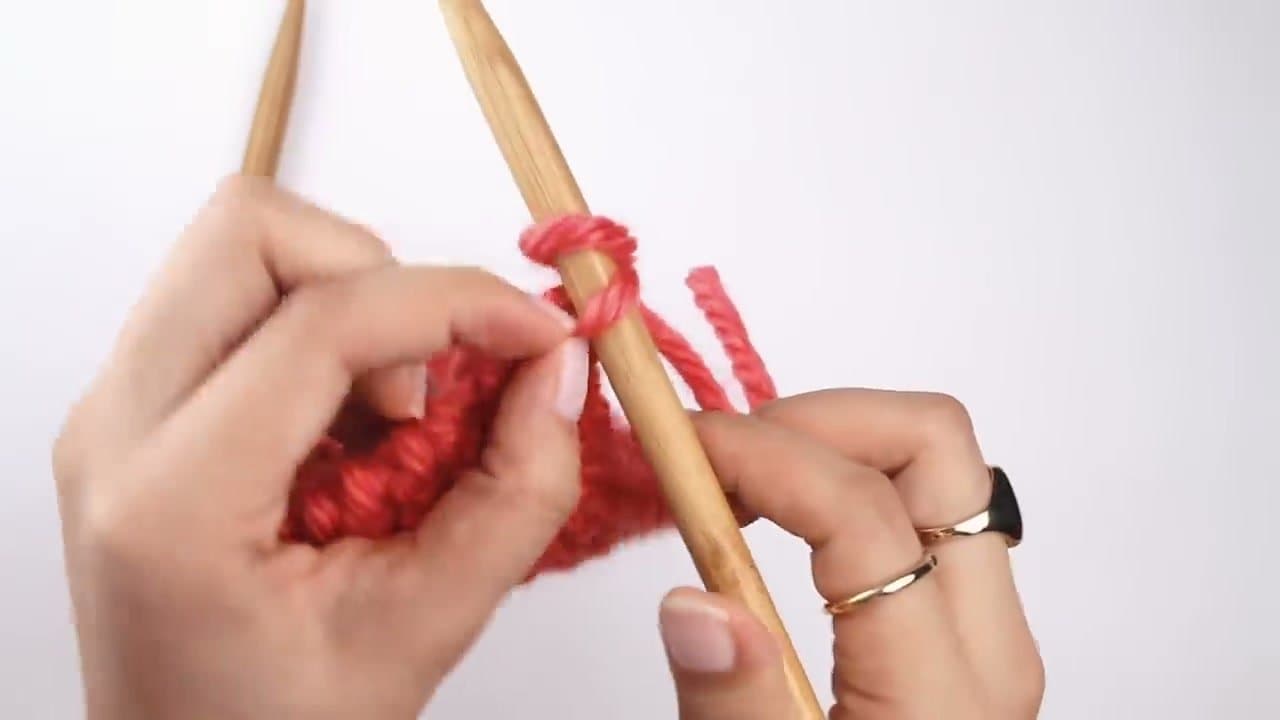
Davina from Sheep & Stitch walks through the standard bind-off method one stitch at a time. The whole technique is two moves on repeat: knit a stitch, then lift the previous stitch over and off. Keep doing that across the row, snip your yarn, pull the tail through the last loop, and you're done.
Use the same yarn and needles you knit the project with. Bulky yarn on 10mm needles, like Davina uses, makes every stitch easy to see.
What you need
- Your project still on the needles, working yarn attached
- The needles you knit it on, plus a larger pair if your hands run tight
- Scissors
- A tapestry needle for the tail
Cast off and bind off are the same thing
Bind off is the American word, cast off is the British one. Same stitches, same edge. A pattern that says "cast off 8 sts loosely" wants the leapfrog in these steps, worked eight times, with a relaxed hand. Learn both, because half the patterns you find use the other word. It is the opposite bookend to casting on: one puts stitches on the needle, the other takes them off.
How much yarn you need to bind off
Running dry three stitches from the end is an annoying way to finish. Lay the working yarn along the top edge of your work and fold it back and forth three times, then add 8 inches for the tail. If it reaches, you have enough - about 21 inches for a 7-inch dishcloth. Do not start a wide edge on the last scraps of a skein.
Bind off too tight? This is the fix
A tight bind off is the most common failure, and it does real damage. The brim of a knit hat or the cuff of a sock will not stretch over a head or a heel. Most people bind off tighter than they knit, because lifting a stitch over pulls the yarn snug. Three fixes, easiest first:
- Hold a needle one or two sizes larger in your right hand and knit onto that. Nothing else changes, and it solves most tight edges.
- Tug each new stitch a little bigger before you lift the old one over it.
- Work a stretchy bind off. Knit two, slip both stitches back to the left needle, knit them together through the back loops. Knit one more, slip both back, knit them together through the back loops again. Repeat to the end. That edge is springy enough for a sock cuff or a neckline.
Bound off too loose and the top edge flares? Go down a needle size, or block the piece flat.
Binding off in pattern
These steps bind off in knit, which is right for garter stitch and stockinette. If your last row was ribbing, bind off in pattern: knit the knit stitches and purl the purl stitches as you go, lifting over after each one. Only the stitch you make changes. Ribbing bound off in plain knit loses its bounce and flares, which shows on every hat brim and sweater neckband.
Weaving in the tail
Pulling the tail through the last loop locks the bind off, but the tail itself is still loose. Thread it on a tapestry needle, run it through the bumps on the back of the fabric for two inches, then double back the other direction for an inch. That change of direction stops it creeping out in the wash. More on ends in weaving in ends.
Common mistakes
- Three stitches on the right needle. You knit twice in a row and skipped a lift. Slide the extra stitch back to the left needle and carry on.
- Counting the wrong thing. When a pattern says bind off 6 stitches, count the stitches you lift over and drop, not the ones you knit. The loop left on the right needle does not count yet.
- Cutting the tail too short. Six inches is the floor, ten is comfortable.