How to Knit in the Round (Beginner Step-by-Step)

KnittingMedium11:577 stepsBrowse more →
Also in:Crafts

By ShowMeStepByStepPublished

Based on a video by Sheep & Stitch.

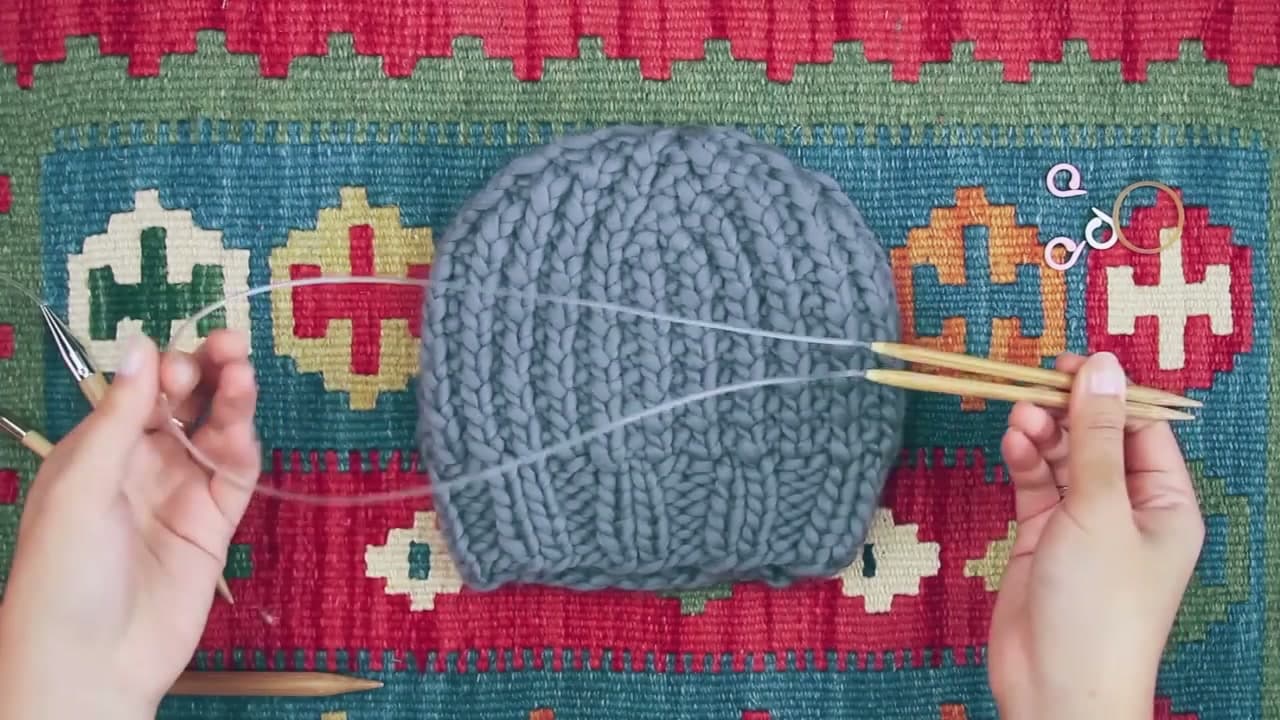
Flat scarves are a great place to start, but the moment you want a hat, a cowl, mittens, or socks you need a tube. That means knitting in the round. The technique looks intimidating from outside - all that cable curving back on itself - but it is genuinely simple once you have done it once. You cast on the way you always do, untwist your stitches, knit the first stitch on the other end, and you are off.

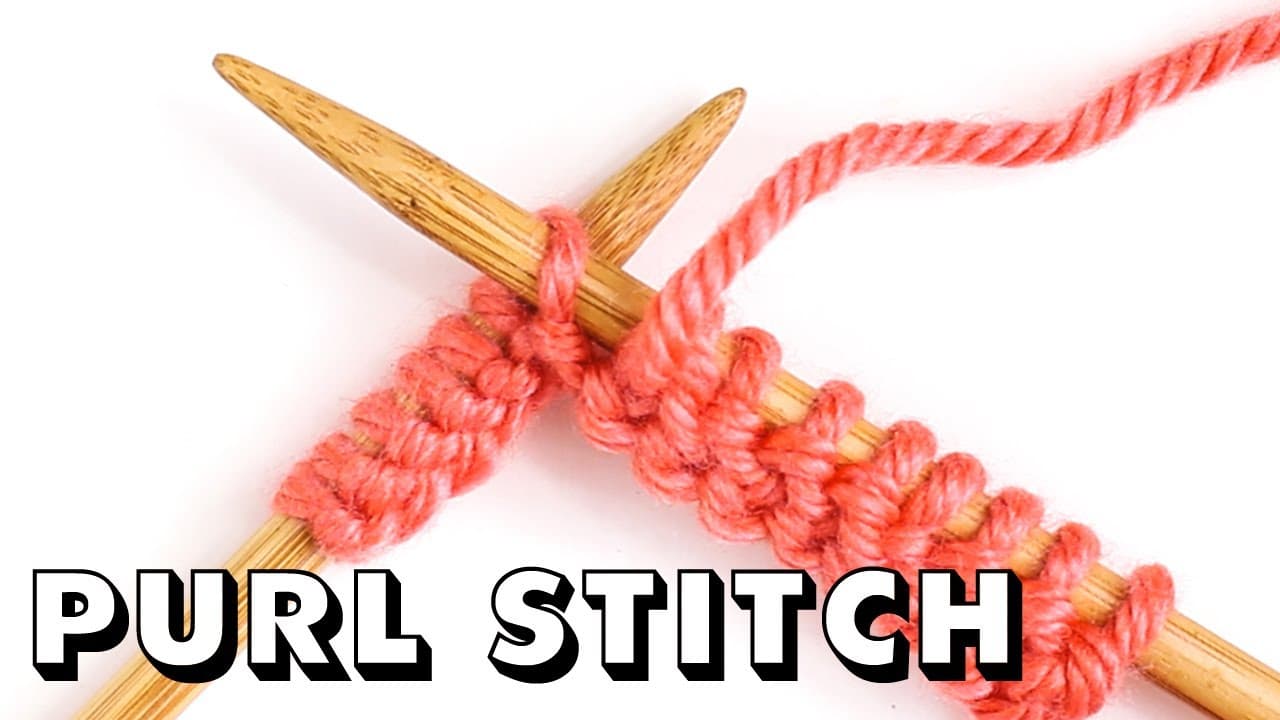
Davina at Sheep & Stitch walks through it cleanly with circular needles. If you are still working on the basics, brush up on absolute-beginner knitting, casting on, and the purl stitch first. When you finish your tube you will need a bind off and a way to weave in the ends - both wait for you at the other side.

Step-by-Step Guide

1

Step 1: Pick Your Circular Needles

1:00
Step 1: Step 1: Pick Your Circular Needles

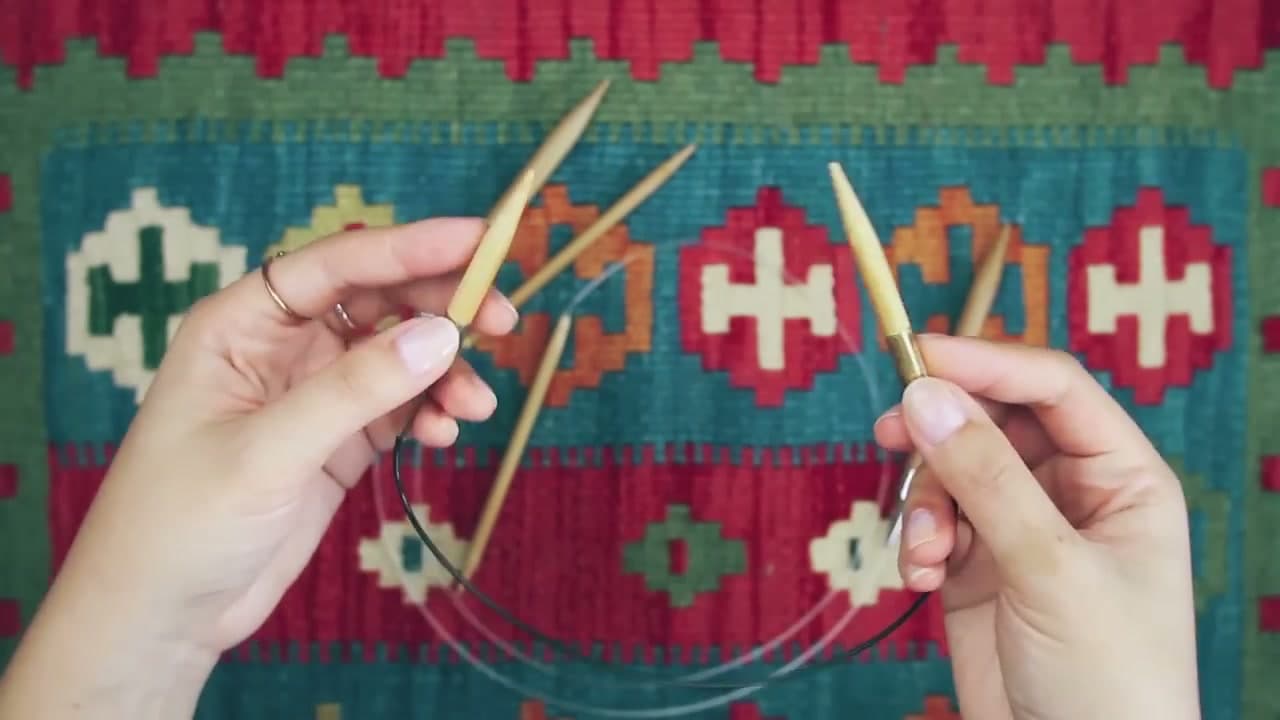
Circular needles come in the same sizes as straight needles, so the size you pick is driven by your yarn (the yarn band lists a recommended needle size). What is different is the cable. Pick a cable length that is shorter than the finished circumference of whatever you are knitting. A 16-inch needle is the sweet spot for an adult hat. A 24-inch or 32-inch works for a cowl. A 9-inch is for socks but is fiddly - most knitters skip it and use double-pointed needles or magic loop for socks instead.

If your cable is too long for your project, the stitches get stretched taut around the loop and you cannot knit them. The rule of thumb: choose a cable shorter than your project, never longer.

Tip

Bamboo needles grip slippery yarns and are kinder on the hands. Metal needles let stitches slide faster once you have your gauge dialed in. Start with bamboo if you are new.

2

Step 2: Cast On the Way You Already Know

1:40
Step 2: Step 2: Cast On the Way You Already Know

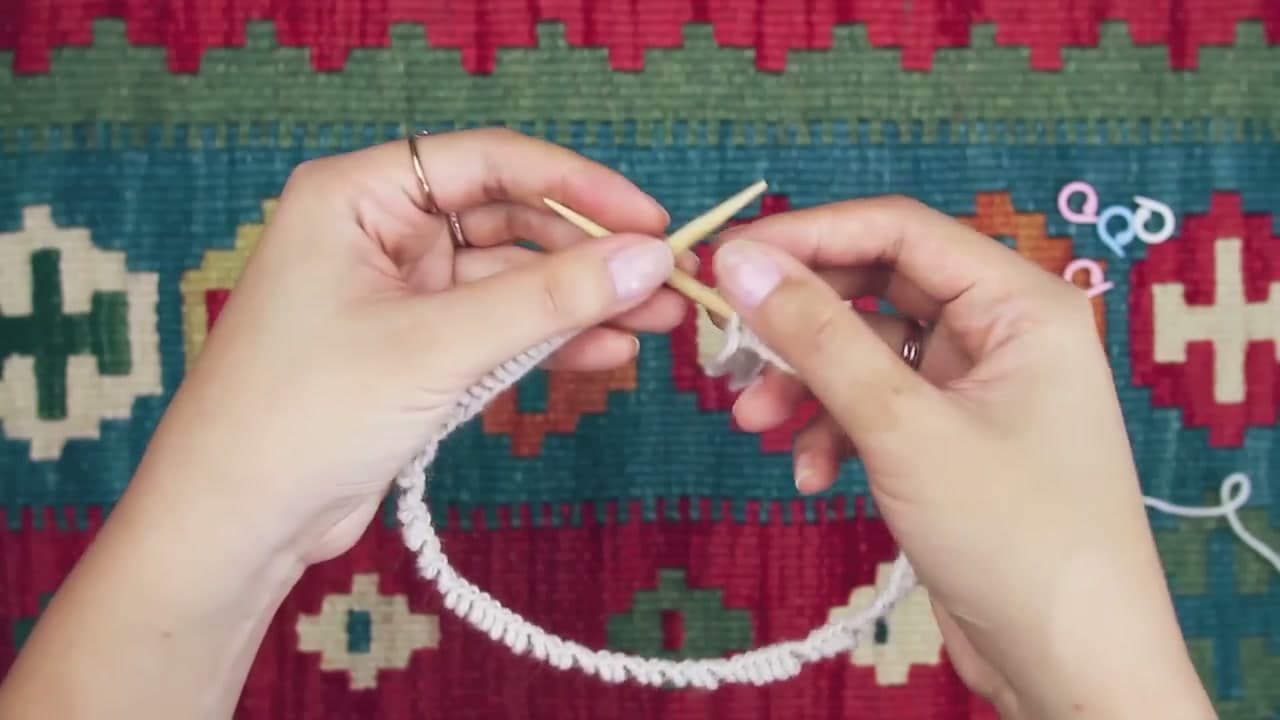
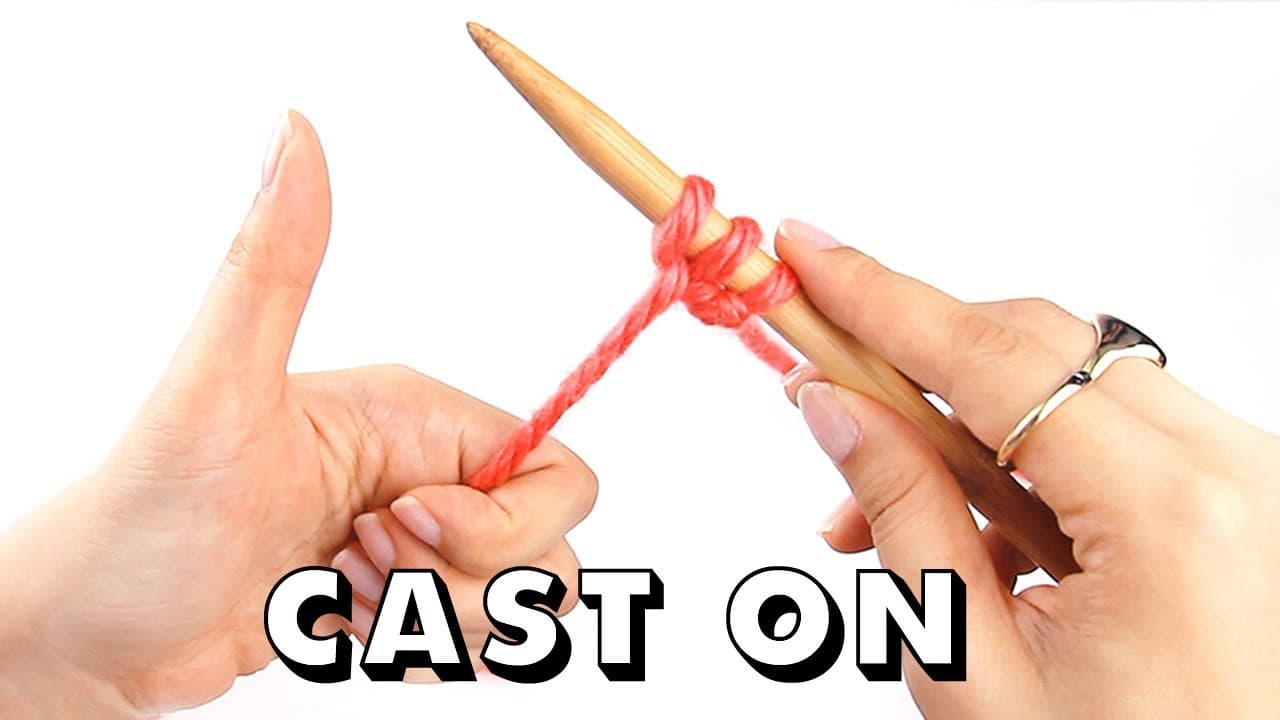
Casting on for the round is exactly the same as casting on for a flat project. Long tail cast on works great here - it gives you a clean, stretchy edge. Cast on the number of stitches your pattern calls for, sliding each stitch onto the right needle as you go.

Push the stitches along the cable so they spread out evenly between the two needle tips. Do not crowd them all on one tip. Spreading them across the cable is the move that makes the next step (the untwist check) much easier.

Tip

The cast-on edge is the hem of your finished piece. Keep it slightly looser than your normal stitch tension so the bottom of your hat or cowl does not pull in.

3

Step 3: Untwist Every Stitch

2:20
Step 3: Step 3: Untwist Every Stitch

This is the one step where people get themselves into permanent trouble - and the one step where the fix is free if you do it now. Lay the needle on a flat surface and look down the row of stitches. Every single one should face the same direction along the cable. The little V-shaped base of each stitch should sit on the inside of the loop, not flipped over the top.

Walk your eye all the way around the cable. If you find a stitch that is twisted, gently rotate it back into line. A twist that survives this step becomes a Mobius strip when you join, and there is no way to untwist it without ripping back to the cast on.

Tip

If you are nervous, work the first row flat (knit one row, then look at it before joining). A single flat row gets hidden when you sew the bottom together later, and it gives you a much easier inspection edge.

4

Step 4: Bring the Two Needle Tips Together

3:50
Step 4: Step 4: Bring the Two Needle Tips Together

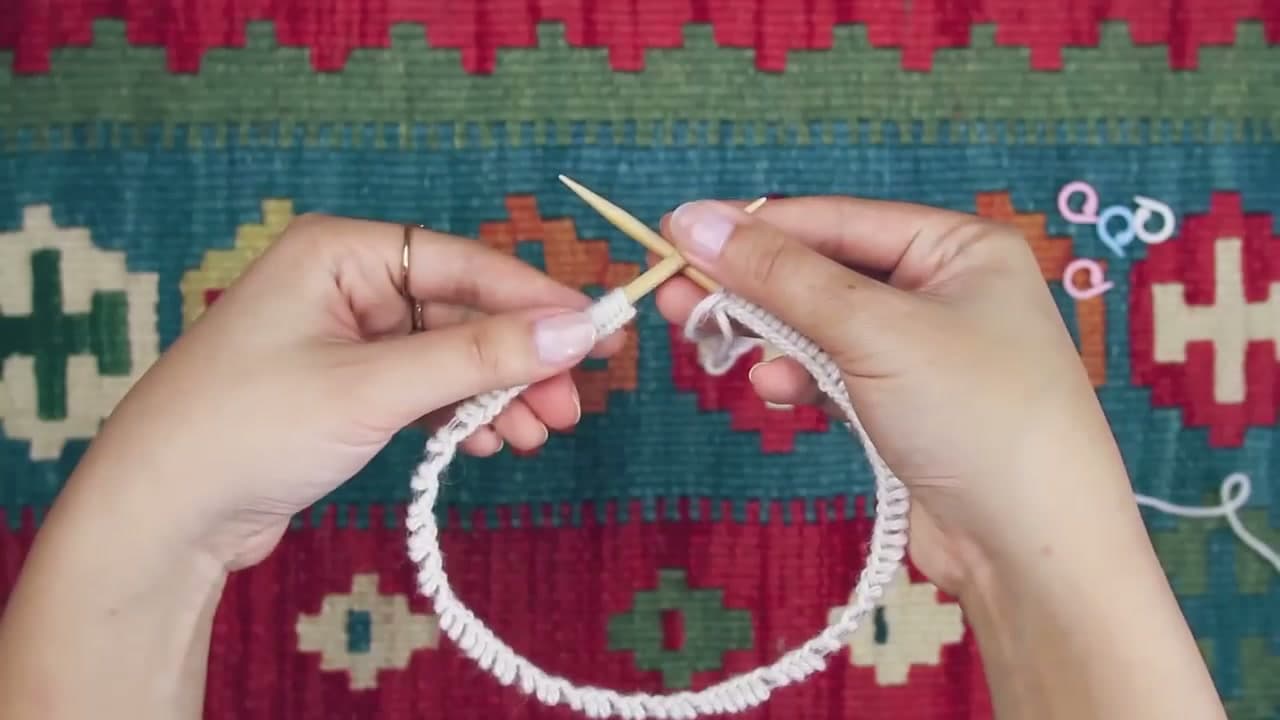
Find the working yarn - the strand still attached to the ball - and the needle tip closest to it. That goes in your right hand. The other tip (with the first cast-on stitch on it) goes in your left hand. The cable curves around between them, forming a circle.

Hold the two tips close together with the stitches kissing at the join point. This is the position you will start every round from for the rest of the project.

Tip

Double-check the untwist one more time as the tips come together. The moment before you knit the first stitch is your last chance to fix anything.

5

Step 5: Knit the First Stitch to Join

5:50
Step 5: Step 5: Knit the First Stitch to Join

Knit the first stitch on the left needle using the working yarn from the right. That single stitch is your join - the moment your flat row of cast-on stitches becomes a closed circle. There is no special technique. It is a regular knit stitch, just bridging the two ends.

You should feel and see the tube form. The cable curves around the back, the working yarn comes off the right needle, and you are now knitting in the round.

Tip

Some knitters swap the first and last stitch before joining to tighten the seam. Skip that trick on your first project - the basic join works fine, and you can hide any tiny gap with the cast-on tail when you weave in.

Products used in this step

6

Step 6: Pull Tight and Place a Stitch Marker

4:20
Step 6: Step 6: Pull Tight and Place a Stitch Marker

Right after that first joining stitch, pull the working yarn snug. This closes the gap between the last cast-on stitch and the first knit stitch. Skip the tug and you get a little ladder running up the side of your project. It is the most common rookie tell, and the fix is just two extra seconds of tension.

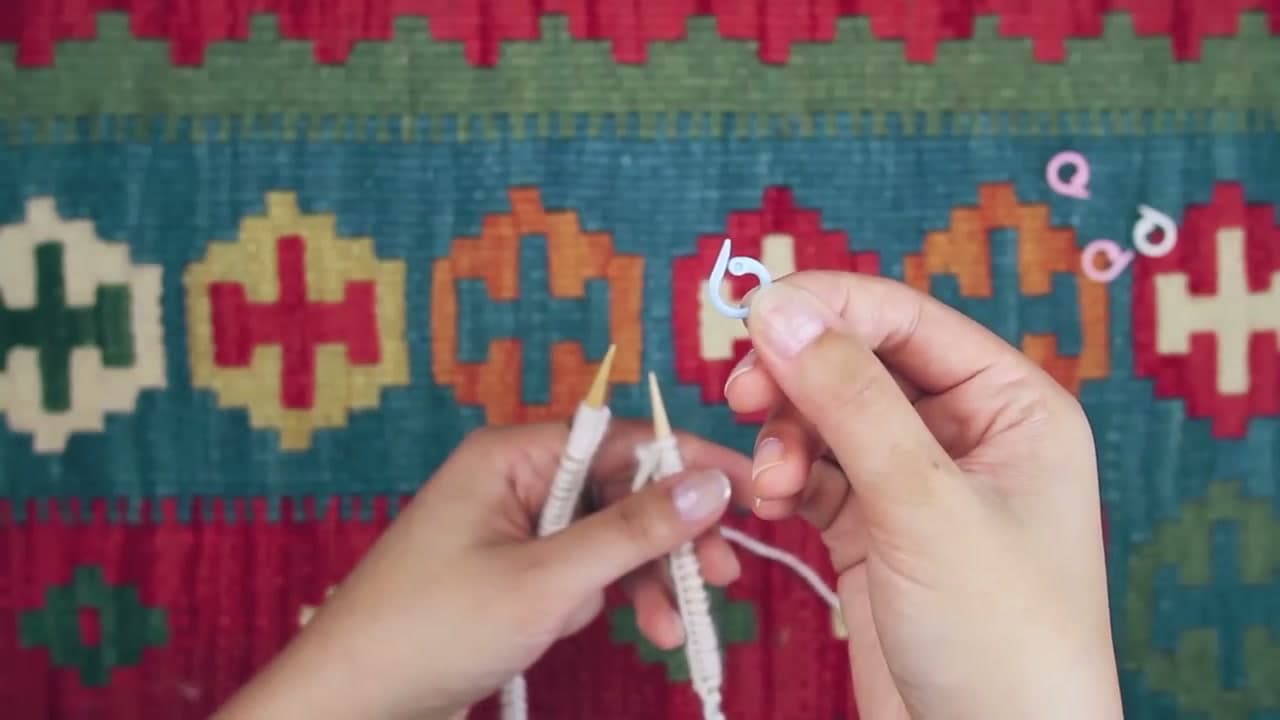
Now slip a stitch marker onto the right needle, right after the joining stitch. The marker rides between rounds and tells you when one round ends and the next begins. Without it, you will lose count almost immediately - the join disappears into the fabric after a few rounds.

Tip

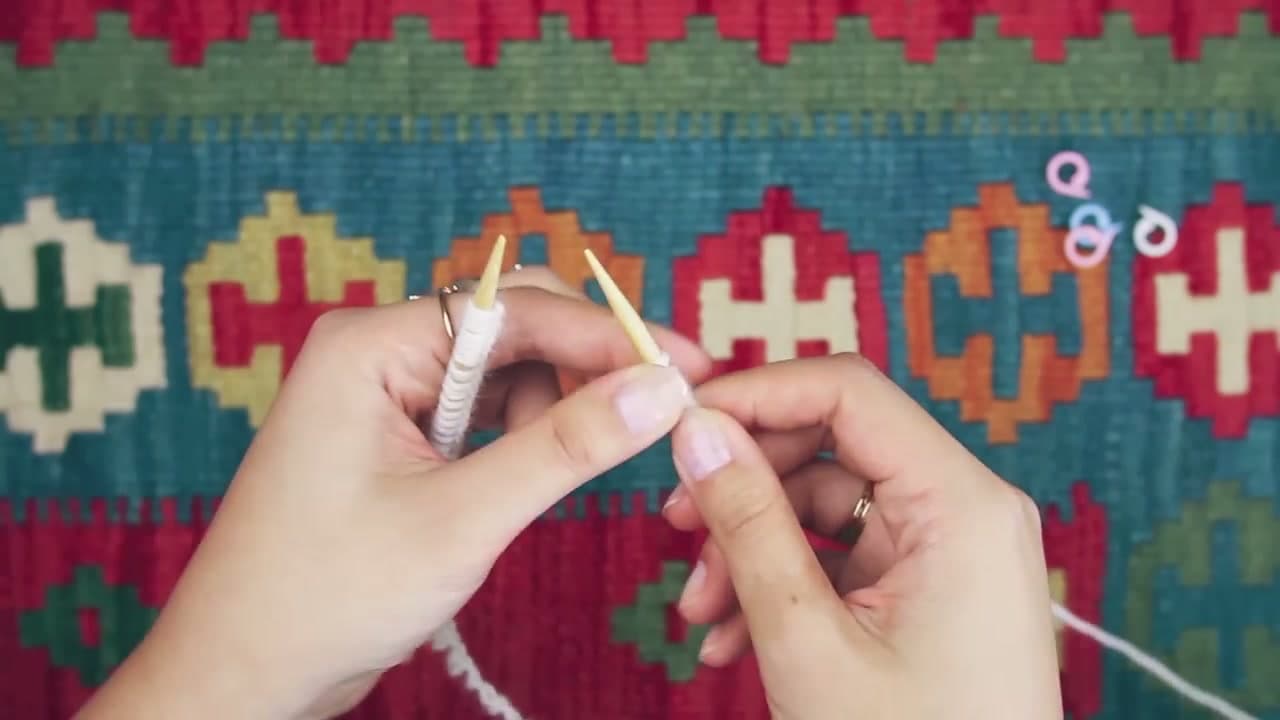
Anything ring-shaped works as a stitch marker - a snipped piece of contrasting yarn, a rubber band, a small ring. Just make sure it slides freely on your needle.

7

Step 7: Keep Knitting Around (and Switch Tools if You Need To)

10:40
Step 7: Step 7: Keep Knitting Around (and Switch Tools if You Need To)

From here, knit every stitch on every round and you get stockinette fabric (no purling, no turning). When you reach the marker, slip it from the left needle to the right and start the next round. That is the whole technique.

If your project gets smaller than your cable length - the crown of a hat, the tip of a mitten, the toe of a sock - the stitches will not stretch around the loop any more. Switch to double-pointed needles or use the magic loop method with a longer circular. Most beginner hats and cowls match the 16-inch or 24-inch circular all the way through, so you will not hit this for a while.

Tip

When you reach the bind off, work it loosely so the top of your hat or cowl flexes over your head. A tight bind off is the second most common rookie mistake after twisting the cast on.

Products Used

☐ The Checklist

How to Knit in the Round (Beginner Step-by-Step)

Tools
4
Materials
2
Steps
7
Video
12 min

Your Guide

Sheep & Stitch

As an Amazon Associate we earn from qualifying purchases. Links on this page may be affiliate links - clicking them and buying doesn't change your price, but helps support ShowMeStepByStep.

Tags

What's next

Weekly Digest

Liked this knitting tutorial?

Pick the categories you want to hear about. Weekly digest of new step-by-step tutorials. No spam, easy unsubscribe.

Send me tutorials about

We only email about new tutorials. Easy unsubscribe anytime.