How to Propagate String of Pearls (3 Easy Ways)

GardeningEasy4:327 stepsBrowse more →

By ShowMeStepByStepPublished

Based on a video by Succulents Box.

String of pearls is one of those trailing succulents that looks great cascading off a shelf, and once you have one plant, you can turn it into several for free. This tutorial comes from Succulents Box, who walk through three easy ways to multiply your Senecio rowleyanus.

The short version: you can root cuttings in soil, root them in water, or split a full plant into smaller clumps. Soil and water rooting have the highest success rate, so those are the two to reach for first. Division works too if your plant has grown into a dense mat. Leaf propagation is possible, but string of pearls is fussy about it, so treat that as a bonus experiment rather than your main plan.

Timing matters more than anything. Take your cuttings in spring or summer while the plant is actively growing, and only propagate from a healthy parent. If yours is dealing with pests or rot, hold off until it recovers. String of pearls is a great starter succulent, and if you enjoy this, the same cutting-and-rooting logic carries over to propagating succulents of all kinds.

Step-by-Step Guide

7 steps · about 5 minutes.Check off each step as you go and your progress saves automatically.

1

Step 1: Take Healthy Stem Cuttings

1:52
Step 1: Step 1: Take Healthy Stem Cuttings

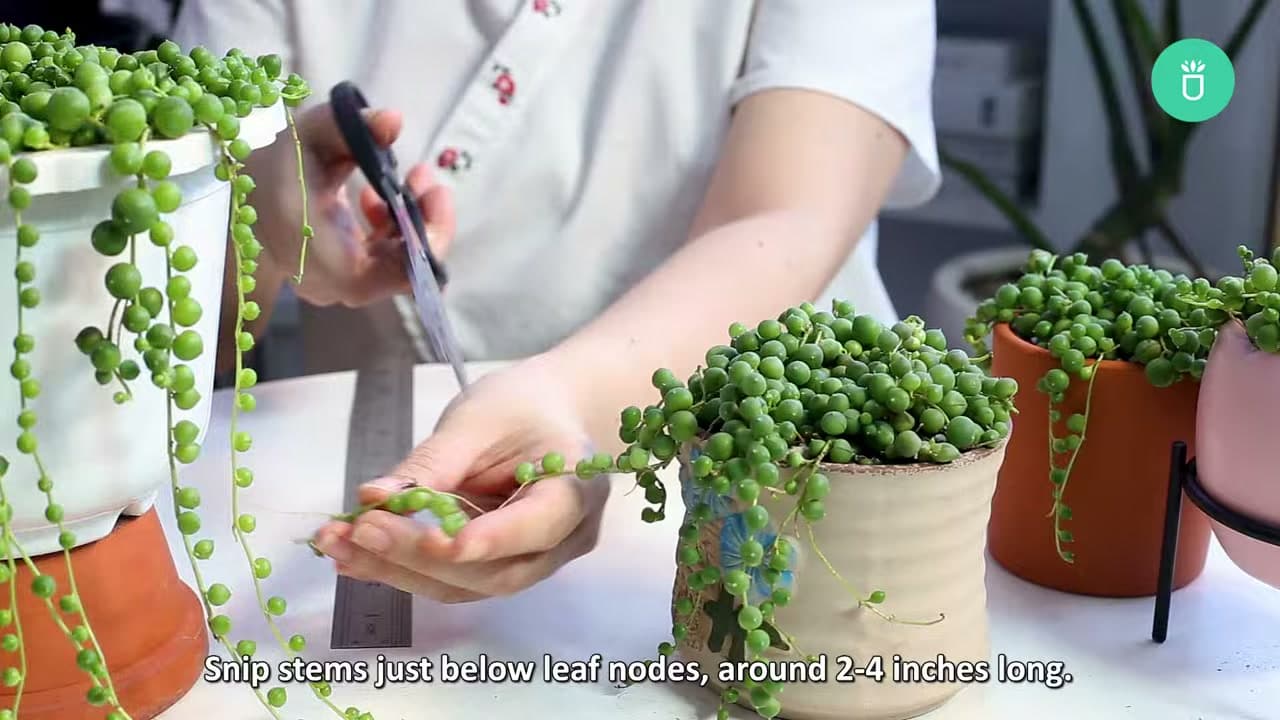
Start with a healthy parent plant and pick out a few stems that carry plenty of plump pearls. Skip anything that looks thin, shriveled, or damaged, since weak strands are slow to root.

Snip each strand just below a leaf node, where a little bump sits along the stem. Those nodes are where new roots break out, so cutting right below one gives you the best shot. Aim for pieces about two to four inches long. Longer strands work, but shorter ones settle into a pot more neatly.

Tip

Watch this step Use clean, sharp scissors and wipe the blades before you cut. A clean edge heals faster and keeps you from spreading anything nasty between plants.
2

Step 2: Let the Cuttings Callus Over

1:58
Step 2: Step 2: Let the Cuttings Callus Over

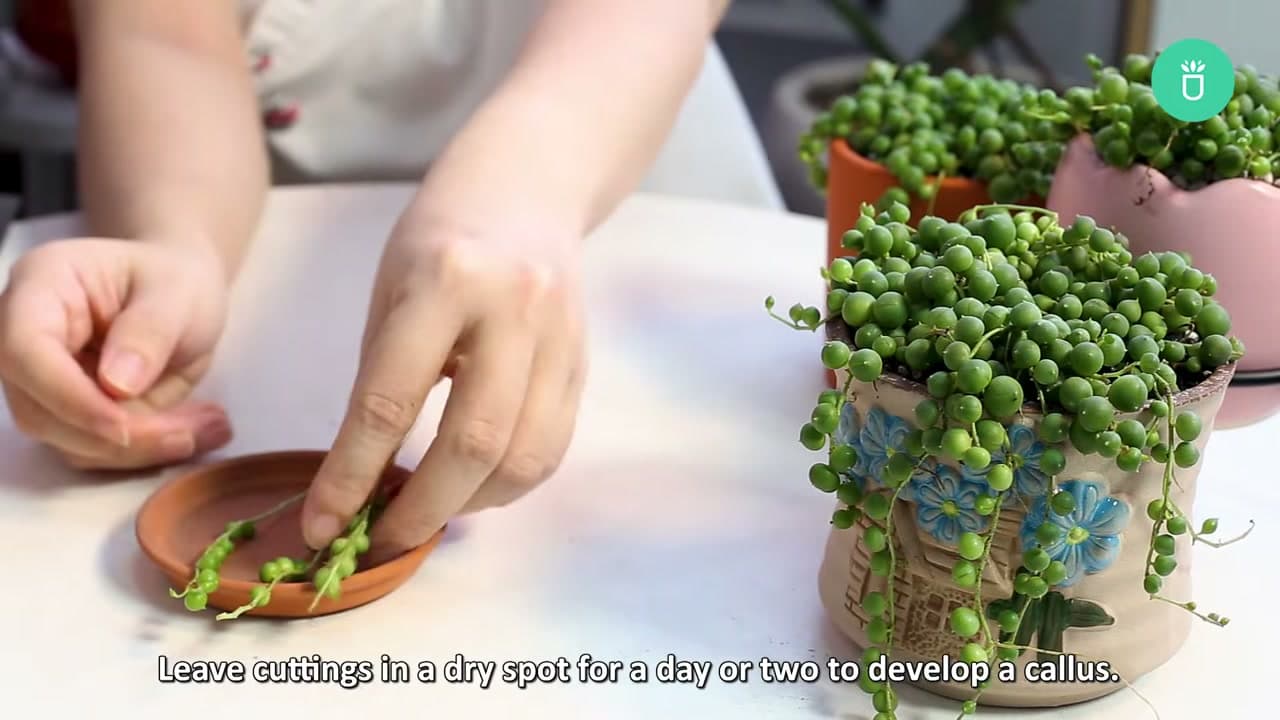
Before those fresh cuttings touch soil, they need a day or two to dry out. Lay the strands on a shallow dish or a plate somewhere dry and out of direct sun, with the cut ends exposed to the air.

Over a day or two, the raw cut end dries and forms a callus, a thin protective layer. That callus is what stops moisture from seeping into the open wound and rotting the stem once you plant it. It feels like a step you can skip, but with succulents it's the difference between roots and mush.

Tip

Watch this step Keep the callusing cuttings away from a bright windowsill. Direct sun on a bare, rootless strand dries it out too fast and can shrivel the pearls before it ever roots.

Products used in this step

3

Step 3: Prepare a Pot with Well-Draining Soil

1:44
Step 3: Step 3: Prepare a Pot with Well-Draining Soil

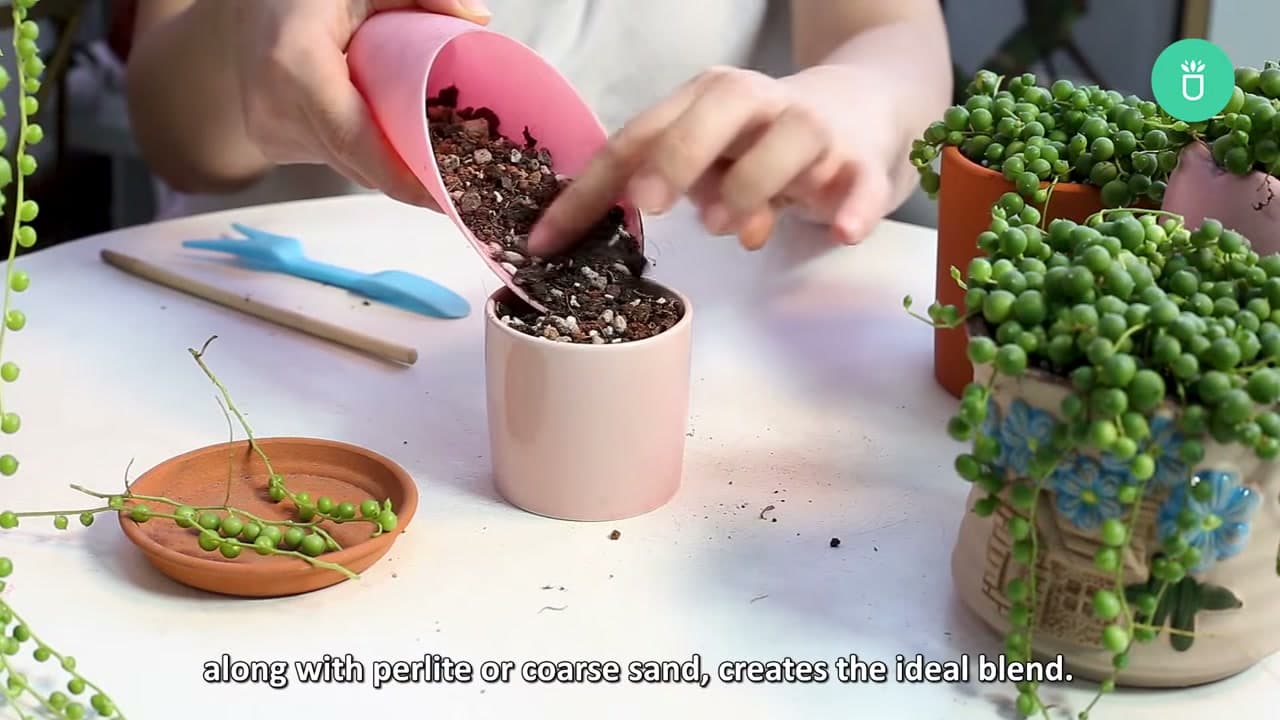
String of pearls hates wet feet, so the mix you plant into matters. Fill a small pot with a cactus or succulent soil, then work in some perlite or coarse sand to open it up even more.

That gritty blend drains fast and dries out between waterings, which is exactly what these succulents want. A pot with a drainage hole helps too, so any extra water has somewhere to go instead of pooling around the tender cut ends.

Tip

Watch this step If your bagged succulent mix still feels dense, add a handful more perlite. You want it to look chunky and loose, not smooth like regular potting soil.

4

Step 4: Plant the Cuttings in Soil

2:08
Step 4: Step 4: Plant the Cuttings in Soil

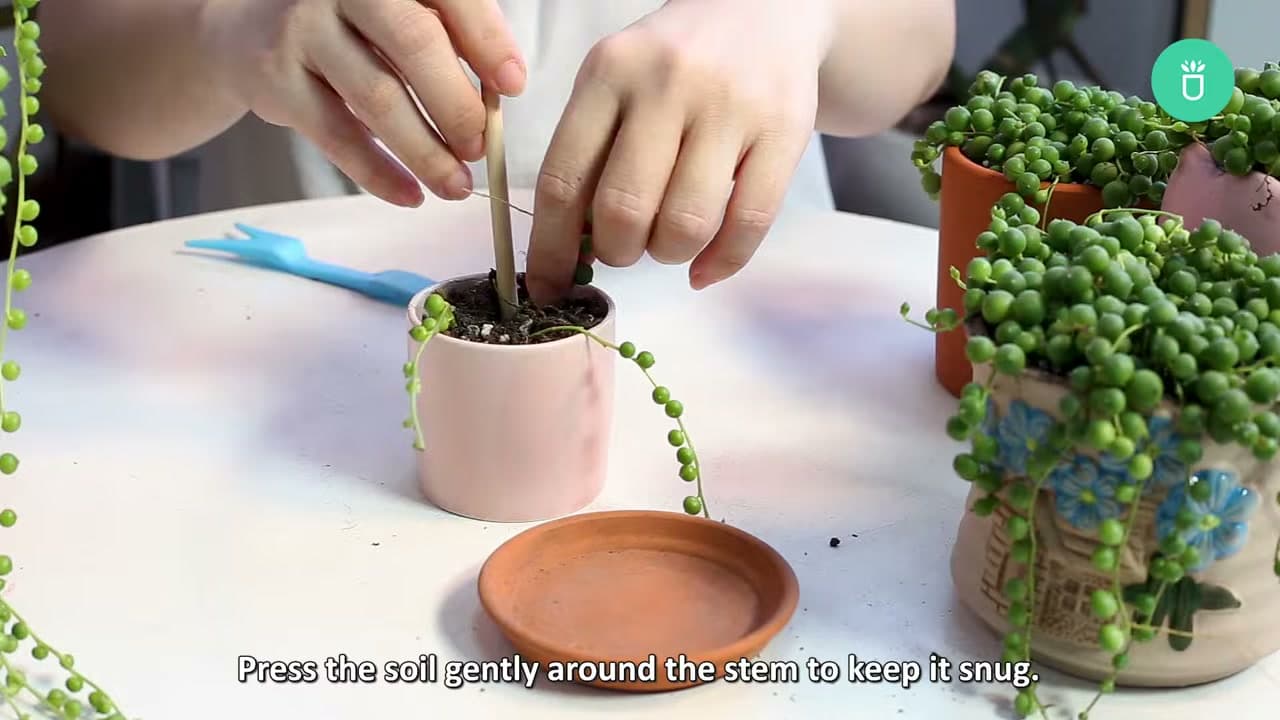
Now root your callused cuttings. Press the cut end of each strand about an inch into the soil, then firm the mix gently around it so the stem stays put. You can pack several cuttings into one pot for a fuller look right from the start.

There's a second option here too. Instead of burying the ends, lay whole strands flat on top of the soil so the leaf nodes rest against the surface. Those nodes send out roots wherever they touch damp soil, which fills in the pot faster.

Tip

Watch this step A chopstick or a thin stick makes planting easier. Poke a shallow hole first, slide the stem in, then press the soil back around it so the strand doesn't buckle.

5

Step 5: Root Cuttings in Water

2:40
Step 5: Step 5: Root Cuttings in Water

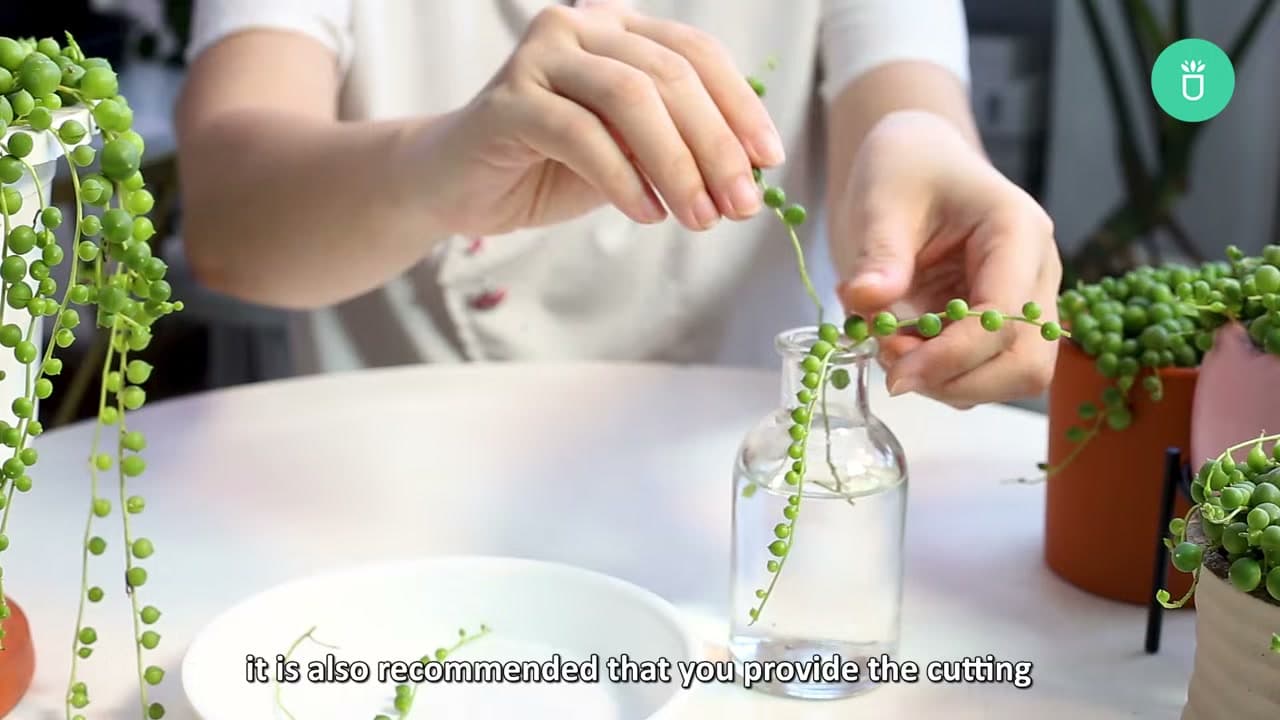
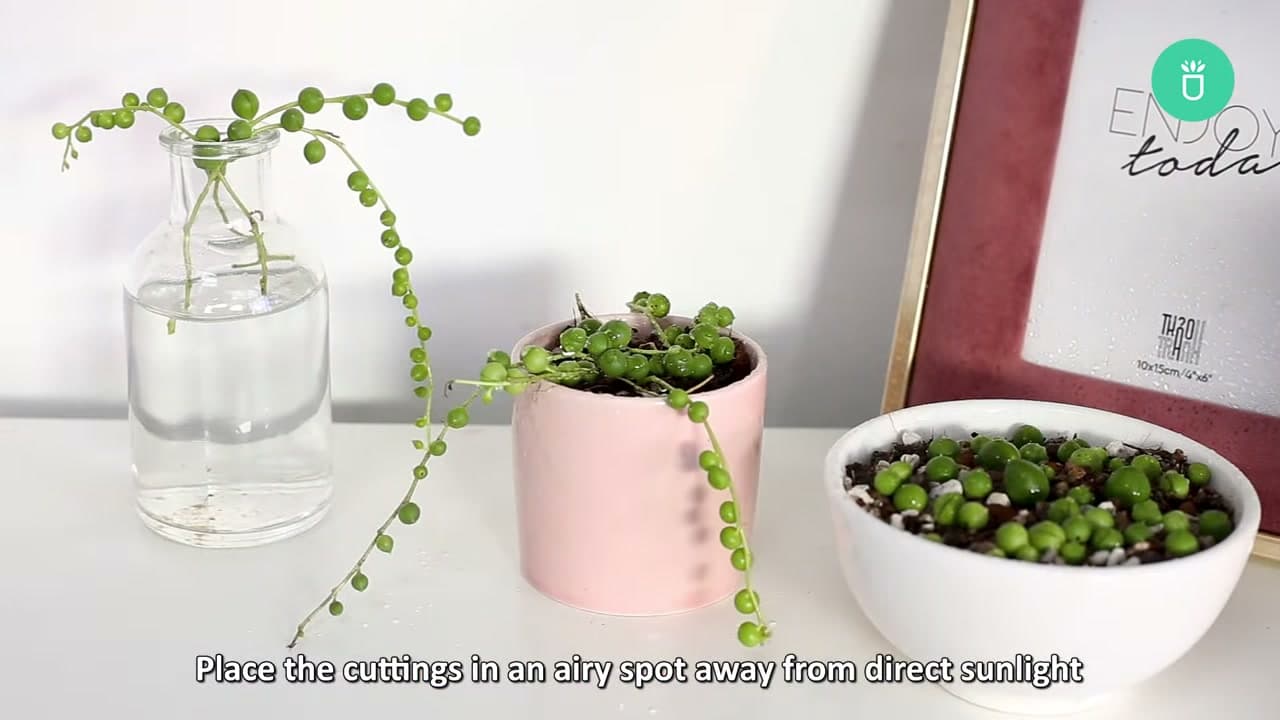
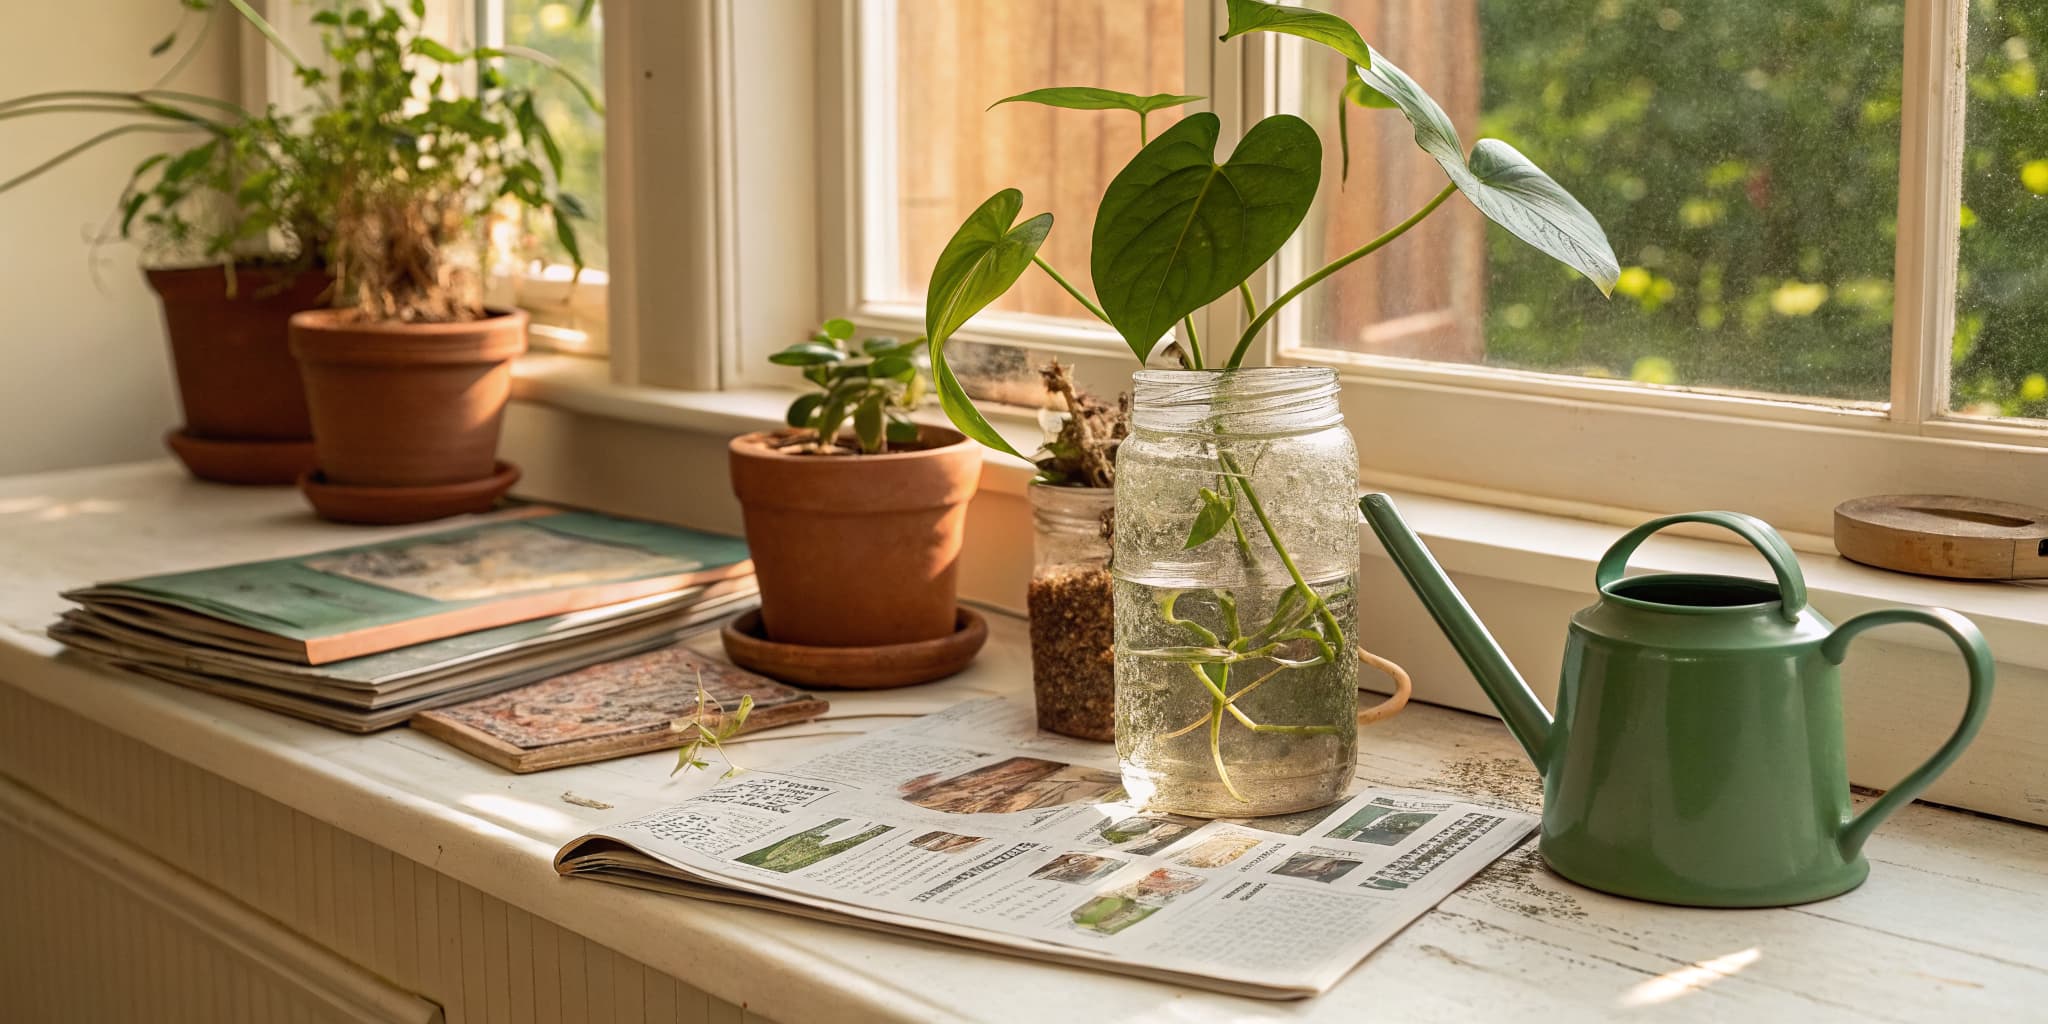
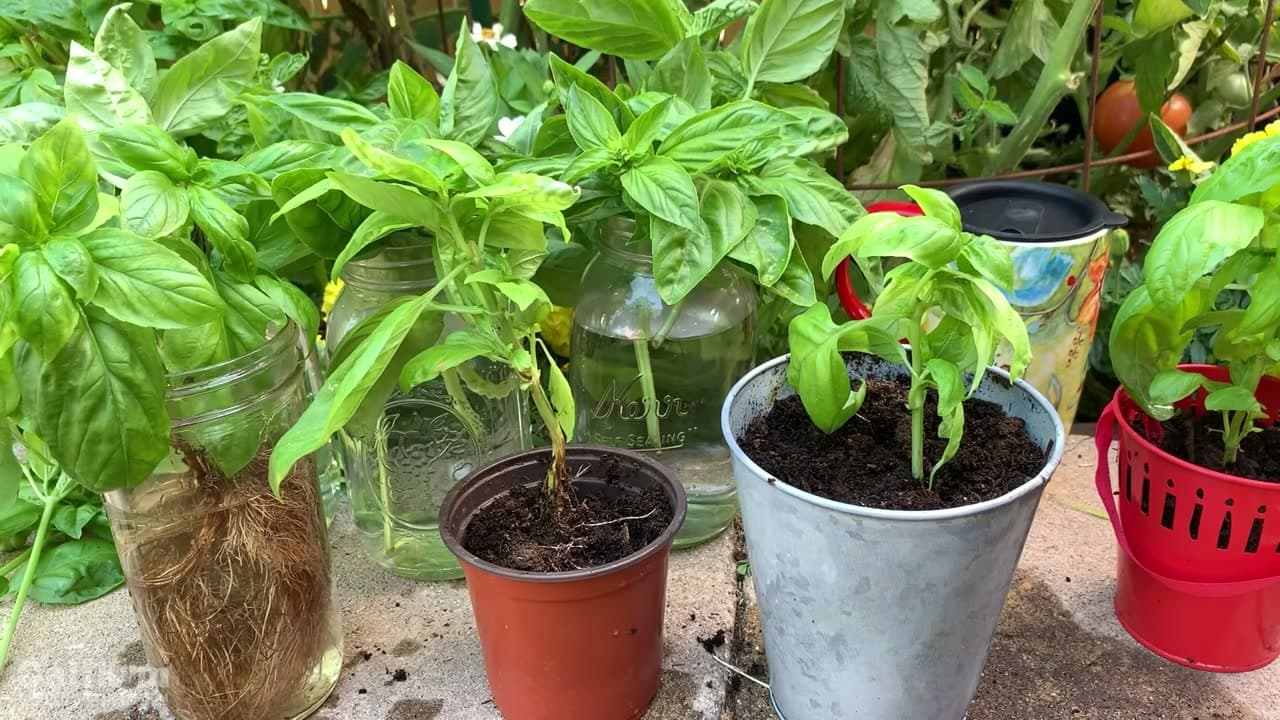
Prefer to watch the roots grow? Water propagation is a fast track. Strip the lower pearls off each cutting so you have a short bare section of stem, then rest that bare part in a clean glass jar of distilled water.

Pulling off those bottom leaves keeps them from sitting underwater and rotting, which would foul the whole jar. Set the jar somewhere with bright, indirect light and steady warmth. Roots usually show up quickly, though moving a water-rooted cutting into soil later can be a bit finicky, so keep an eye on it.

Tip

Watch this step Refresh the water every few days so it stays clear. Cloudy, stagnant water invites rot and stalls root growth on the cutting.

6

Step 6: Divide a Full Plant into Clumps

3:35
Step 6: Step 6: Divide a Full Plant into Clumps

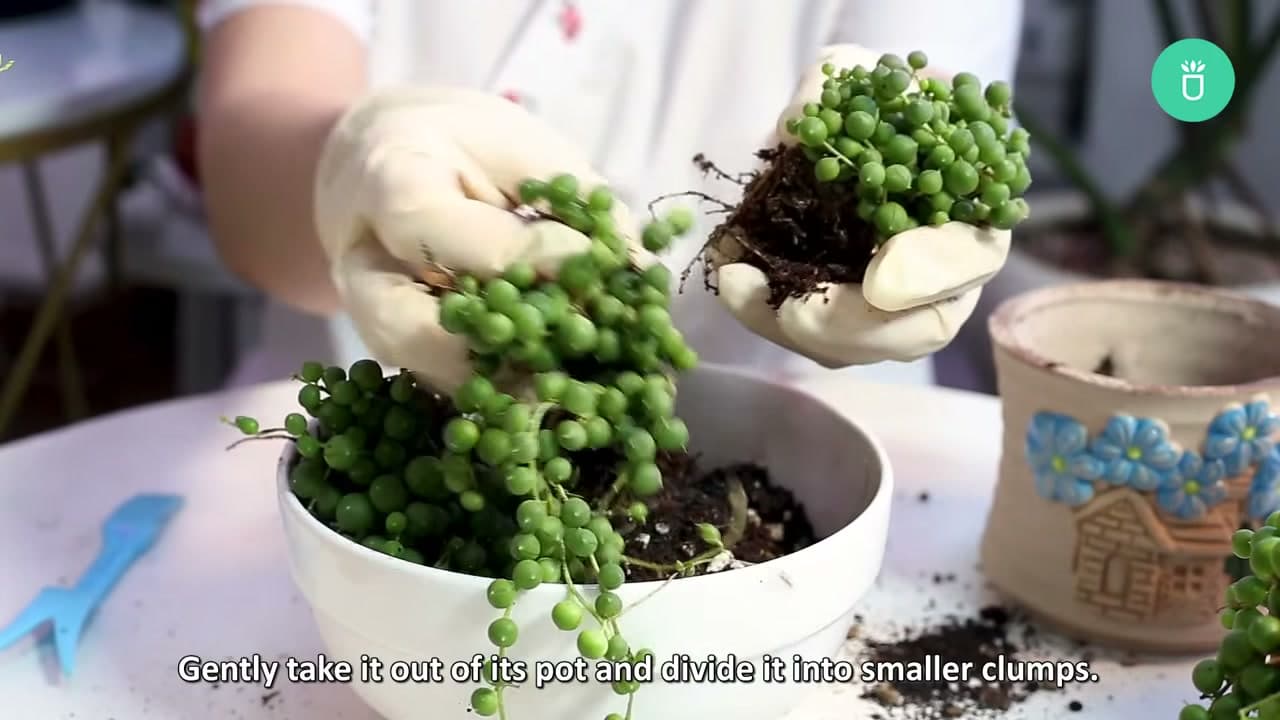
If your string of pearls has grown into a thick mat, division gives you instant new plants. Water it well a day or two ahead so the roots stay hydrated, then gently ease the whole plant out of its pot.

Pull it apart into smaller clumps with your hands, making sure each section keeps a good share of stems and its own roots. Trim off any extra-long or damaged roots as you go. Then settle each clump into its own pot of well-draining mix and treat it like an established plant.

Tip

Watch this step Wear light gardening gloves for this one. The strands are delicate and pearls pop off easily, so a gentle grip saves you from shedding half the plant.

7

Step 7: Care for Your New Plants

2:13
Step 7: Step 7: Care for Your New Plants

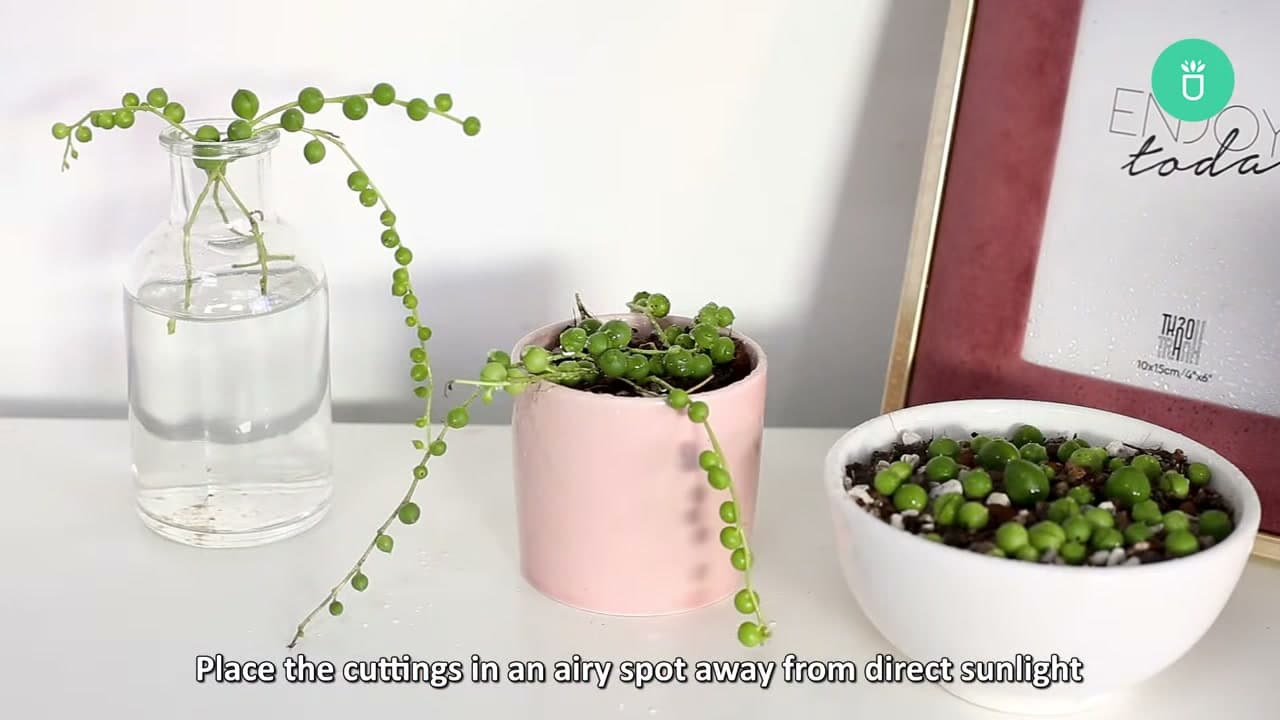
However you propagated, the follow-up care is what gets roots going. Keep soil-planted cuttings in a bright, airy spot out of direct sun, and only water when the mix has dried out nearly all the way. Overwatering at this stage is the number one thing that rots a young cutting.

Water-rooted cuttings want plenty of indirect light and steady warmth while they establish. Give everything a little patience. Once you spot fresh growth or roots taking hold, you can start treating your propagations like any other string of pearls and let them trail.

Tip

Watch this step A grow light helps if your spot is dim. Leggy, stretched-out growth usually means the cutting wants more light, not more water.

Products Used

☐ The Checklist

How to Propagate String of Pearls (3 Easy Ways)

Tools
4
Materials
4
Steps
7
Video
5 min

Tools we recommend

Your Guide

Succulents Box

As an Amazon Associate we earn from qualifying purchases. Links on this page may be affiliate links - clicking them and buying doesn't change your price, but helps support ShowMeStepByStep.

Tags

Sunday How-To

New gardening tutorials, every Sunday

One short email with the week's best step-by-step guides. Free, no spam, unsubscribe anytime.

Did this work for you?

What's next

Related collections

Curated theme pages that include this tutorial.

Weekly Digest

Liked this gardening tutorial?

Pick the categories you want to hear about. Weekly digest of new step-by-step tutorials. No spam, easy unsubscribe.

Send me tutorials about

We only email about new tutorials. Easy unsubscribe anytime.