How to Propagate Aloe Vera (Separating and Planting Pups)

GardeningEasy9:568 stepsBrowse more →

By ShowMeStepByStepPublished

Based on a video by The Neals' Homestead.

Aloe vera does something that makes it almost impossible to run out of plants: it grows pups. These little offsets sprout from the mother's roots and cluster around the base until the pot is packed. In this video from The Neals' Homestead, Janette walks through separating those pups and potting each one on its own, which is the reliable way to turn one aloe into many.

Here is the key thing about aloe. With most succulents you can lay a leaf on some soil and it roots. Aloe does not play that way - a leaf cutting almost always rots before it ever grows. Division is the method that actually works. You pull the rooted pups off the mother and give each one its own pot, and you end up with real plants instead of a tray of mush.

The whole job takes about ten minutes and needs nothing fancier than a pot of cactus mix and your hands. If you like this kind of free-plant project, take a look at how to propagate succulents and how to propagate pothos too. And once your new aloes outgrow their starter pots, repotting a plant walks through the next step.

Step-by-Step Guide

8 steps · about 10 minutes.Check off each step as you go and your progress saves automatically.

1

Step 1: Spot the Pups Around the Mother

0:30
Step 1: Step 1: Spot the Pups Around the Mother

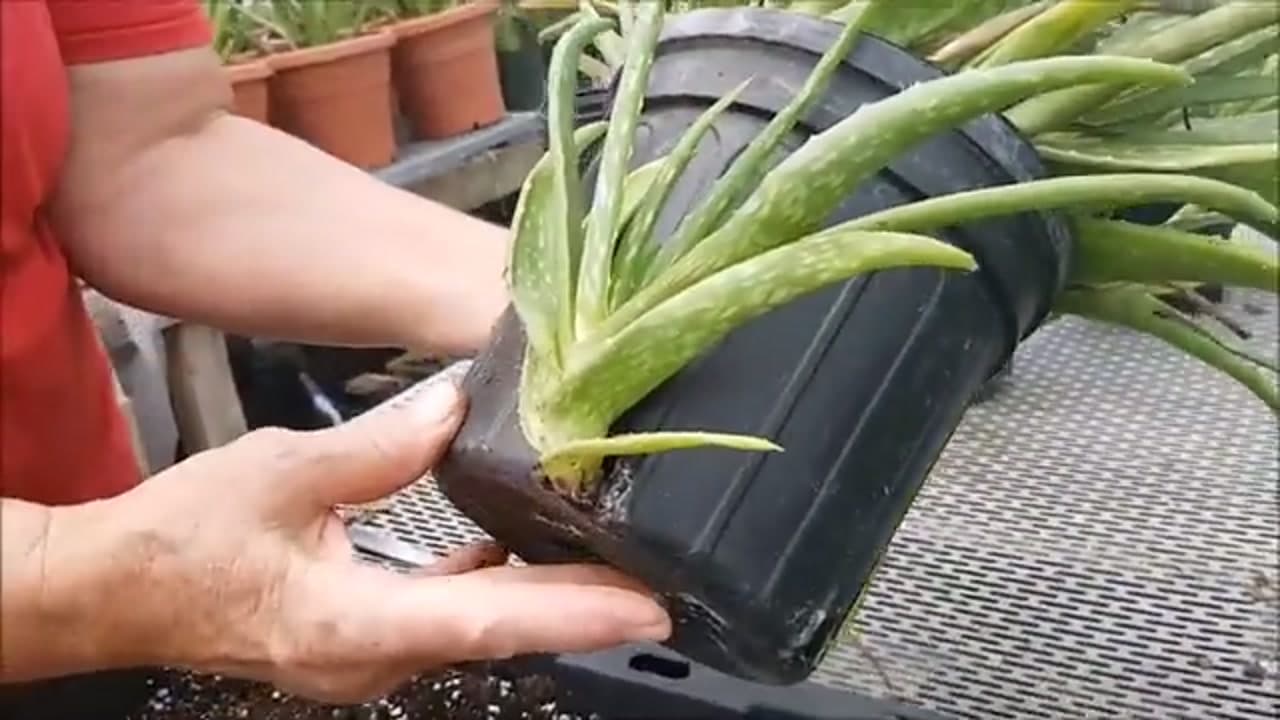
Look at the base of your aloe. Those little clones crowding the edges of the pot are pups, also called offsets. The mother sends them up from her roots, and a full, root-bound pot is your signal that they are ready to come off.

A crowded clump like this is exactly what you want to see. Each pup can become its own plant. Leaf cuttings are the one method to skip with aloe - unlike most succulents, an aloe leaf almost always rots before it roots, so division is the reliable route.

Tip

Watch this step If the pups are still tiny and have no roots of their own yet, leave them another few weeks. Bigger pups with their own roots survive the move much better.

2

Step 2: Unpot the Whole Plant

0:40
Step 2: Step 2: Unpot the Whole Plant

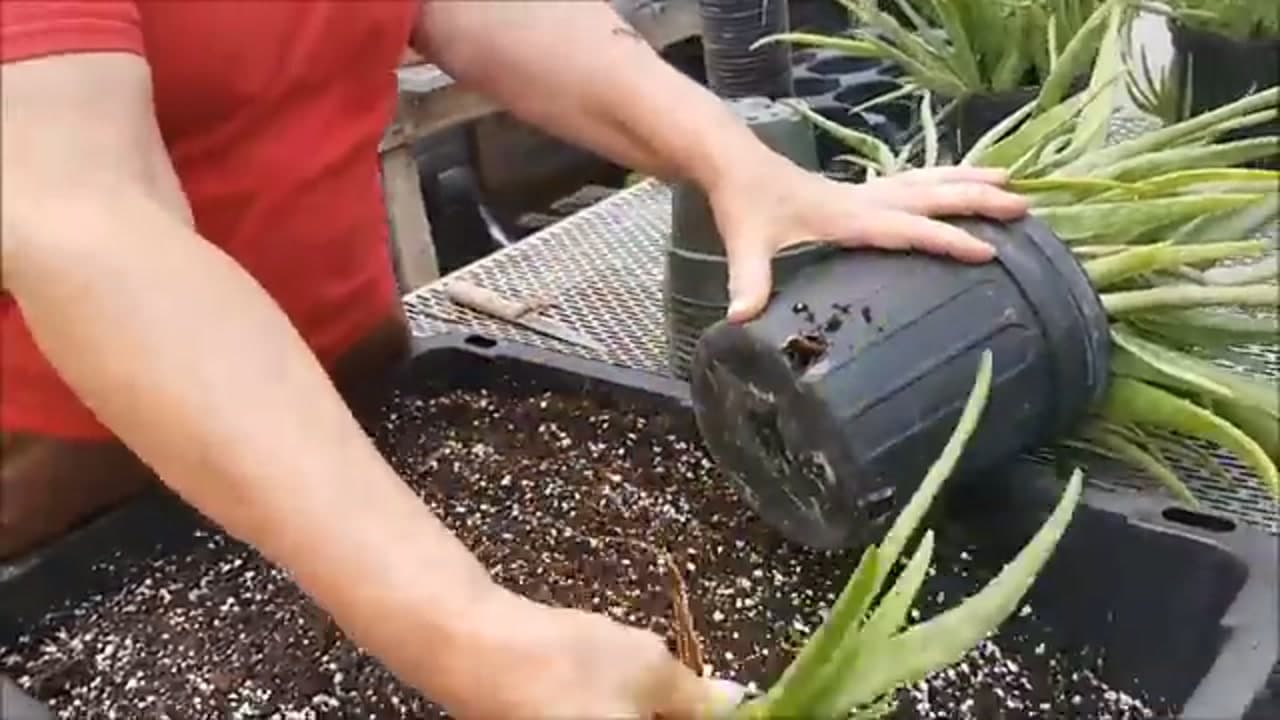
Support the base of the leaves with one hand, tip the pot on its side, and squeeze the sides to loosen the root ball. Slide the mother and all her pups out together in one clump.

Do this over a bin or tray so the loose mix falls somewhere you can reuse it. Getting the whole thing out in one piece lets you see how the pups connect before you pull anything apart.

Tip

Watch this step If the plant is stuck, run a butter knife around the inside edge of the pot first. Never yank on the leaves - they snap off at the base.

3

Step 3: Find Where Each Pup Joins the Mother

1:00
Step 3: Step 3: Find Where Each Pup Joins the Mother

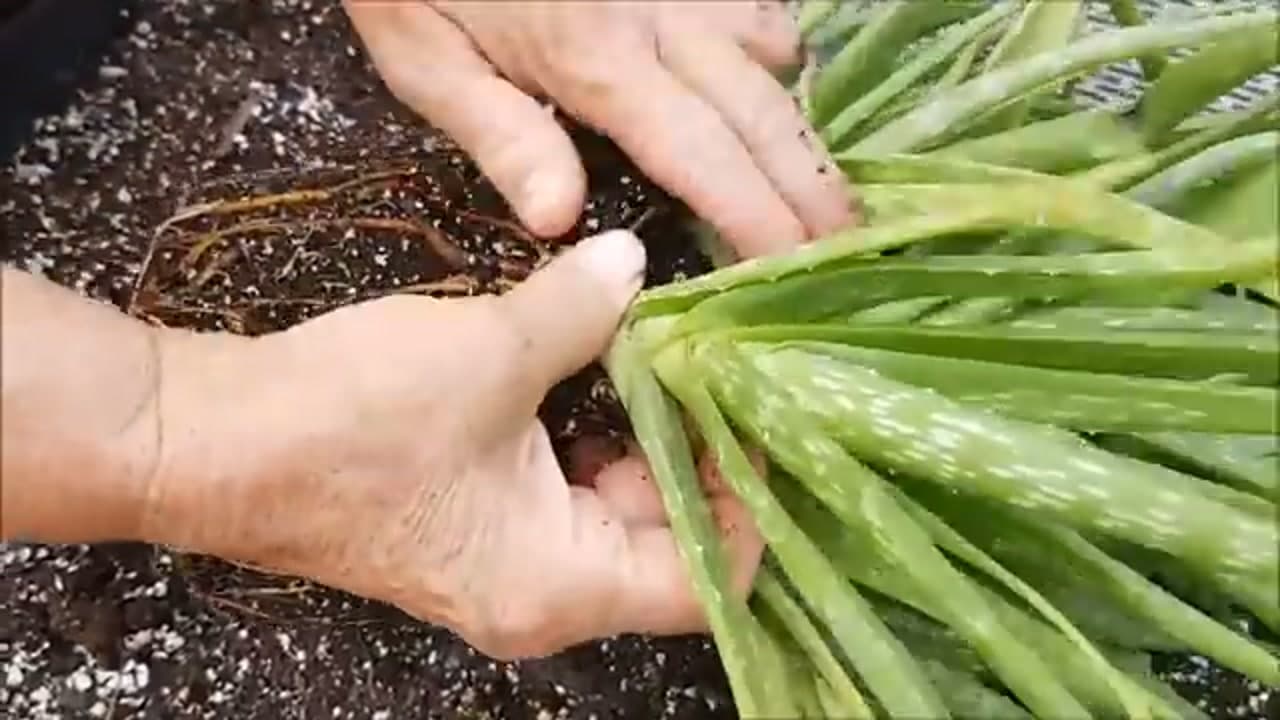
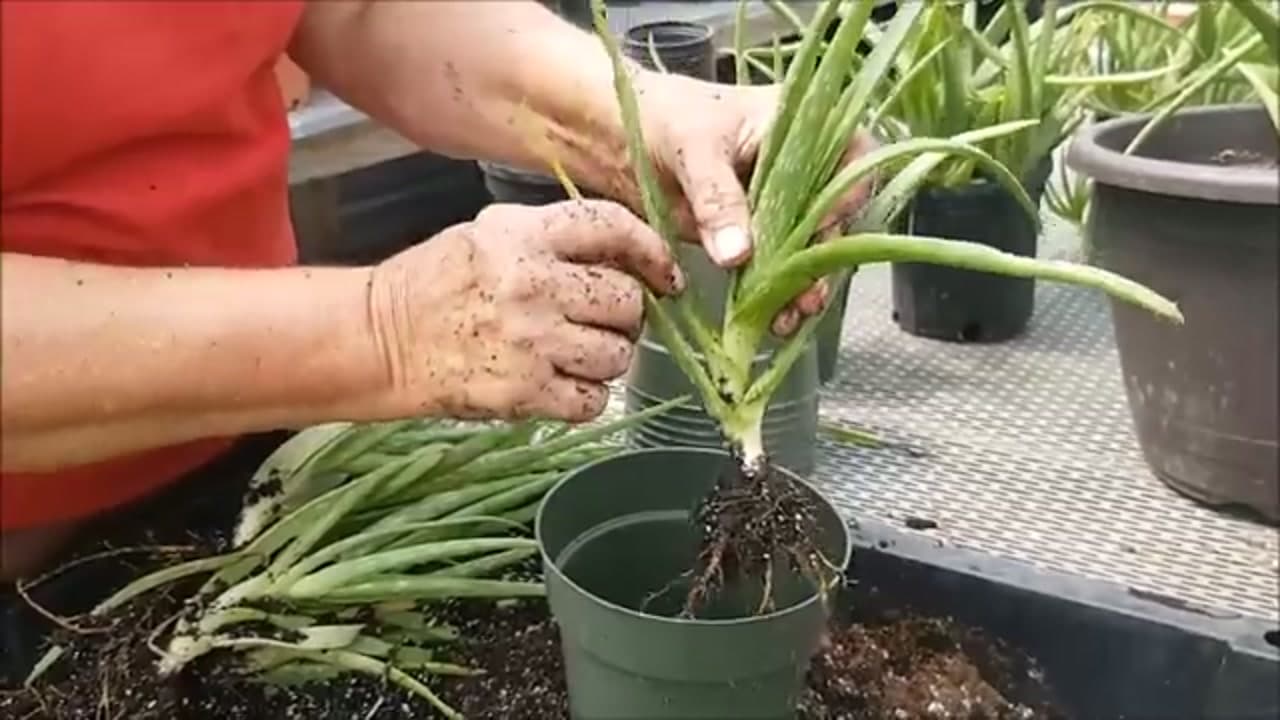
Brush the loose soil off the root ball so you can see what you are working with. Follow each pup down to the point where it meets the mother. Most pups have started their own little cluster of roots by now.

Take your time here. Knowing where each pup attaches means you can separate it at the right spot and keep as many of its roots intact as possible.

Tip

Watch this step Work in the shade. Aloe roots and the cut points dry out fast in direct sun, and a shaded bench keeps everything happier while you sort.

4

Step 4: Tease Each Pup Free With Its Roots

1:45
Step 4: Step 4: Tease Each Pup Free With Its Roots

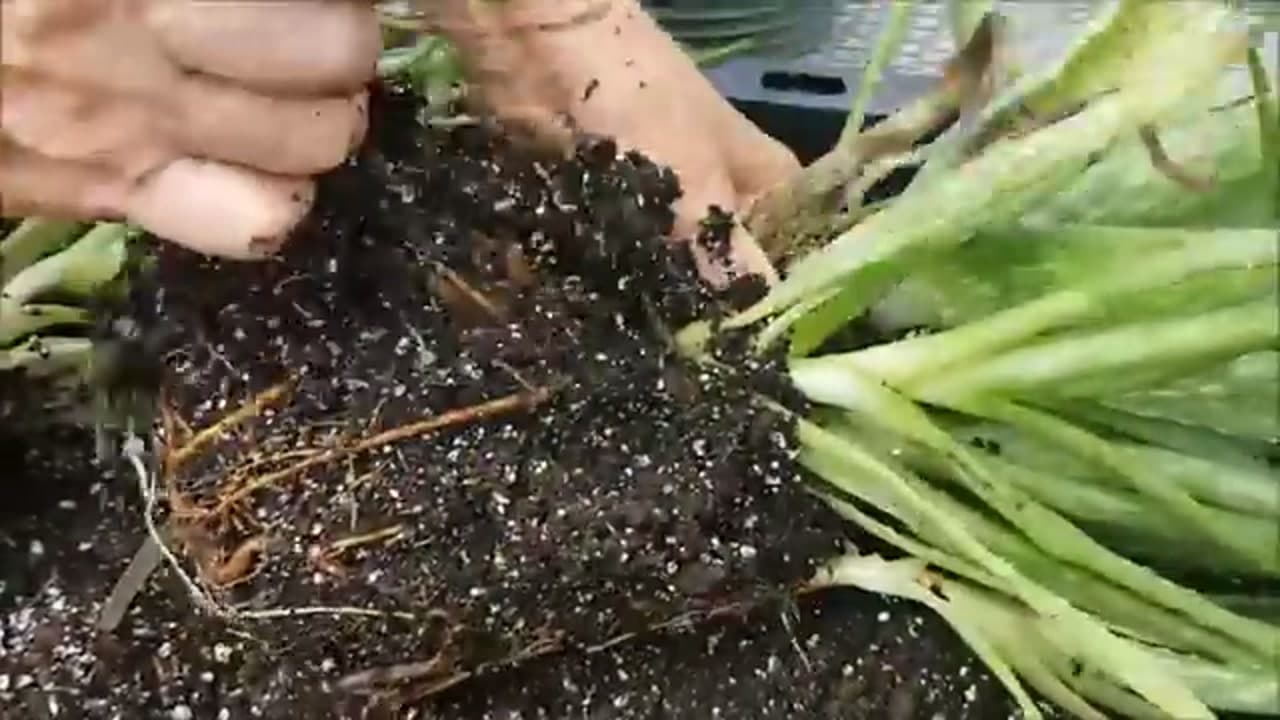
Hold the mother steady and gently work each pup loose by hand. Wiggle it side to side and ease the roots apart rather than pulling straight up. Most pups pop off with a good clump of roots already attached.

If a pup is really stubborn and clearly fused to the mother, use a clean garden knife to cut it away at the connection point. A quick, clean cut beats tearing the tissue.

Tip

Watch this step Keep a garden knife or hori-hori nearby, but reach for your hands first. Fingers do less damage to the roots than a blade for most pups.

5

Step 5: Pot Each Pup in Cactus Mix

3:30
Step 5: Step 5: Pot Each Pup in Cactus Mix

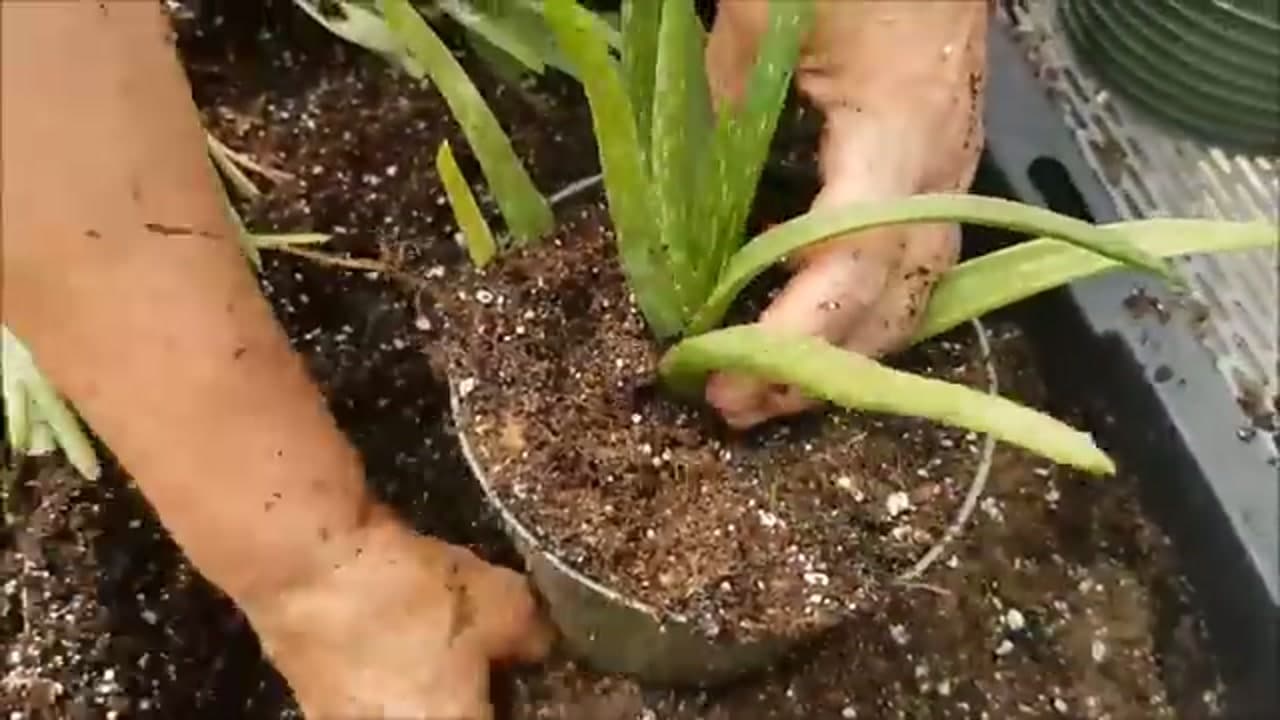
Fill a small pot partway with cactus or succulent mix. Hold the pup so its roots hang down into the pot and the base of the leaves sits right at the soil line, the same depth it grew before.

A pot with drainage holes matters more than the size. Aloe hates sitting in wet soil, so pick a fast-draining mix and a pot that lets water run straight through.

Tip

Watch this step If a pup came off with almost no roots, let the cut end dry and callus for a day or two before potting. That skin over the wound helps it resist rot.

6

Step 6: Fill In and Firm the Soil

4:00
Step 6: Step 6: Fill In and Firm the Soil

Add mix around the pup until the pot is full, then press it down lightly with your fingers so the plant stands on its own without flopping over. It should feel settled but not packed hard.

Give the pot a little tap on the bench to help the mix settle into any gaps. If the pup leans, add a bit more soil at the base to prop it up.

Tip

Watch this step Do not water right away. Let a freshly potted pup sit dry for a few days first, then give it a small drink. Watering into fresh wounds is the fastest way to lose one to rot.

7

Step 7: Repot the Mother

5:30
Step 7: Step 7: Repot the Mother

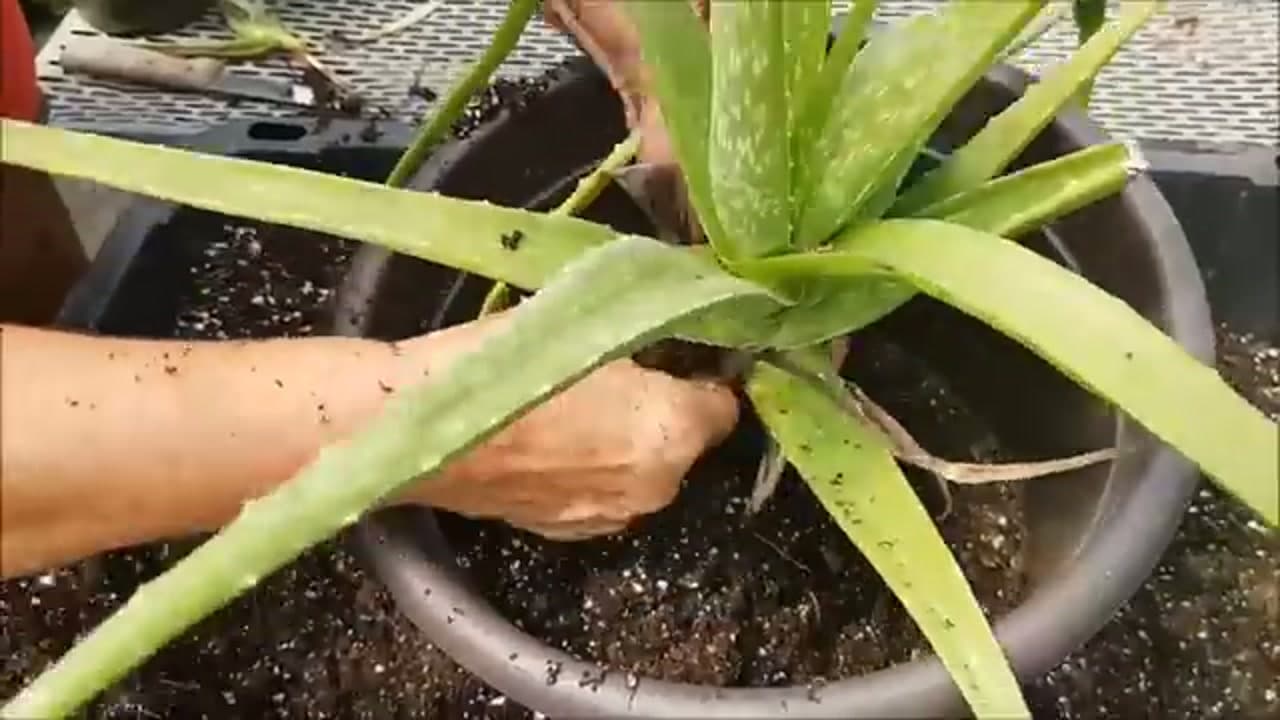
Do not toss the mother. Set her into a pot of fresh mix so she has room to keep growing and push out a new round of pups next season. She is the plant that keeps this whole thing going.

Firm the soil around her the same way you did the pups, and hold off on water for a few days while any disturbed roots recover.

Tip

Watch this step A mother plant with a bit of extra pot space produces more pups. Go up one pot size rather than cramming her back into the same tight container.

8

Step 8: Settle Them In and Grow On

7:00
Step 8: Step 8: Settle Them In and Grow On

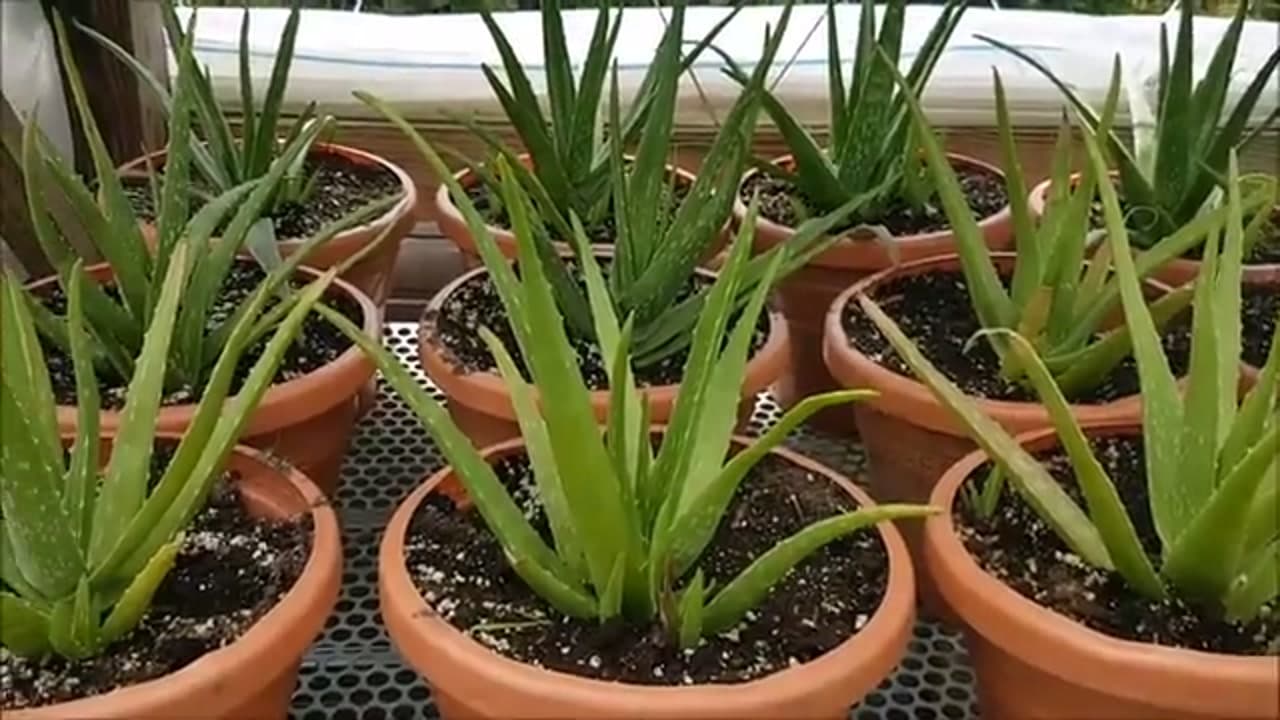
Line your new pots up somewhere with bright light but out of harsh midday sun for the first couple of weeks. Water sparingly - a little now, then wait until the mix is fully dry before the next drink.

Give them a few weeks to root in. Once you see fresh growth from the center, they have taken hold, and you can move them into brighter light and treat them like any other aloe.

Tip

Watch this step A whole tray of free plants from one crowded pot. They make great gifts, and every one of these will eventually throw pups of its own.

Products Used

☐ The Checklist

How to Propagate Aloe Vera (Separating and Planting Pups)

Tools
4
Materials
3
Steps
8
Video
10 min

Your Guide

The Neals' Homestead

As an Amazon Associate we earn from qualifying purchases. Links on this page may be affiliate links - clicking them and buying doesn't change your price, but helps support ShowMeStepByStep.

Tags

Sunday How-To

New gardening tutorials, every Sunday

One short email with the week's best step-by-step guides. Free, no spam, unsubscribe anytime.

Did this work for you?

What's next

Related collections

Curated theme pages that include this tutorial.

Weekly Digest

Liked this gardening tutorial?

Pick the categories you want to hear about. Weekly digest of new step-by-step tutorials. No spam, easy unsubscribe.

Send me tutorials about

We only email about new tutorials. Easy unsubscribe anytime.