How to Propagate a Snake Plant (3 Easy Methods)

GardeningEasy5:208 stepsBrowse more →

By ShowMeStepByStepPublished

Based on a video by MonstroFarm.

This is MonstroFarm's rundown on propagating a snake plant, and it is one of the easiest houseplants to multiply once you know the trick. There are three ways to go about it: root leaf segments in water, start those same segments in soil, or split the plant into divisions. Each one turns a single plant into several, for free.

Water propagation is the one most people start with because you get to watch the roots come in through a clear jar. Soil propagation skips the transplant step, and division is the fastest of all since each piece already has its own roots. The one catch worth knowing: variegated snake plants with yellow edges only keep that color through division, so pick your method with that in mind.

If you are getting the hang of making new plants from old ones, the same patience pays off elsewhere. Take a look at how to propagate pothos and how to propagate succulents for two more easy wins, and once your cuttings root, how to repot a plant walks you through settling them into their new home.

Step-by-Step Guide

8 steps · about 5 minutes.Check off each step as you go and your progress saves automatically.

1

Step 1: Pick a Healthy Snake Plant

0:55
Step 1: Step 1: Pick a Healthy Snake Plant

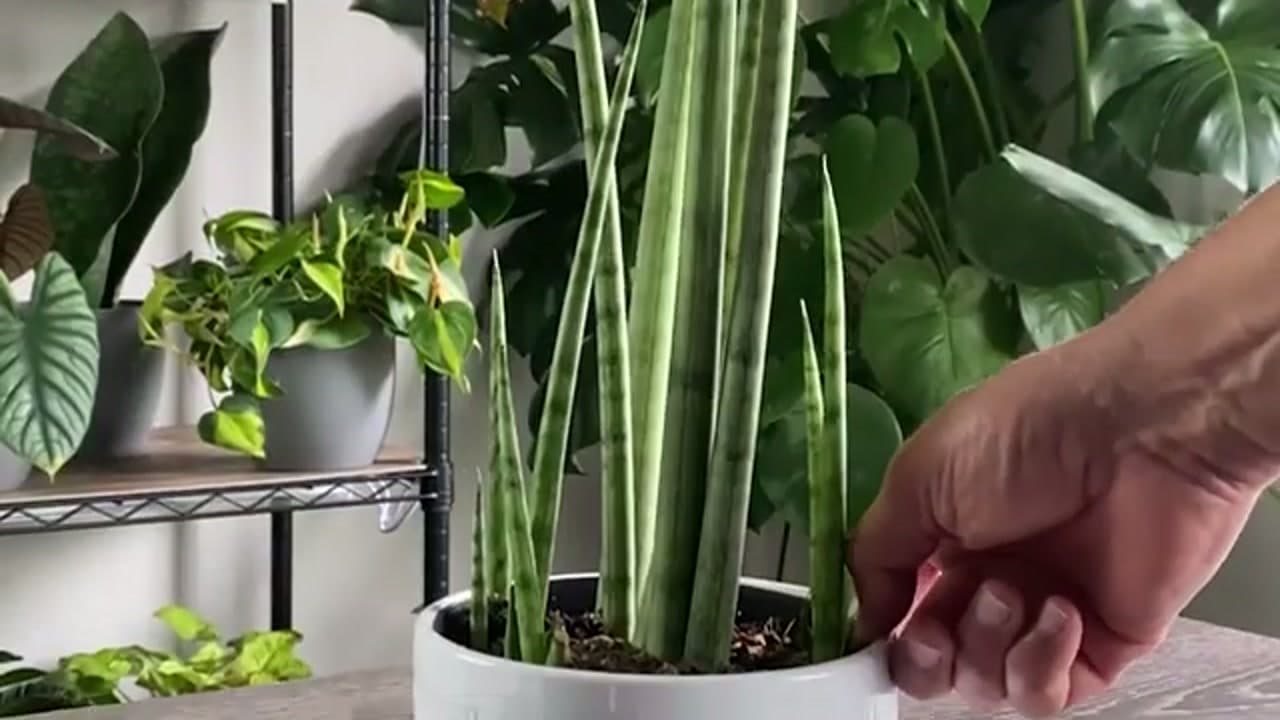
Start by looking over the plant you want to propagate from. You want a firm, upright leaf with even color and no soft or mushy patches near the soil. A stressed or rotting leaf will not root, so pass on anything that feels squishy.

Any snake plant works for this. The one thing to know up front: variegated types with yellow edges lose that color when you propagate from leaf cuttings. If you want to keep the yellow, skip ahead to the division method later in this guide.

Tip

Watch this step Water the mother plant a day before you take a cutting. A well-hydrated leaf handles the cut better than a thirsty one.

Products used in this step

2

Step 2: Cut a Healthy Leaf at the Base

2:18
Step 2: Step 2: Cut a Healthy Leaf at the Base

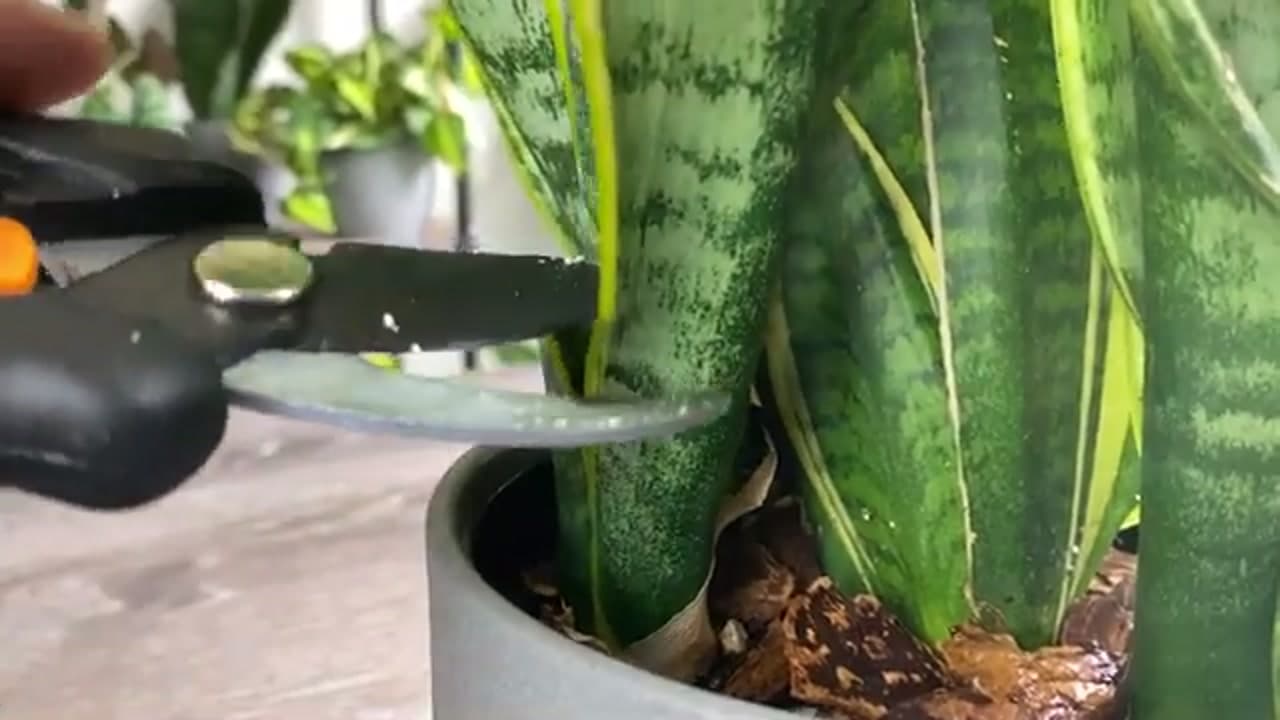
Take a clean pair of sharp pruning shears and snip a whole leaf off close to the soil line. A clean cut gives you the most leaf to work with and lowers the chance of rot creeping into the wound.

Wipe the blades with rubbing alcohol before you cut. Snake plants are slow, and a dirty blade can pass along whatever the last plant was carrying. One firm cut is better than sawing back and forth.

Tip

Watch this step Bypass shears crush the tissue far less than cheap anvil-style ones. If you only propagate a leaf or two, a clean kitchen knife does the job too.

3

Step 3: Cut the Leaf into Segments

1:25
Step 3: Step 3: Cut the Leaf into Segments

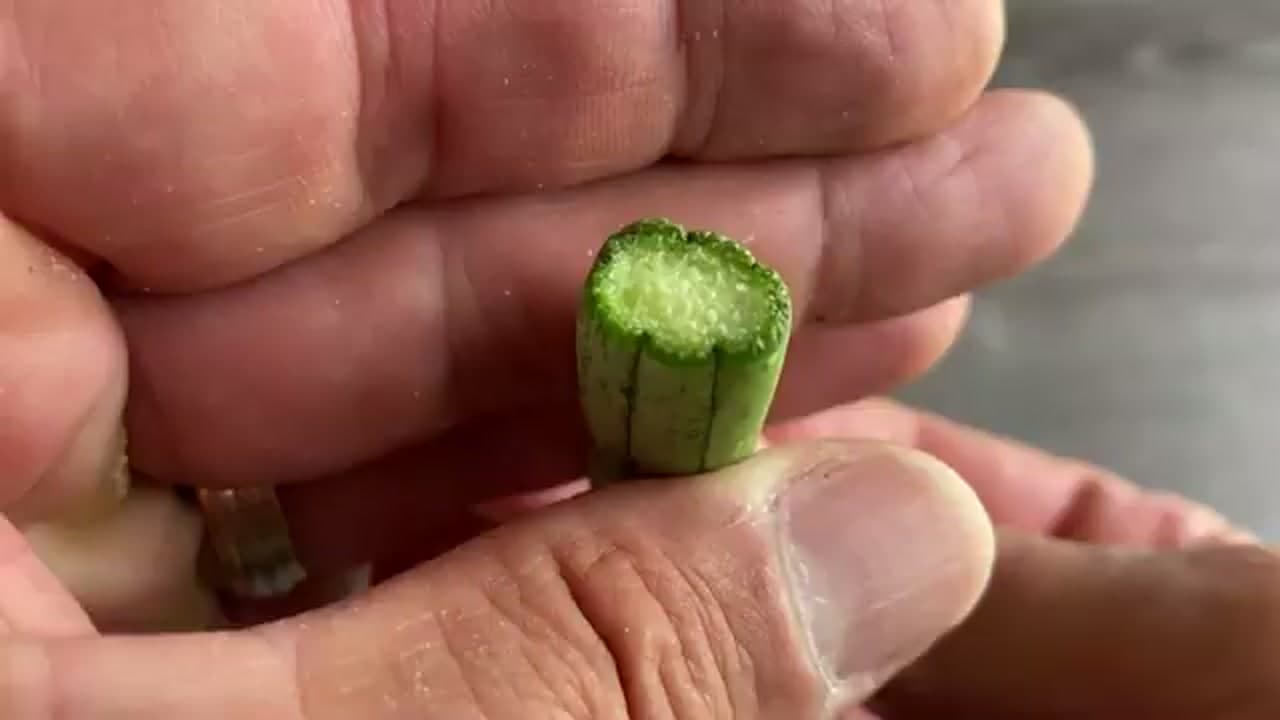
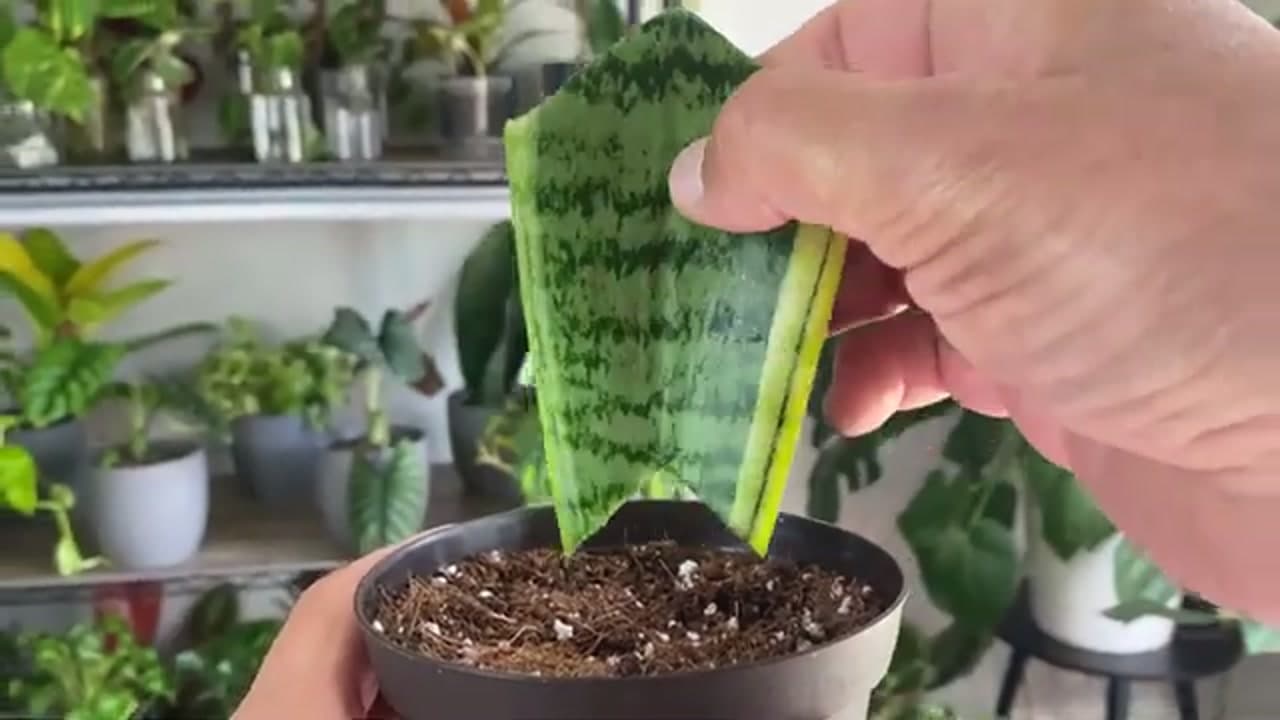
Lay the leaf down and slice it into pieces about two to three inches tall. One long leaf turns into several new plants this way, so a single cutting can go a long way.

Here is the part people get wrong: each segment only roots from the end that was closest to the soil. Set the pieces down in order as you cut so you do not lose track of which way is up. Plant a segment upside down and it will just sit there.

Tip

Watch this step Nick a small notch in the top edge of each segment as you go. It is an easy way to keep the orientation straight once you have a pile of look-alike pieces.

Products used in this step

4

Step 4: Root the Segments in Water

1:37
Step 4: Step 4: Root the Segments in Water

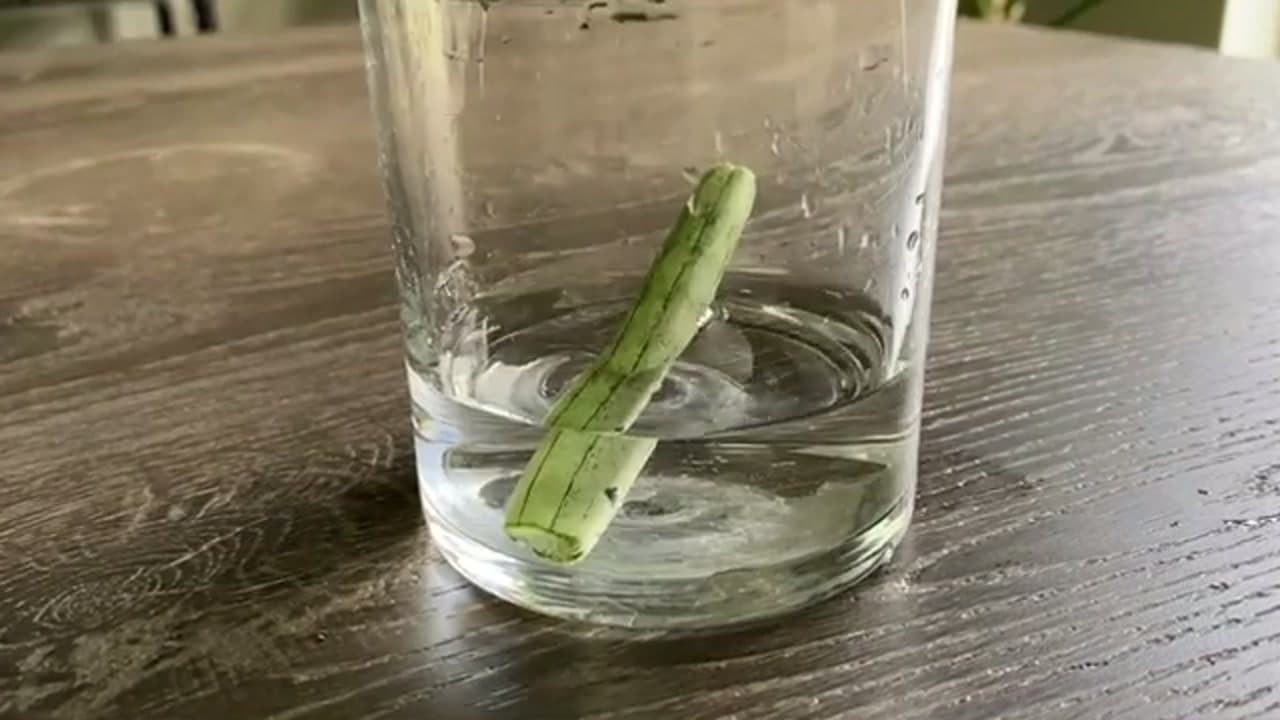
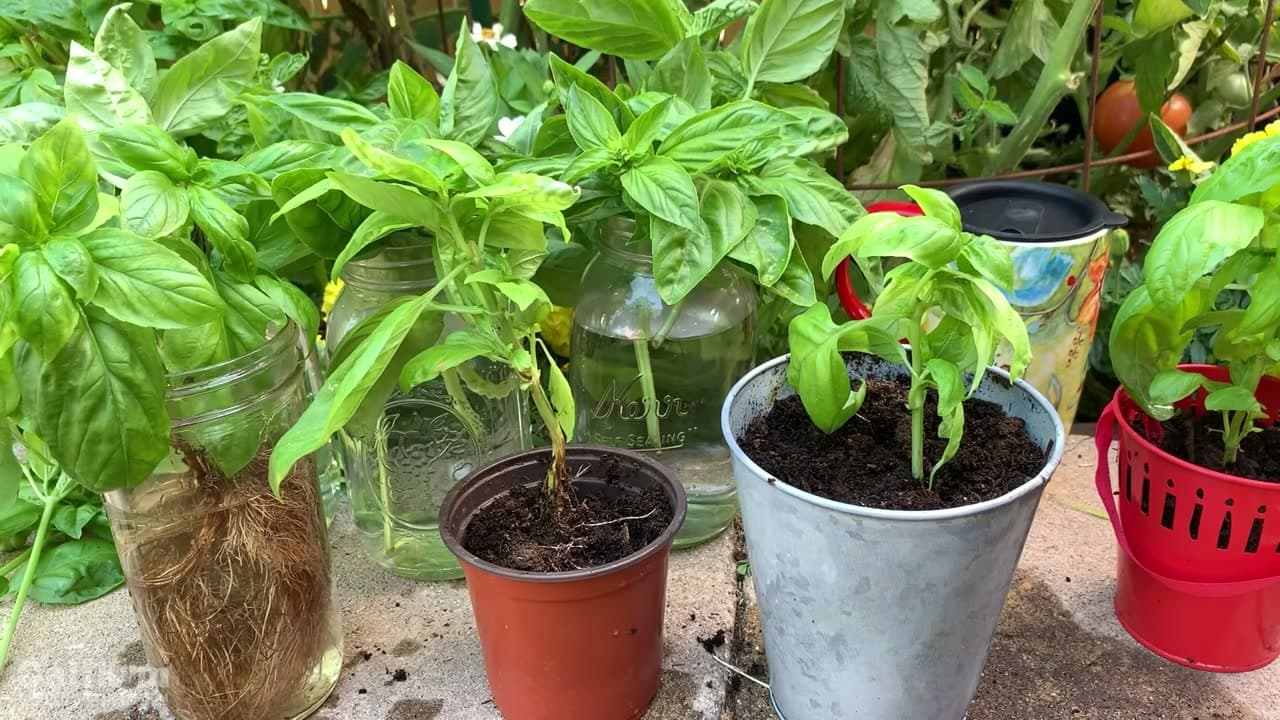
Drop the segments into a clear jar with an inch or two of water, bottom end down. Set the jar somewhere bright but out of harsh direct sun. A clear glass jar lets you watch the roots come in, which is half the fun.

Change the water whenever it turns cloudy, usually every week or so. Roots take a few weeks to a couple of months on a snake plant, so this is a patience project. Fresh water keeps the cut end from rotting while you wait.

Tip

Watch this step Let the cut ends dry on the counter for a day before they go in the water. That callus over the wound cuts down on rot.

5

Step 5: Try Soil Propagation Instead

2:50
Step 5: Step 5: Try Soil Propagation Instead

Prefer to skip the water step? Push the bottom edge of a segment about an inch into a pot of well-draining mix. A cactus or succulent blend works great because it drains fast and snake plants hate sitting wet.

Same rule as before: the end that faced the soil goes into the soil. Firm the mix around the base so the segment stands up on its own, then water lightly. Soil-rooted cuttings skip the transplant shock that water-rooted ones sometimes hit.

Tip

Watch this step Go easy on the water with soil props. Damp, not soggy. Overwatering is the number one way people lose a snake plant cutting.

6

Step 6: Divide the Plant for Faster Results

4:05
Step 6: Step 6: Divide the Plant for Faster Results

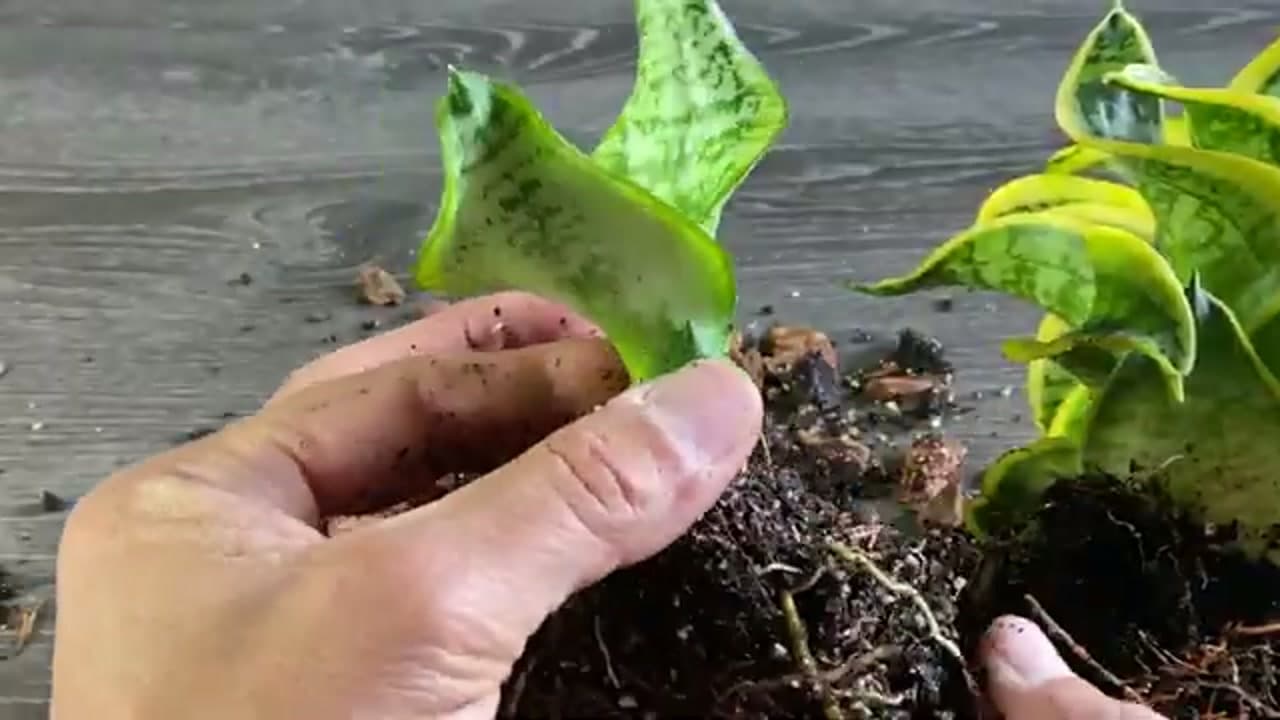
Division is the quickest method and the only one that keeps variegated color. Slide the whole plant out of its pot and look for a pup, a smaller shoot growing off the side with its own roots attached.

Gently tease that pup away from the mother, keeping as many of its roots as you can. If the roots do not pull apart cleanly, cut through the rhizome that connects them with a clean blade. Each piece with roots and at least one leaf becomes a full plant almost right away.

Tip

Watch this step Do this in spring or summer when the plant is actively growing. It bounces back from the disturbance much faster in the warm months.

Products used in this step

7

Step 7: Pot Up Your New Plant

4:32
Step 7: Step 7: Pot Up Your New Plant

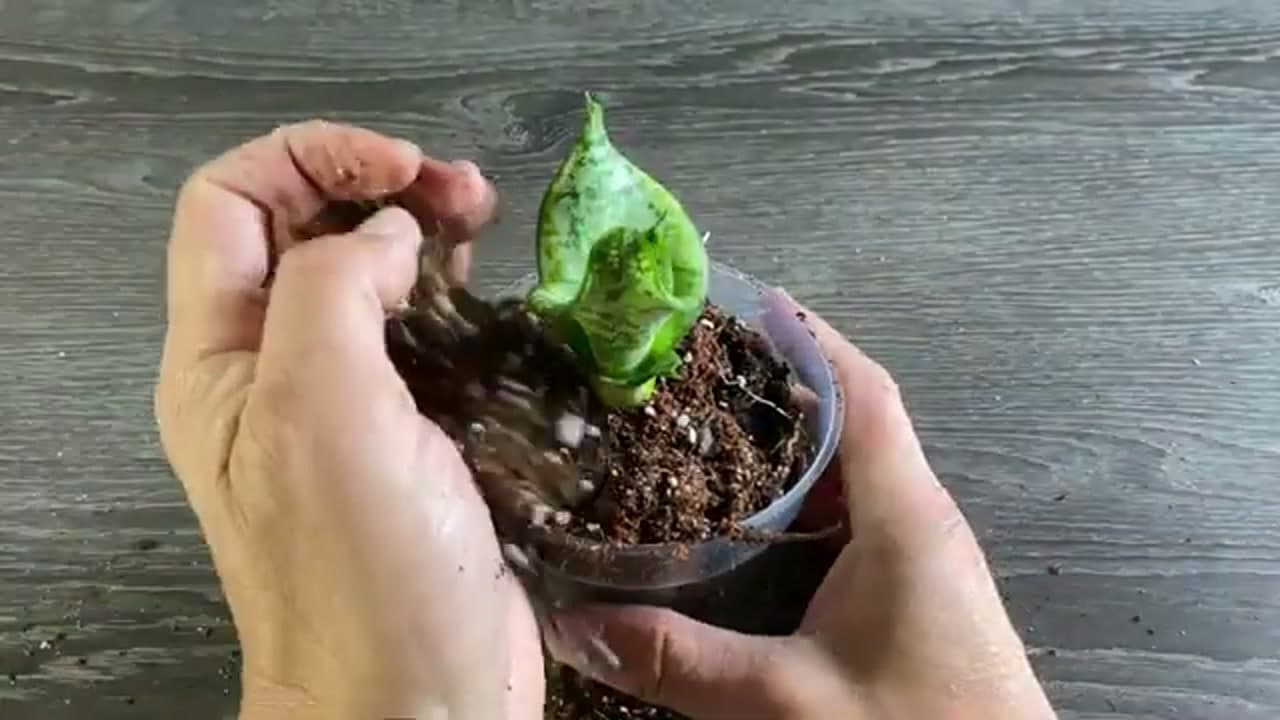
Once a cutting or pup has roots, move it into fresh, well-draining mix. Settle the roots in, add soil around the base, and firm it down so the plant stands upright without leaning.

A pot with a drainage hole matters here. Snake plants would rather dry out than stay wet, so anything that holds standing water invites root rot. Water it in once, then let the top of the soil dry before you water again.

Tip

Watch this step Terracotta pots wick away extra moisture through the clay, which suits a plant that likes to run dry. Match the pot size to the roots and do not go too big.

8

Step 8: Watch the Roots Fill In

4:58
Step 8: Step 8: Watch the Roots Fill In

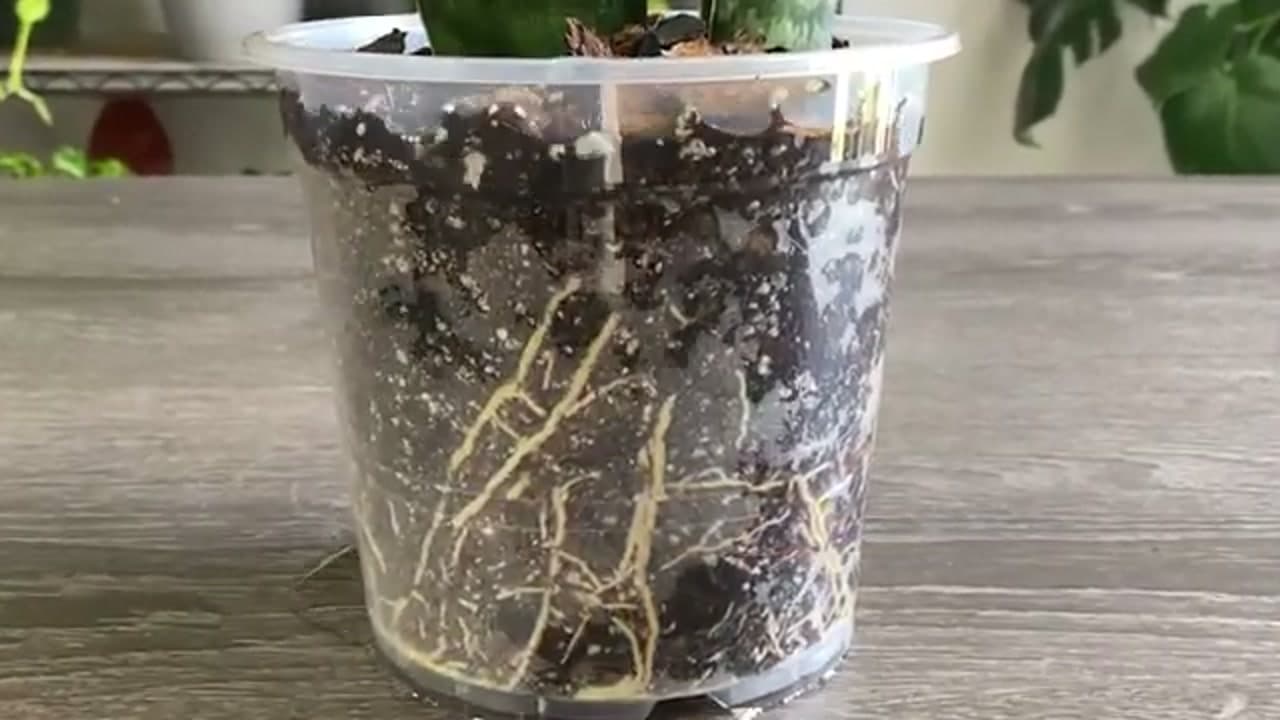
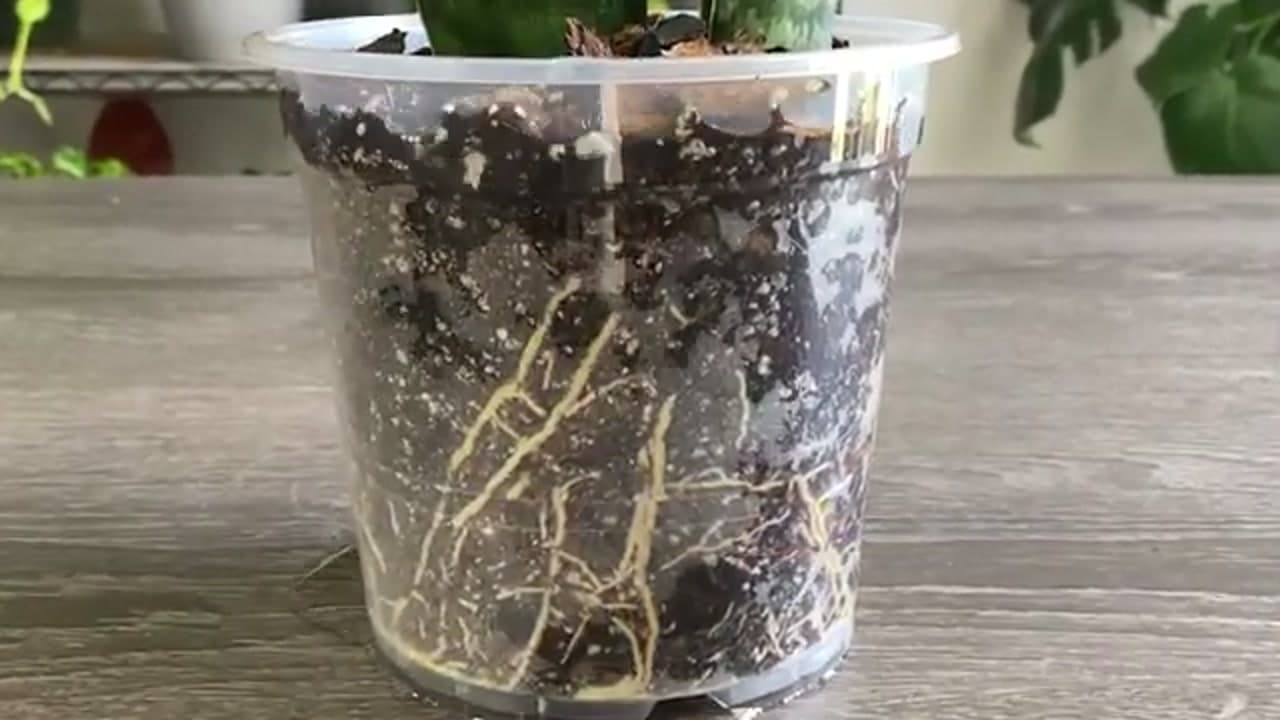
Give it time. After a few weeks in a clear cup you will see white roots snaking down the sides. That is your sign the cutting has taken and is ready to grow on its own.

From here, treat it like any snake plant: bright indirect light, a good soak only when the soil is dry, and no fussing. One leaf you almost threw away has turned into a brand new plant, and you can start the whole thing over whenever you like.

Tip

Watch this step A clear nursery pot is worth keeping around just for propagating. Seeing the roots takes the guesswork out of knowing when a cutting is ready.

Products used in this step

Products Used

☐ The Checklist

How to Propagate a Snake Plant (3 Easy Methods)

Tools
4
Materials
4
Steps
8
Video
5 min

Your Guide

MonstroFarm

As an Amazon Associate we earn from qualifying purchases. Links on this page may be affiliate links - clicking them and buying doesn't change your price, but helps support ShowMeStepByStep.

Tags

Sunday How-To

New gardening tutorials, every Sunday

One short email with the week's best step-by-step guides. Free, no spam, unsubscribe anytime.

Did this work for you?

What's next

Related collections

Curated theme pages that include this tutorial.

Weekly Digest

Liked this gardening tutorial?

Pick the categories you want to hear about. Weekly digest of new step-by-step tutorials. No spam, easy unsubscribe.

Send me tutorials about

We only email about new tutorials. Easy unsubscribe anytime.