1
Whisk the Dry Ingredients
0:32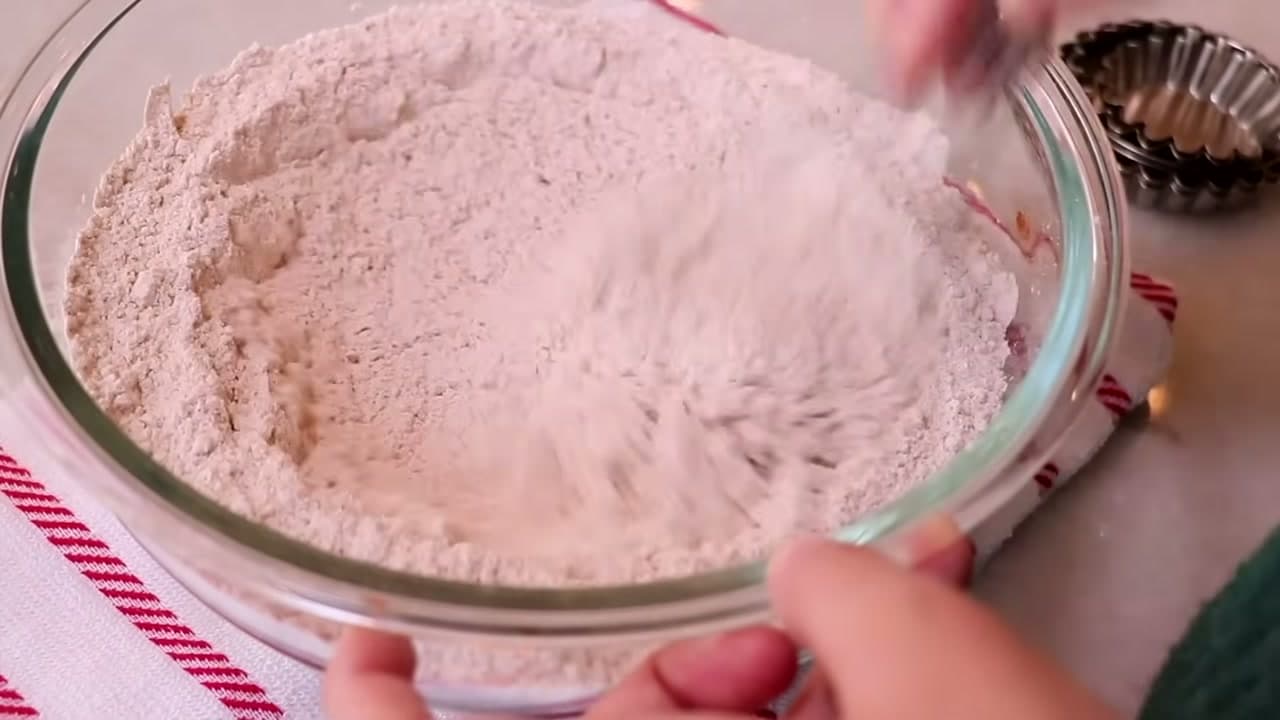
Put the flour, baking soda, salt, ginger, cinnamon, nutmeg and clove in a bowl. Sift them together or whisk until the spices are evenly spread through the flour, then set the bowl aside.
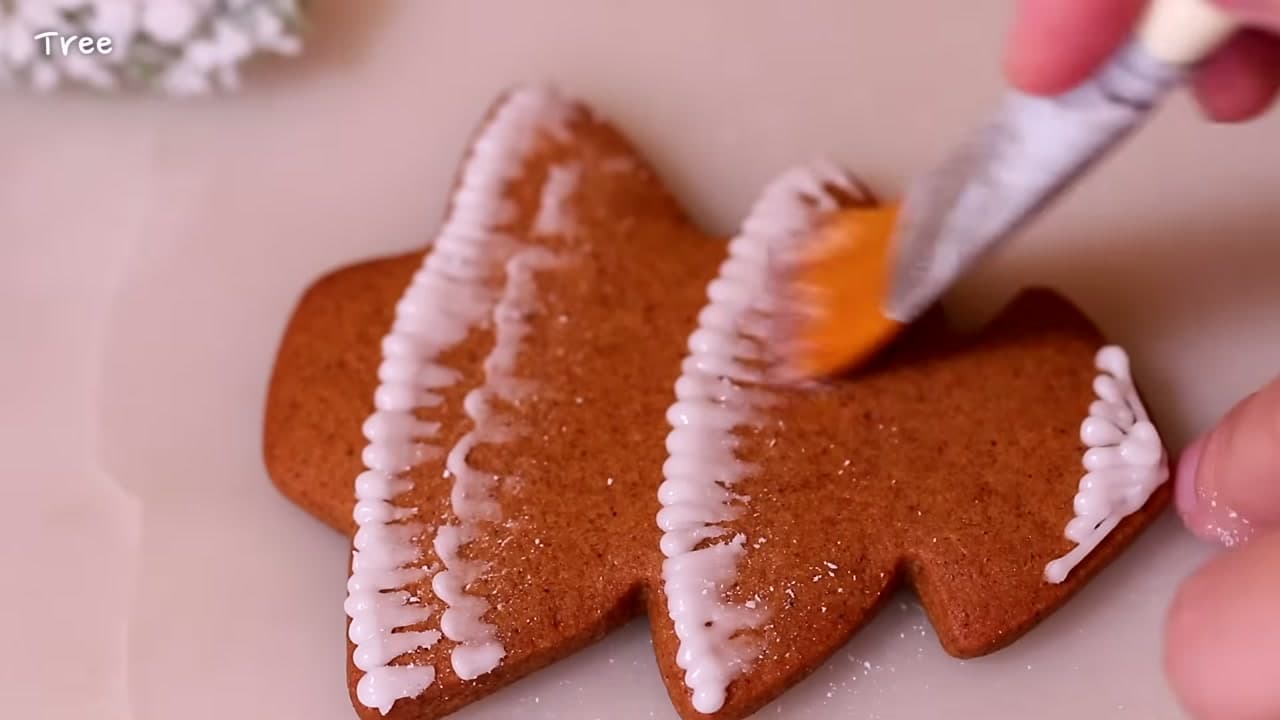
By Show Me Step by StepPublished Updated
Based on a video by Pastry Living with Aya.
This is a rolled gingerbread cookie that holds a sharp edge, tastes strongly of ginger and molasses, and does not spread into a blob in the oven. Aya's version leans on two things most recipes skip: rolling the dough between parchment rather than dusting it with flour, and chilling it flat before cutting.
Both matter more than they sound. Extra flour on the bench works its way into the dough and pushes the cookies toward dry and crunchy. Chilling the rolled sheet, rather than a ball of dough, means you can cut clean shapes straight away instead of fighting a slab that keeps softening.
The dough makes about three dozen. Bake time is where you decide the texture - seven minutes gives a soft cookie, ten gives a snap. There is a simple two-ingredient royal icing at the end if you want to decorate.
Nothing changes except the cutter. This dough was built to hold detail, so arms and legs come out of the oven the shape you cut them, which is the entire problem with most gingerbread man recipes.
A few things help. Cut the shapes on the chilled sheet and slide the whole parchment onto the tray rather than lifting each figure by hand, because a warm gingerbread man stretches at the ankles. Leave an inch between them. Bake the small cutters and the big cutters on separate trays, or the little ones burn while the big ones are still raw in the middle.
For a face, press currants or chocolate chips in before baking, or pipe icing on after. Icing gives you sharper eyes.
Three things make a cookie spread: warm dough, too much butter relative to flour, and a hot tray. This recipe handles the second one. You handle the other two.
Roll to a quarter inch. Thinner than that and the edges brown before the centre sets; thicker and the middle stays doughy at seven minutes. Chill the cut shapes for ten minutes on the tray before they go in, and always start on a cool tray. Re-rolling scraps is fine twice, and after that the dough gets tough from the extra working.
Bake time is the whole control. Seven minutes gives a cookie that is soft in the middle and stays that way for days. Nine gives chew. Ten to eleven gives the snap you want if you are building a house or hanging them on a tree.
They look underdone when they come out at seven minutes, and they should. Gingerbread sets hard as it cools because of the sugar in the molasses. Pull them when the edges are firm and the centres still look matte, then leave them on the tray for five minutes before moving them.
Thickness matters as much as time. If your cookies came out hard and you baked to the clock, you rolled them too thin.
Dark corn syrup is the closest swap, cup for cup, though you lose some of the bitterness that makes gingerbread taste like gingerbread. Honey or maple syrup work and push the flavour sweeter and lighter. Dark treacle goes the other way and gives a stronger, almost smoky cookie.
If you swap in something thinner than molasses, hold back a tablespoon or two of it and check the dough before adding the rest. Molasses is thick, and a looser syrup will slacken the dough enough to affect how the shapes hold.
Blackstrap molasses is a different thing. It is far more bitter and will make the cookies taste medicinal. Use regular unsulphured.
The two-ingredient icing in step 9 is powdered sugar and milk, and it is the right call for a tray of cookies you plan to eat rather than photograph. It sets firm enough to stack after an hour or two.
For piped outlines and flood work that dries hard and glossy, you want a proper royal icing with egg white or meringue powder. Thicker for outlines, then let it down with water a few drops at a time for filling. Our icing guide covers the consistency test.
Let the cookies cool completely. Icing on a warm gingerbread cookie slides off the edge and takes an hour to work out that it is not going to set.
Undecorated cookies keep in an airtight tin for a week, and they get slightly softer over the first two days as the molasses draws moisture. A slice of bread in the tin keeps soft cookies soft. If you baked them crisp, keep the tin dry and do not stack them with anything moist.
The dough freezes better than the cookies do. Roll it flat between parchment, freeze the sheet, then cut straight from frozen after ten minutes on the counter. Three months is safe. Baked and decorated cookies freeze too, in a single layer, though the icing can pit slightly as it thaws.
Gingerbread is usually one tray of several. Sugar cookies use the same rolling and chilling logic and take the same icing, and chocolate chip cookies cover the people who do not like spice.
If you are baking through December, cinnamon rolls handle Christmas morning and pumpkin bread keeps for a week.
10 steps · about 10 minutes.Check off each step as you go and your progress saves automatically.
Put the flour, baking soda, salt, ginger, cinnamon, nutmeg and clove in a bowl. Sift them together or whisk until the spices are evenly spread through the flour, then set the bowl aside.
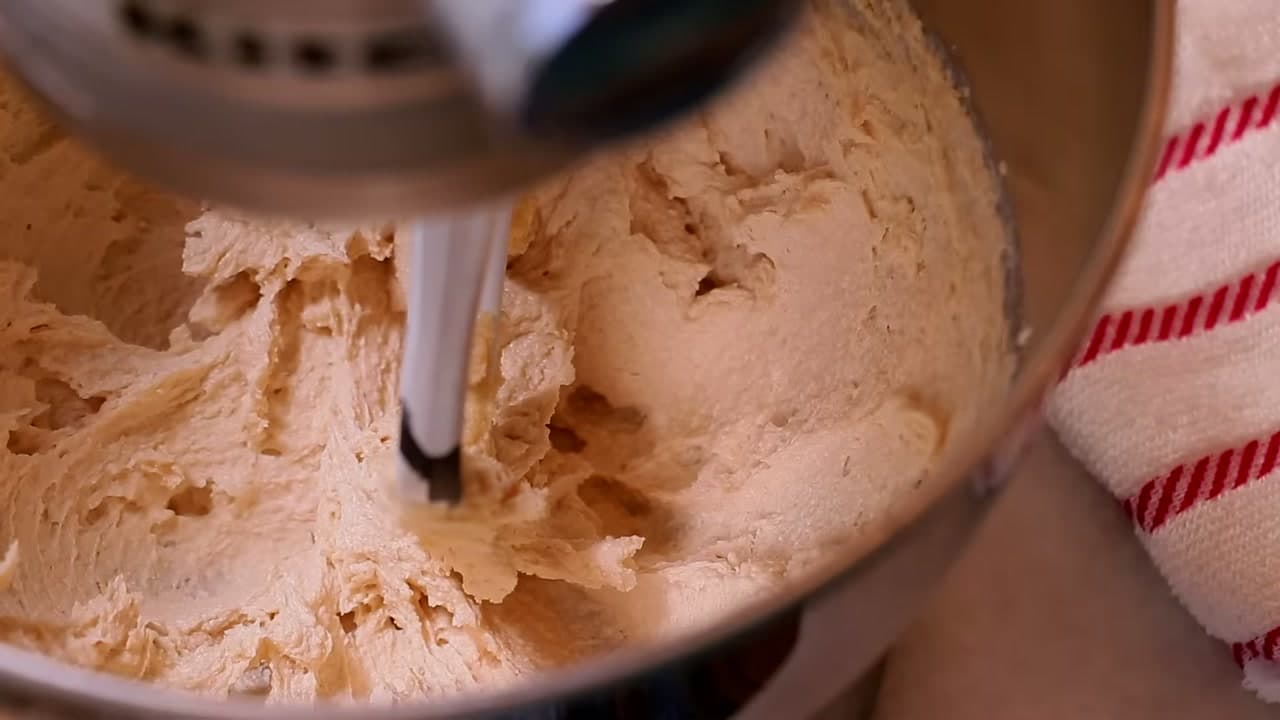
Beat the soft butter and light brown sugar together until the mixture turns pale and looks fluffy. Use butter at room temperature - cold butter will not blend properly and the dough stays grainy.
Tip
Butter straight from the fridge will not cream properly. Leave it out until a finger dents it easily.
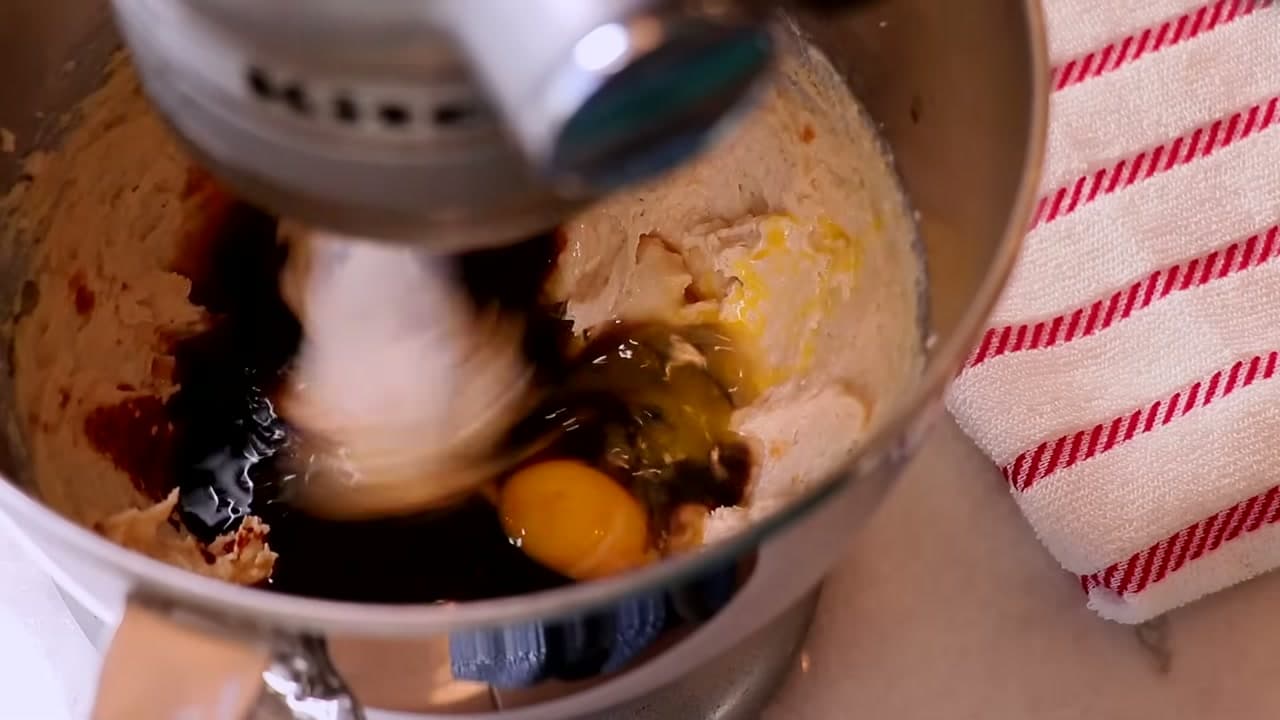
Add the egg, molasses and vanilla extract to the bowl. It will look curdled and separated at first. That is normal, so do not panic and do not add extra flour to fix it.
Tip
It looks curdled at this stage on every single batch. Do not add flour to fix it.
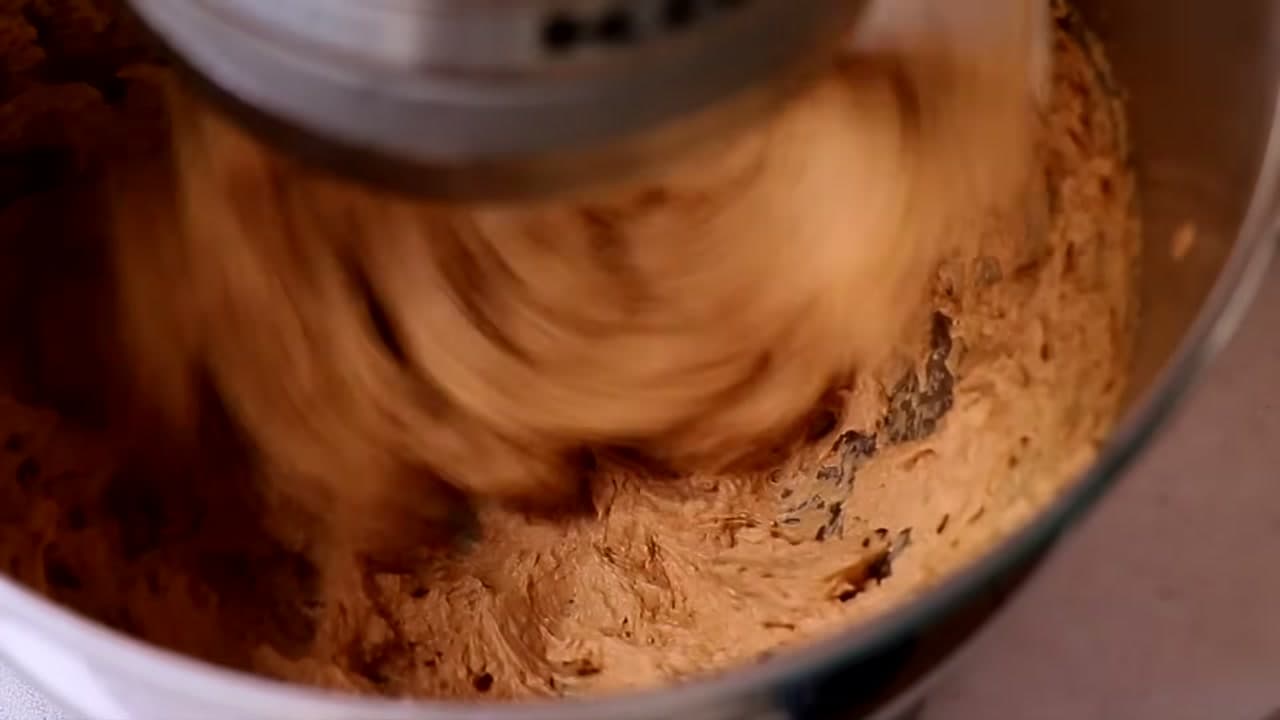
Keep beating. After a minute or two the mixture pulls back together and turns smooth and fluffy again. Wait for that change before you move on.
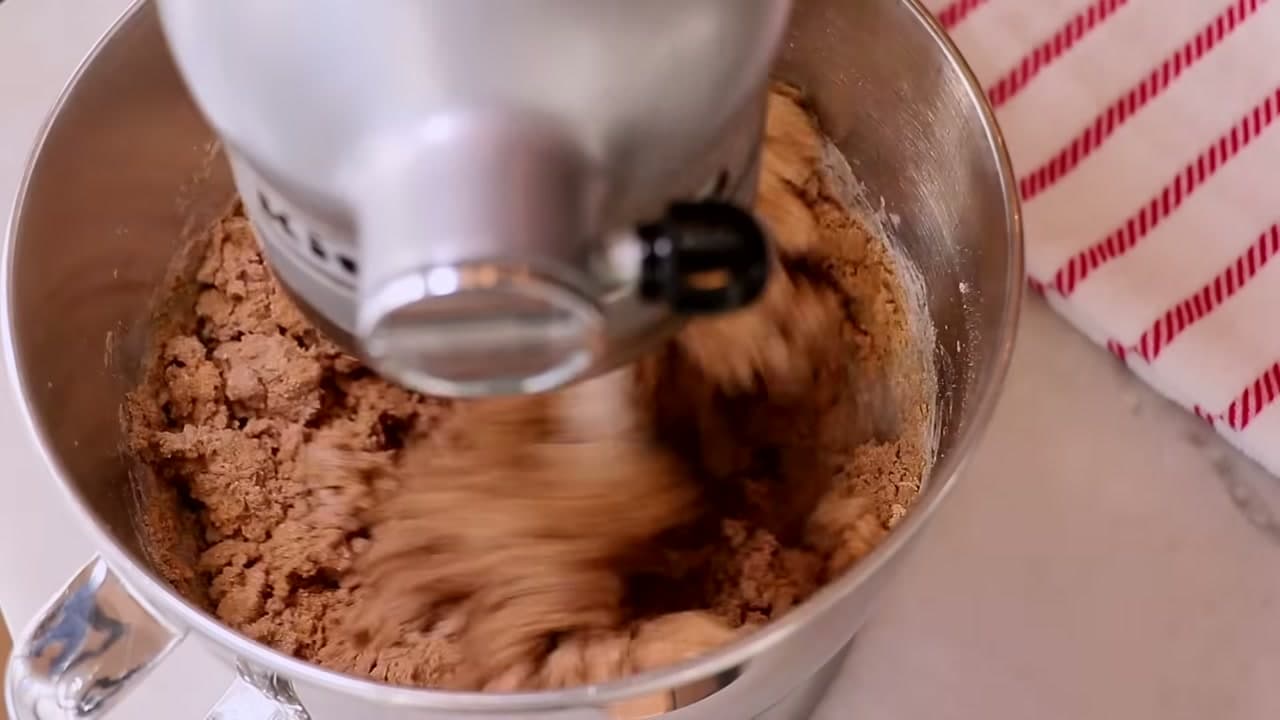
Add the spiced flour mixture and mix only until it is evenly combined. Scrape down the bowl and check the bottom for dry pockets, then stop - overmixing here toughens the cookies.
Tip
Stop the moment the flour disappears. Beyond that you are building gluten and the cookies go tough.
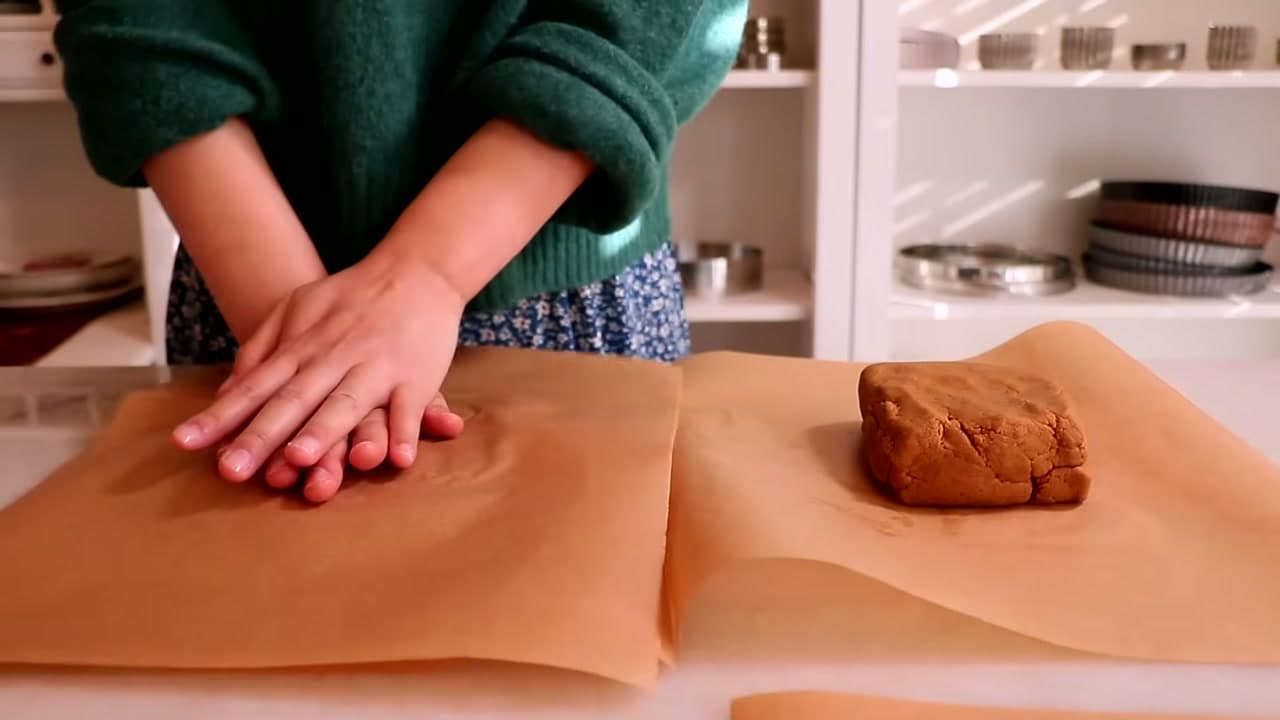
Split the dough in half and flatten each piece into a disc. Roll it out between two sheets of parchment to about a quarter inch thick, with a towel underneath so the paper does not slide. Rolling between parchment instead of dusting with flour keeps the cookies neat and stops them turning crunchy. Chill the rolled sheets in the fridge for about an hour.
Tip
Rolling between parchment instead of dusting with flour is the whole trick. Flour on the surface makes the cookies crunchier and leaves a dusty finish.
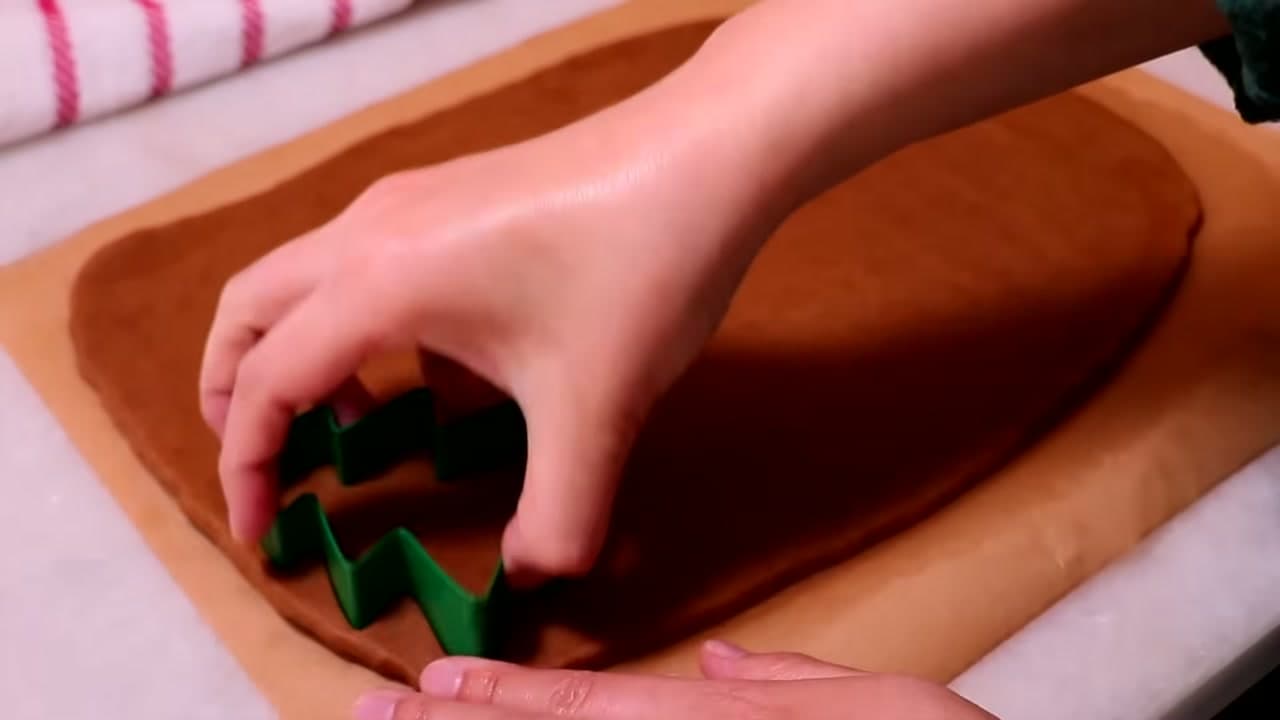
Peel the parchment off both sides and cut out your shapes. Chilled dough cuts cleanly and holds its edges. Gather the scraps, re-roll them between parchment, chill again and cut the rest.
Tip
Cold dough holds its edges. If the shapes start dragging, the sheet has warmed up - put it back in the fridge.
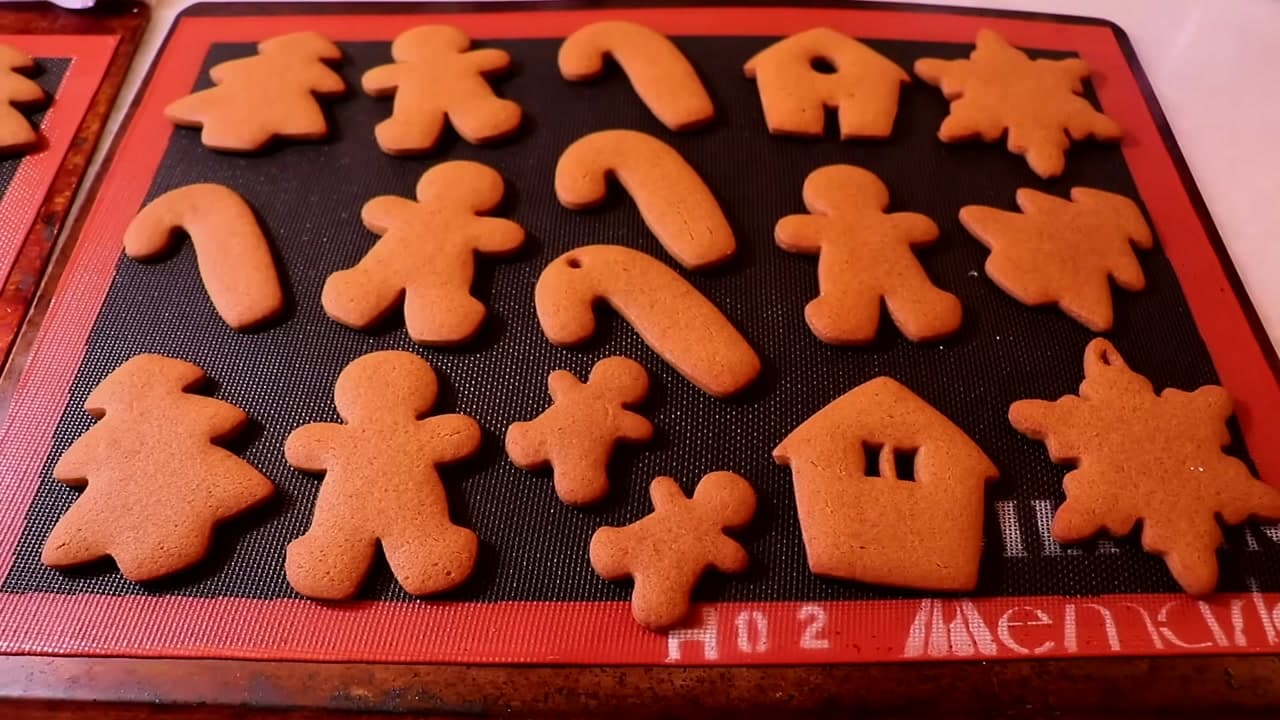
Bake at 350F for seven to ten minutes. Seven minutes gives you a soft cookie, ten gives you a crunchy one, and eight lands crisp at the edge with a soft middle. Thickness and how cold the dough was both shift the timing, so watch the first tray.
Tip
Seven minutes for soft, eight for crisp edges and a soft middle, ten for a snappy cookie. Watch the first tray and adjust from there.
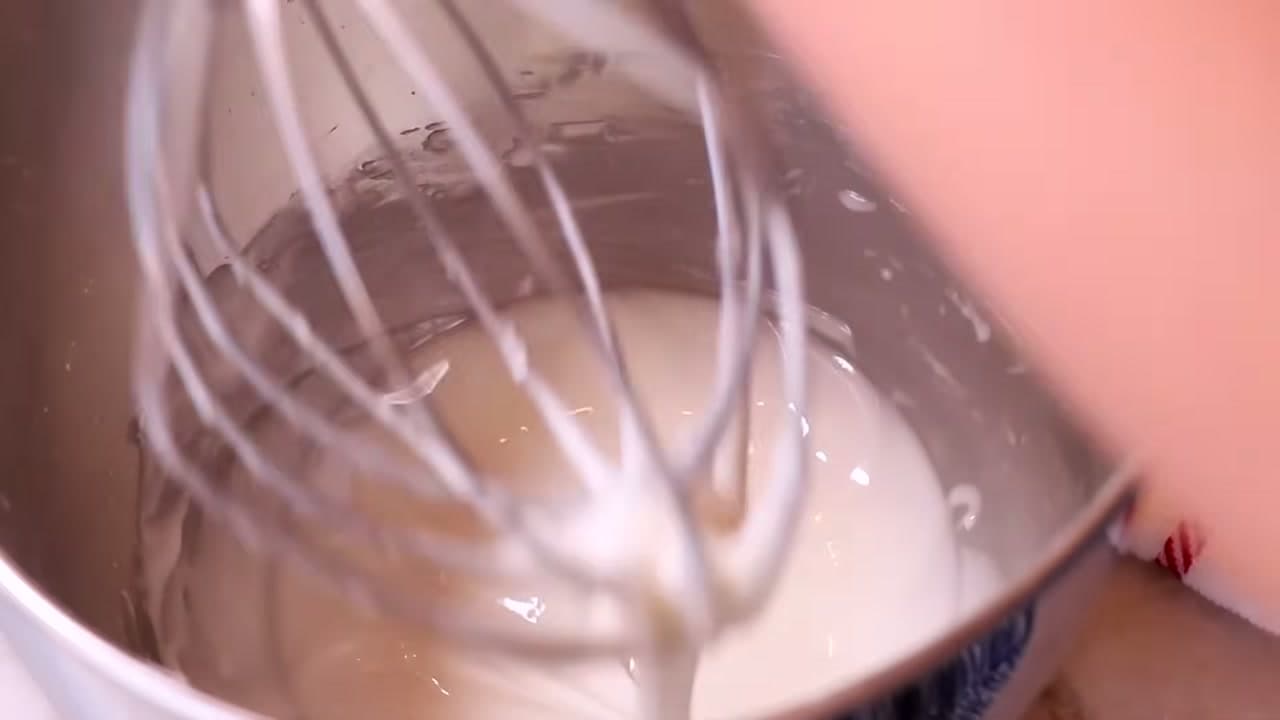
Sift the powdered sugar through a fine sieve, especially if it is lumpy. Add the milk and whisk until smooth, scraping the sides and the bottom of the bowl so no dry sugar hides there. Move it into a piping bag straight away before the surface starts to crust.
Tip
Get it into the piping bag straight away. Royal icing starts crusting on the surface within a couple of minutes.
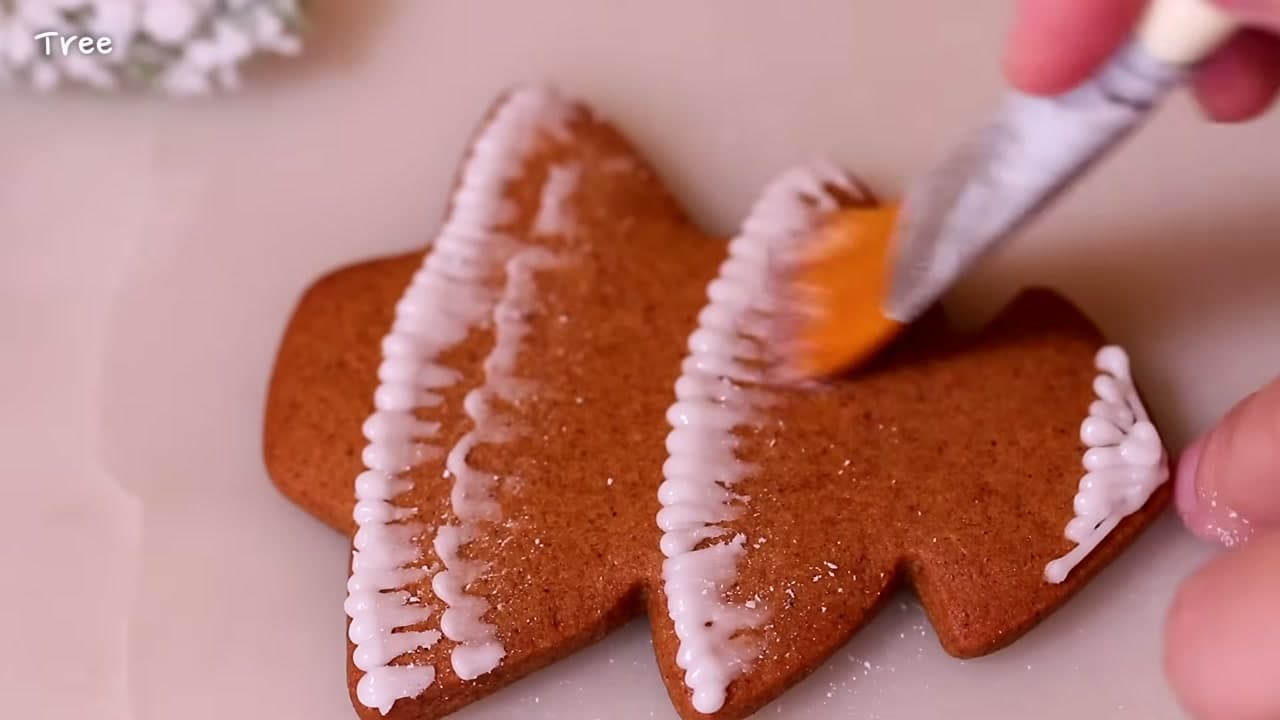
Use the thicker icing to pipe outlines and detail. For filling in larger areas, thin a portion with a little more milk. Let the cookies cool completely first or the icing will slide.

Keep going
How to Make Apple Butter in a Slow Cooker
How to Make Gingerbread Cookies
How to Make Gingerbread Cookies
As an Amazon Associate we earn from qualifying purchases. Links on this page may be affiliate links - clicking them and buying doesn't change your price, but helps support Show Me Step by Step.
Sunday How-To
One short email with the week's best step-by-step guides. Free, no spam, unsubscribe anytime.
Test your knowledge
5 questions covering what you just read. No signup, no score saved, and you can stop after this one.
Question 1 of 5
The batter looks curdled right after the egg and molasses go in. What now?
Quick reference
5 questions, answers, and one-line explanations. Tap to expand.
1.The batter looks curdled right after the egg and molasses go in. What now?
Answer: Keep beating until it pulls back together and turns smooth again
It splits on every batch and comes back together after a minute or two.
2.Why roll the dough between parchment instead of dusting with flour?
Answer: Extra flour on the surface makes the cookies crunchy and dusty
Every dusting of flour you skip is grit and dryness the cookie never gets.
3.Why stop mixing the moment the flour disappears?
Answer: Further mixing builds gluten and toughens the cookies
Gluten is what makes a cookie chewy in the bad way, so quit while you are ahead.
4.What do seven, eight and ten minutes in the oven each give you?
Answer: Seven soft, eight crisp at the edge with a soft middle, ten snappy
Three minutes is the whole range from soft to snappy, so watch the first tray.
5.Your cut-out shapes start dragging and losing their edges. Why?
Answer: The rolled sheet has warmed up and wants to go back in the fridge
Cold dough cuts sharp, so chill the sheet again the moment it starts to drag.
Did this work for you?
Curated theme pages that include this tutorial.
Hand-picked next reads based on the one you just finished.
Pick the categories you want to hear about. Weekly digest of new step-by-step tutorials. No spam, easy unsubscribe.
Send me tutorials about