1
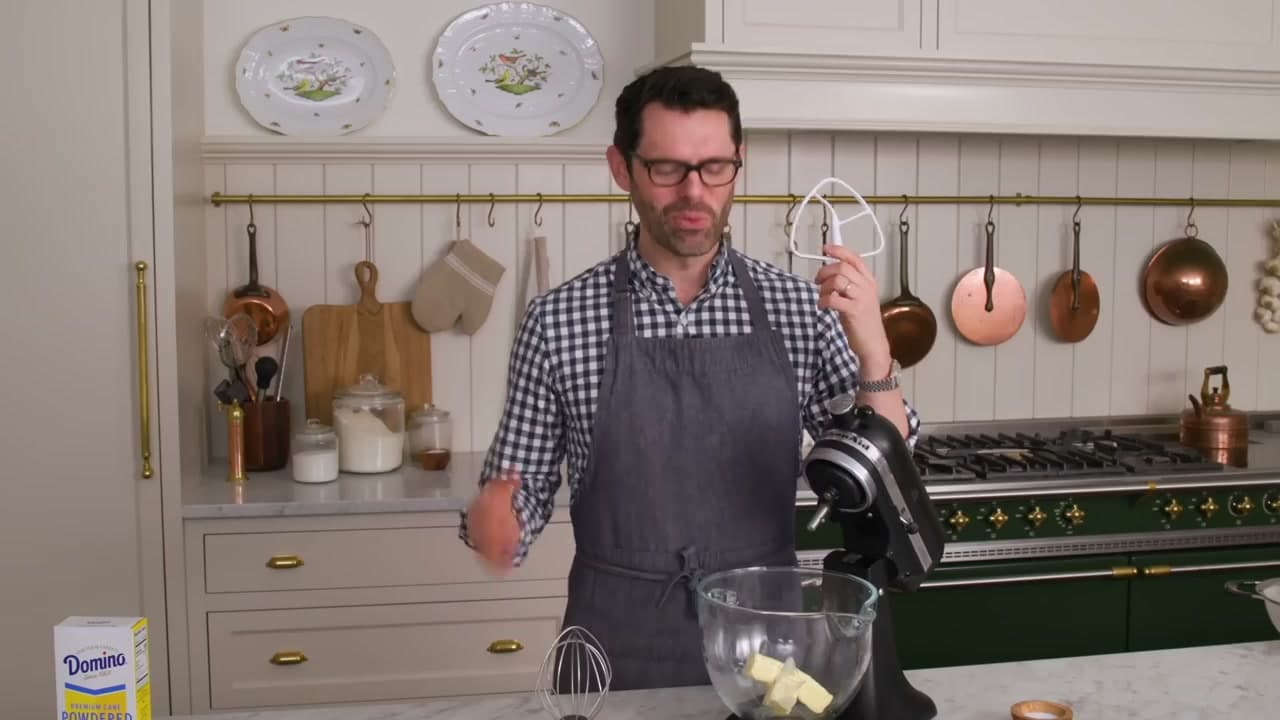
Step 1: Bring the Butter to Room Temperature
0:14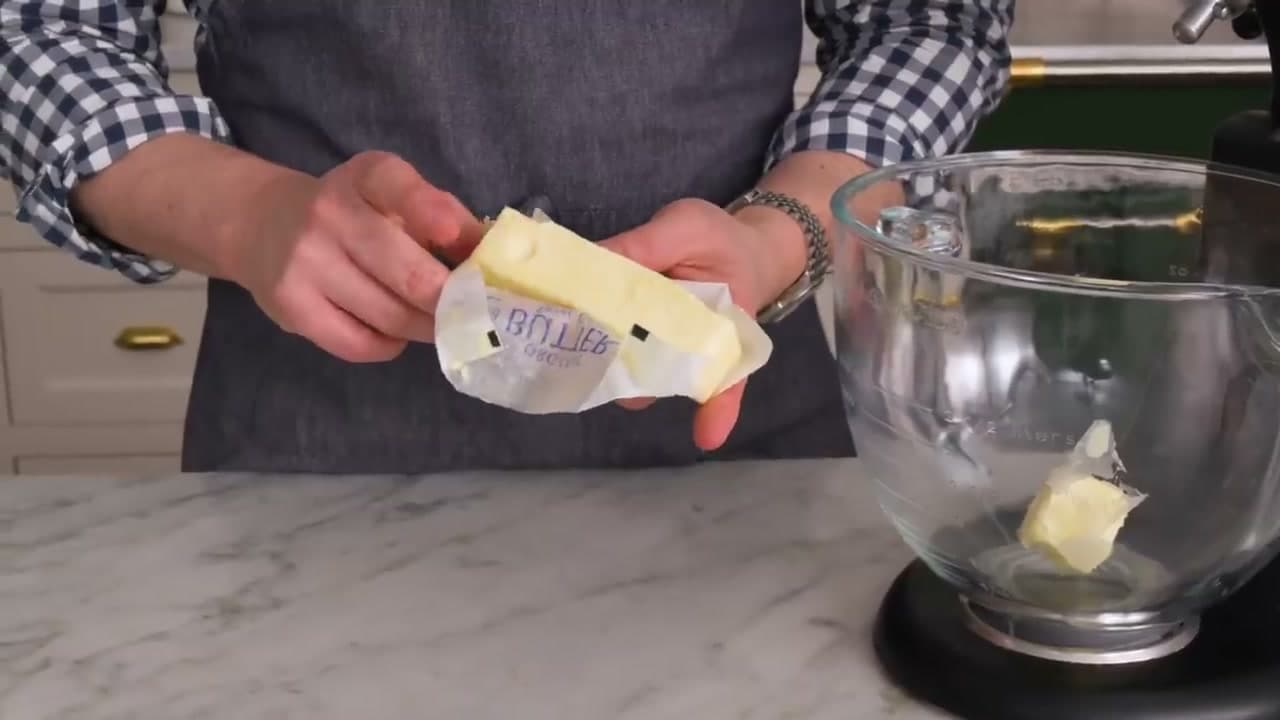
Take 1 cup (226g) of unsalted butter out of the fridge and let it sit on the counter until it's soft enough to dent with a finger - usually 30 to 60 minutes depending on your kitchen. It should yield like soft cream cheese. Cold butter won't cream, and melted butter ruins the texture entirely.
If you forgot to plan ahead, cut the butter into tablespoon-sized cubes and microwave at 50% power in 10-second bursts. Stop the moment it dents - even one extra burst can melt the edges.
Tip
Use unsalted butter so you control the salt yourself. Salted butter works in a pinch - just skip the added salt later in the recipe.