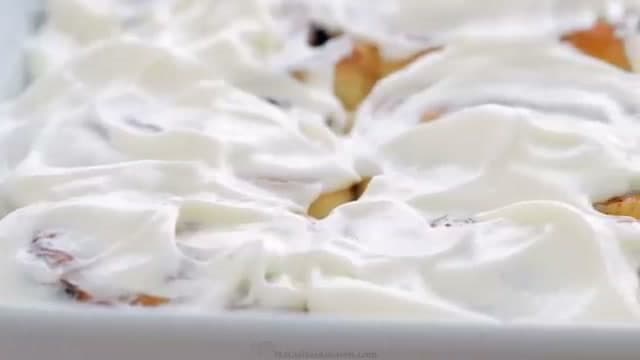
These homemade cinnamon rolls come from Natasha of Natasha's Kitchen, and they earn the title of her all-time favorite. They bake up big, soft, and fluffy, with layer after layer of cinnamon sugar and a cream cheese icing that her sister swears is better than Cinnabon. The best part is how little hands-on time they take.
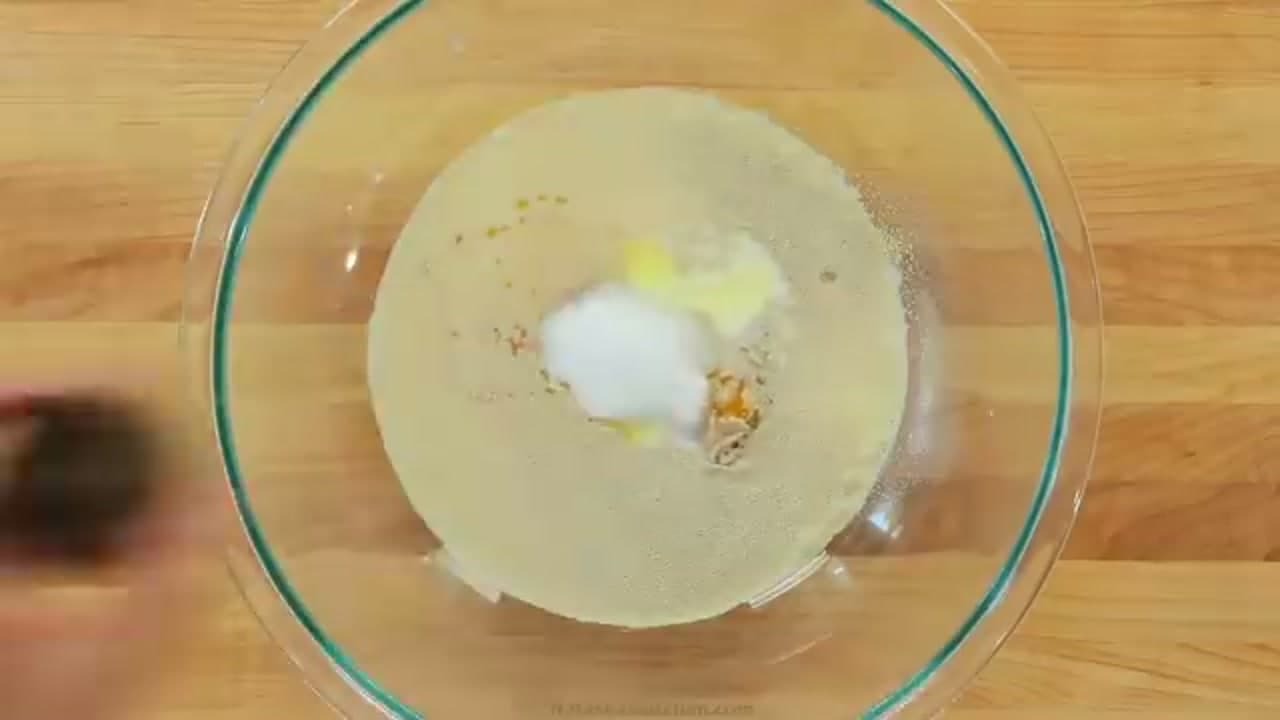
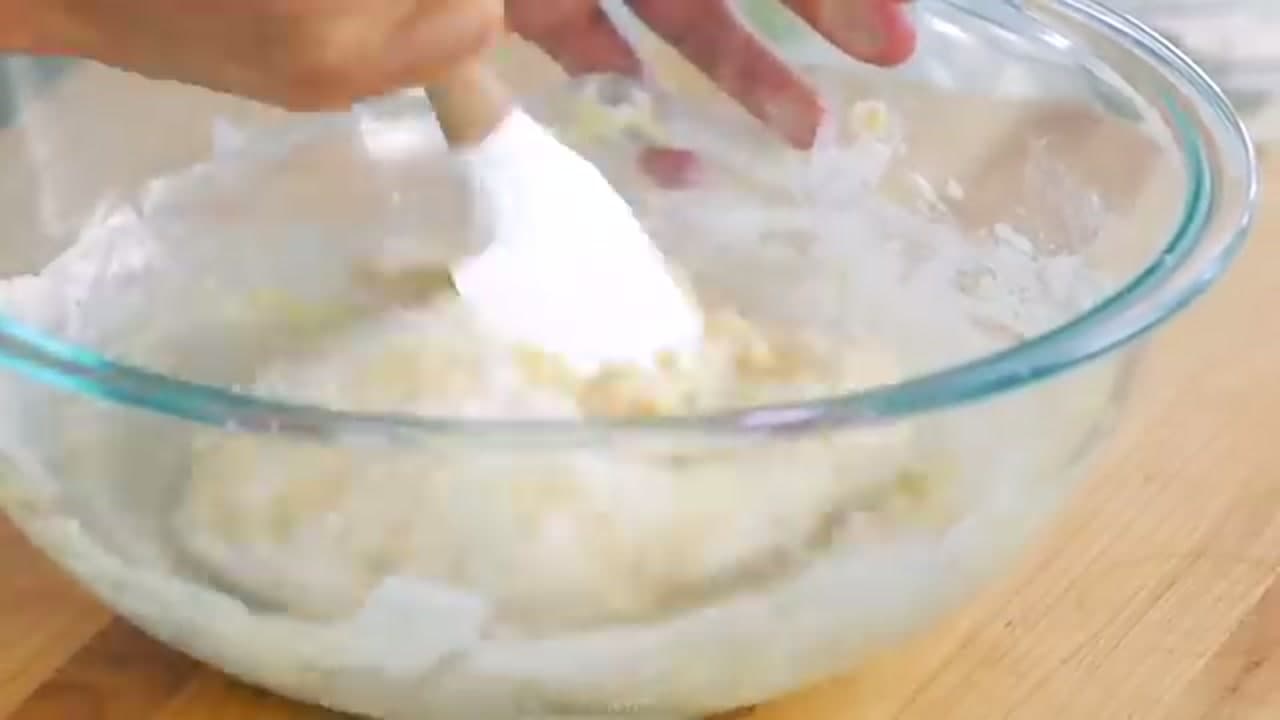
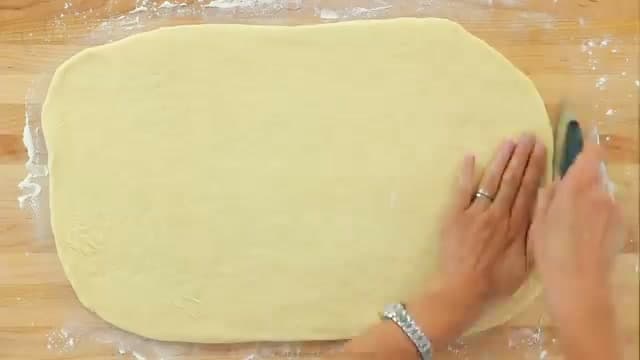
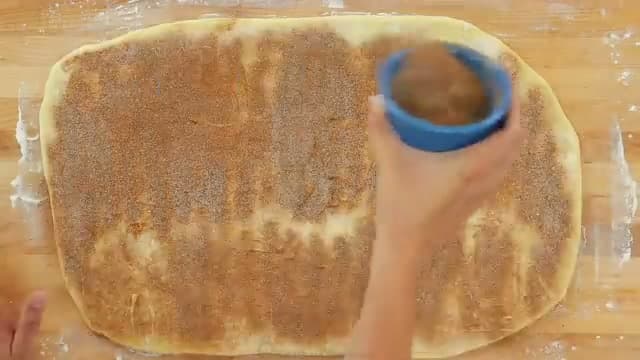
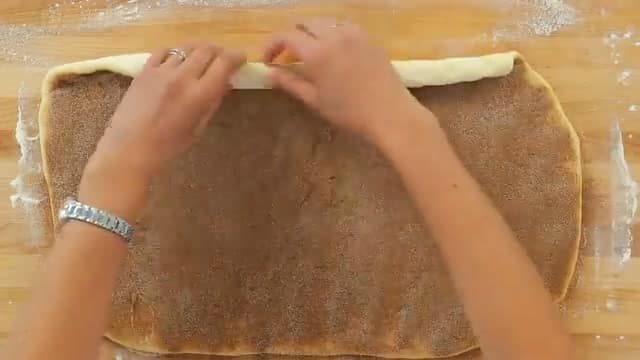
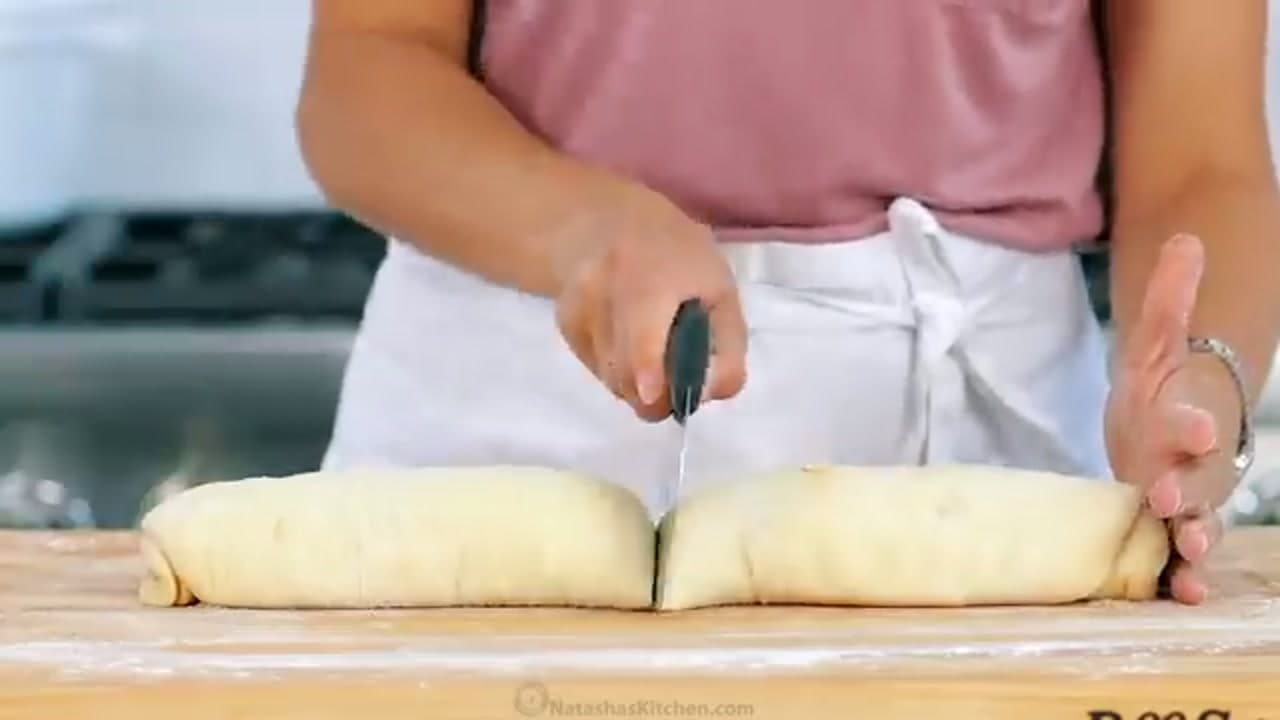
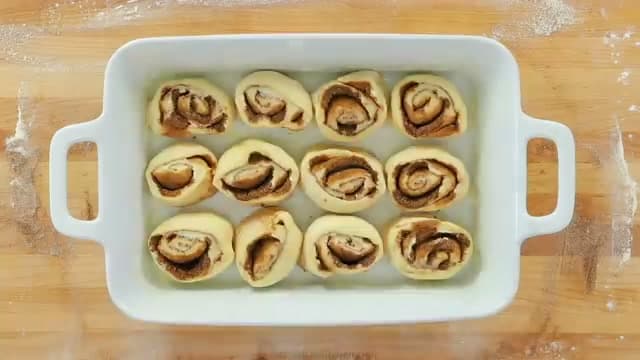
You'll mix a simple yeast dough, let it rise, then roll it into a rectangle and spread on a buttery cinnamon-sugar filling. Roll it into a tight log, cut 12 even pieces, and give them one more rise in the pan before baking. The cream cheese frosting comes together in one bowl while the rolls cool, and you spread it on while they're still warm so it melts right into the swirls.
Save this one for holidays and lazy weekend mornings, but honestly it's easy enough for any day of the week. If you like baking your own breakfast from scratch, try our homemade bagels next for another rewarding yeast-dough project.
Overnight cinnamon rolls
This is the version most people actually want, because nobody wants to start a yeast dough at six in the morning. Take the recipe through step 7, cover the pan tightly, and refrigerate overnight instead of doing the second rise on the counter.
In the morning, pull the pan out and let it sit at room temperature for forty-five minutes to an hour. The rolls need to lose their chill and finish rising before they go in, and skipping that is why cold-from-the-fridge rolls bake up dense. They should look visibly puffed and be touching each other in the pan.
Do not let them go more than about sixteen hours. Past that the yeast starts to exhaust itself and the dough takes on a sour edge.
The cream cheese icing
Full-fat block cream cheese, softened, not the spreadable kind in a tub. Tub cream cheese carries extra water and gives you a runny frosting no amount of powdered sugar will fix.
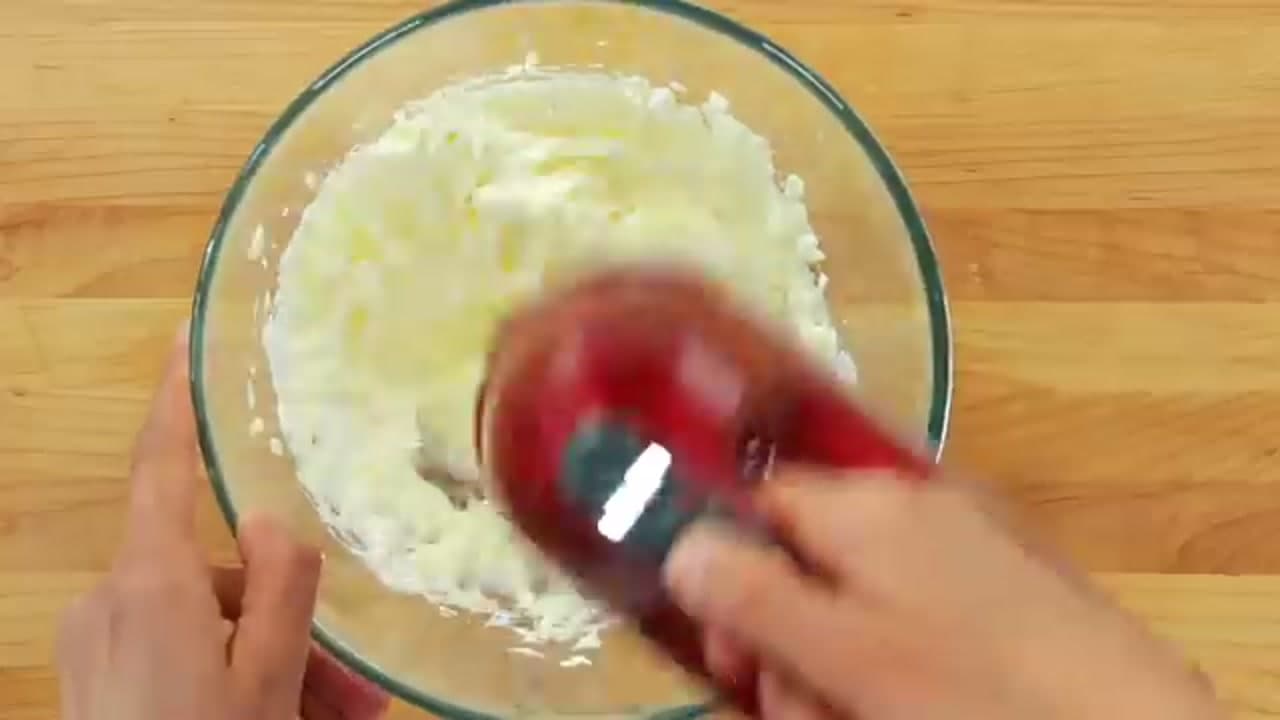
Everything wants to be at room temperature. Cold cream cheese against soft butter gives you lumps that will not beat out, so pull both an hour ahead. Beat the butter and cream cheese together first until there is no texture left, then add the powdered sugar and vanilla.
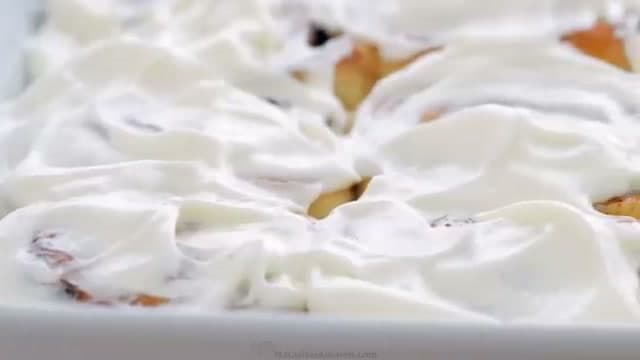
Spread it while the rolls are warm but not hot. Warm rolls let the icing sink into the swirls, which is the point. Hot rolls turn it into a puddle at the bottom of the pan. Ten minutes out of the oven is about right.
Cinnamon rolls without yeast
You can get there with baking powder and a biscuit-style dough, and it takes about forty minutes start to finish. The texture is honestly different: flakier and more scone-like, closer to a cinnamon biscuit than a bakery roll. Some people prefer it.
Two cups of flour, a tablespoon of baking powder, a teaspoon of salt, a third of a cup of cold butter cut in, and a cup of milk gets you a workable dough. Roll, fill and cut exactly as written here, then bake at 400F for about twenty minutes. There is no rising time at all.
What you give up is the pull-apart layering. Yeast is what makes a cinnamon roll unwind in a long spiral instead of breaking into pieces.
Why rolls come out dry
Too much flour, nearly every time. Yeast dough should be tacky when you stop kneading, tacky enough that it clings to your fingertip and lets go. Bakers add flour until the stickiness is gone, and by then the dough is a quarter cup too heavy and the rolls will be dry no matter how carefully you bake them.
The second cause is overbaking. Twenty-two to twenty-four minutes at 350F, and pull them when the tops are golden and the centre roll reads about 190F. Five extra minutes is the difference between soft and stale-tasting.
The third is baking them too far apart. Rolls that touch in the pan steam each other and stay soft on the sides. Give them a snug pan.
How long to let them rise
The first rise wants sixty to ninety minutes, until the dough has doubled. The second, after cutting and arranging, wants thirty to forty-five, until the rolls have puffed and closed the gaps between each other.
Clock times are a guide, not a rule, because rise time follows the temperature of your kitchen. A cold January kitchen can double the numbers. Use the poke test: press a floured finger a half inch into the dough, and if the dent fills back slowly and not completely, it is ready. If it springs straight back, give it another fifteen minutes.
Cutting clean rolls
Unflavoured dental floss, and it is not a gimmick. Slide a length under the log, cross the ends over the top, and pull. It cuts through without pressing the spiral flat, which is exactly what a knife does no matter how sharp it is.
Mark the log before you cut anything. Halve it, halve each half, then cut each quarter into three. That gets you twelve even rolls without measuring, and even rolls bake evenly.
Freezing, reheating and making them ahead
Freeze them unbaked after cutting. Arrange the rolls in the pan, cover tightly, and freeze for up to two months. Thaw overnight in the fridge, then let them come to room temperature and rise for an hour or two before baking as normal.
Baked rolls freeze well too, iced or not, though unfrosted holds up better. Reheat a single roll in the microwave for about twenty seconds, or a whole pan covered with foil at 300F for fifteen minutes. A splash of milk over the pan before it goes back in brings back some of the softness.
More yeast doughs and holiday baking
Cinnamon rolls are the friendliest yeast dough to start on, because the filling forgives a lot. When you want the next one, bagels add boiling before baking and sourdough trades yeast for a starter and a much longer clock.
If these are going on a Christmas morning table, gingerbread cookies and sugar cookies can be baked days ahead, and our icing guide covers the buttercream version if cream cheese is not your thing.