How to Make the Best Waffles (7 Steps)

CookingEasy4:197 stepsBrowse more →

By ShowMeStepByStepPublished

Based on a video by Preppy Kitchen.

A homemade waffle is one of those weekend wins that feels like a lot of work and is actually not. Eight ingredients you already have, two bowls, one waffle iron, and twenty minutes from start to first bite. The payoff is huge - crisp on the outside, light and tender inside, with a delicate vanilla flavor that the frozen-box version can't touch.

This is John Kanell's classic recipe from Preppy Kitchen, scaled to use up a standard 2-cup measure of milk and a half-stick of butter. Nothing fancy, no separating eggs, no waiting for batter to rest. Whisk dry, whisk wet, combine gently, pour, cook. The whole thing fits on one printed page.

The two tricks that take these from good to great: get the waffle iron screaming hot before the batter ever touches it, and stop whisking the second you don't see dry flour streaks. A cool iron makes soggy waffles. An overmixed batter makes tough, chewy ones. Hot iron, gentle hand - that's the whole game.

Make a double batch and freeze the leftovers. They reheat perfectly in the toaster for up to two months - instant weekday breakfast for the cost of dropping bread in a slot. Pour with real maple syrup, top with fresh berries and a pat of butter, and you have brunch.

Pairs well with: how to make pancakes, how to cook bacon, and how to make scrambled eggs for the full breakfast spread.

Step-by-Step Guide

1

Step 1: Preheat the Waffle Iron and Melt the Butter

0:22
Step 1: Step 1: Preheat the Waffle Iron and Melt the Butter

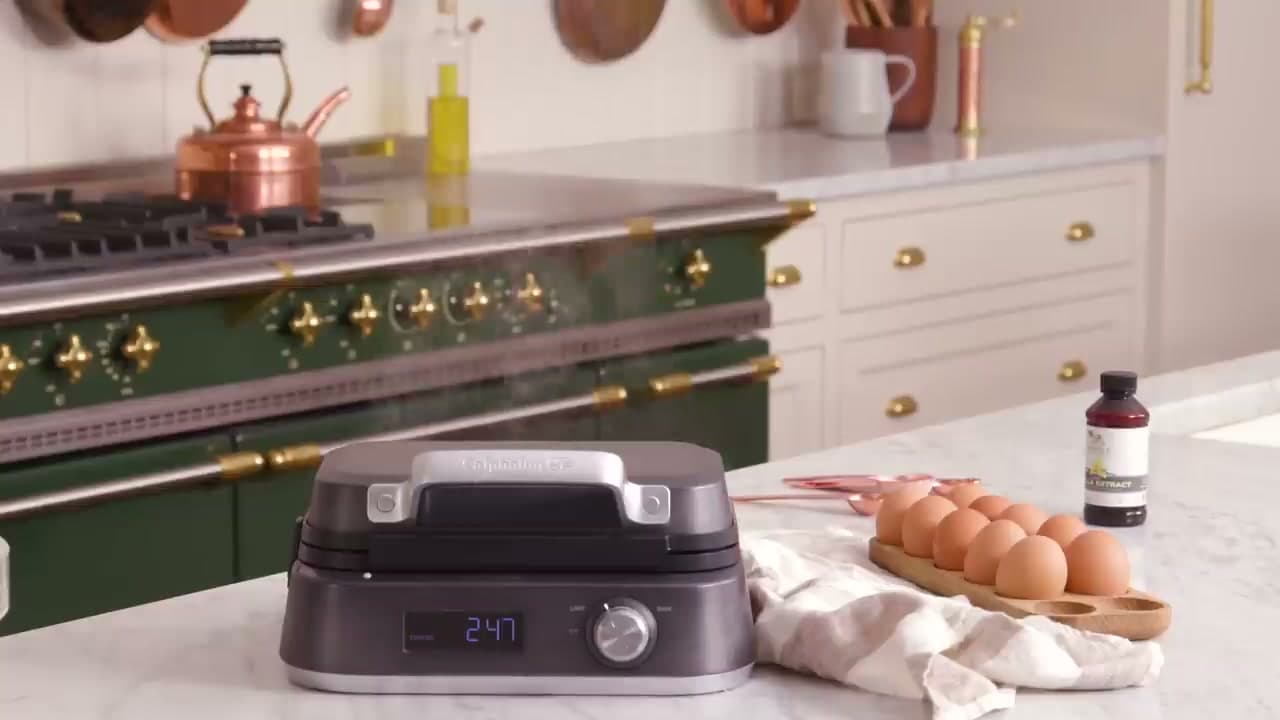
Plug in the waffle iron and turn it on first. A hot iron is the single biggest factor in a crisp waffle - everything else falls apart if the iron is barely warm when the batter goes in. Set it to medium or whatever your manual recommends and let it come up to temperature while you mix the batter.

Melt 1/2 cup (113g) of unsalted butter in the microwave in a small dish or a liquid measuring cup. Forty-five seconds at half power usually does it, stirring once. Using a liquid measuring cup means one less dish to wash later - the butter goes straight from there into the wet bowl.

Tip

If your waffle iron is older and has no temperature indicator, give it a full five minutes to preheat. Toss a drop of water on it - if it sizzles and dances, you're ready. If it just sits there, wait another minute.
2

Step 2: Whisk the Dry Ingredients in a Large Bowl

0:50
Step 2: Step 2: Whisk the Dry Ingredients in a Large Bowl

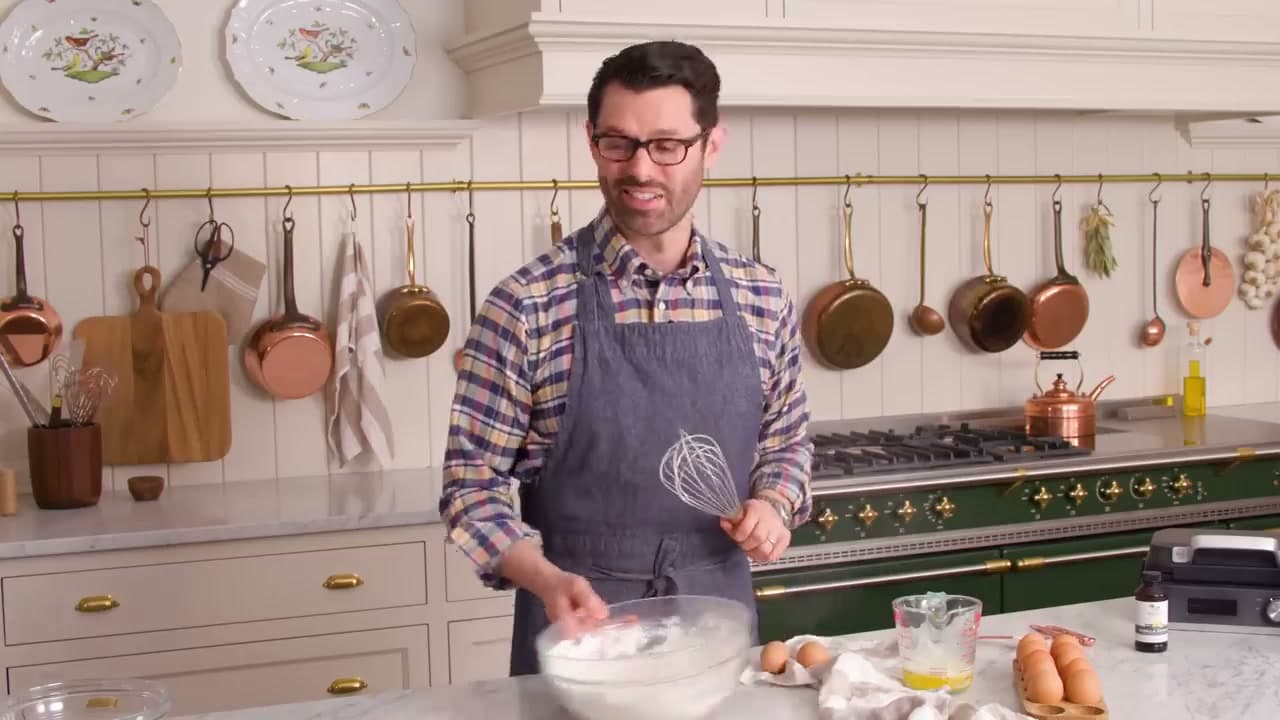
Grab your largest mixing bowl - the wet ingredients are coming in here later, so go big. Add 2 1/4 cups (270g) all-purpose flour, 3/4 teaspoon salt, 1 tablespoon baking powder, and 1/4 cup (50g) granulated sugar.

Whisk it all together until the color looks even and there are no streaks of one ingredient. This takes maybe twenty seconds. Set the bowl aside while you handle the wet ingredients. Pre-whisking the dry stuff matters - it distributes the baking powder so every waffle rises evenly instead of having one corner that's fluffy and one that's flat.

Tip

Don't skip the salt thinking it's optional. Three-quarters of a teaspoon sounds like a lot for a sweet recipe, but salt balances the sugar and wakes up the vanilla. Unsalted waffles taste like nothing - try it once and you'll never skip it again.

3

Step 3: Whisk the Wet Ingredients in a Medium Bowl

1:35
Step 3: Step 3: Whisk the Wet Ingredients in a Medium Bowl

In a medium bowl, crack 2 large eggs. Room temperature is best because they incorporate the butter better, but morning eggs out of the fridge work fine too. Add 2 teaspoons of good vanilla extract - the vanilla is more noticeable in waffles than you'd expect, so use the real stuff if you have it.

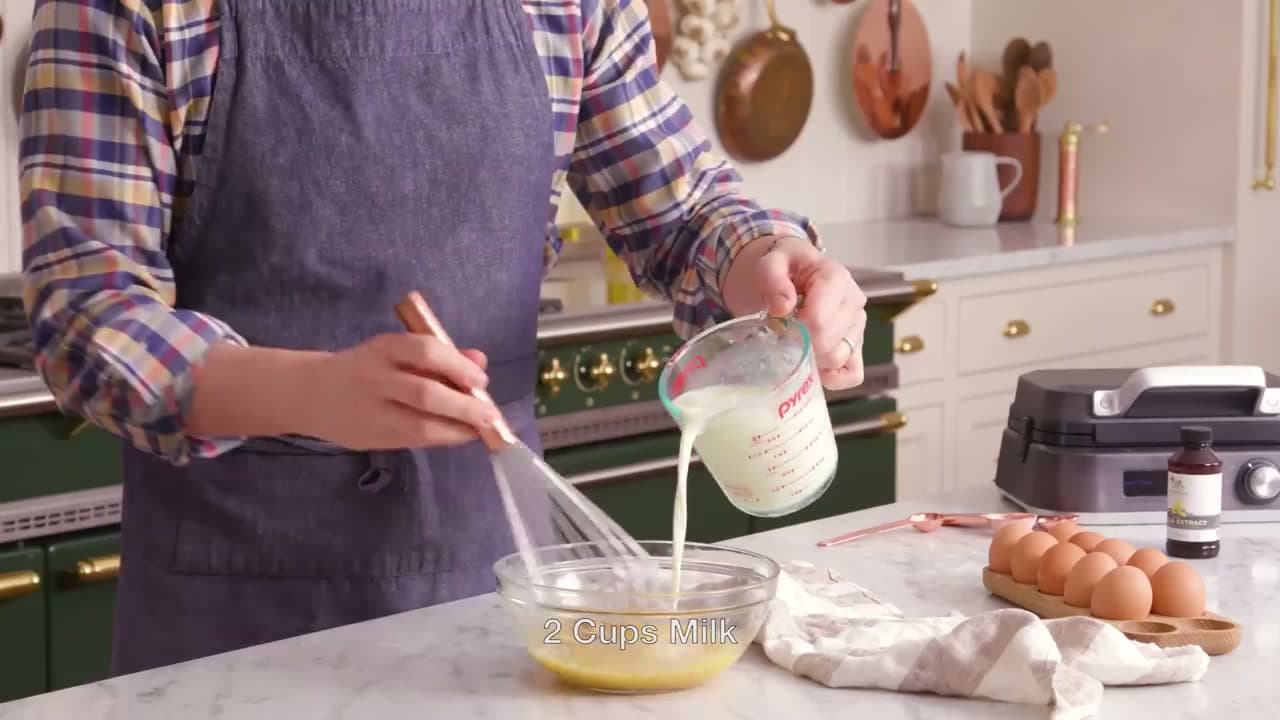
Pour in the melted butter and 2 cups of whole milk. Whisk everything together until it looks smooth and pale yellow with no streaks of pure egg white. The order really doesn't matter here - dump it all in and whisk. Twenty seconds and you're done.

Tip

If the melted butter hits cold milk straight from the fridge, it can seize into little waxy specks. Either warm the milk in the microwave for thirty seconds first or let the melted butter cool for two minutes before combining. The waffles still cook through if it seizes, but the texture is slightly nicer when everything stays liquid.

4

Step 4: Combine Wet and Dry - Stop Early

1:55
Step 4: Step 4: Combine Wet and Dry - Stop Early

Pour the wet mixture into the bowl of dry ingredients. Whisk gently with a folding motion - just enough strokes to bring the batter together. The moment you don't see dry flour streaks, stop. A few small lumps are fine and will smooth out as they cook.

This is the most important step in the whole recipe. Overmixing develops gluten, and developed gluten gives you tough, chewy, dense waffles instead of tender ones. Pancake people learn this lesson the hard way; you don't have to. Twenty gentle strokes, max.

Tip

If you have time, let the combined batter rest on the counter for five minutes before cooking. The flour hydrates fully, the baking powder starts to react, and the first waffle comes out as good as the last. Not required, but it's a free upgrade if you're not in a rush.

5

Step 5: Ladle the Batter into the Hot Iron

2:15
Step 5: Step 5: Ladle the Batter into the Hot Iron

Open the preheated waffle iron and pour about 1/3 cup of batter into the center of each section. A 1/3-cup measure or a 4-ounce ladle is the right size for a standard American waffle iron. Belgian-style irons with deeper grids need noticeably more - check whatever the manual says or eyeball it the first time.

Close the lid firmly and don't peek for at least the first minute. Opening it early splits the waffle in half because the top hasn't set yet. Patience.

Tip

If your first waffle sticks even with a non-stick iron, brush the grids with a thin coat of melted butter or neutral oil before pouring the batter. Most modern irons don't need it, but older or well-used irons sometimes do. A silicone pastry brush makes it easy.

6

Step 6: Watch the Steam - It Tells You When the Waffle Is Done

2:45
Step 6: Step 6: Watch the Steam - It Tells You When the Waffle Is Done

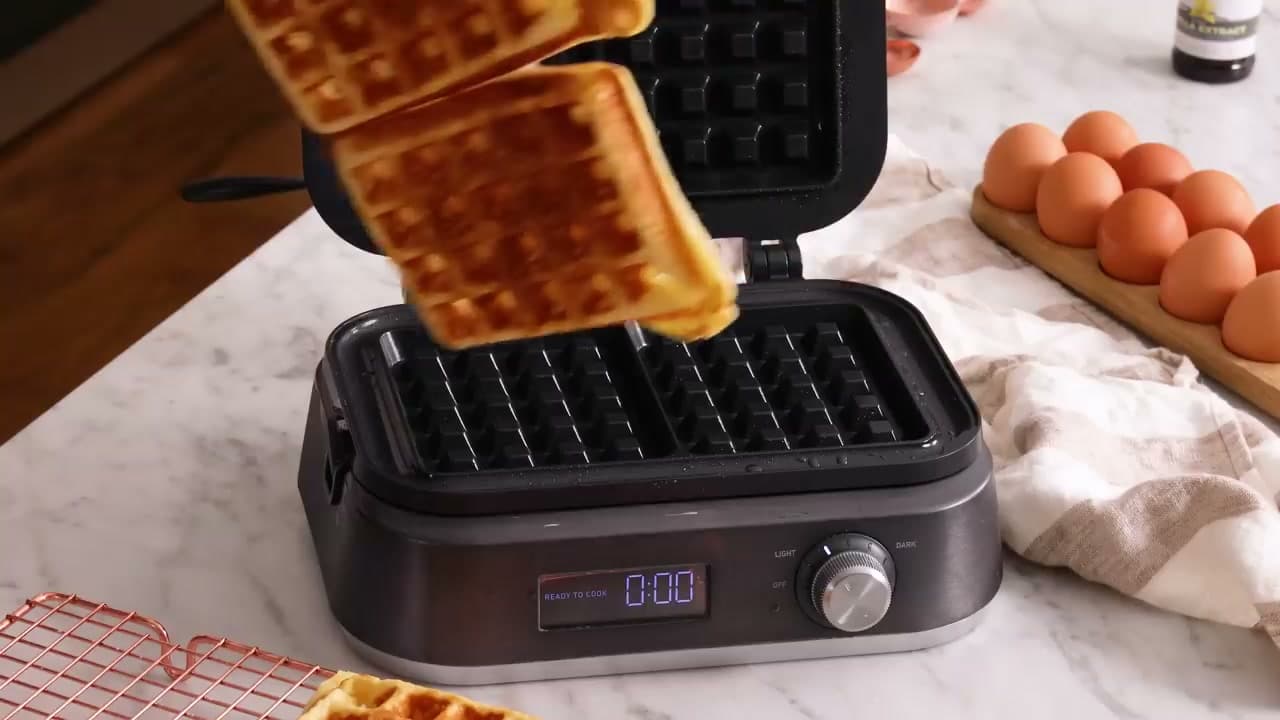
As the waffle cooks, lots of steam pours out of the seam of the iron. That's the water in the batter cooking off. When that steam slows to a wisp or stops entirely, the waffle is ready - golden, crisp on the outside, fluffy inside. On most irons that takes three to four minutes. Newer irons have a timer or an indicator light that does this for you.

If your iron is the kind that beeps or shows a ready light, trust it the first time. If it doesn't, peek at the four-minute mark and look for deep golden color, not pale tan. Pale waffles are undercooked and will be soft instead of crispy.

Tip

Let the iron come back up to full temperature between waffles. A cool iron is the enemy of a crisp waffle - if you're cranking out a batch, give it thirty seconds with the lid closed between each waffle. Worth the wait. The first waffle is sometimes a tester anyway.

7

Step 7: Cool on a Wire Rack, Serve with the Works

3:40
Step 7: Step 7: Cool on a Wire Rack, Serve with the Works

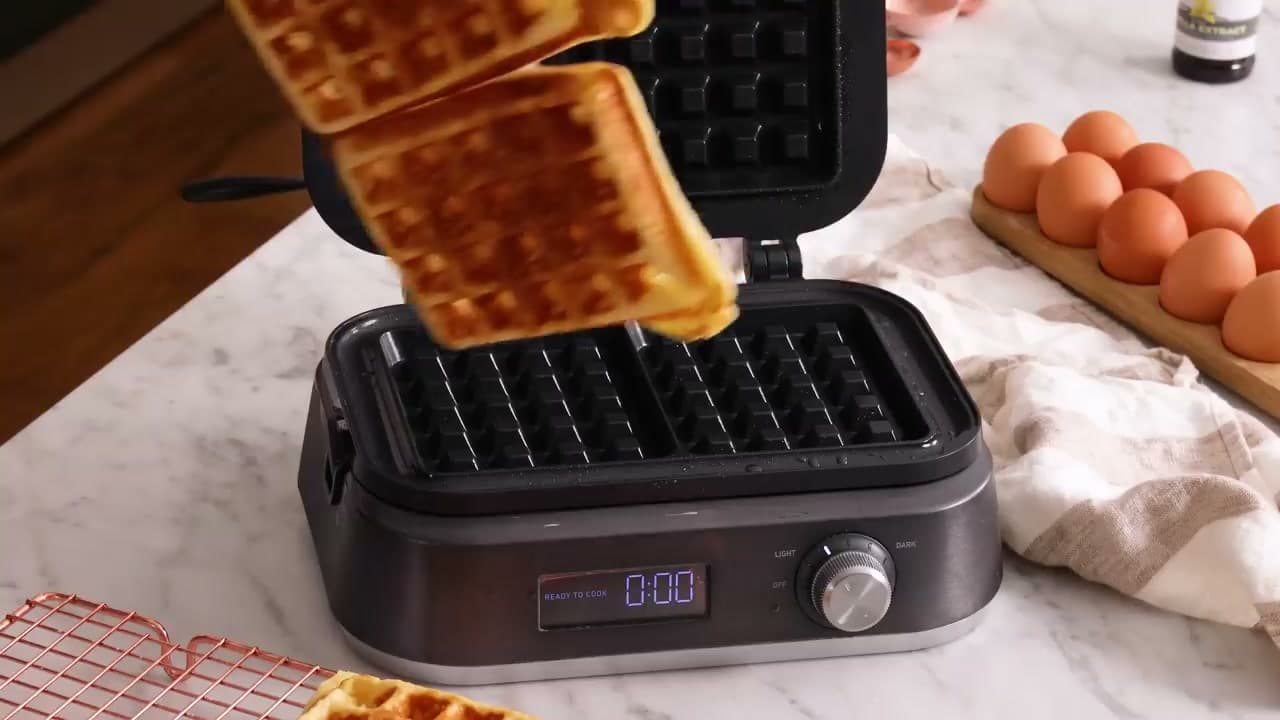
Transfer each finished waffle straight to a wire cooling rack instead of stacking them on a plate. Stacking traps steam between the waffles and softens the crisp edges you just worked to get. A few minutes on the rack and they stay shatter-crisp on the outside.

Serve with real maple syrup, a pat of butter, fresh berries, whipped cream, or a drizzle of honey - whatever your house likes. Any waffles you don't eat get bagged up and frozen for up to two months. Pop a frozen waffle straight into the toaster on the high setting and you have an instant breakfast that beats any frozen-box version.

Tip

If you want to keep waffles warm while you finish the batch (instead of freezing), set the oven to 200°F and put the wire rack with the finished waffles directly on the middle rack of the oven. The dry heat keeps them crisp instead of soggy. Don't use a plate or a foil tent - both trap steam.

Products Used

❖ The Recipe

How to Make the Best Waffles (7 Steps)

American
Serves
Makes 6 to 8 waffles
Prep
10 min
Cook
20 min
Total
30 min

Ingredients

10 items
  • 2 1/4 cupsall-purpose flour270 grams if weighing
  • 1 tbspbaking powder
  • 1/4 cupgranulated sugar50 grams
  • 3/4 tspsalt
  • 2 cupswhole milk
  • 2large eggsroom temperature is best but not required
  • 1/2 cupunsalted butter113 grams, melted and slightly cooled
  • 2 tspvanilla extract
  • to servemaple syrupreal maple syrup is worth it
  • to servefresh berriesoptional - strawberries, blueberries, or raspberries

Method

  1. 1
    Step 1: Preheat the Waffle Iron and Melt the Butter. Plug in the waffle iron and turn it on first.
  2. 2
    Step 2: Whisk the Dry Ingredients in a Large Bowl. Grab your largest mixing bowl - the wet ingredients are coming in here later, so go big.
  3. 3
    Step 3: Whisk the Wet Ingredients in a Medium Bowl. In a medium bowl, crack 2 large eggs.
  4. 4
    Step 4: Combine Wet and Dry - Stop Early. Pour the wet mixture into the bowl of dry ingredients.
  5. 5
    Step 5: Ladle the Batter into the Hot Iron. Open the preheated waffle iron and pour about 1/3 cup of batter into the center of each section.
  6. 6
    Step 6: Watch the Steam - It Tells You When the Waffle Is Done. As the waffle cooks, lots of steam pours out of the seam of the iron.
  7. 7
    Step 7: Cool on a Wire Rack, Serve with the Works. Transfer each finished waffle straight to a wire cooling rack instead of stacking them on a plate.
☐ The Checklist

How to Make the Best Waffles (7 Steps)

Tools
9
Materials
10
Steps
7
Video
4 min

Your Guide

Preppy Kitchen

As an Amazon Associate we earn from qualifying purchases. Links on this page may be affiliate links - clicking them and buying doesn't change your price, but helps support ShowMeStepByStep.

Tags

What's next

Related collections

Curated theme pages that include this tutorial.

Weekly Digest

Liked this cooking tutorial?

Pick the categories you want to hear about. Weekly digest of new step-by-step tutorials. No spam, easy unsubscribe.

Send me tutorials about

We only email about new tutorials. Easy unsubscribe anytime.