1
Step 1: Whisk Together the Dry Ingredients
1:25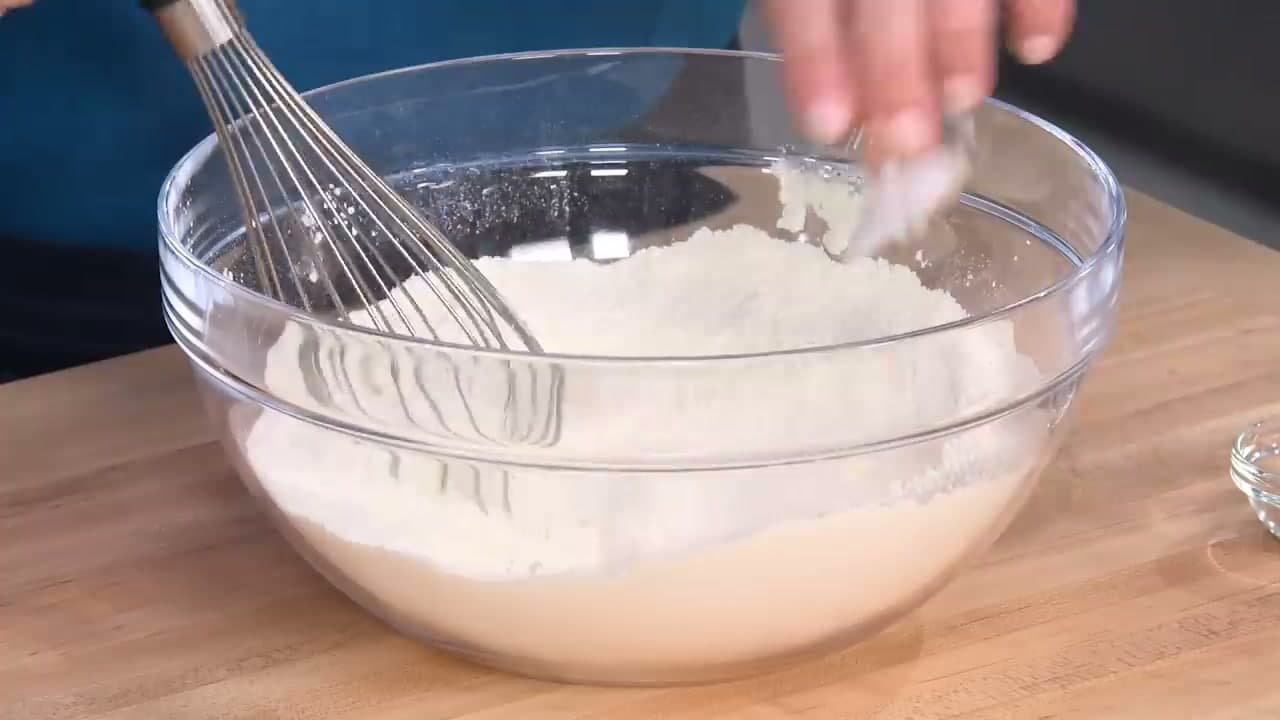
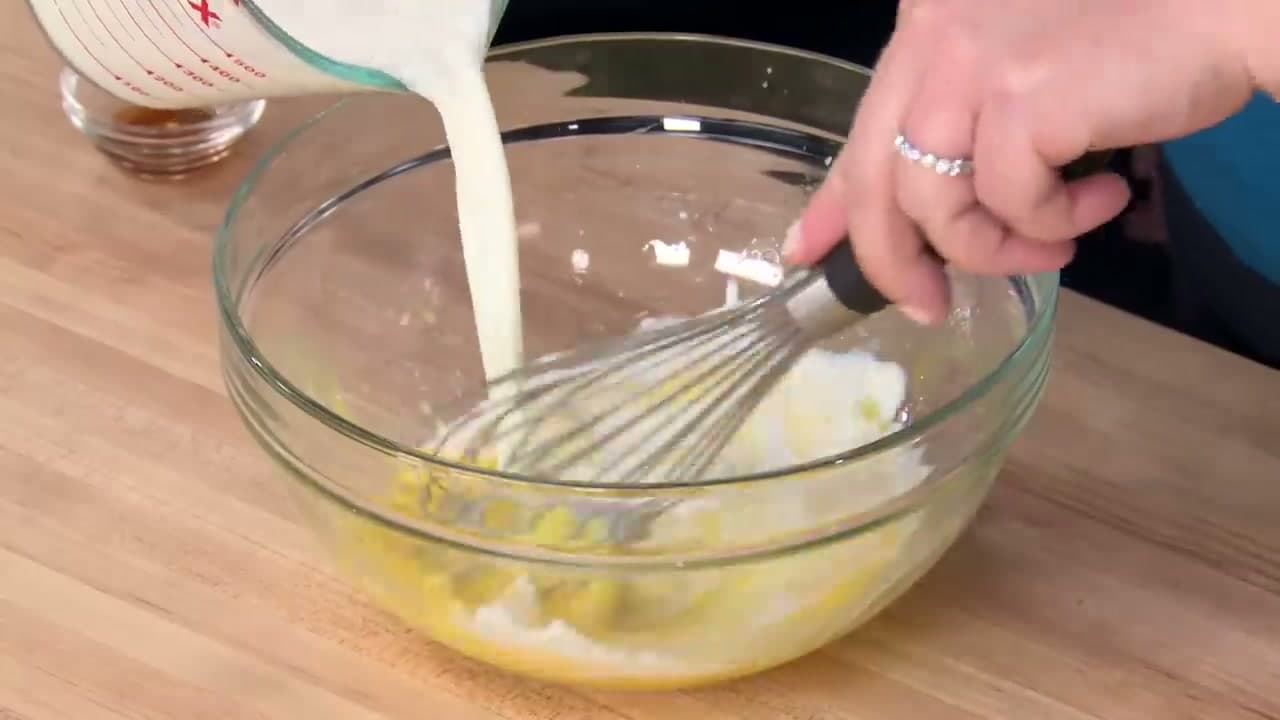
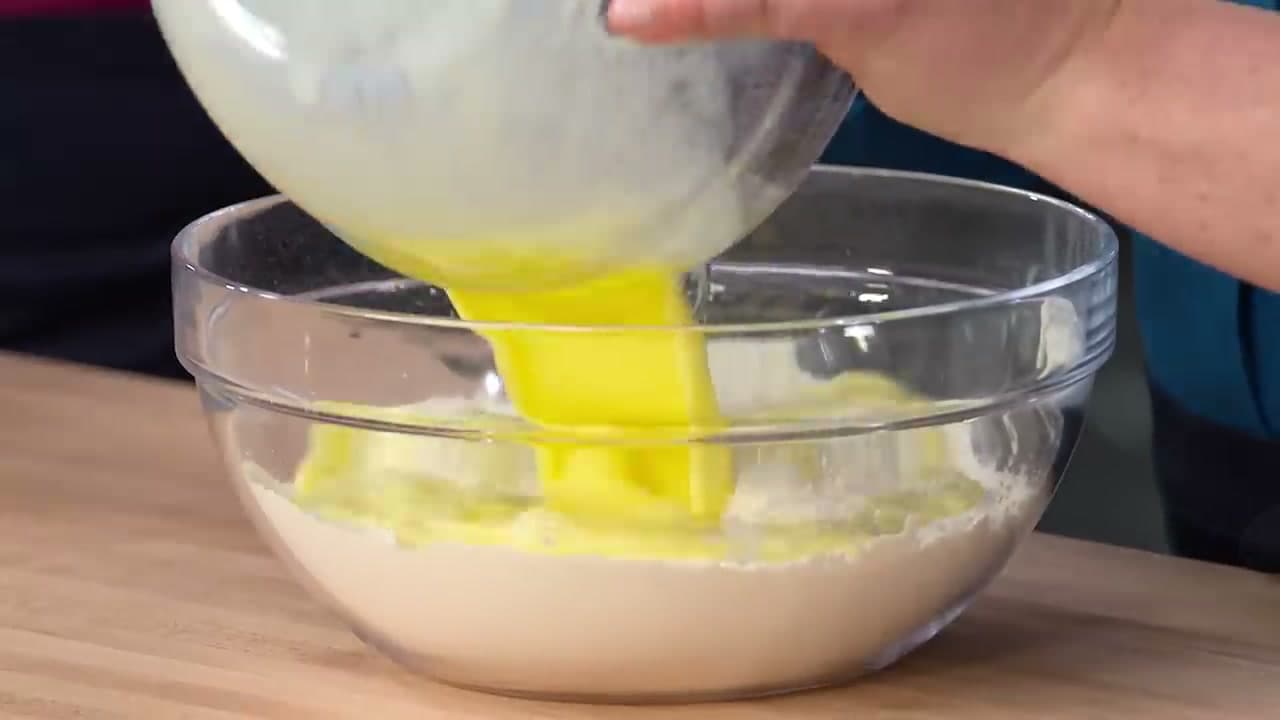
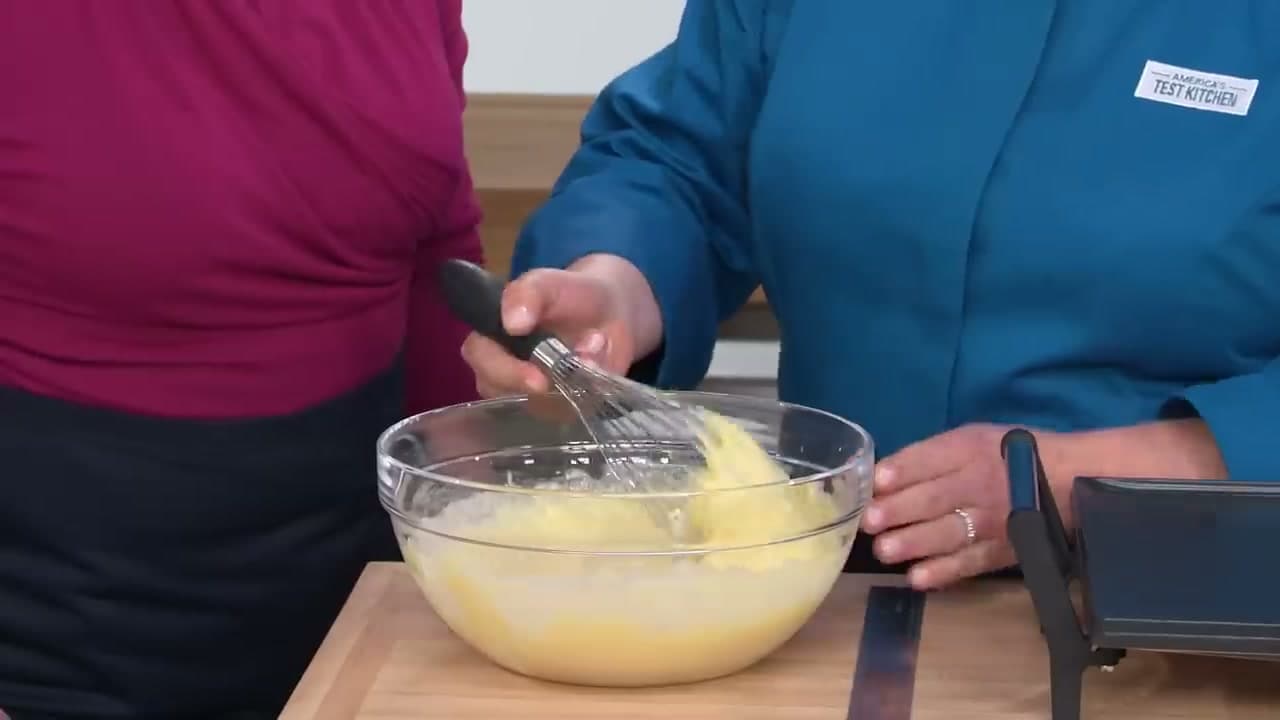
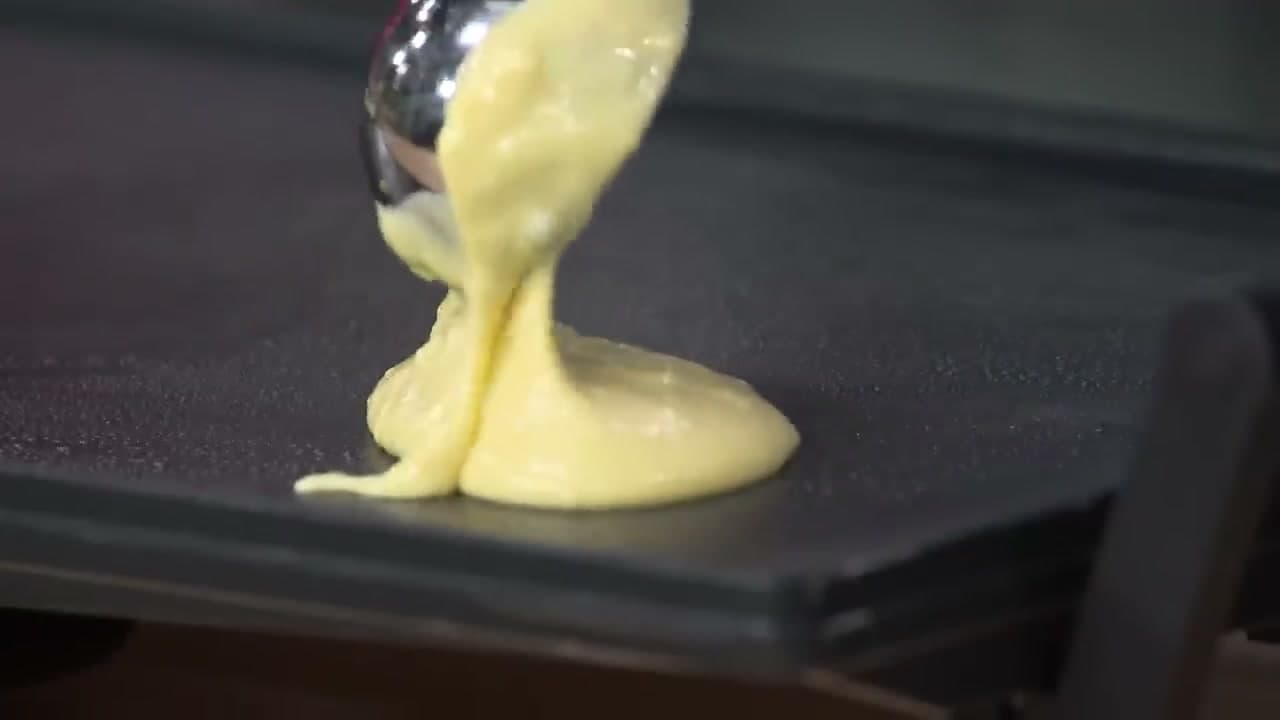
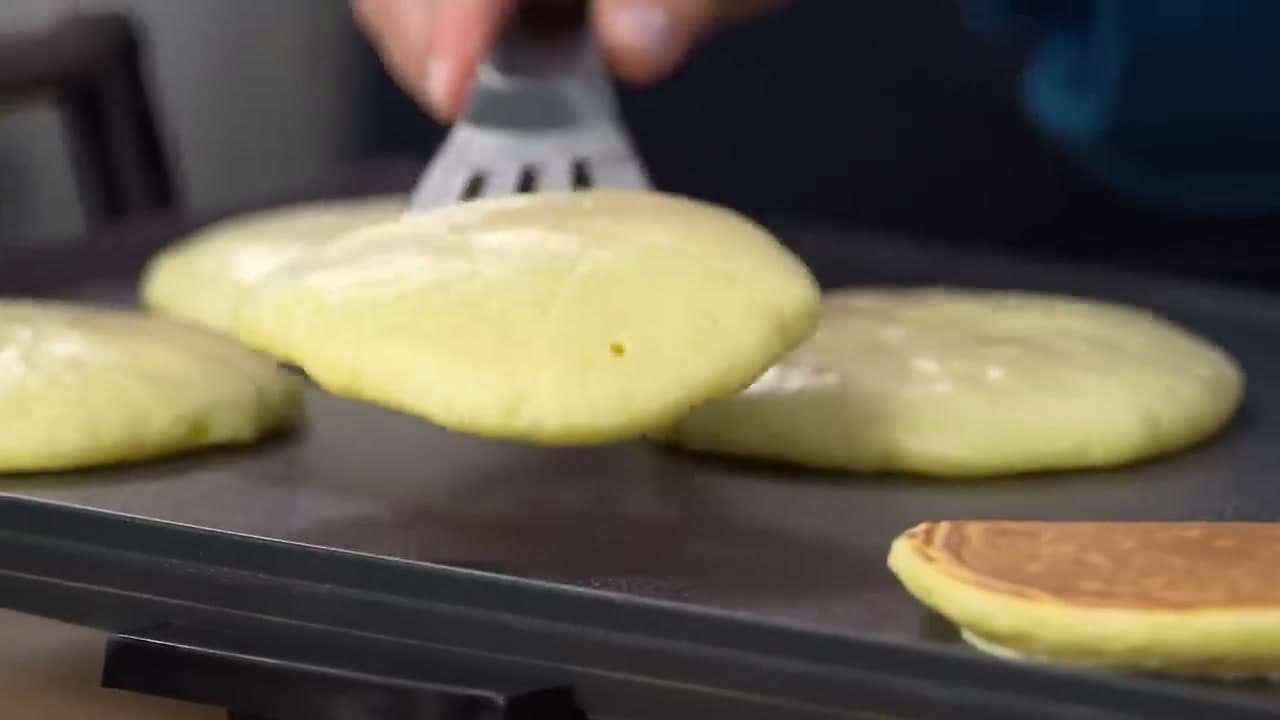
In a large mixing bowl, whisk 2 cups of all-purpose flour, 3 tablespoons of sugar, 4 teaspoons of baking powder, 1 teaspoon of salt, and 1/2 teaspoon of baking soda. The amount of baking powder is roughly double what you'd see in a standard recipe, and that's deliberate - it's the reason these pancakes climb so tall on the griddle. A quick 20 seconds with the whisk gets everything evenly distributed. No clumps of baking powder hiding in pockets means no bitter mouthfuls in the finished pancake.
Tip
Double the recipe and pour half into a zipper-lock bag with the rest of the ingredients written on it in marker. Next weekend's pancakes start as a homemade box mix, and you skip half the measuring.