1
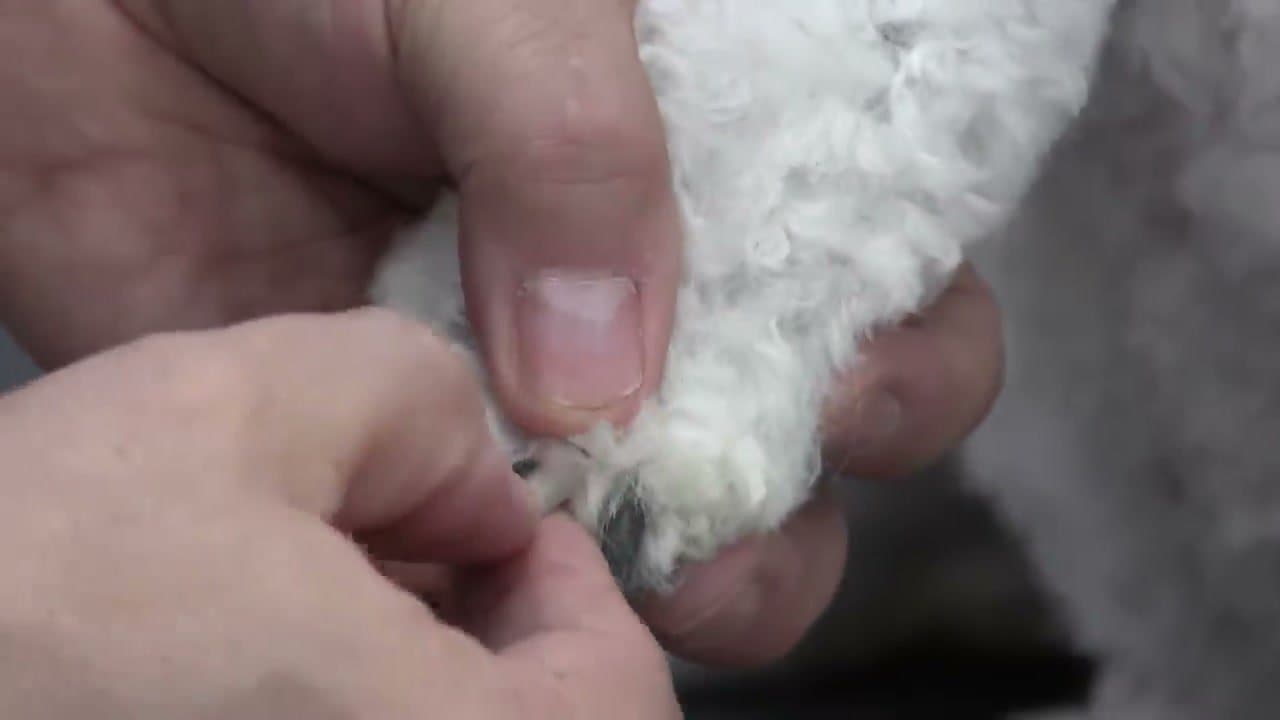
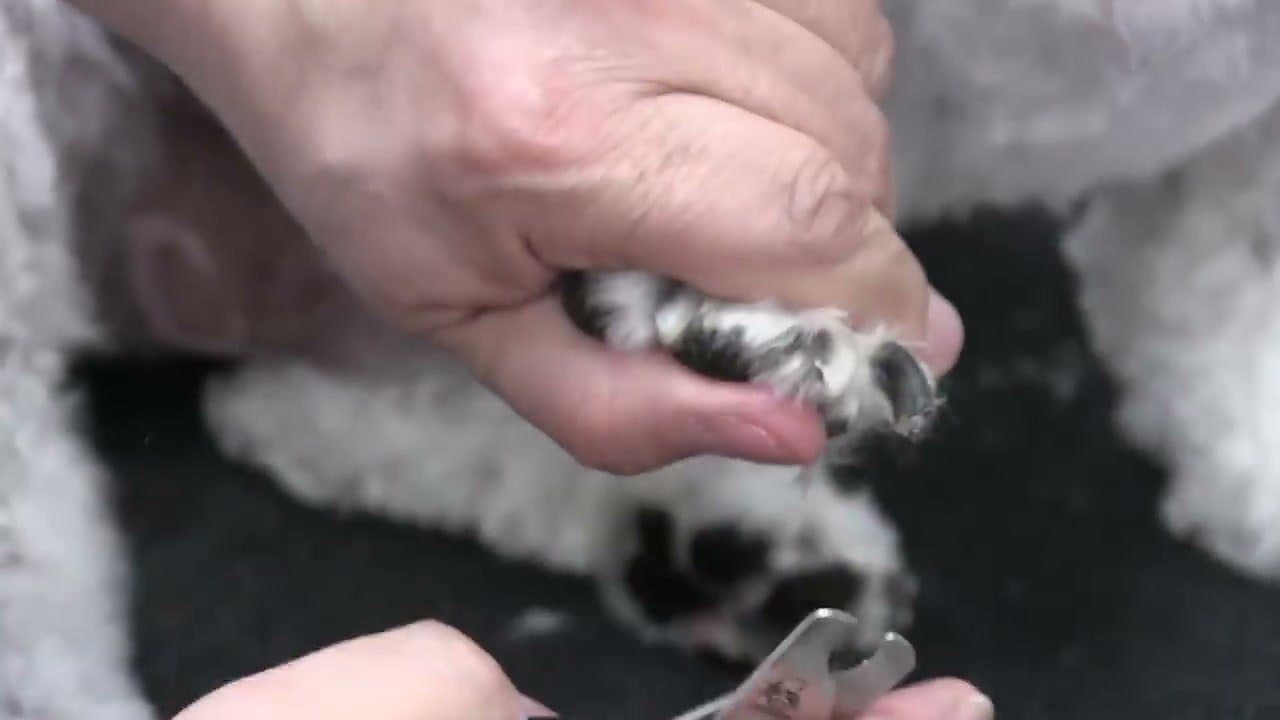
Step 1: Find a Clear Nail to Use as a Reference
0:25
Look at all four paws and find at least one clear nail among the dark ones. Most dogs have a couple - they're often on the inside toes or the dewclaws. The clear nail shows you exactly where the pink vein (called the quick) ends.
That clear nail is your map. The vein sits in roughly the same position on every nail of the same paw, so once you can see it on one, you know where it is on the others - even when you can't see anything through the dark color.