How to Do Space Buns (Quick + Easy 7-Step Tutorial)

By ShowMeStepByStepPublished

Based on a video by BrittanyNichole.

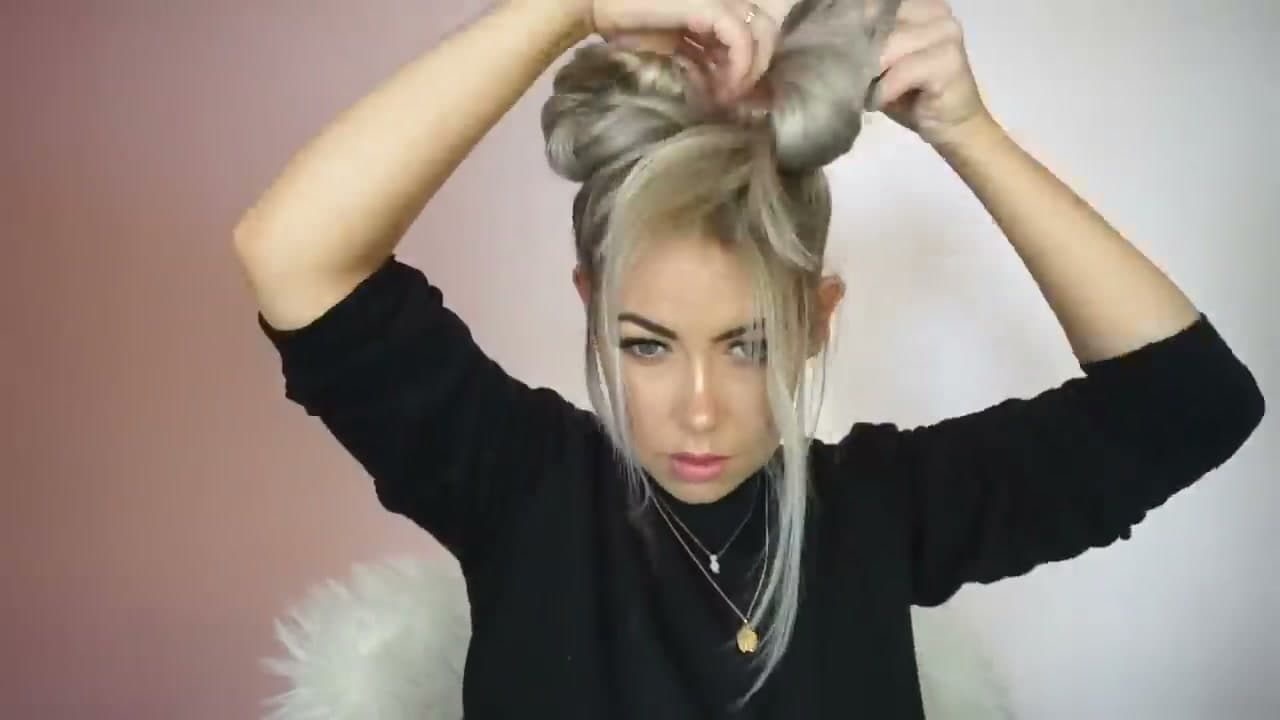
Space buns are the festival-season hairstyle that has been on Pinterest non-stop since Coachella made them a thing. Two messy buns on top of your head, a little texture, a few tendrils framing your face, and you look pulled together without spending an hour in the bathroom. BrittanyNichole's tutorial below is one of the most-watched on YouTube (2.1M views) for a reason: she does them on day-five dirty hair and they come out fuller for it.

The whole job takes under 10 minutes once you have done it twice. No braiding, no curling iron required, no hairdresser tricks. Just a brush, dry shampoo, a couple of elastics, and a stack of bobby pins. If your hair slips out of regular buns, you are going to love how the texture-spray-plus-grip method holds.

Best for: day-old hair, thick or layered hair, festival days, music events, casual weekends, gym to errands. Skip this if you have very short hair (chin length or above) - you need enough length to wrap twice around an elastic.

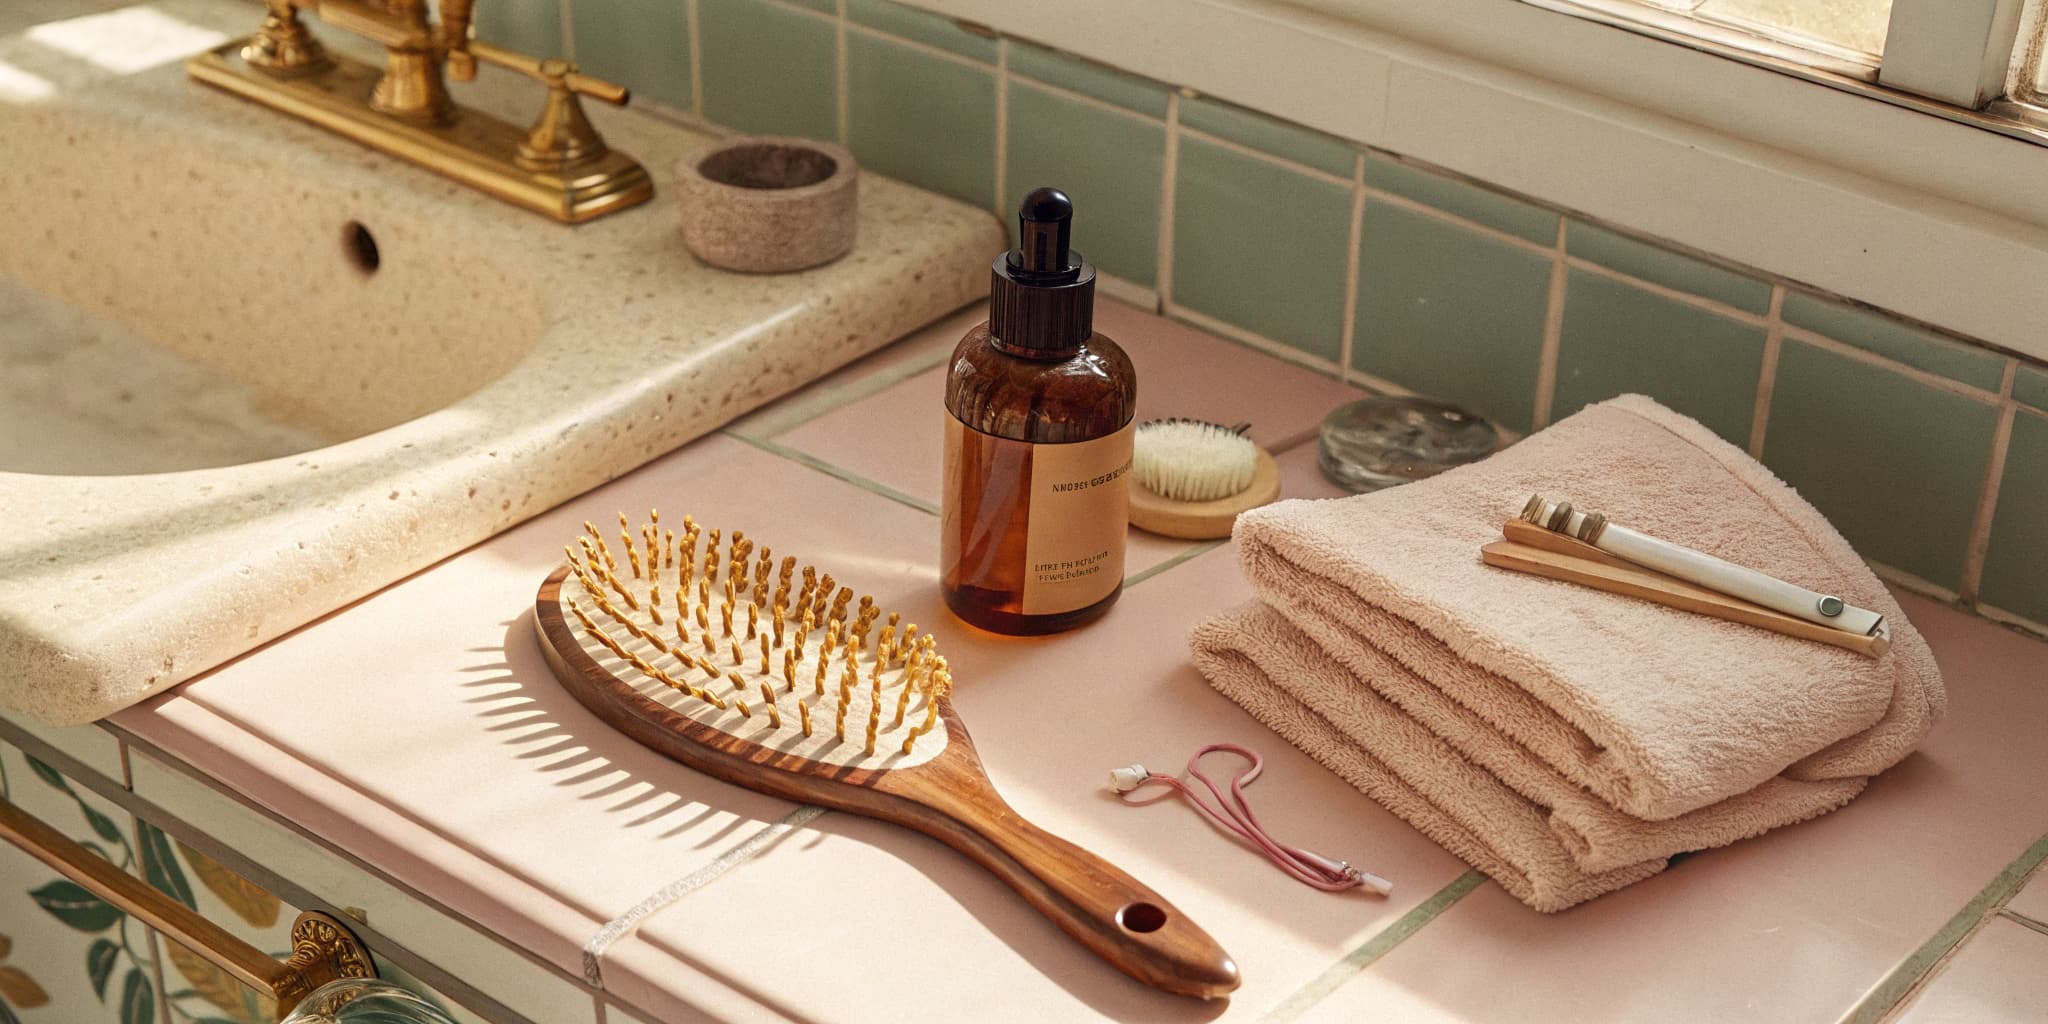
What you need: A paddle or detangling brush, dry shampoo or texture spray, a rat-tail comb for a clean middle part, two small clear elastics, 8 to 12 bobby pins (matched to your hair color so they disappear), and medium-hold hairspray to lock it in. That is the whole list.

While you're working on your look, also worth knowing: how to do a messy bun, how to do a low bun, and how to braid hair for more updo options.

Step-by-Step Guide

1

Step 1: Brush Out Day-Old Hair for Texture

0:50
Step 1: Step 1: Brush Out Day-Old Hair for Texture

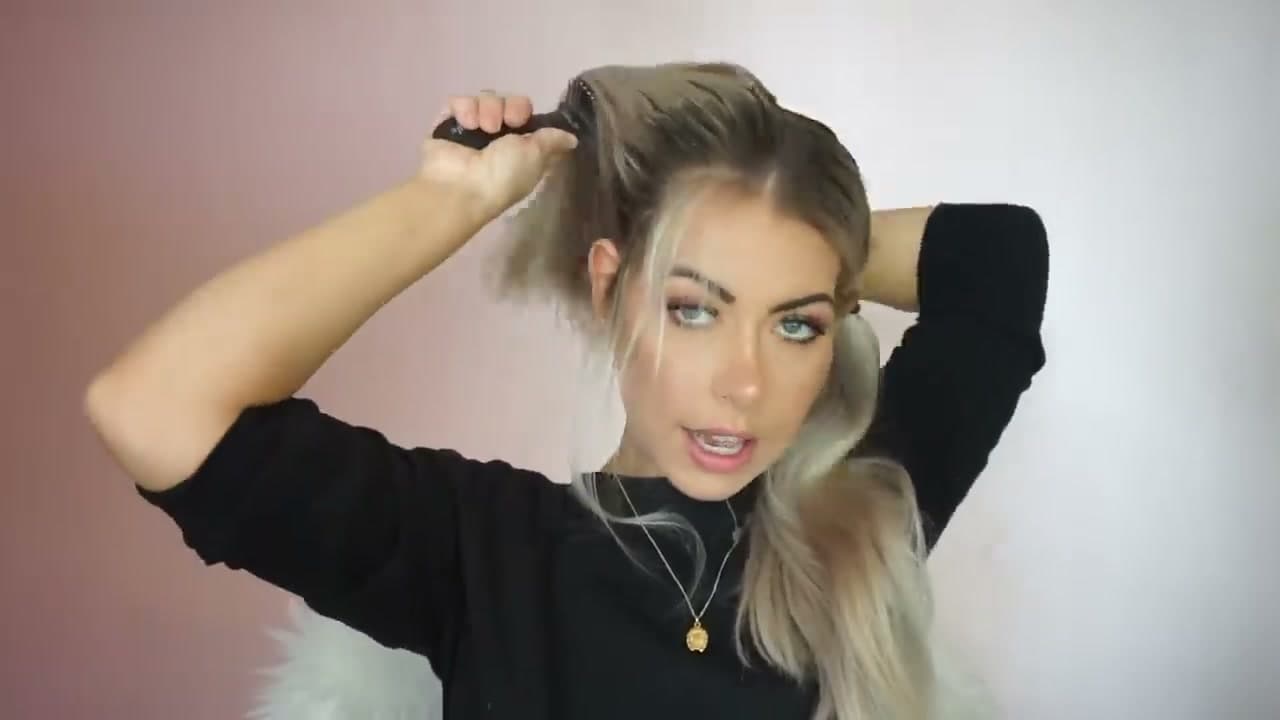
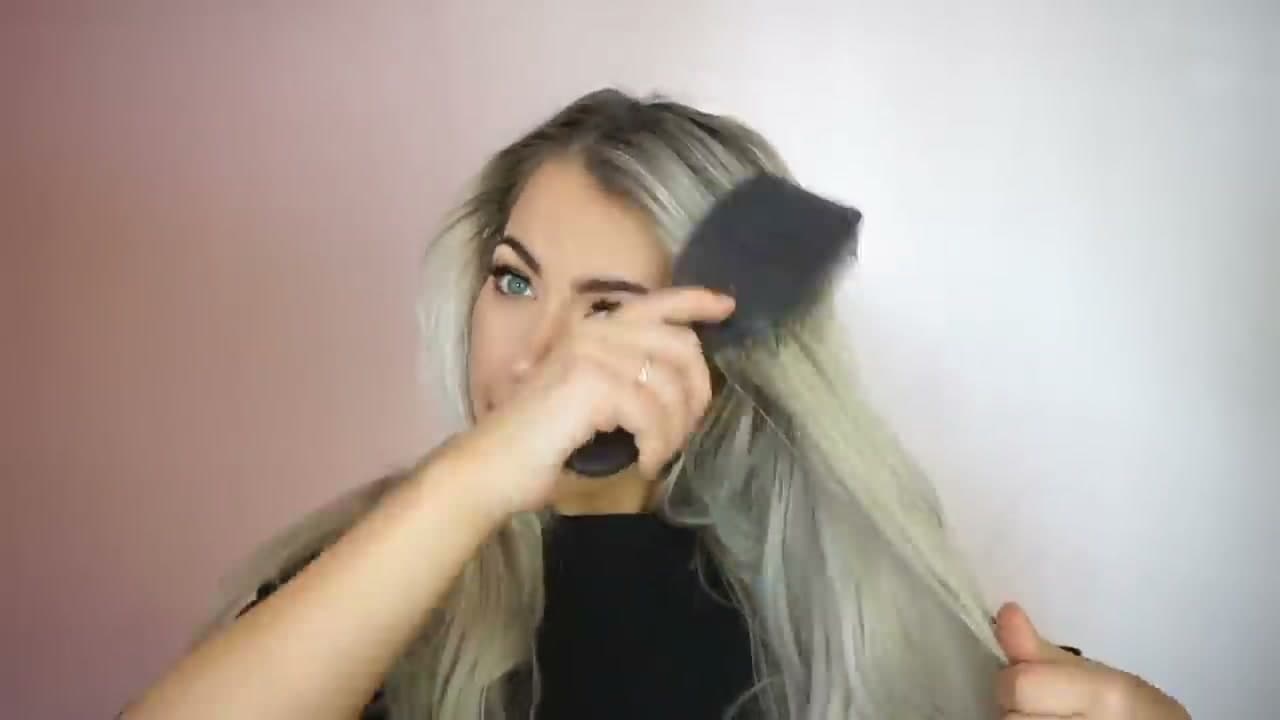
Space buns need grip, and clean slippery hair fights you the whole way. Brittany shoots this on day-five hair on purpose - the natural oils give the buns hold and volume. Take your hair down and brush from ends to roots with a paddle or detangling brush so every section is smooth and knot-free.

If you only have clean hair right now, do not panic - skip ahead and add texture spray in the next step. Get all the tangles out now, because once the elastics go in you cannot fix a snag without starting over.

Tip

The Olivia Garden iDetangle brush that Brittany uses comes in fine, medium, and thick hair versions. Match yours to your hair density or the bristles either snag or slide right through without grabbing.
2

Step 2: Hit the Roots With Dry Shampoo or Texture Spray

1:50
Step 2: Step 2: Hit the Roots With Dry Shampoo or Texture Spray

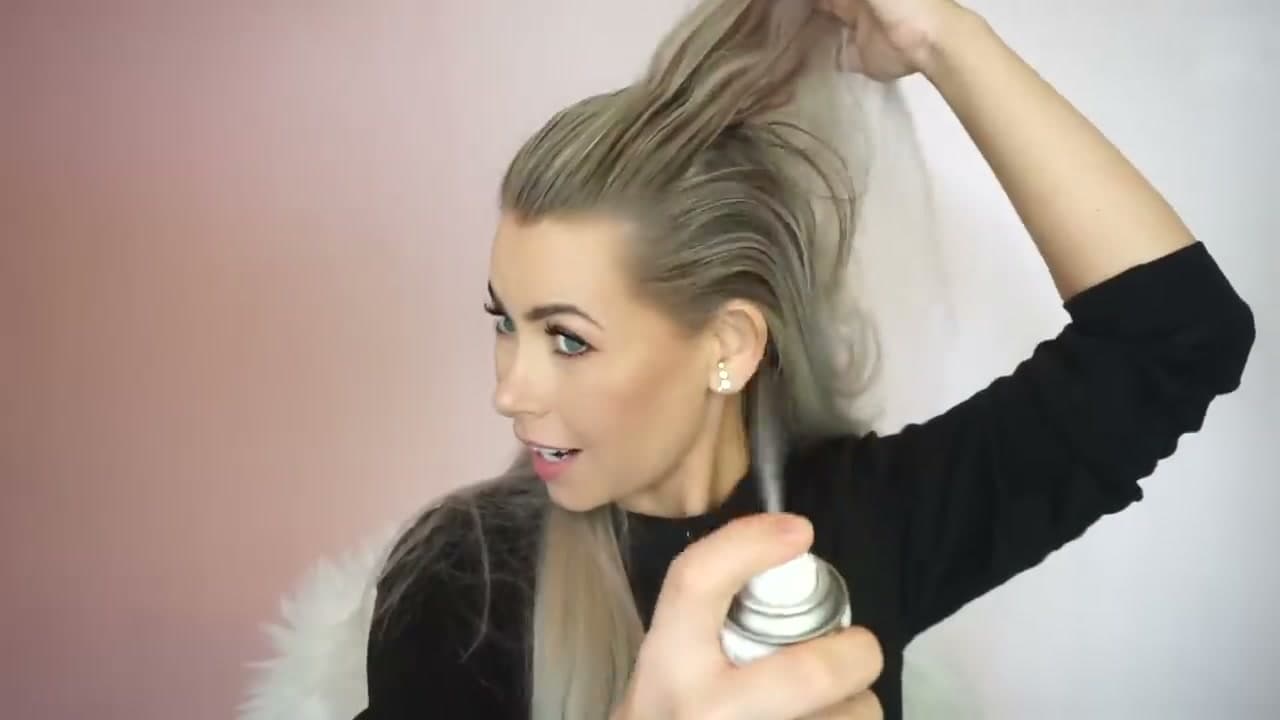
Even on dirty hair, a quick blast of dry shampoo at the roots gives a clean look up top and adds the grit the buns need. Lift the front sections, spray underneath at the scalp, wait 30 seconds for it to absorb, then run your fingers through. The roots should look lifted and matte, not sticky.

On clean hair, swap to a texture or volume spray (Brittany mentions Redken Wind Blown 05) and work it in from the crown back. The goal is grippy lifted roots, not slick straight hair.

Tip

Hold the can 6 to 8 inches from your scalp. Too close and you get a white powdery patch; too far and nothing lands where you need it.

3

Step 3: Part Straight Down the Middle With a Rat-Tail Comb

2:45
Step 3: Step 3: Part Straight Down the Middle With a Rat-Tail Comb

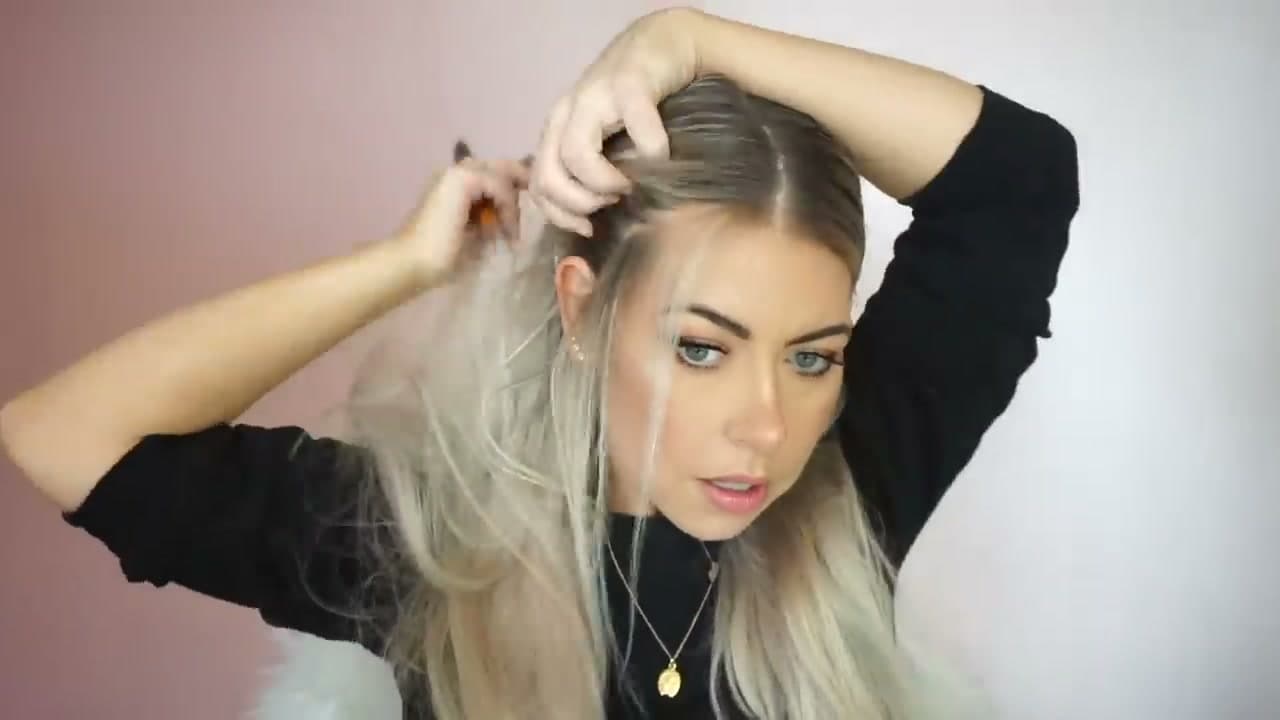
A clean middle part is what makes two buns look balanced instead of crooked. Brush everything back, then use the pointed end of a rat-tail comb to draw a line from your forehead straight back to the crown. Move the comb slowly so you can feel if you drift off center.

Split the hair into two equal halves and clip or twist one side out of the way. If you have a hand mirror, prop it up behind you so you can check the back of the part is even too. A wonky part is the difference between cute and lopsided.

Tip

Your hair naturally wants to fall toward its usual part - if yours is normally on the side, the middle part will fight you. Mist a tiny bit of water along the part line and comb it flat once before going on.

4

Step 4: Leave Out Face-Framing Pieces (Optional)

3:35
Step 4: Step 4: Leave Out Face-Framing Pieces (Optional)

Before you tie anything up, decide if you want loose tendrils around your face. Take the rat-tail comb at an angle and gently pull a small ribbon of hair forward at each temple, plus a wisp at the front of the part if you want a softer look. These pieces will hang loose for that lived-in festival vibe.

Skip this entirely if you prefer a clean off-the-face style. Once the tendrils are pulled out, tuck them behind your ears so they do not get caught in the elastic when you tie the bun.

Tip

Less is more on tendrils. Two finger-thin sections (one at each temple) reads chic. Six chunks reads like the buns are falling out.

5

Step 5: Brush the Working Side Up and Tie a High Half Ponytail

4:10
Step 5: Step 5: Brush the Working Side Up and Tie a High Half Ponytail

Start on one side. Brush the hair back and up from the nape toward the crown until the section sits where you want the bun to live - usually about an inch above your ear and back from your temple. Use one hand to gather and lift, then smooth bumps with a teasing comb in the other hand.

Wrap a small clear elastic around the gathered section. On the last loop, only pull the hair halfway through so you leave a loop of hair (not a full pull-through) - that is the loop you twist into the bun in the next step. This is exactly how you start a messy bun.

Tip

Place the bun a little higher than you think looks right - it always settles 1/4 inch lower once the bobby pins go in.

6

Step 6: Twist, Wrap, and Bobby Pin Into a Bun

5:20
Step 6: Step 6: Twist, Wrap, and Bobby Pin Into a Bun

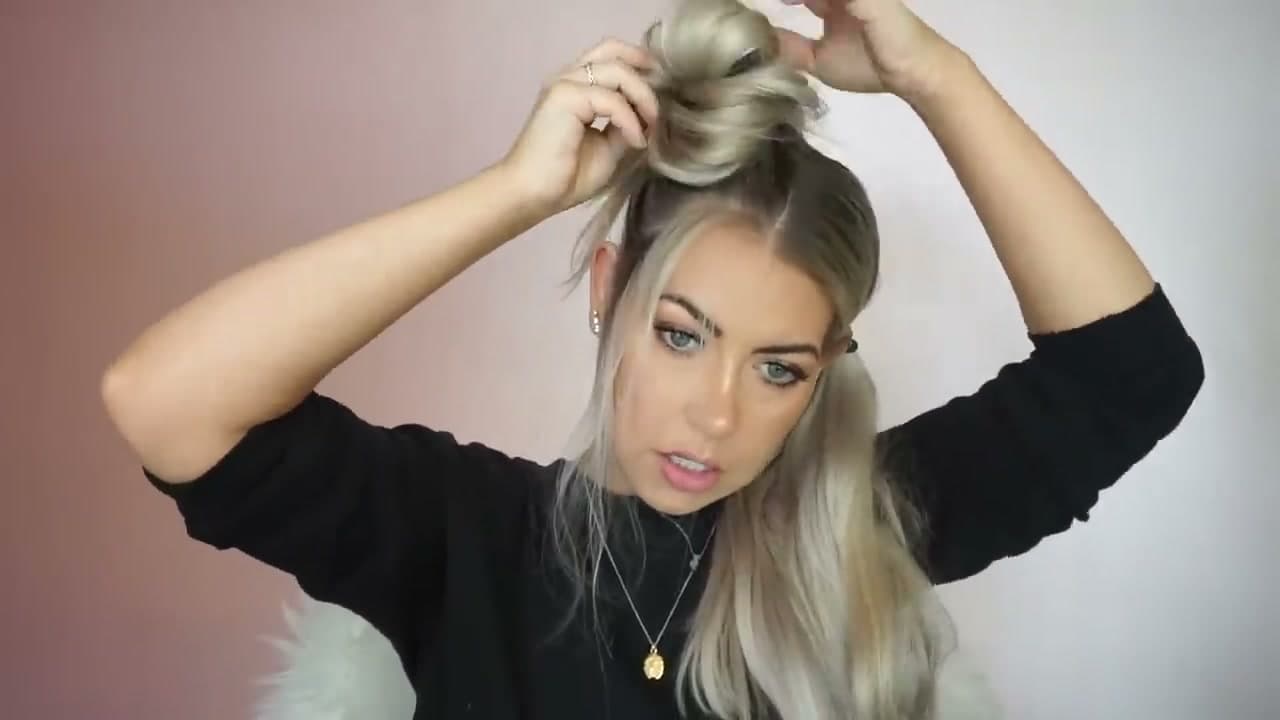
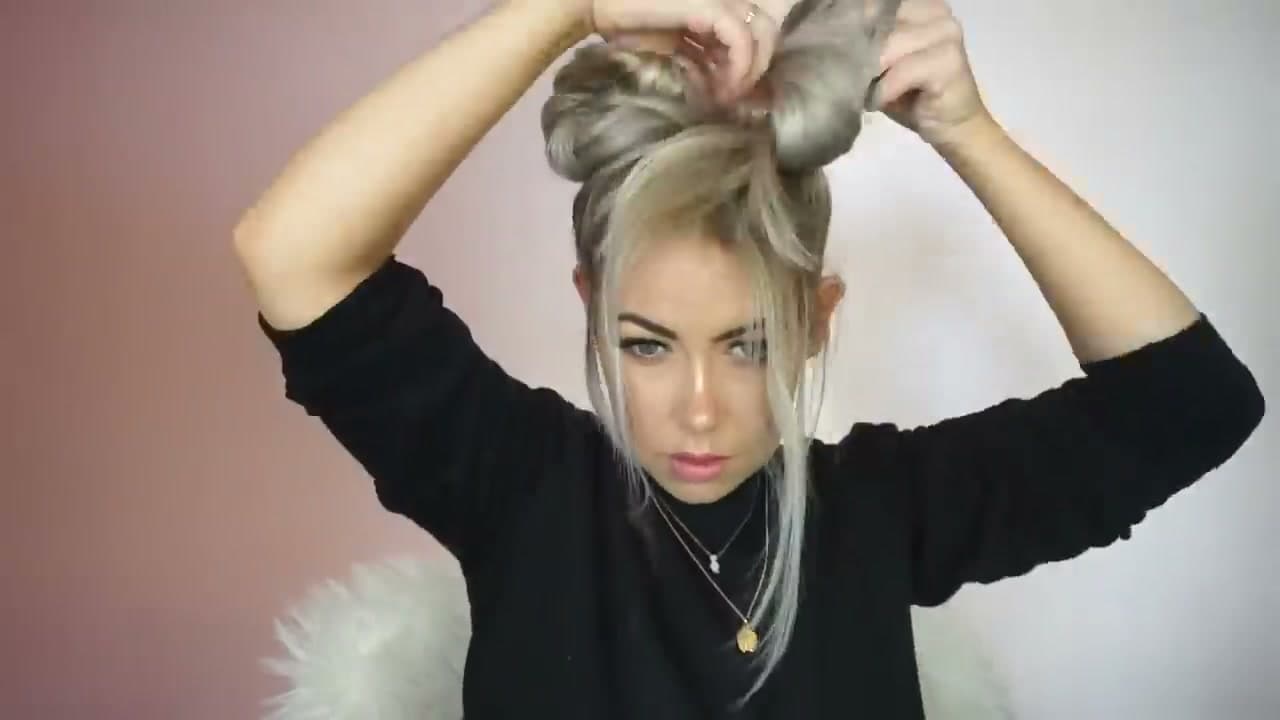
Take the loose tail and twist it loosely around the base of the elastic, going the same direction the whole way. Tuck the end under the bun and pin it down. This is where it looks messy and wrong for about ten seconds before it comes together, so do not panic and start over.

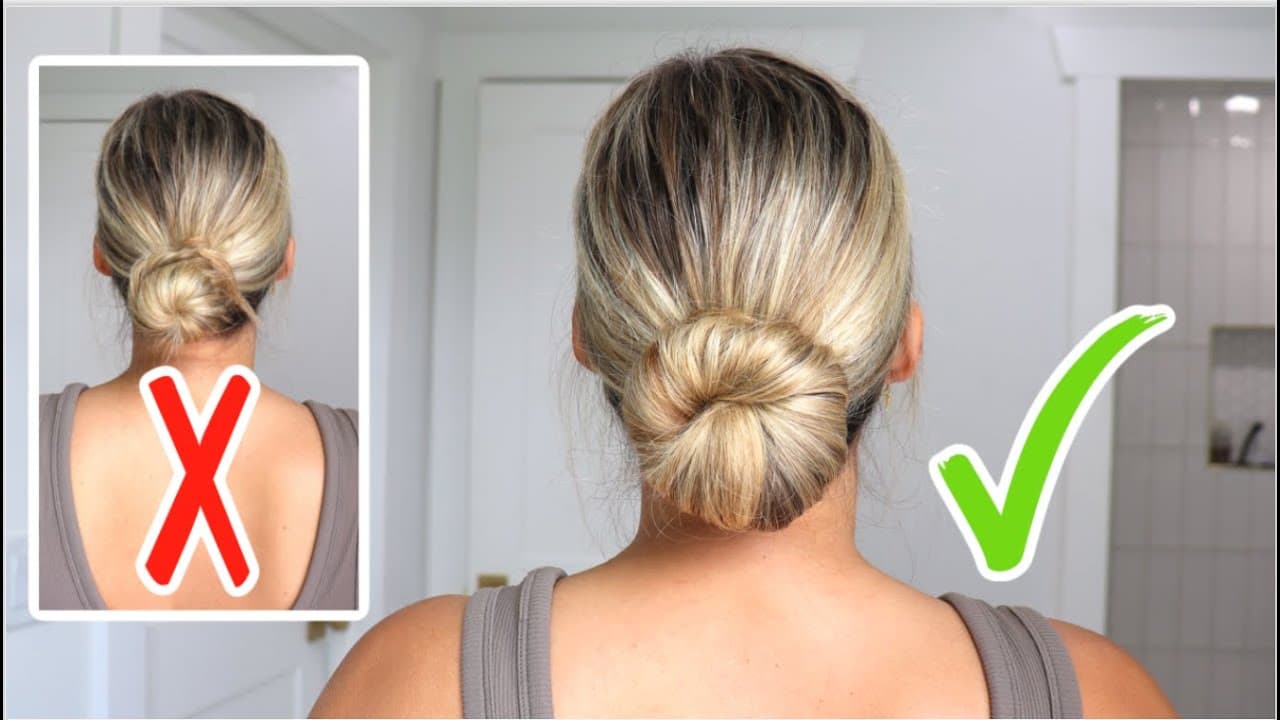
Use 4 to 6 bobby pins per bun and cross them - one going north-south, the next east-west - so the bun cannot pivot or slip. Once it is pinned, tug gently on the outside edges of the bun to pancake it wider and flatter. Bigger and looser reads festival; tight and small reads ballerina.

Tip

Bobby pins go in with the wavy side facing down toward the scalp, not up. The wavy side is what grips the hair. Most people put them in upside down for years before someone tells them.

7

Step 7: Repeat on the Other Side and Lock It With Hairspray

6:50
Step 7: Step 7: Repeat on the Other Side and Lock It With Hairspray

Unclip the second section and do the exact same thing: brush up, tie a high half ponytail, twist, wrap, pin. Match the height to the first bun by feeling rather than looking - place one finger on the first bun and put the second one at the same spot on the other side of your head.

Once both are up, mist medium-hold hairspray over everything and let it set for a minute. Pull a few baby hairs and tendrils loose at the front. The whole thing is done in under 10 minutes once you have done it twice, and the buns hold all day even on the dance floor.

Tip

If the second bun keeps coming out smaller than the first, you are pulling the elastic too tight. Loose elastic, more wrap, more pancake - that is what gives matching volume.

Products Used

☐ The Checklist

How to Do Space Buns (Quick + Easy 7-Step Tutorial)

Tools
6
Steps
7
Video
9 min

Your Guide

BrittanyNichole

As an Amazon Associate we earn from qualifying purchases. Links on this page may be affiliate links - clicking them and buying doesn't change your price, but helps support ShowMeStepByStep.

Tags

What's next

Related collections

Curated theme pages that include this tutorial.

Weekly Digest

Liked this lifestyle tutorial?

Pick the categories you want to hear about. Weekly digest of new step-by-step tutorials. No spam, easy unsubscribe.

Send me tutorials about

We only email about new tutorials. Easy unsubscribe anytime.