1
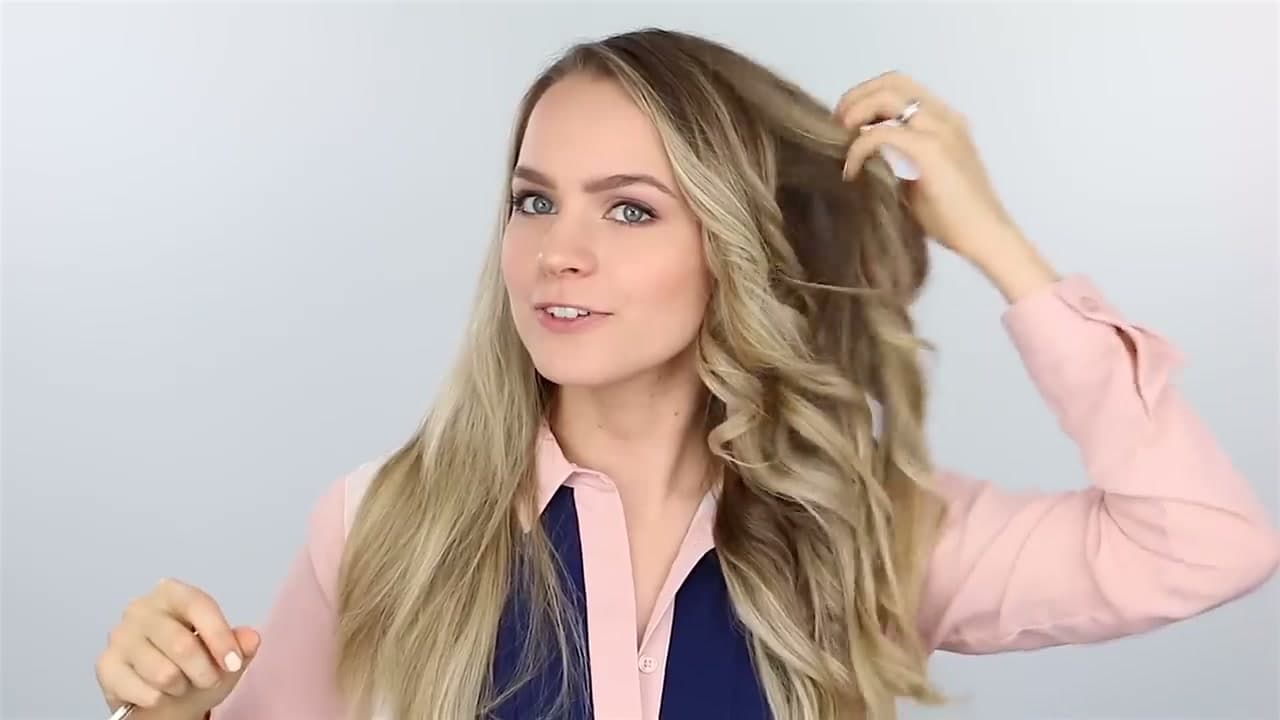
Brush Hair Smooth and Mist Heat Protectant
0:32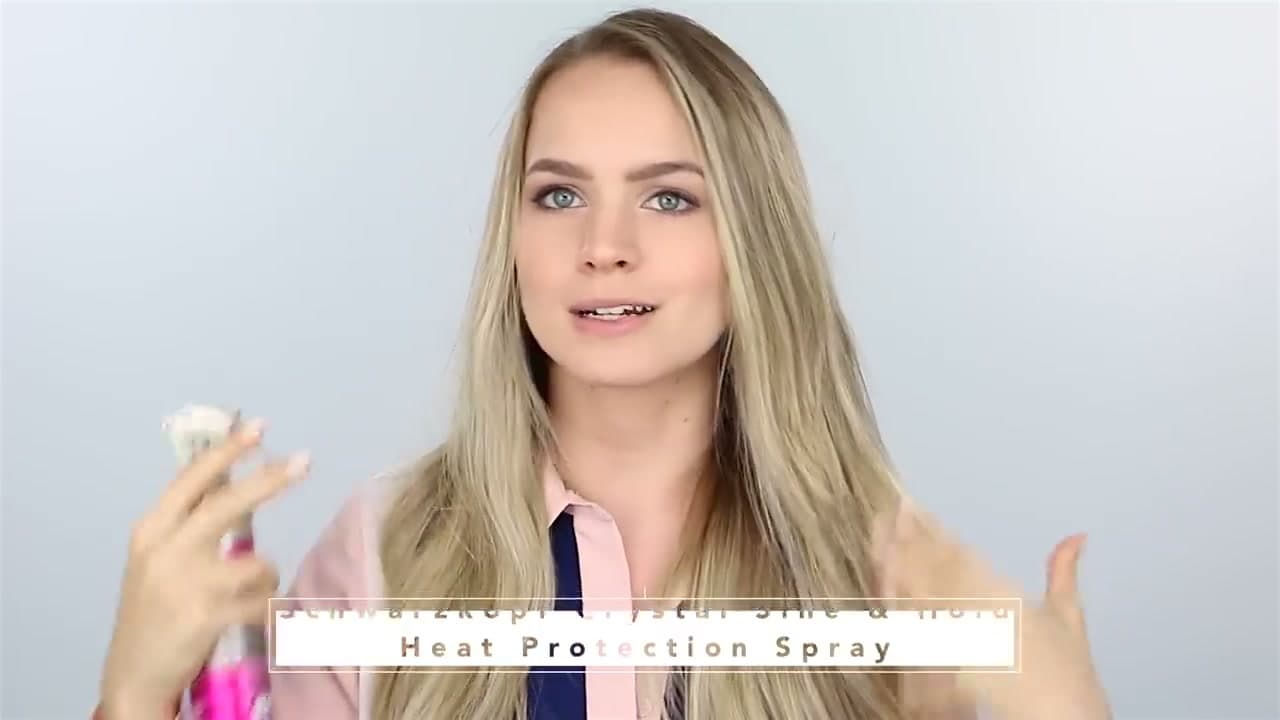
Brush your hair out so there are no tangles. Tangles get baked into the curl shape and look messy. Then mist a heat protectant spray from roots to ends. Kayley uses Schwarzkopf Crystal Shine and Hold because it adds a little hold and a little shine on top of the heat protection - never going to say no to that.
Watch the prep moment at 0:32.
Tip
Spray about 8 to 10 inches away from your head so the product mists evenly instead of pooling in one spot. A heavier coat at the ends where heat damage tends to show up first is a good habit.