How to Increase in Knitting (5 Methods: KFB, YO, M1, M1L/M1R)

The finished result: How to Increase in Knitting (5 Methods: KFB, YO, M1, M1L/M1R)

By ShowMeStepByStepPublished Updated

Based on a video by Stephen West.

Five increases cover almost every shaping situation in knitting, and Stephen West uses all of them across his Westknits patterns. Some are decorative. Some vanish into stockinette. Picking the right one is the difference between a shaping line you can spot from across the room and one nobody will ever see. This tutorial walks through KFB, yarn over, backwards loop M1, M1L and M1R, and make one from the row below - what each looks like, and when to reach for it.

You need to be comfortable with the knit and purl stitches first. Every increase here is a small twist on one of them.

The common increases compared

IncreaseHow visibleLeanWhere patterns use it
KFBSmall bar under the new stitchNoneGarter, seed stitch, edges
Yarn over (YO)A hole, on purposeNoneLace, shawls, eyelet rows
M1LNear invisibleLeftRaglans, sleeve shaping
M1RNear invisibleRightPaired with M1L
Backwards loop M1Low, can look looseSlightQuick yoke increases

If a pattern says "M1" and nothing else, most designers mean M1L. Check the abbreviations page to be sure.

Reading increase instructions in a pattern

Patterns write increases a few ways. "Inc 1" or "inc" means add one stitch, and the pattern leaves the method to you. "KFB" and "M1" name the method. "M1L" and "M1R" name the method and the lean. "YO" is a yarn over, and you will usually see it next to a decrease like k2tog so the stitch count stays level.

Look for the stitch count in brackets at the end of an increase row, like "(66 sts)". Count your stitches against it before you start the next row. It takes a minute and saves a lot of tinking. The full breakdown of abbreviations lives in how to read a knitting pattern.

Spacing increases evenly across a row

Say you have 60 stitches and the pattern says "increase 6 sts evenly across." Divide 60 by 6 and you get 10. So you place one increase every 10 stitches.

  • With M1: (k10, M1) six times. 66 stitches.
  • With KFB: (k9, kfb) six times. KFB uses up a stitch, so you knit one fewer before it.

If the numbers do not divide cleanly, spread the leftovers out. 62 stitches and 6 increases? Work (k10, M1) four times, then (k11, M1) twice. Nobody will ever see the difference.

Common increase mistakes

  • A hole where you did not want one. You picked up the ladder for M1 but did not twist it. Knit it through the back loop (M1L) or front (M1R) so it closes.
  • Twisted stitches on the next row. A yarn over knitted through the back closes up. Knit it through the front loop.
  • Wrong stitch count. Usually a yarn over that slipped off the needle, or a KFB worked as a plain knit. Place a stitch marker at each increase point and count between them.
  • Increases leaning the wrong way. M1L and M1R are mirror images. Swap them and the shaping line looks ragged instead of crisp.

Increases have a mirror image in decreasing in knitting - k2tog and ssk lean the same two ways. When you want a project to practise both, a knitted scarf or a hat crown gets you there fast.
What you'll need

Step-by-Step Guide

7 steps · about 14 minutes.Check off each step as you go and your progress saves automatically.

1

The Five Increases at a Glance

0:10
Step 1: The Five Increases at a Glance - How to Increase in Knitting (5 Methods: KFB, YO, M1, M1L/M1R)

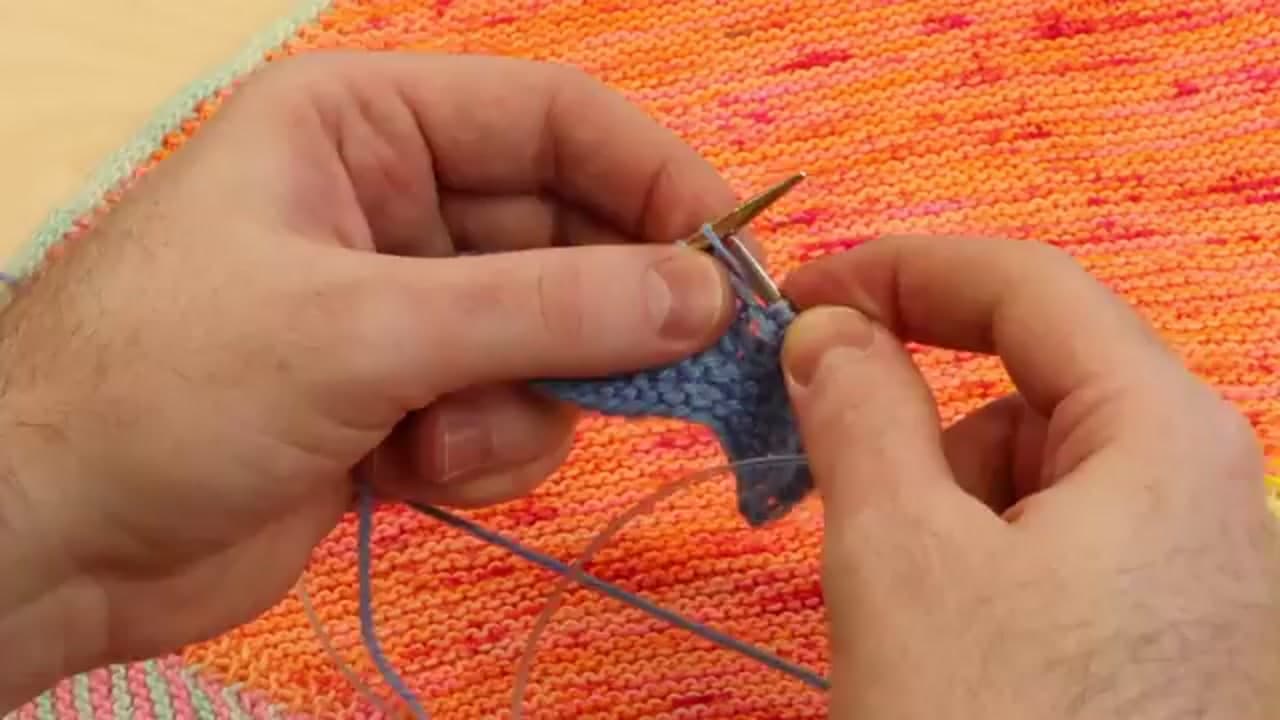
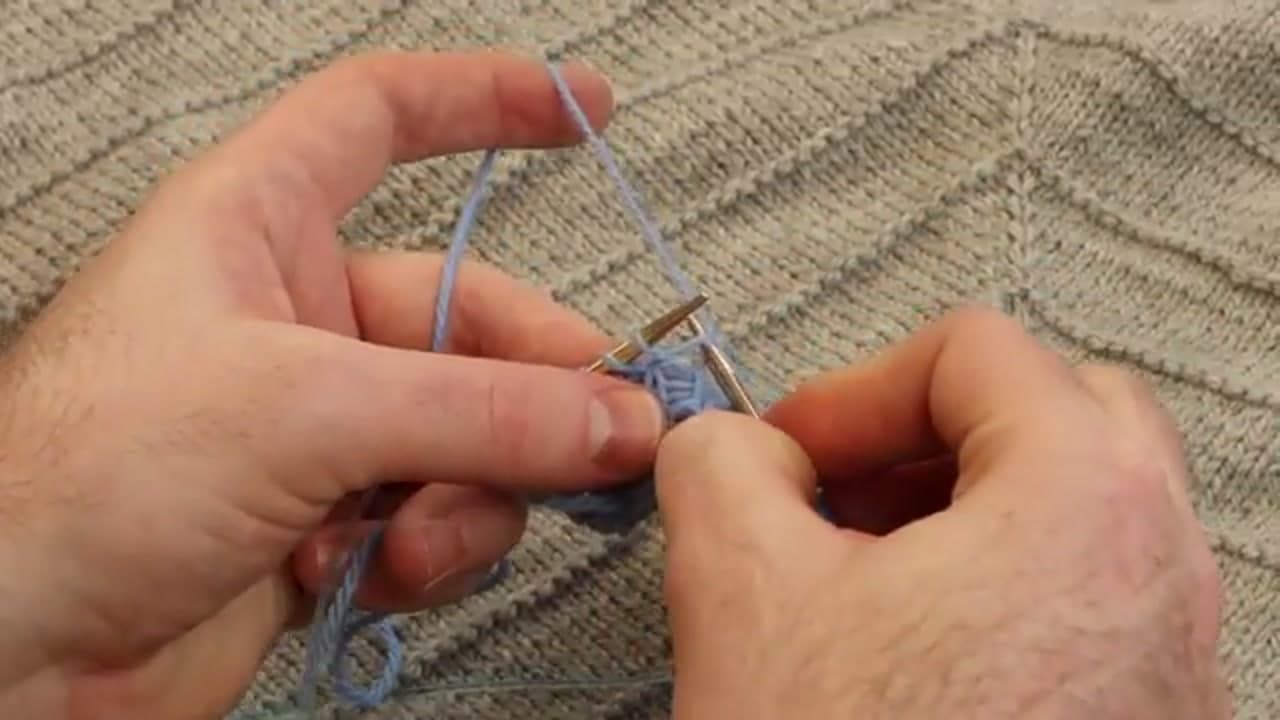
Stephen opens by listing the five increases he reaches for across every Westknits pattern: knit front back, yarn over, make one with a backwards loop, make one left paired with make one right, and make one by knitting into the back of the stitch from the row below. Each one looks different in the finished fabric. Some are decorative and visible on purpose. Others disappear into stockinette. Knowing which to grab is the difference between a shaping line you can spot from across the room and one nobody will ever see.

Tip

Watch a swatch of all five side by side before you start. Once you can read the look of each one, picking the right increase for a pattern gets a lot easier.

2

Knit Front Back (KFB)

1:00
Step 2: Knit Front Back (KFB) - How to Increase in Knitting (5 Methods: KFB, YO, M1, M1L/M1R)

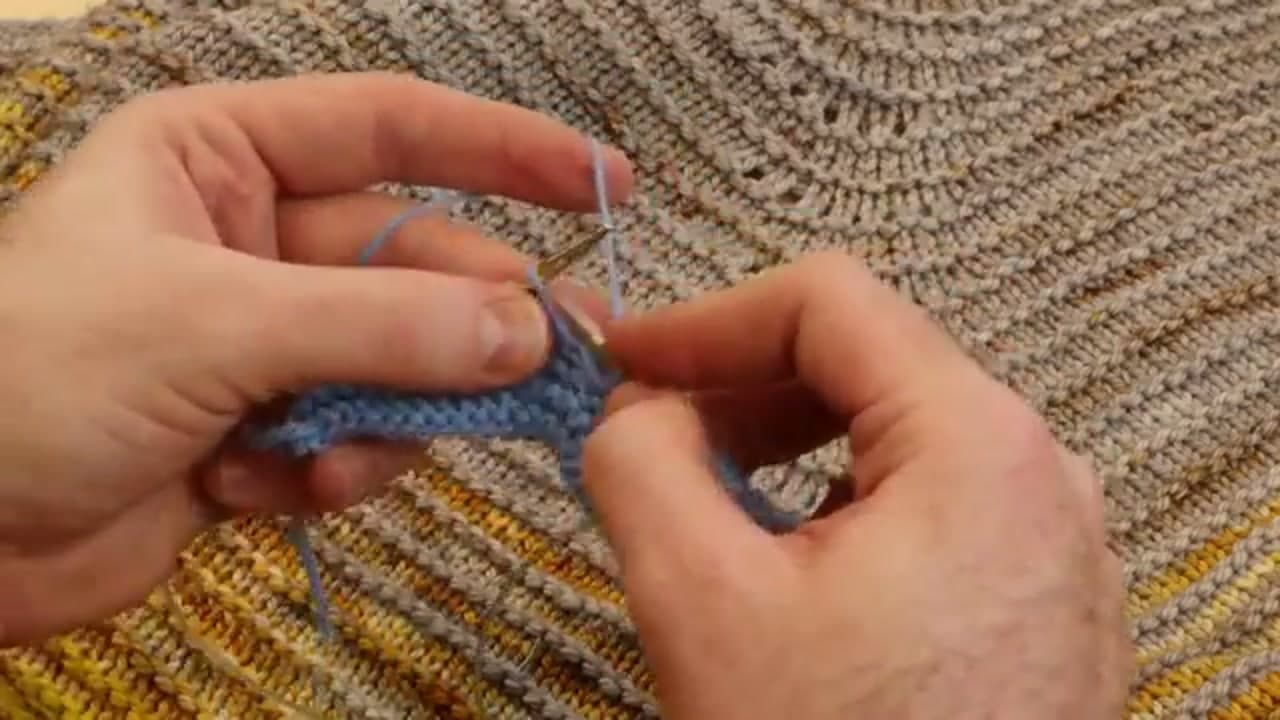
Start with the easiest one. KFB stands for knit front back. Knit into the front of the stitch like normal, but before you slip it off the left needle, knit into the back of that same stitch. Two stitches from one. It leaves a tiny bump that hides perfectly in garter and seed stitch, which is why Stephen uses it along the edges of the Vertices Unite and Dotted Rays shawls.

In stockinette that little bump shows up as a visible pearl, so save KFB for textured fabric.

Tip

If you're working English style with the yarn in your right hand, the back-of-the-stitch part can feel tight. Loosen the loop on the left needle slightly before going in.

3

Yarn Over (YO)

1:50
Step 3: Yarn Over (YO) - How to Increase in Knitting (5 Methods: KFB, YO, M1, M1L/M1R)

Yarn over is the most visible of the five, and the only one that adds a hole on purpose. Bring the working yarn up and over the top of the right needle, then knit the next stitch. That's it. The hole becomes a decorative eyelet, which is why Stephen builds entire shawls like Dotted Rays and Slumber around stacked yarn overs.

To yarn over before a purl, bring the yarn over the needle and back to the front, then purl the next stitch. The motion is bigger but the result is the same eyelet.

Tip

If your eyelets look uneven, check that you aren't twisting the yarn over on the next row. Knit it through the front loop or it'll close up.

4

Make One with a Backwards Loop (M1)

2:55
Step 4: Make One with a Backwards Loop (M1) - How to Increase in Knitting (5 Methods: KFB, YO, M1, M1L/M1R)

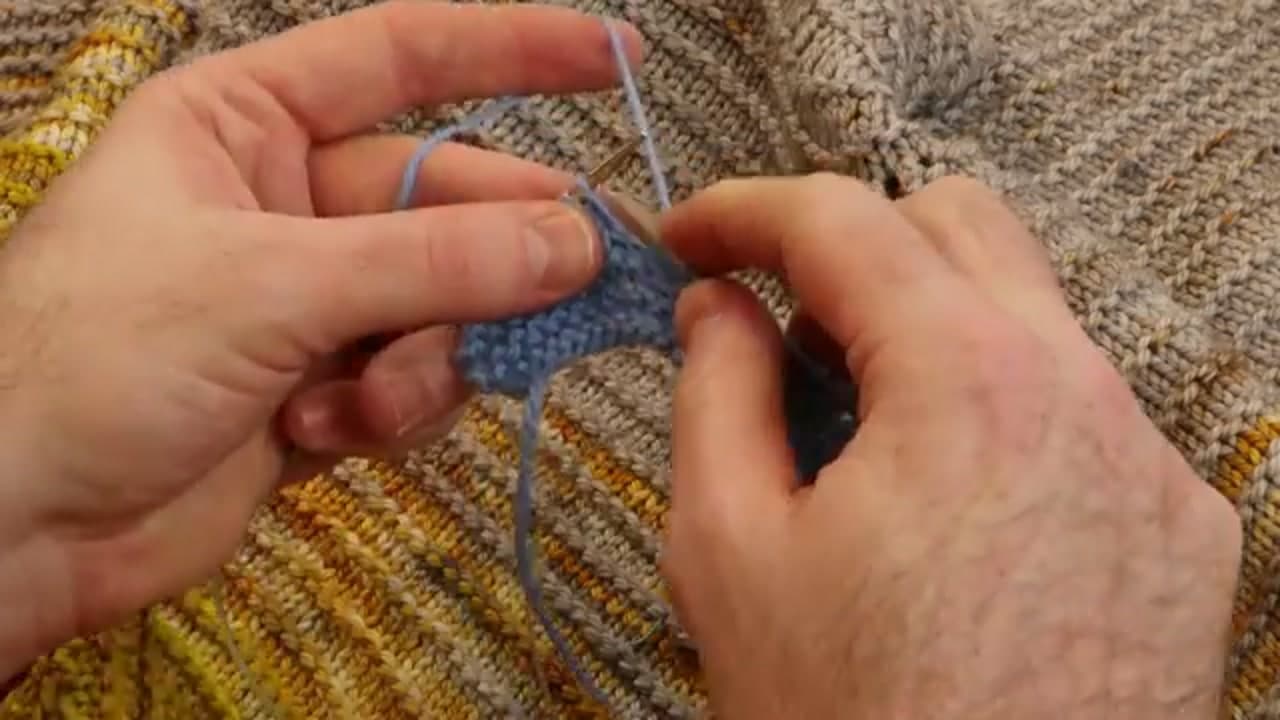
Make one with a backwards loop is the lazy genius option. Twist the working yarn into a small loop and place it on the right needle, locking the overlap so it doesn't pop loose. Either direction of twist works. On the next row you knit that loop like a normal stitch.

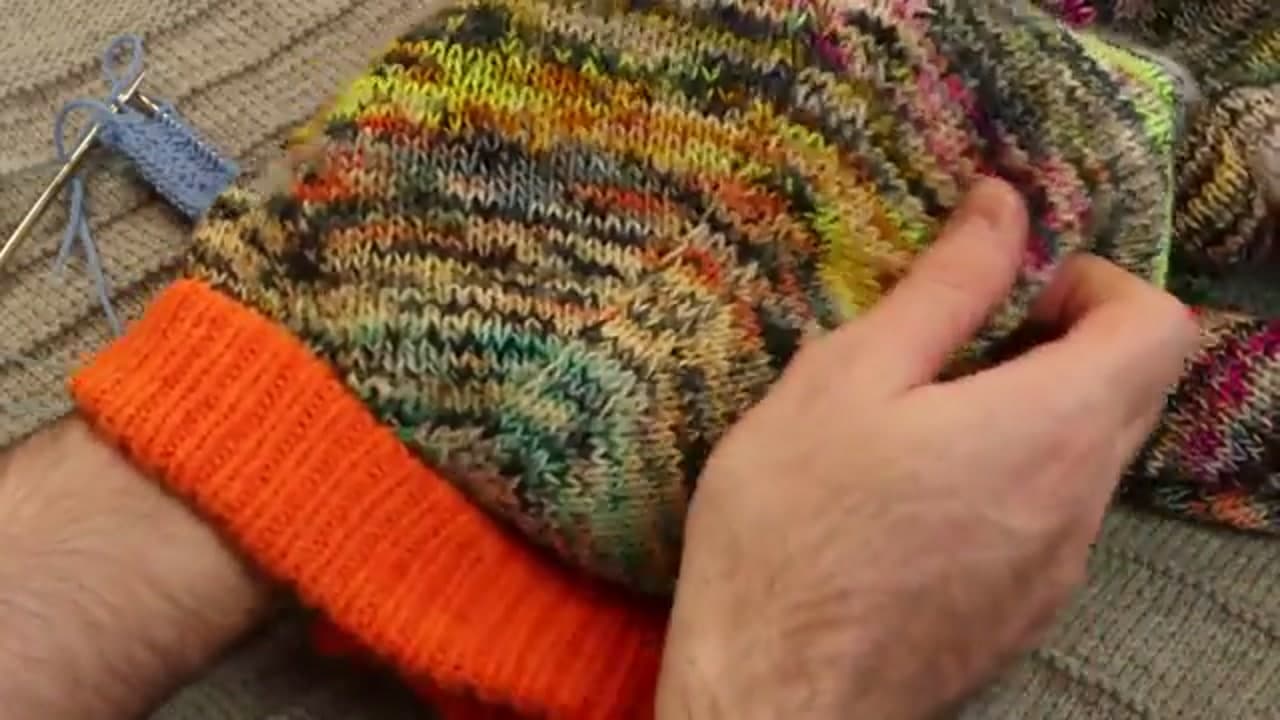
It's nearly invisible in stockinette, sits flatter than KFB, and Stephen uses it across the yoke of the Painting Bricks sweater, especially when starting a new color row. It's also a perfect substitute when M1L and M1R feel too fussy.

Tip

Keep the loop snug against the needle. A loose backwards loop unravels on the very next stitch and you'll lose the increase before you knit it.

5

Make One Left and Make One Right (M1L & M1R)

4:20
Step 5: Make One Left and Make One Right (M1L & M1R) - How to Increase in Knitting (5 Methods: KFB, YO, M1, M1L/M1R)

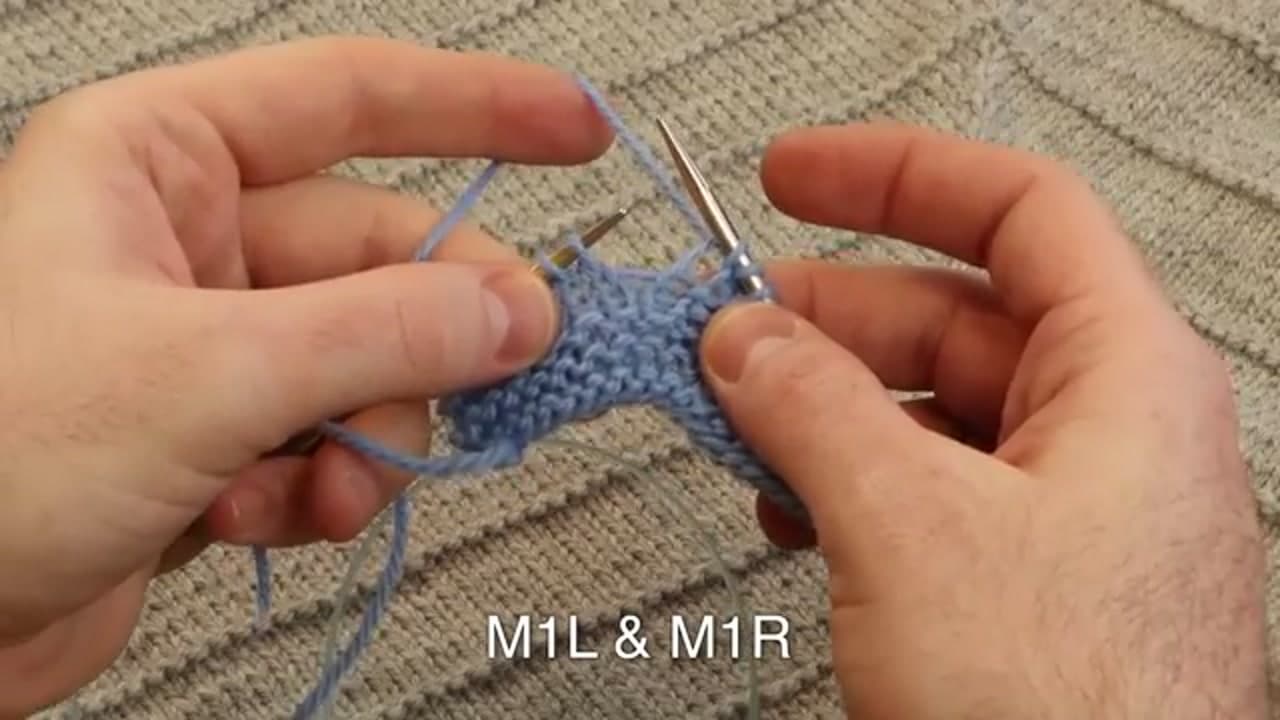
M1L and M1R are the tightest, tidiest increases of the bunch. For M1L think "I left the front door open" - lift the ladder between two stitches with the left needle from the front, then knit through the back loop to twist it.

For M1R think "I'll be right back" - lift the ladder from the back, then knit through the front to twist it. The twist closes the gap so the fabric stays solid with no visible hole. Stephen uses these along the spine of Painting Chevrons for a crisp shaping line.

Tip

If knitting through the front of M1R feels too tight, slip the lifted strand back to the left needle, give it a little tug to loosen, then knit it. The twist still locks in.

6

Make One from the Row Below

6:50
Step 6: Make One from the Row Below - How to Increase in Knitting (5 Methods: KFB, YO, M1, M1L/M1R)

The fifth one is make one by knitting into the back of the stitch from the row below. Drop your eye one row down, find the stitch sitting below the next live stitch, insert the right needle into the back of it, and knit.

You can pick it up off the right or left needle - whichever feels natural. The new stitch tucks in cleanly with no hole and no tug, which is why it's Stephen's go-to for the raglan lines of the Westknits Go-To Raglan. If you see a small gap, your tension might be loose; M1L or M1R will close it up.

Tip

This one is easiest in plain stockinette. If you can't find the stitch below, lay the fabric flat and look for the little V sitting under your next stitch on the left needle.

7

Which Increase to Pick When

8:20
Step 7: Which Increase to Pick When - How to Increase in Knitting (5 Methods: KFB, YO, M1, M1L/M1R)

Quick decision guide.

  • Garter or seed stitch edge? KFB. The bump disappears into the texture.
  • Want a decorative hole for a shawl or lace panel? Yarn over.
  • Stockinette and want the increase to vanish? Backwards loop M1 or knit-into-the-row-below. Pick whichever feels comfier in your hands.
  • Need a crisp shaping line with zero gap, like a raglan seam or a chevron spine? M1L paired with M1R.

There's no single right answer. Swatch two on the same project and pick whichever sits nicer in your fabric.

Tip

Save a small reference swatch with all five increases knit in a row, each one labeled with a stitch marker. You'll reach for it every time a pattern asks for an increase you can't remember.

Keep going

How to Mattress Stitch Two Knitted Pieces Together

Products Used

The Checklist

How to Increase in Knitting (5 Methods: KFB, YO, M1, M1L/M1R)

Tools
3
Materials
1
Steps
7
Video
14 min

Tools we recommend

Your Guide

Stephen West

As an Amazon Associate we earn from qualifying purchases. Links on this page may be affiliate links - clicking them and buying doesn't change your price, but helps support ShowMeStepByStep.

Tags

Sunday How-To

New knitting tutorials, every Sunday

One short email with the week's best step-by-step guides. Free, no spam, unsubscribe anytime.

Test your knowledge

Did the lesson stick? Start with this one.

5 questions covering what you just read. No signup, no score saved, and you can stop after this one.

Question 1 of 5

How many increases does Stephen West cover?

Quick reference

Key takeaways from How to Increase in Knitting (5 Methods: KFB, YO, M1, M1L/M1R)

5 questions, answers, and one-line explanations. Tap to expand.

  1. 1.How many increases does Stephen West cover?

    Answer: Five increases

    Five: KFB, YO, backwards-loop M1, M1L/M1R, and make-one from the row below. They cover almost every shaping situation in knitting.

  2. 2.Which increase creates a decorative hole on purpose?

    Answer: Yarn over

    Yarn over is the only one that adds a hole on purpose. The hole becomes the eyelet that lace patterns like Dotted Rays are built on.

  3. 3.Where does KFB hide best?

    Answer: Garter or seed stitch

    The little bump KFB leaves disappears into textured fabric. In flat stockinette it shows up as a visible pearl.

  4. 4.What's the M1L mnemonic?

    Answer: I left the door open

    M1L = 'I left the front door open'. Lift the ladder from the front, knit through the back to twist it.

  5. 5.When to reach for M1L paired with M1R?

    Answer: Crisp shaping line

    The twist closes the gap and keeps fabric solid with no visible hole. Perfect for raglan seams and chevron spines.

Did this work for you?

What's next

Weekly Digest

Liked this knitting tutorial?

Pick the categories you want to hear about. Weekly digest of new step-by-step tutorials. No spam, easy unsubscribe.

Send me tutorials about

We only email about new tutorials. Easy unsubscribe anytime.