How to Replace a Toilet Fill Valve

The finished result: How to Replace a Toilet Fill Valve
Also in:Adulting

By ShowMeStepByStepPublished Updated

Based on a video by The Fixit Shed.

A toilet that never quite stops running is usually the fill valve, and the part costs about eight dollars. This is one of the few plumbing jobs with no soldering, no glue and no way to flood the house, which makes it a good first repair if you have never opened a toilet tank.

Budget half an hour. Most of that is draining and sponging the tank.

Fill Valve or Flapper?

These two get mixed up constantly and they fail differently.

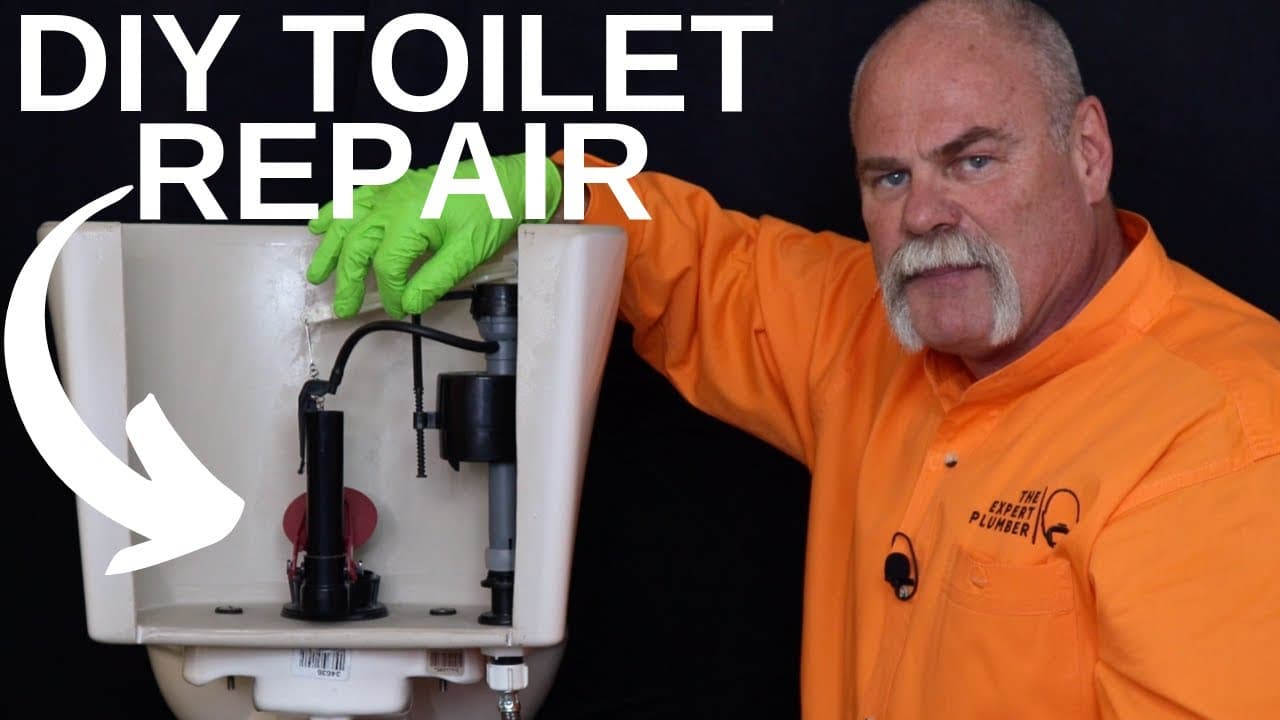
The fill valve is the tall column on the left side of the tank that refills it after a flush. When it fails, the tank keeps trickling water in and never shuts off, and it often whistles while filling.

The flapper is the rubber seal at the bottom. When it fails, water leaks from the tank down into the bowl, so the tank slowly empties and the toilet refills by itself every few minutes.

If you are hearing a phantom refill with no obvious running, start with the flapper. If the fill never stops, you are in the right place.

Which Valve to Buy

The Fluidmaster 400A fits nearly every standard American toilet and is what most hardware stores stock. There is a quieter PerforMAX version if the noise is your main complaint, and combo kits that bundle a flapper if you would rather replace both while the tank is open.

Measure nothing before you buy. These are universal and adjust to height during installation.

What you'll need

Step-by-Step Guide

11 steps · about 6 minutes.Check off each step as you go and your progress saves automatically.

1

Confirm the Fill Valve Is the Problem

0:22
Step 1: Confirm the Fill Valve Is the Problem - How to Replace a Toilet Fill Valve

Take the lid off the tank and watch it fill. A failing fill valve does not shut off cleanly. It drops to a thin trickle and keeps running, and the water climbs above the float instead of stopping. A whistle or a screech while the tank fills is the other giveaway. If that is what you are seeing, the valve is the part to replace.

Tip

Water on the floor or a tank that empties on its own is a flapper problem, not a fill valve problem. Different part, different fix.

2

Shut Off the Water

1:00
Step 2: Shut Off the Water - How to Replace a Toilet Fill Valve

Find the supply valve on the wall behind the toilet and turn it clockwise until it stops. Give the handle a flush afterwards to confirm nothing refills. If the shutoff is seized or keeps weeping, close the main instead rather than forcing it.

Tip

Old shutoff valves sometimes start leaking once disturbed. Have a towel down before you touch it.

3

Flush and Sponge the Tank Dry

1:29
Step 3: Flush and Sponge the Tank Dry - How to Replace a Toilet Fill Valve

Hold the handle down so as much water as possible drains out, then get the rest with a sponge and wring it into a container. Flushing never empties a tank completely and there is always an inch or so sitting in the bottom. Get it as dry as you can before you go near the supply line.

Tip

A cheap sponge and a plastic tub beat a shop vac here. You want to feel where the water is.

4

Disconnect the Supply Line

2:07
Step 4: Disconnect the Supply Line - How to Replace a Toilet Fill Valve

Loosen the nut where the supply line meets the bottom of the tank. Working the connector loose a little first gives you room to turn it. Keep a bucket or a towel underneath, because water is still sitting in that line and it will run out.

Tip

Most of these tighten by hand. If it needs a wrench, go gently on the plastic.

5

Remove the Lock Nut and Lift Out the Old Valve

2:32
Step 5: Remove the Lock Nut and Lift Out the Old Valve - How to Replace a Toilet Fill Valve

Undo the large plastic lock nut on the underside of the tank. Whatever water is left drains as it comes free, so keep the bucket in place. Then lift the old fill valve straight up and out.

Tip

If the nut will not budge, a pair of slip-joint pliers gives you the leverage without cracking anything.

Used in this stepslip joint pliers
6

Set the New Valve to the Same Height

3:12
Step 6: Set the New Valve to the Same Height - How to Replace a Toilet Fill Valve

The top of the valve needs to sit about three inches above the overflow pipe. Lay the old and new valves side by side, measure the old one, and twist the base of the new one to lengthen or shorten it until they match. On this toilet that came out at ten and three quarter inches.

Tip

Do this on the floor, not in the tank. Adjusting it after installation means pulling the whole thing back out.

Used in this steptape measure
7

Attach the Refill Hose

3:36
Step 7: Attach the Refill Hose - How to Replace a Toilet Fill Valve

Push the refill tube onto the refill port on the side of the valve. On a standard toilet you then clip the other end over the rim of the overflow pipe with the little plastic clip that came in the bag.

Tip

The hose has to sit above the waterline. Pushed down inside the overflow pipe it can siphon the tank empty.

8

Fit the Valve Into the Tank

4:00
Step 8: Fit the Valve Into the Tank - How to Replace a Toilet Fill Valve

Drop the valve down through the hole in the bottom of the tank and hold it upright. This tank has a collar-style flush valve, so the refill hose feeds into its own port rather than clipping to a pipe. Check the height against the overflow one more time before you tighten anything.

Tip

The rubber washer goes on the inside of the tank, not the outside. Getting that backwards is the usual cause of a leak after the job is done.

9

Thread the Lock Nut and Reconnect the Supply Line

4:50
Step 9: Thread the Lock Nut and Reconnect the Supply Line - How to Replace a Toilet Fill Valve

Thread the lock nut on from underneath and snug it by hand, then reconnect the supply line to the valve shank. Plumbers tape on these threads is optional and rarely needed, since the seal comes from the rubber washer rather than the threads. Tighten both by hand.

Tip

Do not reach for a wrench on the plastic lock nut. Overtightening cracks it and you will be back at the store.

Used in this stepPTFE plumbers tape
10

Turn the Water Back On

5:18
Step 10: Turn the Water Back On - How to Replace a Toilet Fill Valve

Open the supply valve slowly and let the tank fill. Run your hand around both connections, underneath and inside, and look for damp. A slow weep is easier to catch now than after you have put the lid back on.

Tip

If a connection drips, back it off and retighten rather than cranking down harder.

11

Check the Level and Test the Flush

5:44
Step 11: Check the Level and Test the Flush - How to Replace a Toilet Fill Valve

The water should stop about half an inch below the top of the overflow pipe. If it sits too high or too low, turn the adjustment knob on top of the valve to move it. Then flush once more and confirm the tank refills to the right level, shuts off cleanly, and stays dry.

Tip

A quiet, clean shutoff is the whole point. If it still whistles, the inline filter in the new valve may need a rinse.

Keep going

How to Flush a Water Heater

Products Used

The Checklist

How to Replace a Toilet Fill Valve

Tools
6
Materials
3
Steps
11
Video
6 min

Tools we recommend

Your Guide

The Fixit Shed

As an Amazon Associate we earn from qualifying purchases. Links on this page may be affiliate links - clicking them and buying doesn't change your price, but helps support ShowMeStepByStep.

Tags

Sunday How-To

New home improvement tutorials, every Sunday

One short email with the week's best step-by-step guides. Free, no spam, unsubscribe anytime.

Test your knowledge

Did the lesson stick? Start with this one.

5 questions covering what you just read. No signup, no score saved, and you can stop after this one.

Question 1 of 5

Which sign points at the fill valve rather than the flapper?

Quick reference

Key takeaways from How to Replace a Toilet Fill Valve

5 questions, answers, and one-line explanations. Tap to expand.

  1. 1.Which sign points at the fill valve rather than the flapper?

    Answer: A whistle or screech while the tank is refilling

    Whistling is water forced past a worn fill valve seal, so the noise points straight at the valve.

  2. 2.After closing the supply valve, what confirms the water is off?

    Answer: Flush the toilet and watch that nothing refills

    A flush that does not refill is proof. Old shutoffs often weep even when the handle feels closed.

  3. 3.How high should the top of the new fill valve sit?

    Answer: About three inches above the overflow pipe

    Three inches of clearance keeps the valve above the waterline so it cannot siphon tank water backwards.

  4. 4.Why is plumbers tape rarely needed on the supply connection?

    Answer: The seal comes from a rubber washer, not the threads

    These fittings seal on a washer face. Tape on the threads adds nothing and can stop the nut seating.

  5. 5.Where should the water stop once the tank refills?

    Answer: About half an inch below the overflow pipe top

    Half an inch of clearance means a stuck valve drains down the overflow instead of over the tank rim.

Did this work for you?

What's next

Related collections

Curated theme pages that include this tutorial.

Weekly Digest

Liked this home improvement tutorial?

Pick the categories you want to hear about. Weekly digest of new step-by-step tutorials. No spam, easy unsubscribe.

Send me tutorials about

We only email about new tutorials. Easy unsubscribe anytime.