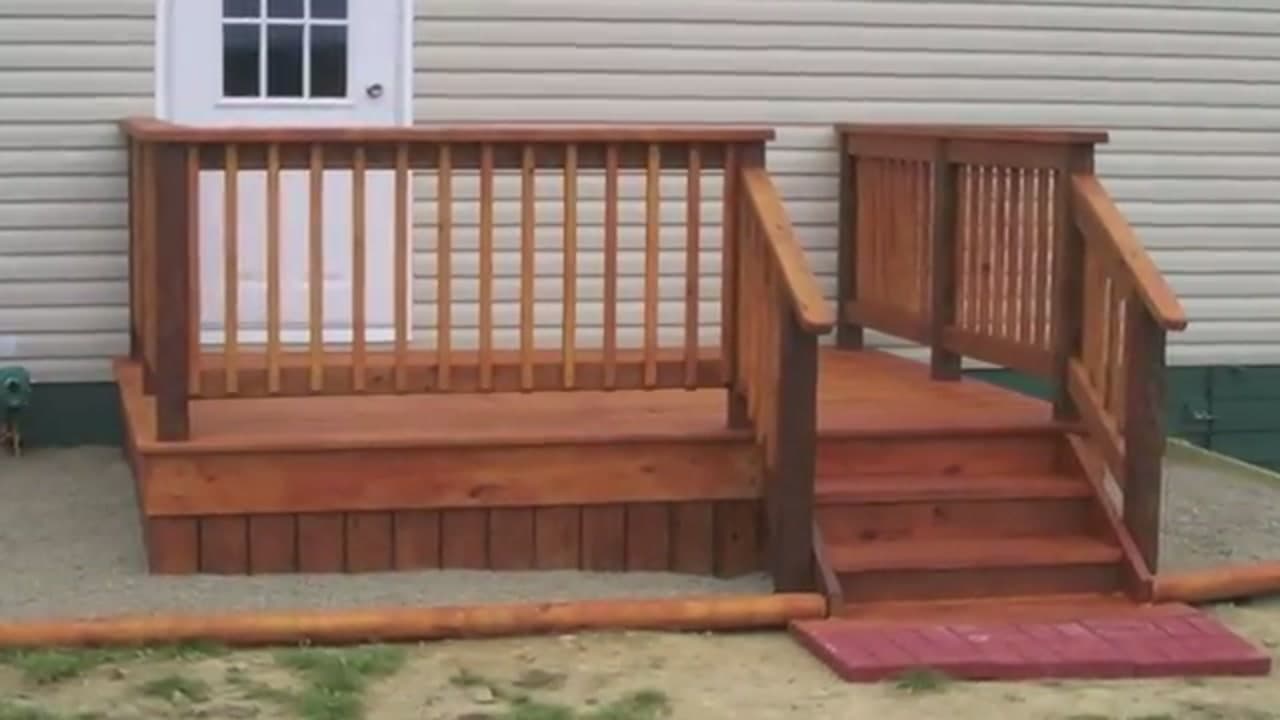
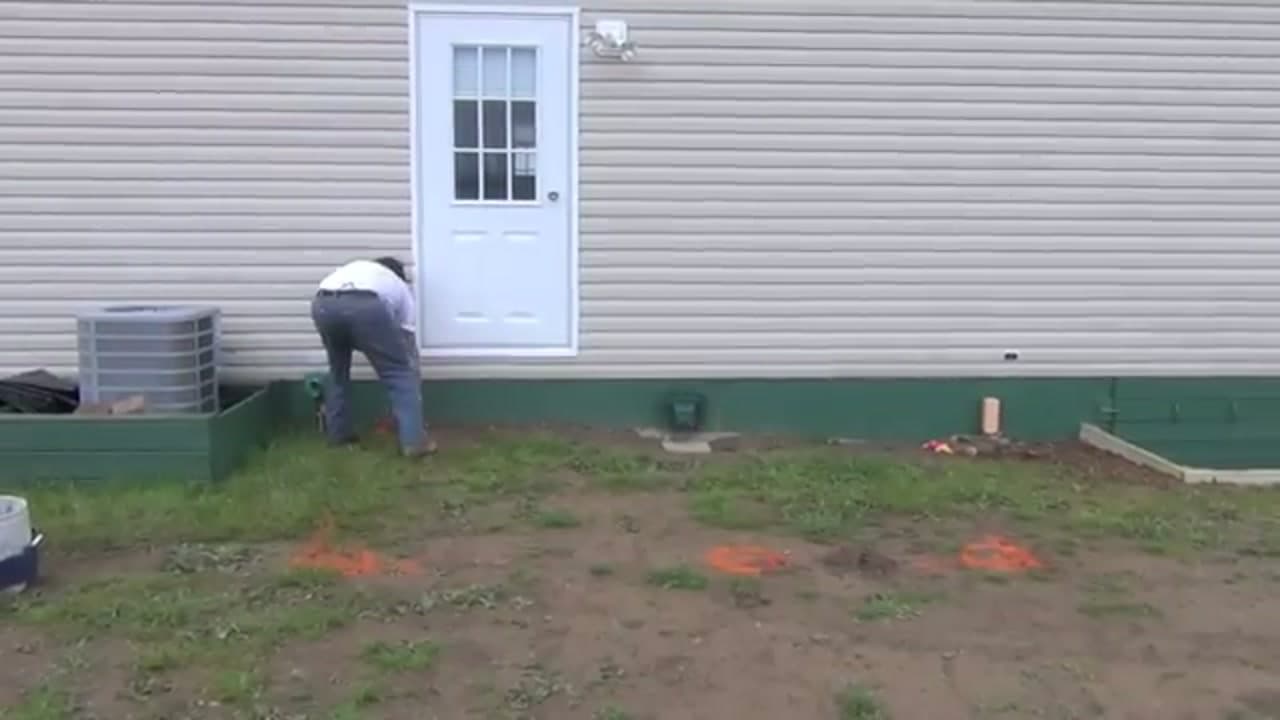
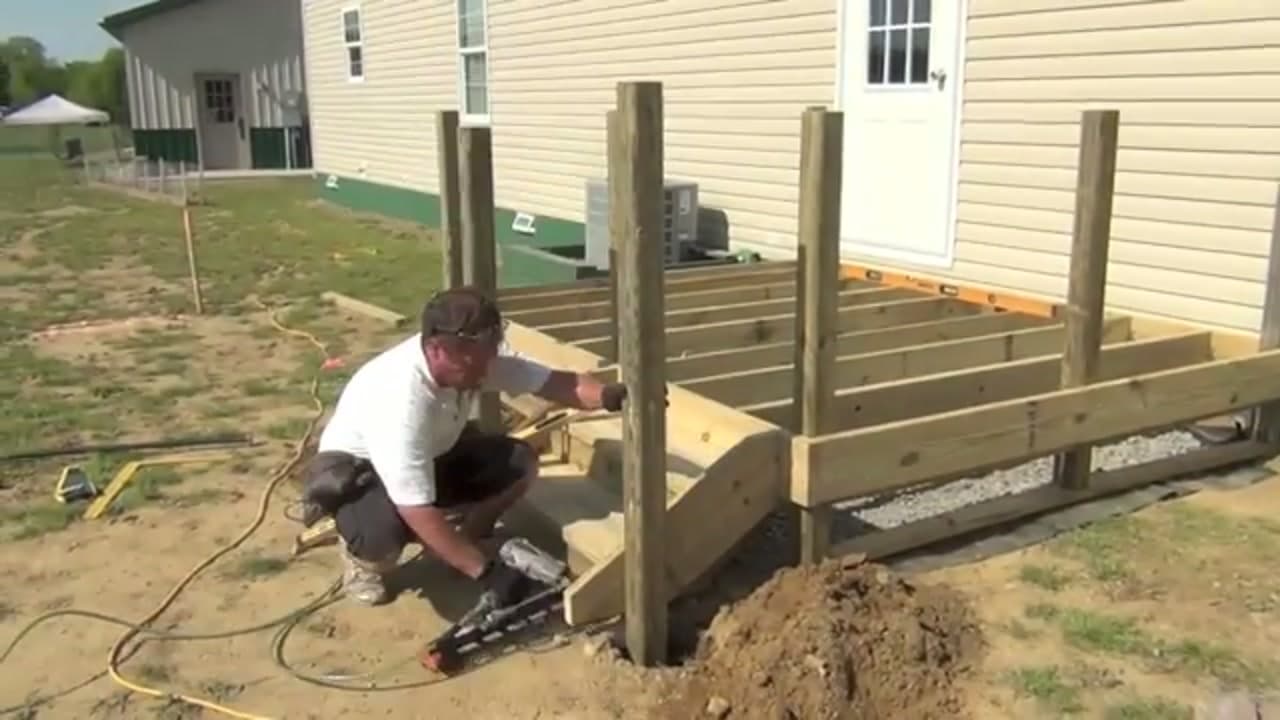
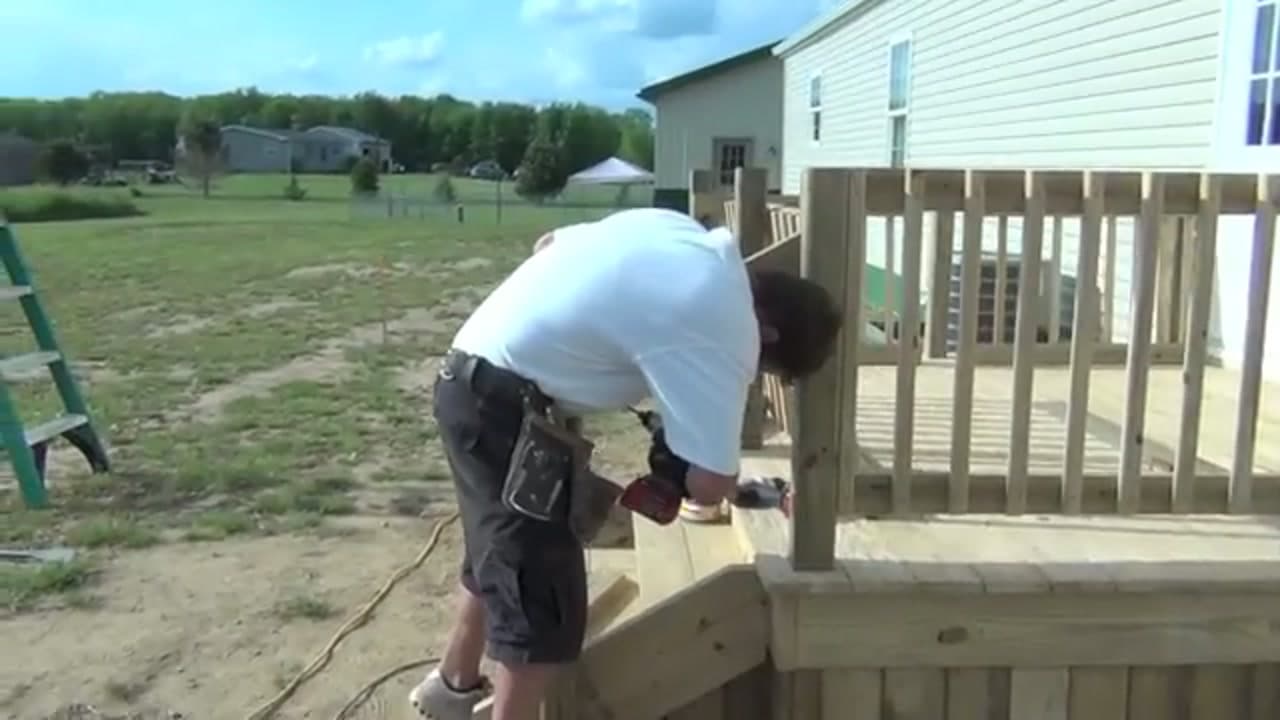
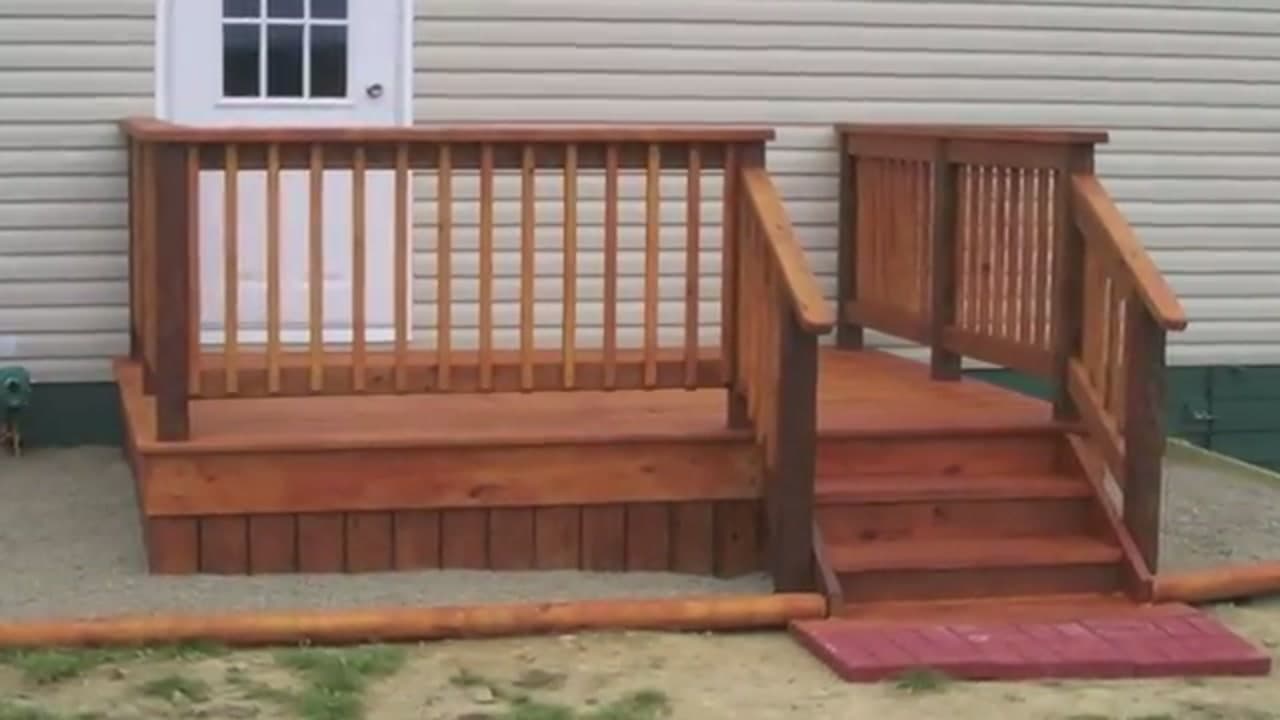
An 8x10 deck is about the biggest thing a first-timer can build over a weekend or two and still get right. Craig Heffernan builds one here off a back door, all pressure-treated, from the post holes up to the stain. What sits on this page is what you have to decide before you buy a single board.
Most of a deck is bought, not built. What you pick off the shelf is what you live with for twenty years.
What an 8x10 Deck Costs in Materials
Budget $900 to $1,600 for an 8x10 pressure-treated deck in 2026, depending on local lumber prices. Where it goes:
- Framing and decking lumber - about half the total. 4x4 posts, 2x8 joists, 5/4 or 2x6 deck boards.
- Concrete - two to four 60-pound bags per hole, more if you are digging deep.
- Hardware - joist hangers, hanger nails, post bases, deck screws. $150 to $300, and the line people under-buy.
- Railing - balusters, top and bottom rail, post caps. Easily $200 on its own.
- Permit - $50 to $400, depending on your town.
Floating Deck or Attached to the House?
An attached deck hangs off a ledger board lagged through the siding into the band joist of the house. Fewer posts, and the deck sits flush with your door threshold. It also puts a row of holes through your wall, which means flashing, and it is structural, which means an inspector.
A floating deck touches nothing. It stands on its own posts an inch or two clear of the siding. Plenty of towns skip the permit for a freestanding deck under 200 square feet and under 30 inches high, and an 8x10 is 80 square feet. Often is not always, so call the building department and ask about setbacks too.
If you do attach, ledger flashing is not optional. Water behind an unflashed ledger board rots the band joist of the house itself, and that repair costs more than the deck did. Find the band joist with a stud finder before you drill anything.
Footings: Deck Blocks, Poured Concrete, or Helical Piers
Precast deck blocks sit on grade. Fast, cheap, fine for a low floating deck in a warm climate. Anywhere the ground freezes they move, and they never settle back where they were.
Poured footings below frost depth are the default for anything attached, and they are what Craig uses here. Frost depth runs about 12 inches in Georgia, 42 in Minnesota, 48 in parts of Maine. Dig past your number, not to it. Helical piers exist for soft or filled soil and cost more than the rest of an 8x10 does in total.
Joist Spacing, Span, and the 16-Inch Rule
Sixteen inches on center is the default because that is what decking is rated for: 5/4 pressure-treated boards and most composite boards both want 16. Tighten to 12 if you run the deck boards at a 45-degree angle, since the diagonal stretches the span between joists.
2x8 pressure-treated joists carry about 10 to 12 feet at 16 on center, so an 8-foot run sits well inside it. The bounce in an old deck is almost always joists spaced too far apart, not boards that were too thin.
Pressure-Treated or Composite Decking
Pressure-treated costs about a third of composite and it asks for work: wash and re-seal every two to three years or it greys out and checks. Composite roughly doubles the decking line, will not rot, and still wants a wash twice a year. Low maintenance, not no maintenance. Uncapped composite fades, so buy capped.
Keep the gaps clear. Leaf litter packed between the deck boards holds water against the wood and starts the rot. One pass a year with the same gear you would use to pressure wash a driveway does it, on the widest fan tip and well under driveway pressure.
Once it is done the deck anchors the yard. A fire pit off the bottom step gives you somewhere to sit in October, and the saw work on this job is the same skill set as a shop workbench or a set of raised garden beds.