How to Build a Fire Pit

Home ImprovementMedium16:488 stepsBrowse more →
Also in:Gardening

By ShowMeStepByStepPublished

Based on a video by Fix This Build That.

A backyard fire pit is one of those projects that looks like it needs a pro, but it really doesn't. Brad from Fix This Build That shows how to build a solid paver fire pit in a single weekend, using stacked retaining wall blocks and a metal fire ring insert. No mortar, no special skills.

You will pick your blocks, dig and level a gravel base, stack the wall in staggered courses, set the ring, and fill it with lava rock. Take your time on the base and the leveling. Get that part right and the rest goes fast.

Building an outdoor spot to gather? Pair it with a raised garden bed nearby and you have a whole backyard hangout.

Step-by-Step Guide

1

Step 1: Pick Your Wall Blocks

0:50
Step 1: Step 1: Pick Your Wall Blocks

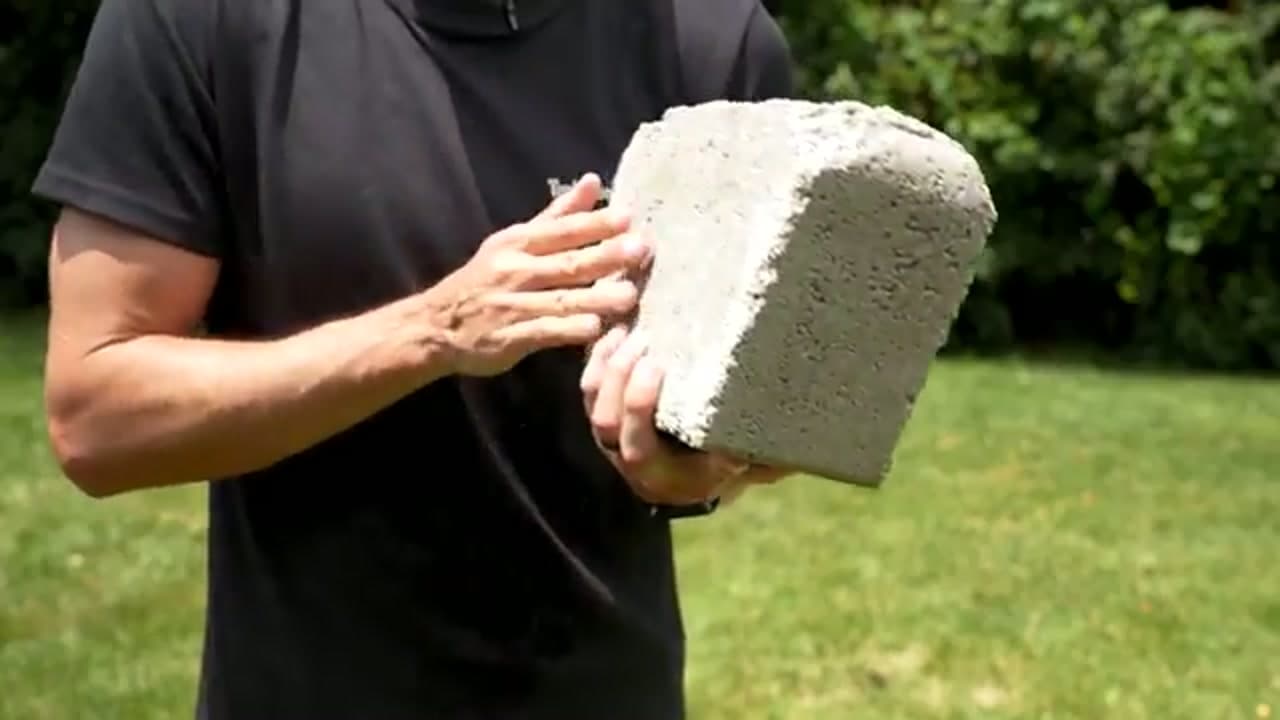
Start at the store, not the yard. Brad holds up a tumbled retaining wall block and talks through why the shape matters. Blocks with a slight wedge or trapezoid shape curve into a circle without gaps, which is exactly what you want for a round pit. Buy one extra course worth so you have spares. For a pit this size he uses about 30 blocks across three rows. Grab a matching cap block too if your line offers one.

Tip

Bring a photo of your fire ring insert to the store so you can size the block circle to fit around it with a little breathing room.

2

Step 2: Lay Out the Circle

8:50
Step 2: Step 2: Lay Out the Circle

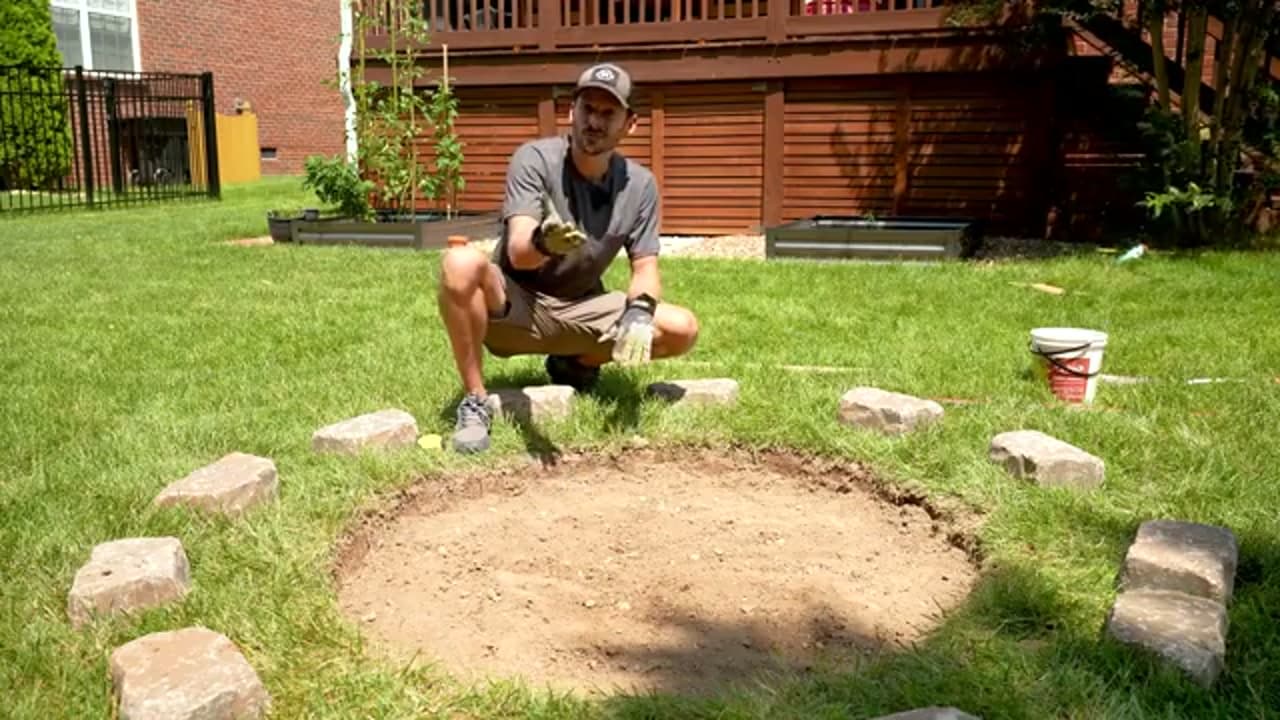
Find a flat, open spot well away from the house, fence, and any low branches. Brad rings the area with loose marker stones to set the outer diameter, then works out where the inner wall will land. Once you like the size, score the grass along the line so you have a clear guide to dig to. Measure across a few directions to keep it round. A garden hose laid in a loop works great as a flexible template if you want to fine-tune the shape.

Tip

Leave at least 10 feet of clearance from anything that can burn, and check your local rules before you dig.

Products used in this step

3

Step 3: Dig Out the Base

10:20
Step 3: Step 3: Dig Out the Base

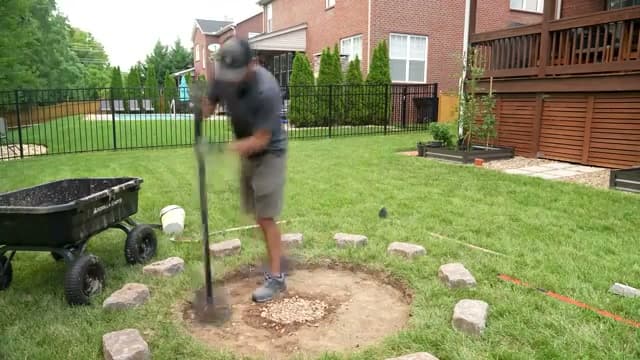
Now the sweaty part. Strip the sod inside your circle and dig down a few inches across the whole area. You want the bottom course of block to sit below grade so the wall locks into the ground and won't shift. Keep the floor of the hole as flat and level as you can as you go. Pile the dirt in a wheelbarrow or cart so you can move it out of the way. This is the step that makes everything after it easier, so don't rush it.

Tip

A flat spade cuts cleaner edges than a pointed shovel when you are slicing through turf.

4

Step 4: Add Drainage

9:20
Step 4: Step 4: Add Drainage

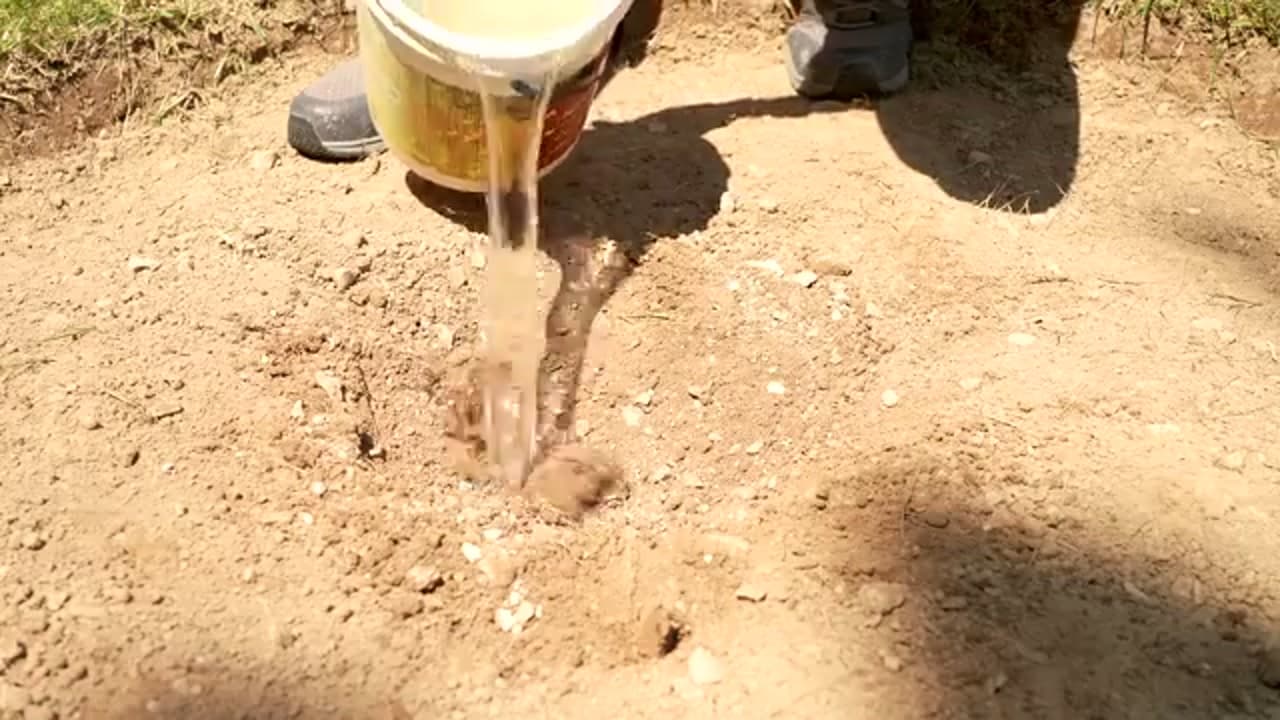
Water is the enemy of a fire pit that sits all winter. Brad digs a deeper pocket in the center, pours water in, and watches how fast it drains. If it sits, dig down further and pack in some loose gravel so rainwater has somewhere to go instead of pooling around your ring. This one small step keeps the pit from turning into a bowl of soup after a storm and helps the base stay solid over the years.

Tip

If your soil is heavy clay and drains slowly, dig the center hole a foot deep and fill it with drainage gravel.

Products used in this step

5

Step 5: Add and Level the Paver Base

10:50
Step 5: Step 5: Add and Level the Paver Base

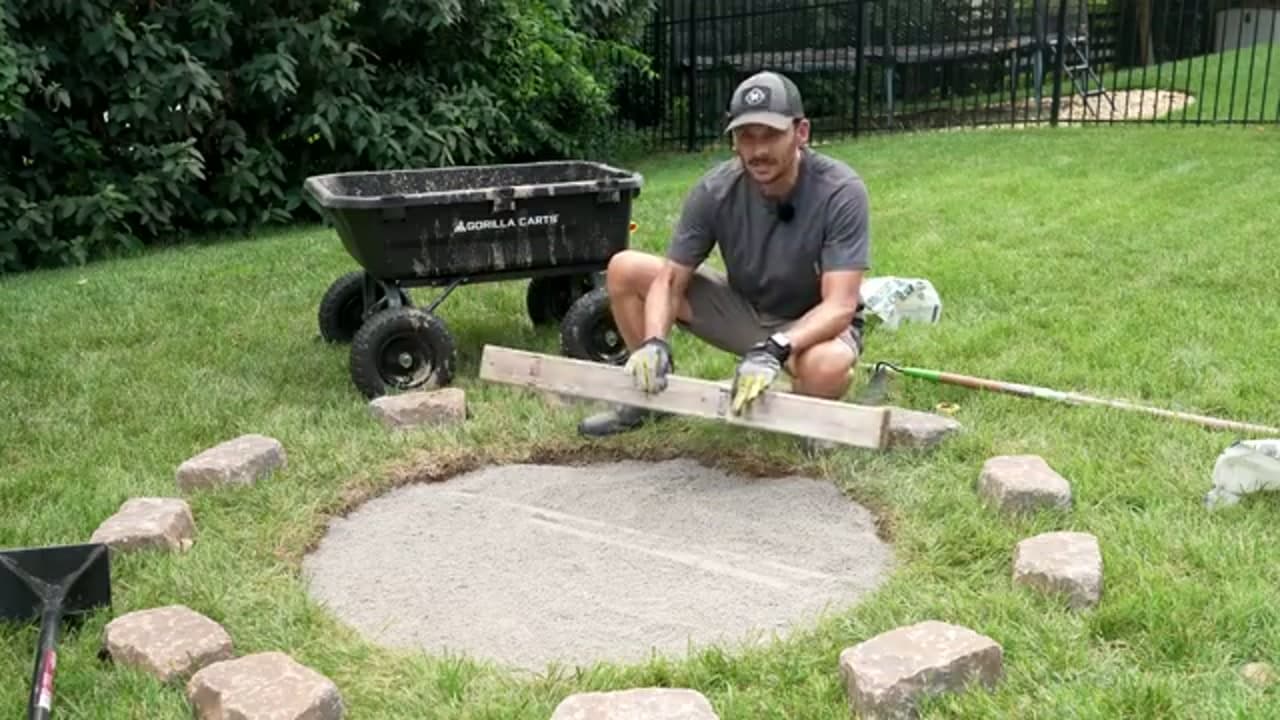
Pour paver base gravel into the pit to build a firm, flat pad for the first row of block. Spread it out, then drag a straight screed board across the top to pull it dead level. This is the single most important step for a wall that ends up even, so take your time and check it from a couple directions. A tamped, level base means every block after this sits right the first time and you won't be shimming later.

Tip

Run a tamper over the gravel before you screed. Compacted base won't settle and throw your wall out of level next season.

6

Step 6: Lay the First Ring of Blocks

13:20
Step 6: Step 6: Lay the First Ring of Blocks

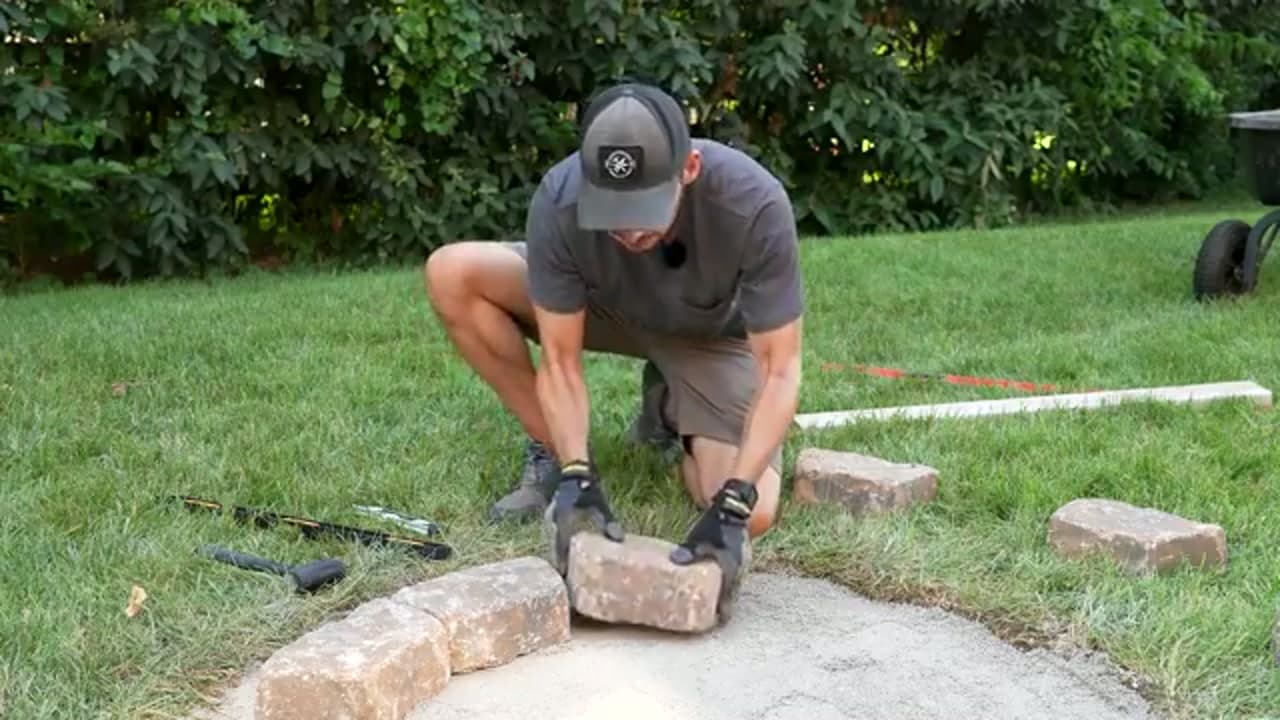
Set your first block on the base, then work your way around the circle placing each one snug against the last. Check every block with a level, front to back and side to side, and tap it down with a rubber mallet until it sits flush. The first course sets the tone for the whole build, so get it level and evenly spaced before you stack anything on top. If a block rocks, add or scrape a little gravel underneath.

Tip

A 4-foot level laid across two blocks catches high spots a small torpedo level will miss.

7

Step 7: Stack and Stagger the Courses

14:40
Step 7: Step 7: Stack and Stagger the Courses

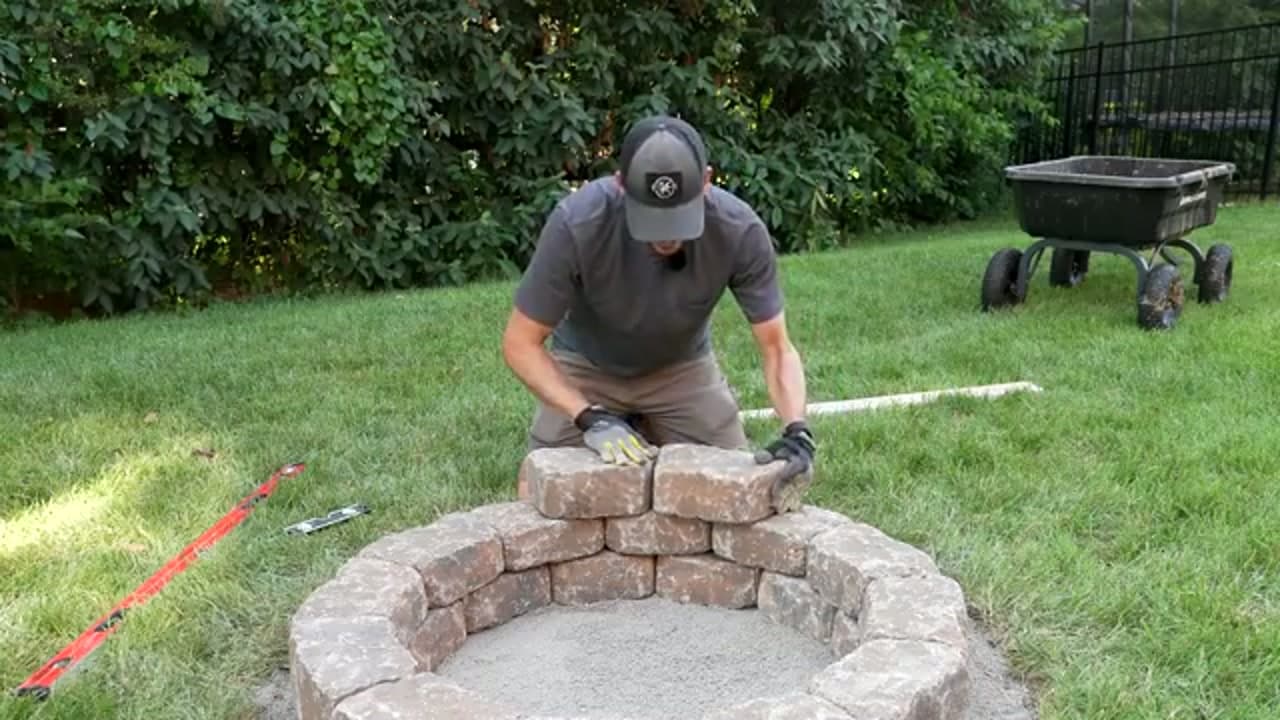
Build up from there. Set the second row so each block bridges the seam below it, the same way bricks are laid. Staggering the joints locks the wall together and keeps it from splitting along a vertical line. Keep leveling as you go. Brad takes the pit up to about three courses, which is a comfortable height for sitting around. Run a bead of landscape adhesive under the top row to keep the cap blocks from getting knocked loose.

Tip

Landscape block adhesive on the final course is worth the few dollars. It stops the top row from wandering when someone bumps it.

Products used in this step

8

Step 8: Set the Fire Ring and Fill

15:55
Step 8: Step 8: Set the Fire Ring and Fill

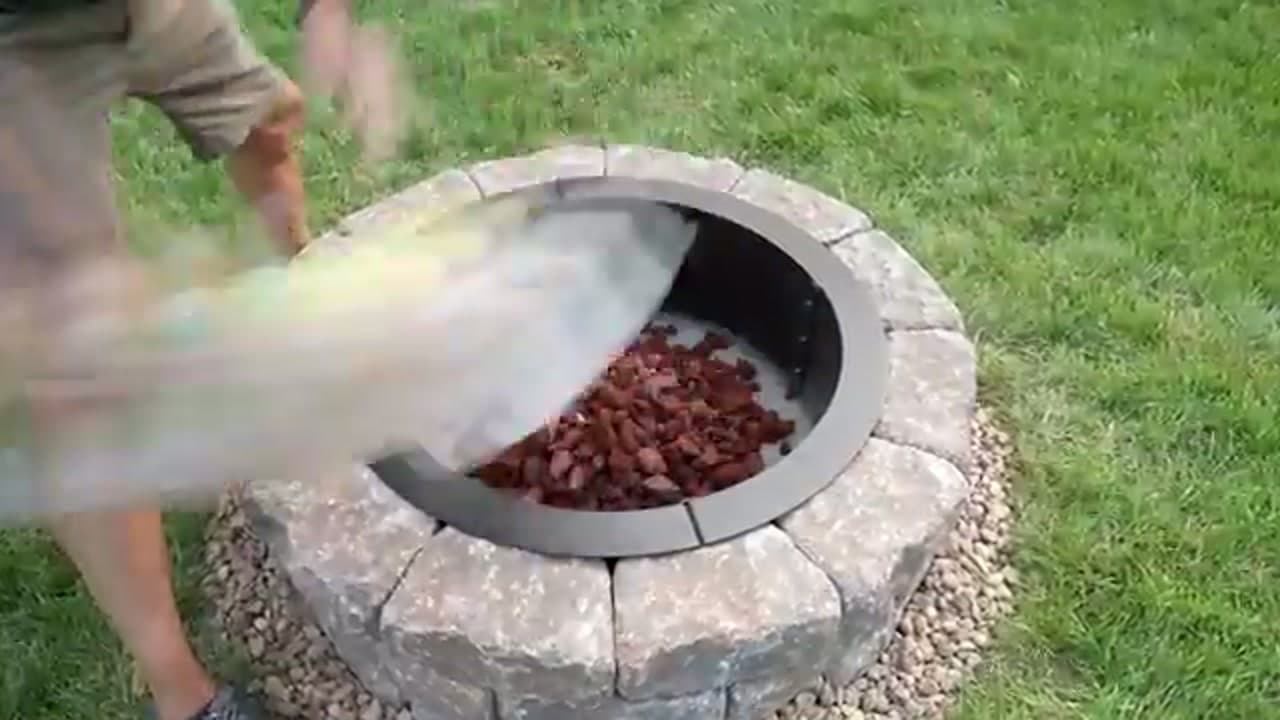
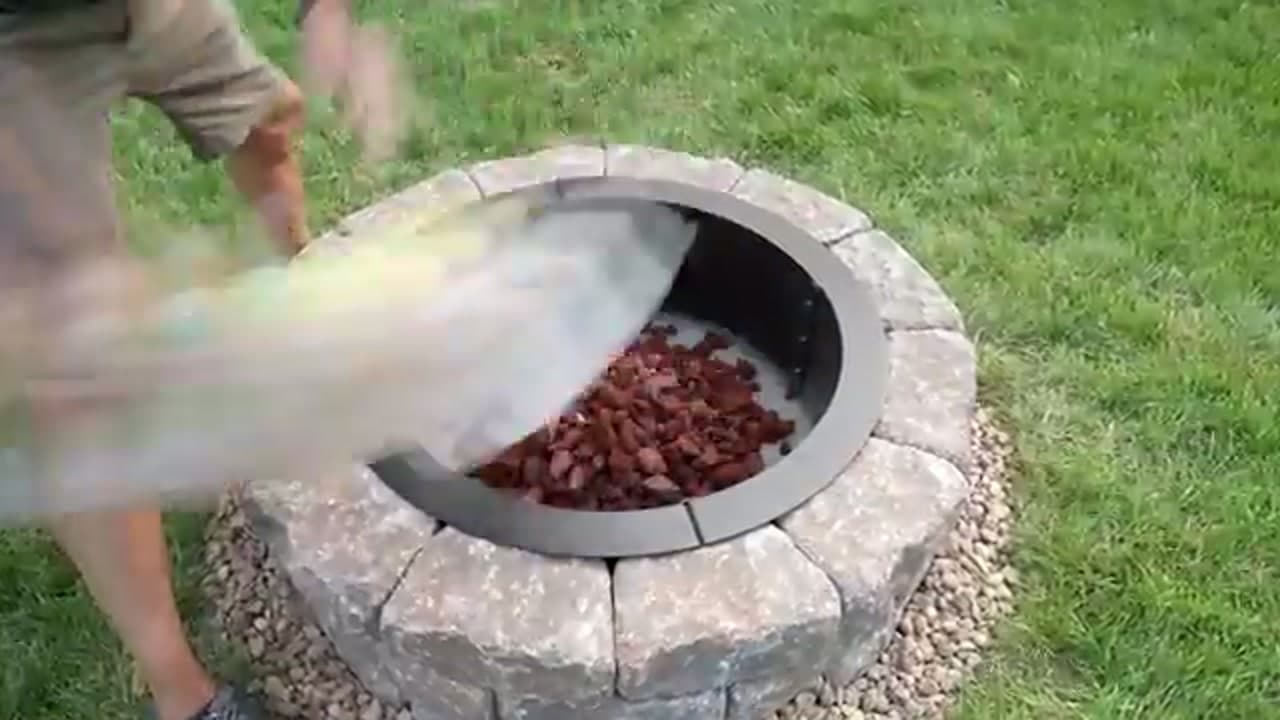
Home stretch. Drop the metal fire ring insert down inside your stone wall. The ring protects the block from direct heat and helps the pit last. Once it's seated, pour in a bag or two of lava rock to fill the bottom. The lava rock spreads heat, helps drainage, and gives the pit a finished look. Brush a border of pea gravel around the outside if you want, then you're done. Light a fire and enjoy the spot you just built.

Tip

Lava rock beats regular gravel or river stone here. River rock can trap water and crack or pop when it gets hot.

Products Used

☐ The Checklist

How to Build a Fire Pit

Tools
7
Materials
6
Steps
8
Video
17 min

Your Guide

Fix This Build That

As an Amazon Associate we earn from qualifying purchases. Links on this page may be affiliate links - clicking them and buying doesn't change your price, but helps support ShowMeStepByStep.

Tags

Sunday How-To

New home improvement tutorials, every Sunday

One short email with the week's best step-by-step guides. Free, no spam, unsubscribe anytime.

Did this work for you?

What's next

Related collections

Curated theme pages that include this tutorial.

Weekly Digest

Liked this home improvement tutorial?

Pick the categories you want to hear about. Weekly digest of new step-by-step tutorials. No spam, easy unsubscribe.

Send me tutorials about

We only email about new tutorials. Easy unsubscribe anytime.