How to Check Your Blood Pressure at Home Accurately

Health BasicsEasy7:118 steps

Based on a video by The Cooking Doc.

Most people get their blood pressure checked at the doctor's office, where stress, hurry, and a long wait can spike the reading well above their actual baseline. Home blood pressure monitoring catches the real number - but only if you do it right. Bad technique gives bad data, which leads to wrong medication decisions.

This walkthrough follows Dr. Blake Schusterman (The Cooking Doc), a board-certified kidney specialist. Every step is something most people get wrong. Get an upper-arm cuff (Omron is the standard recommendation), follow these 8 steps, and bring the log to your next appointment.

Step-by-Step Guide

1

Step 1: Empty Your Bladder First

1:45
Step 1: Step 1: Empty Your Bladder First

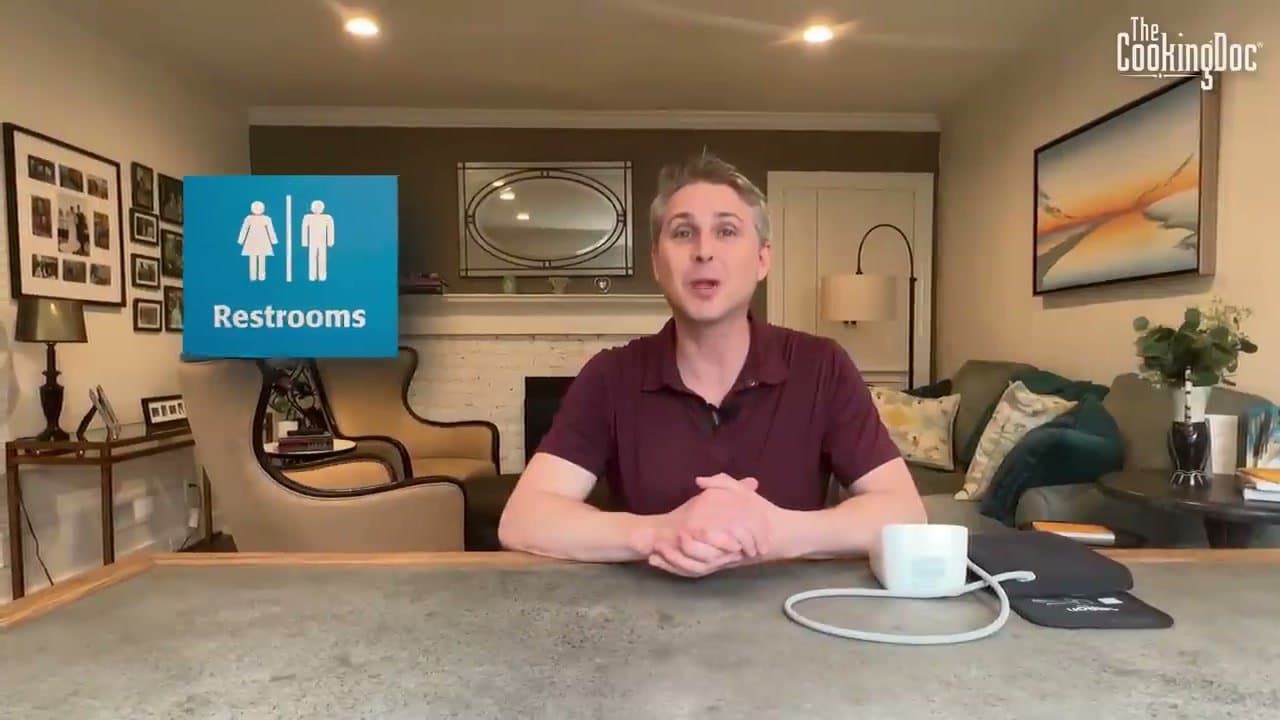
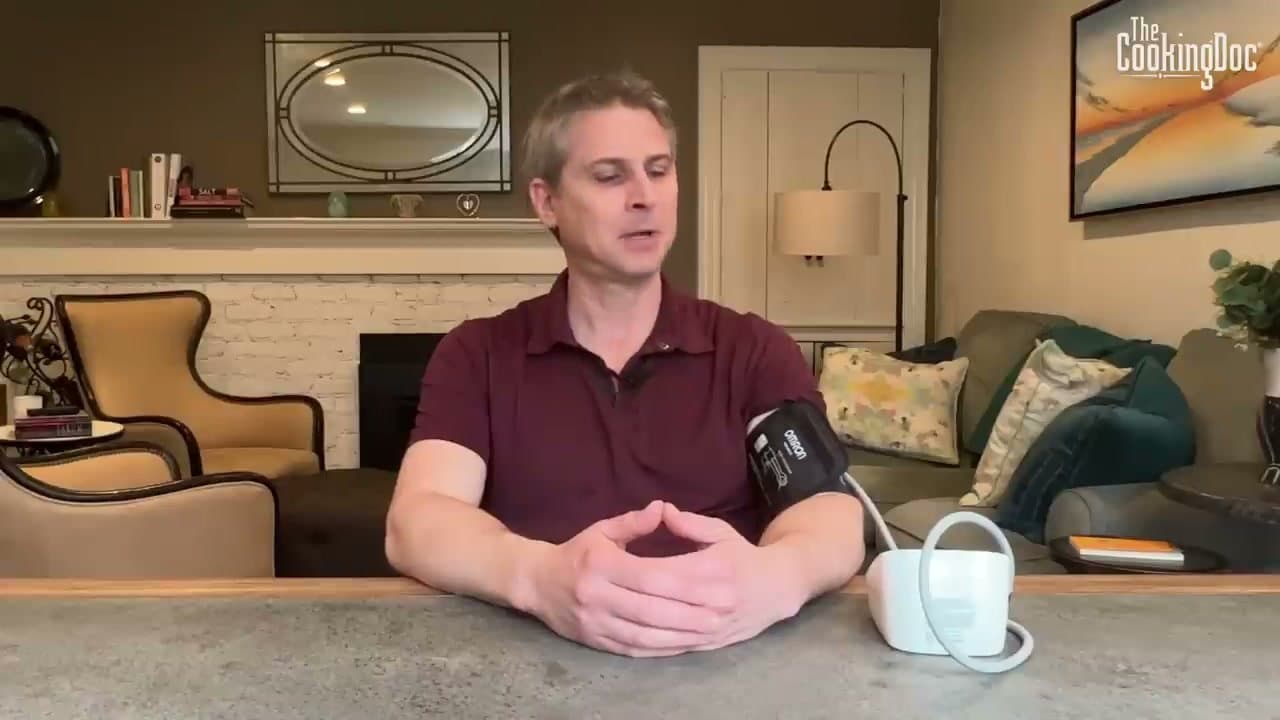
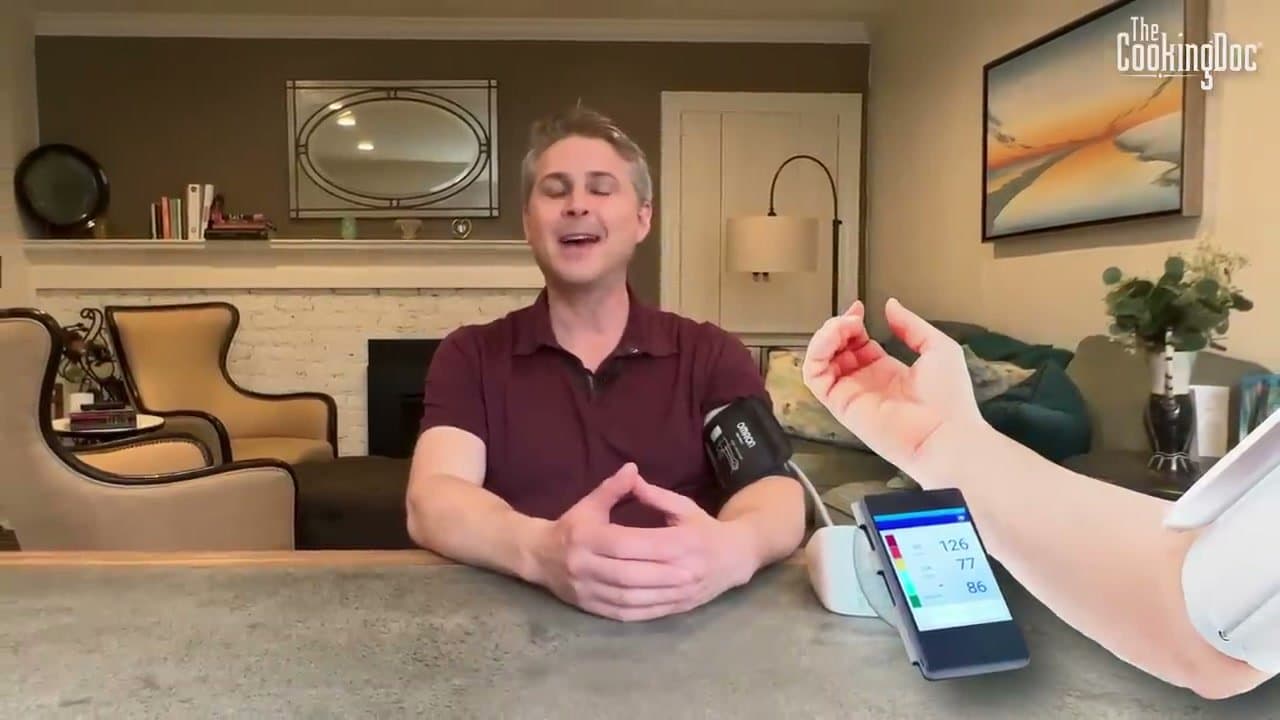
Before you sit down to check, go to the bathroom. A full bladder pushes blood pressure higher than it actually is - by 10-15 points sometimes - leading to readings that don't reflect your real number.

This single step is the most-skipped and the most-impactful prep. Make it part of your routine: bathroom, then sit, then check.

2

Step 2: Sit in a Proper Chair: Feet Flat, Back Supported

2:00
Step 2: Step 2: Sit in a Proper Chair: Feet Flat, Back Supported

Pick a chair with a back, not a stool. Your back should be supported, both feet flat on the floor (no crossed legs), and your arm resting on a table or armrest at roughly heart height.

Hunched-over or feet-dangling posture skews readings high. Crossed legs alone can add 5-7 points. The 5 minutes you'll spend in this chair next matters - get comfortable.

3

Step 3: Use an Upper-Arm Cuff, Not a Wrist Cuff

2:20
Step 3: Step 3: Use an Upper-Arm Cuff, Not a Wrist Cuff

Get an upper-arm cuff like the Omron in the example. Wrist and forearm cuffs are sold widely but they're noticeably less accurate - the artery is deeper and the position is harder to standardize.

If your current device wraps around the wrist, replace it before you trust the readings. The American Heart Association explicitly recommends upper-arm models for home use.

4

Step 4: Wrap the Cuff Just Above Your Bare Elbow

2:40
Step 4: Step 4: Wrap the Cuff Just Above Your Bare Elbow

Roll up your sleeve so there's no shirt or jacket fabric between the cuff and your skin. Wrap the cuff around your upper arm so the bottom edge sits about an inch above the bend of your elbow.

The hose should run down the inside of your arm. Snug but not tight - you should be able to slide one finger under the cuff edge.

5

Step 5: Sit Quietly for 5 Minutes

2:55
Step 5: Step 5: Sit Quietly for 5 Minutes

Before pressing start, sit still and silent for 5 minutes in a calm space. No TV, no phone, no conversation, no pets jumping on you, no kids climbing.

Don't talk during the reading either - speaking can spike systolic 10+ points. Make this part non-negotiable. Set a timer if you need to.

Tip

Avoid alcohol, tobacco, and vigorous exercise for 30 minutes before any reading. Caffeine within an hour bumps the number too.

6

Step 6: Take the First Reading and Note It

3:50
Step 6: Step 6: Take the First Reading and Note It

Press the start button. The cuff inflates, then slowly deflates while measuring. The display shows two numbers: systolic on top (e.g. 130) and diastolic on bottom (e.g. 85).

The first reading can be slightly elevated from the stress of taking it - that's normal. Don't react to the first number on its own.

7

Step 7: Wait One Minute and Take a Second Reading

4:23
Step 7: Step 7: Wait One Minute and Take a Second Reading

Sit and rest for another 60 seconds, then take a second reading without re-positioning the cuff. The second reading is usually slightly lower as you settle.

Some doctors want the average of both; others want only the second. Ask yours which to log. Two readings always beats one.

8

Step 8: Record Both Numbers and Bring to Your Doctor

4:55
Step 8: Step 8: Record Both Numbers and Bring to Your Doctor

Write the date, time, and both readings in a dedicated log - paper notebook or a connected app on your phone (most modern Omron monitors sync to a free app). Without specifics, your doctor has nothing to act on.

If your readings are consistently in the 150s+ systolic, contact your doctor before the next scheduled visit. If you have stroke symptoms (one-sided weakness, slurred speech, vision changes) regardless of the number, call 911.

Tip

Most people only need to check 1-2 times a week if their pressure is stable. Check more often (twice daily) for the first 2 weeks after any medication change so you can spot trends.

Your Guide

The Cooking Doc

As an Amazon Associate we earn from qualifying purchases. Links on this page may be affiliate links - clicking them and buying doesn't change your price, but helps support ShowMeStepByStep.

Tags

Related Tutorials