How to Propagate a Jade Plant (from a Single Leaf)

GardeningEasy6:067 stepsBrowse more →

By ShowMeStepByStepPublished

Based on a video by Sheffield Made Plants.

Jade plants might be the easiest houseplant on the planet to propagate. You don't need a node, an aerial root, or a jar of water. A single healthy leaf resting on some dry succulent soil will grow you a whole new plant. Sheffield Made Plants walks through the whole thing, and the best part is you can make ten or twenty cuttings from one stem you were going to prune off anyway.

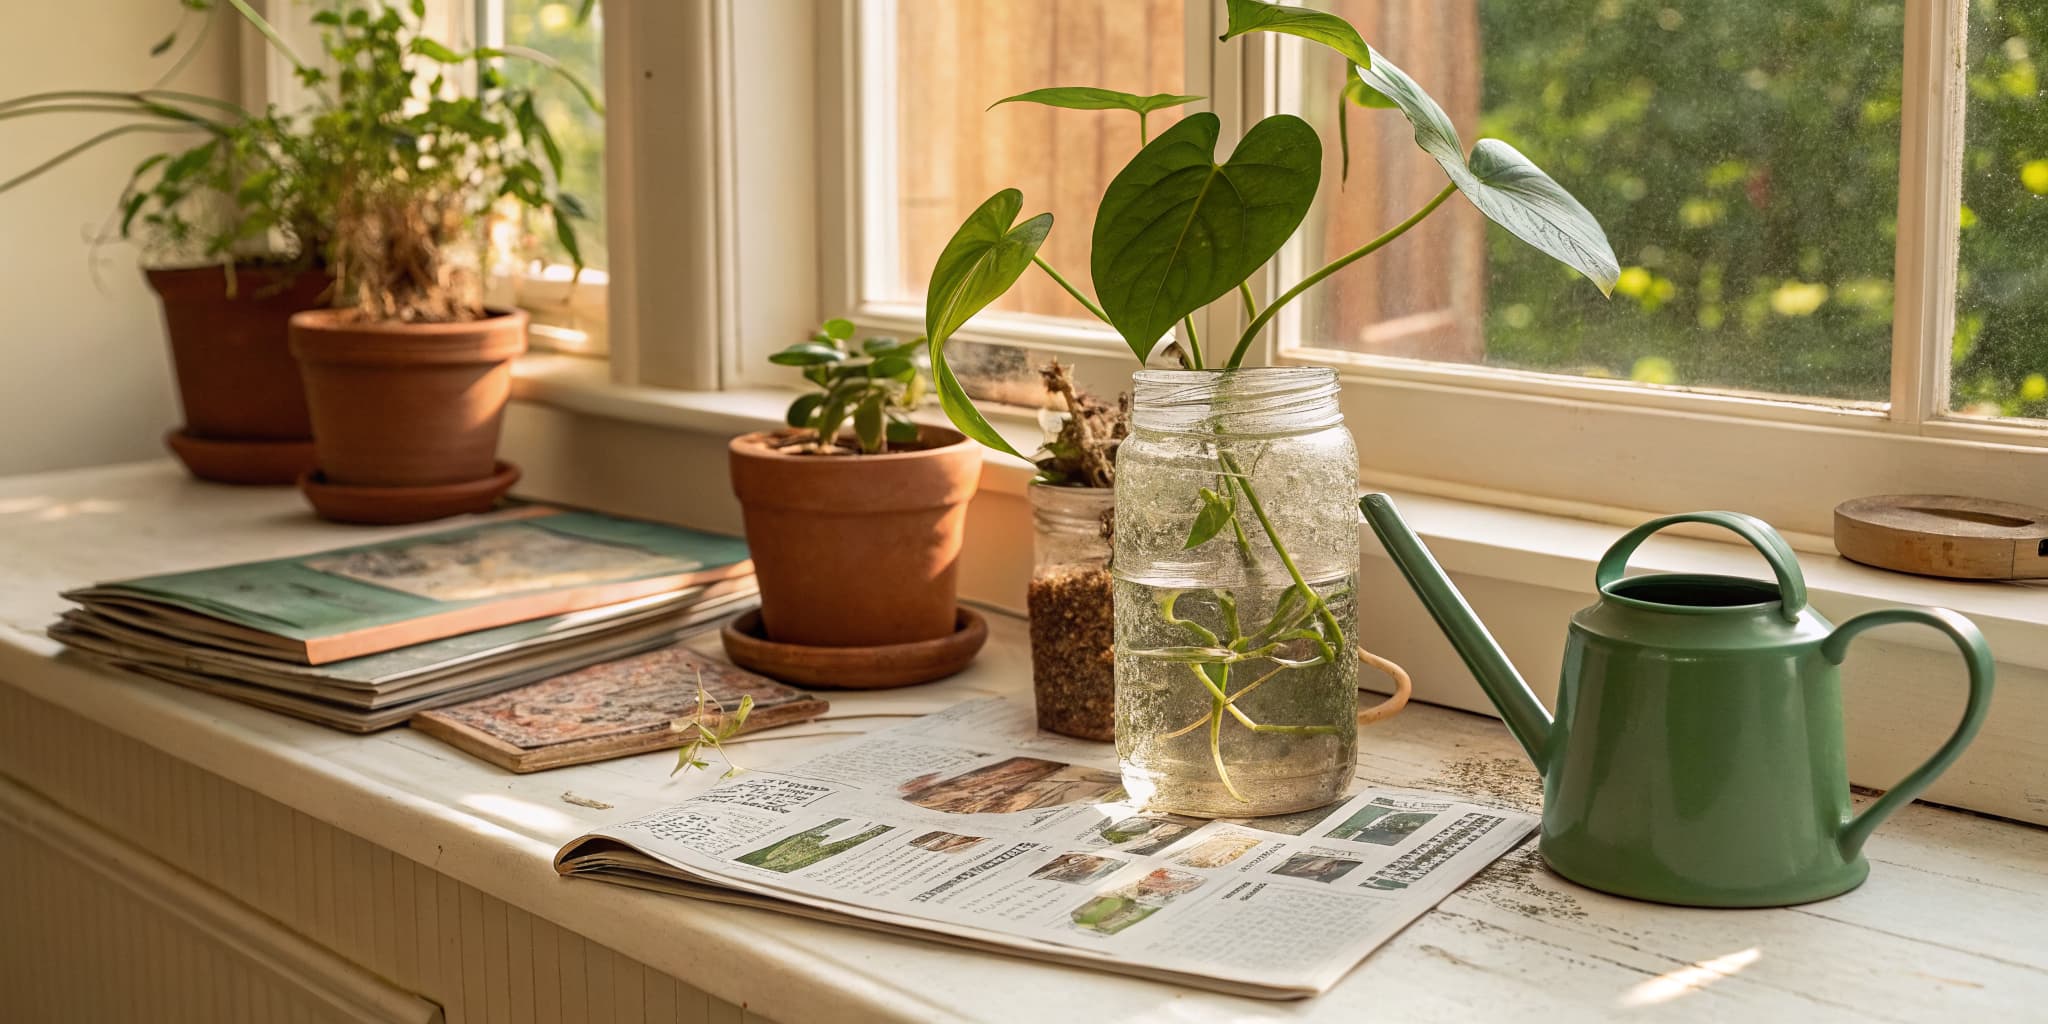
Here's the one thing to get right: jade is a succulent, not a leafy tropical. You do not root it in water like a pothos. You pull off leaves, let the raw ends dry and callus for a few days, then lay them on a gritty succulent mix and keep it barely damp. Roots come first, then a tiny green plantlet pushes up from the base of each leaf. It takes a few weeks to see roots and a couple more for green growth, so patience is the real ingredient.

If you catch the propagation bug, the same succulent-cutting approach carries over to plenty of other plants. Try propagating succulents from leaves and offsets, have a go at propagating aloe from its pups, or step up to a woody stem cutting with a fiddle leaf fig.

Step-by-Step Guide

7 steps · about 6 minutes.Check off each step as you go and your progress saves automatically.

1

Step 1: Prune a Stem Off the Plant

1:02
Step 1: Step 1: Prune a Stem Off the Plant

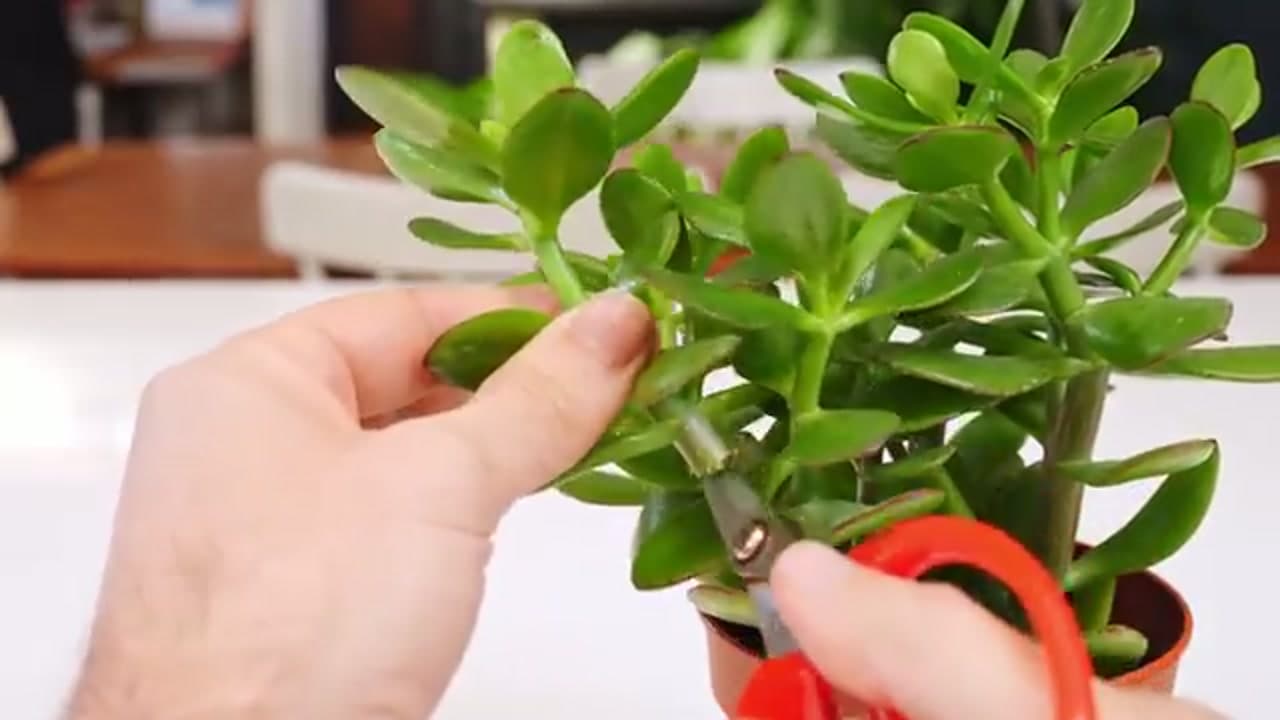
Grab your pruners and cut a decent-sized piece of stem off your jade. Don't be shy about it. Wherever you make a cut, jade tends to push out two new stems in its place, so the parent plant grows back bushier than before.

This pairs nicely with the regular pruning a jade needs anyway. Instead of tossing that pruned stem, you're about to turn it into a tray full of new plants.

Tip

Watch this step Take the cutting from a healthy, well-hydrated plant. A stem with plump, firm leaves gives you far better odds than a thirsty, wrinkled one.

2

Step 2: Clean Your Pruners First

1:18
Step 2: Step 2: Clean Your Pruners First

Give your pruner blades a quick spray with hydrogen peroxide before you cut. It kills off any nasties hiding on the metal that could infect the fresh wounds and rot your cuttings before they even start.

One more prep tip: water the parent plant a few days ahead. A well-hydrated jade gives you plumper, stronger leaves, and those root far more reliably than tired, thirsty ones.

Tip

Watch this step Rubbing alcohol works just as well as hydrogen peroxide for wiping blades. The point is a clean cut, not a specific bottle.

3

Step 3: Twist Off the Leaves

1:40
Step 3: Step 3: Twist Off the Leaves

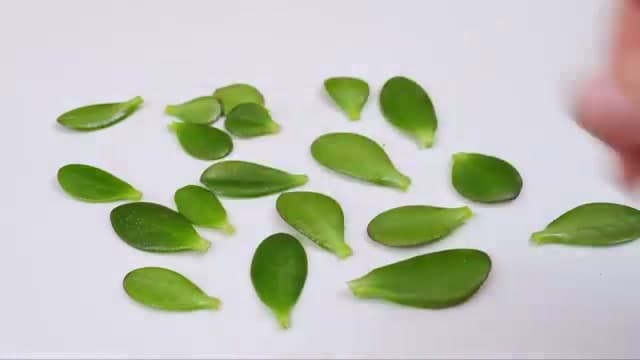
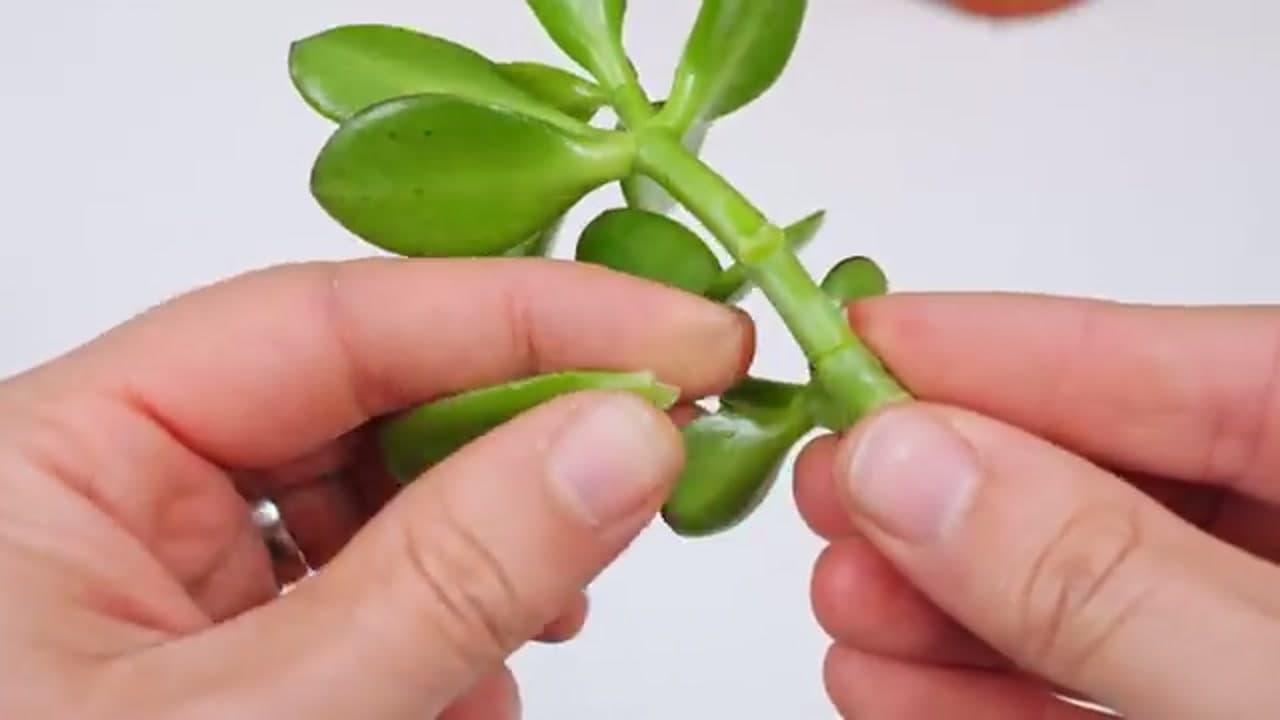
Now pull the individual leaves off the stem with your fingers. Grip each leaf right at its base and give it a gentle twist so it pops off whole. You want the entire base intact, since that little heel is where the new roots form.

Take as much leaf as you can and try not to tear the base. One good stem hands you a whole pile of cuttings, so keep going until the stem is bare.

Tip

Watch this step A clean sideways wiggle beats a straight pull. A leaf that comes away with its base attached will root. One that rips across the middle usually won't.

Products used in this step

4

Step 4: Let the Cuttings Callus Over

1:58
Step 4: Step 4: Let the Cuttings Callus Over

Set the leaves aside somewhere dry for a few days to callus over. That just means the raw cut end scabs and hardens, which stops excess moisture creeping in and rotting the cutting from the wound up.

Jade is forgiving, so you can skip this and still get results if you're impatient. If you want the best odds and the fewest rotted cuttings, though, giving them two or three days to dry is worth the wait.

Tip

Watch this step Lay the leaves out on a dry paper towel or a plate, not on damp soil, while they callus. Airflow is what dries the cut end.

Products used in this step

5

Step 5: Fill a Tray with Succulent Mix

3:20
Step 5: Step 5: Fill a Tray with Succulent Mix

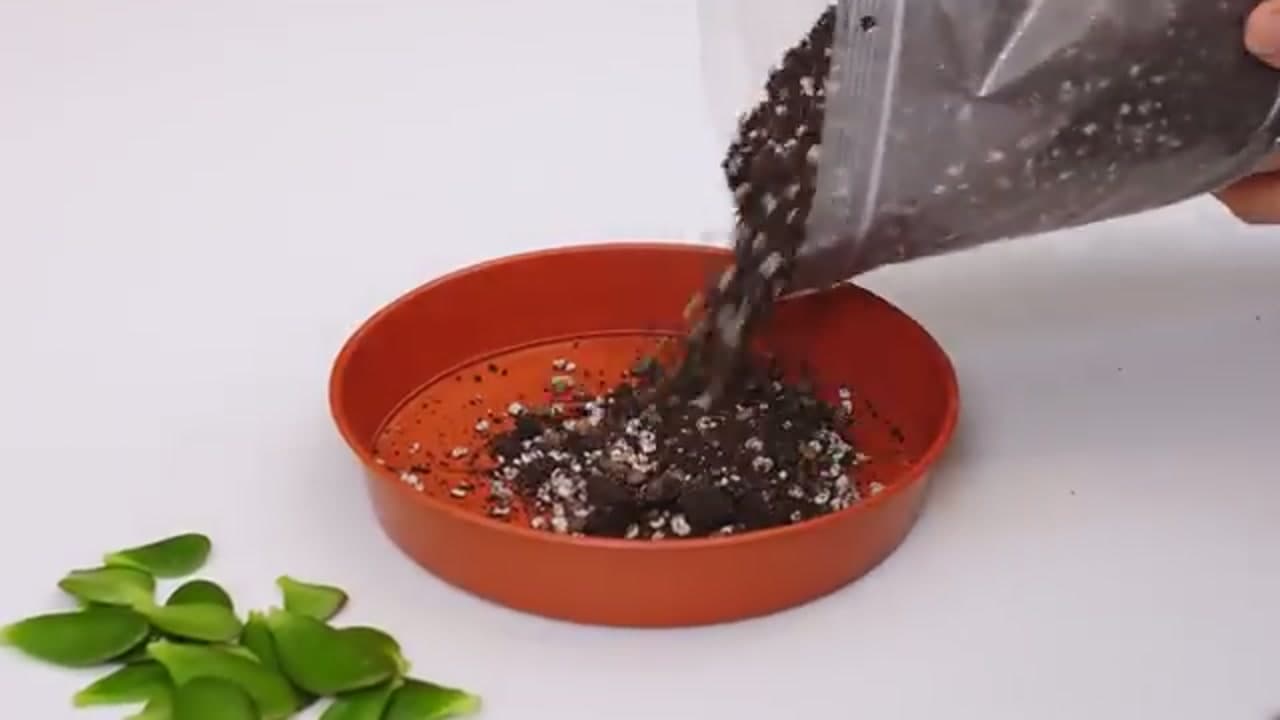
Fill a shallow tray or plant saucer with a free-draining succulent mix. Jade roots stay small and don't need any depth, so a wide saucer lets you fit a whole batch of leaves in one go.

Skip heavy potting soil that stays wet. A gritty cactus mix with bits of bark and perlite keeps things light and airy, which is exactly what stops your cuttings from rotting while they root.

Tip

Watch this step No cactus mix on hand? Cut ordinary potting soil with a generous handful of perlite or coarse grit to open it up and improve drainage.

6

Step 6: Lay the Leaves on the Soil

3:44
Step 6: Step 6: Lay the Leaves on the Soil

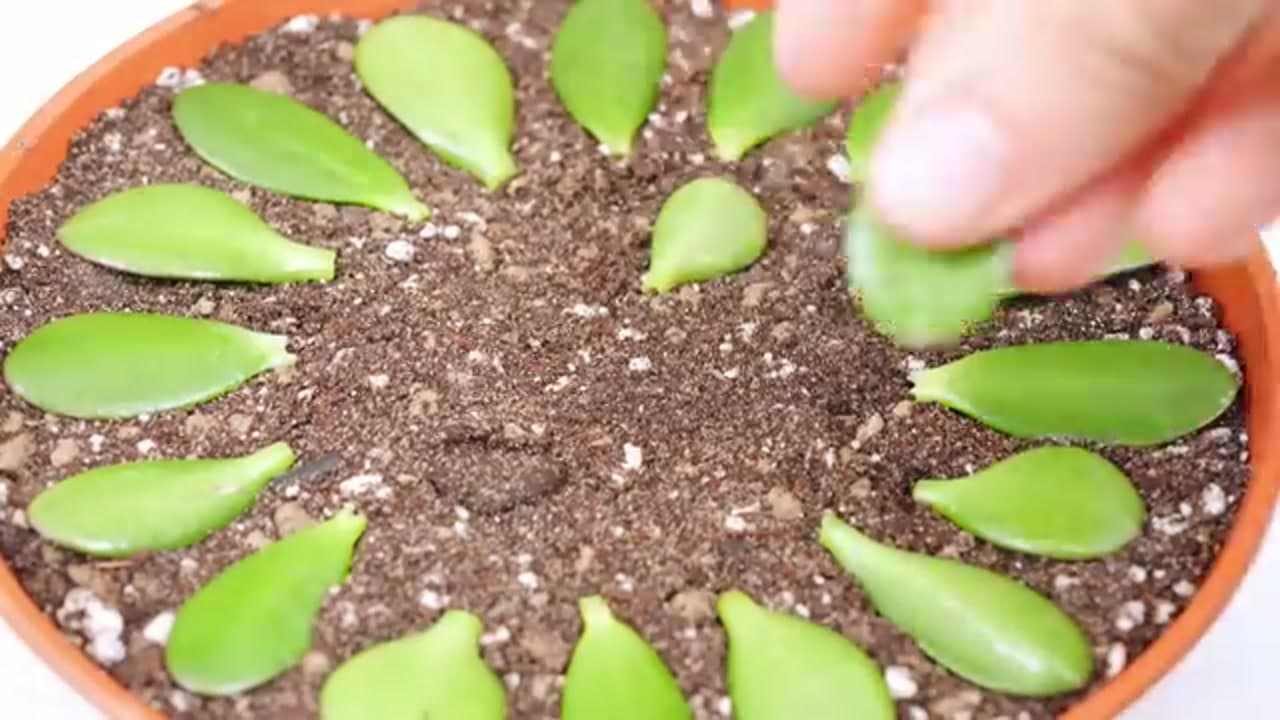
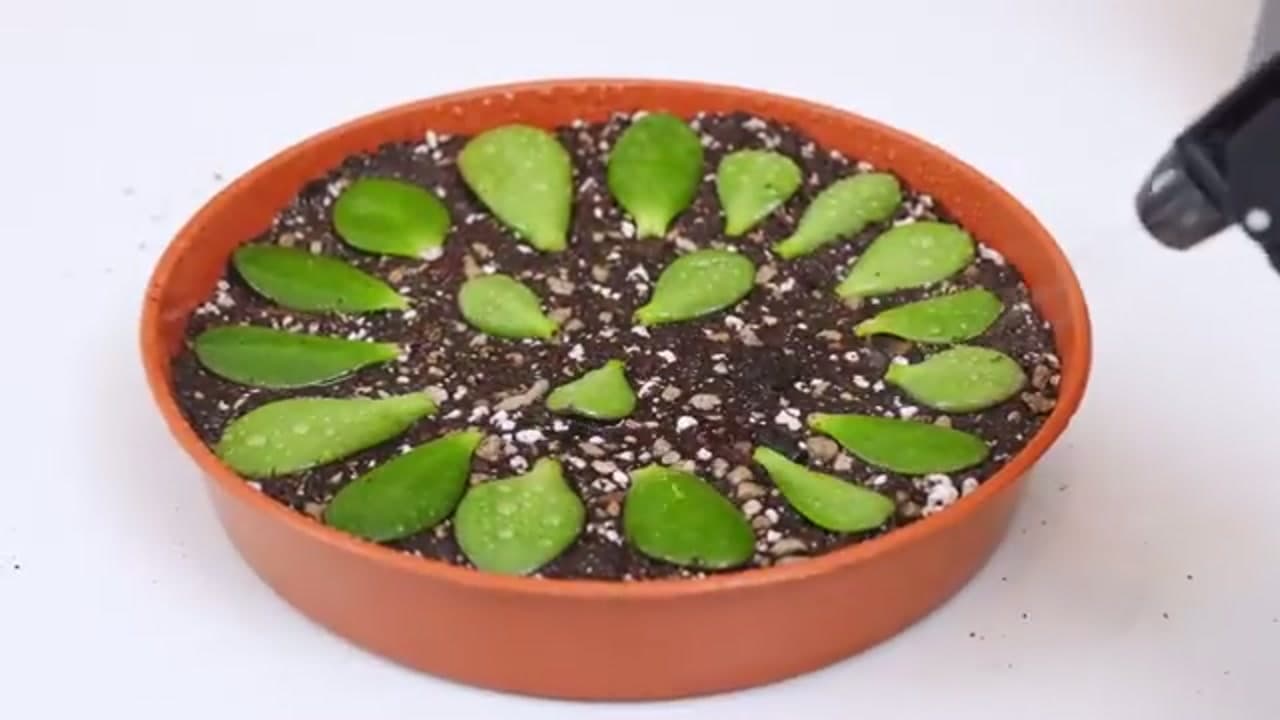
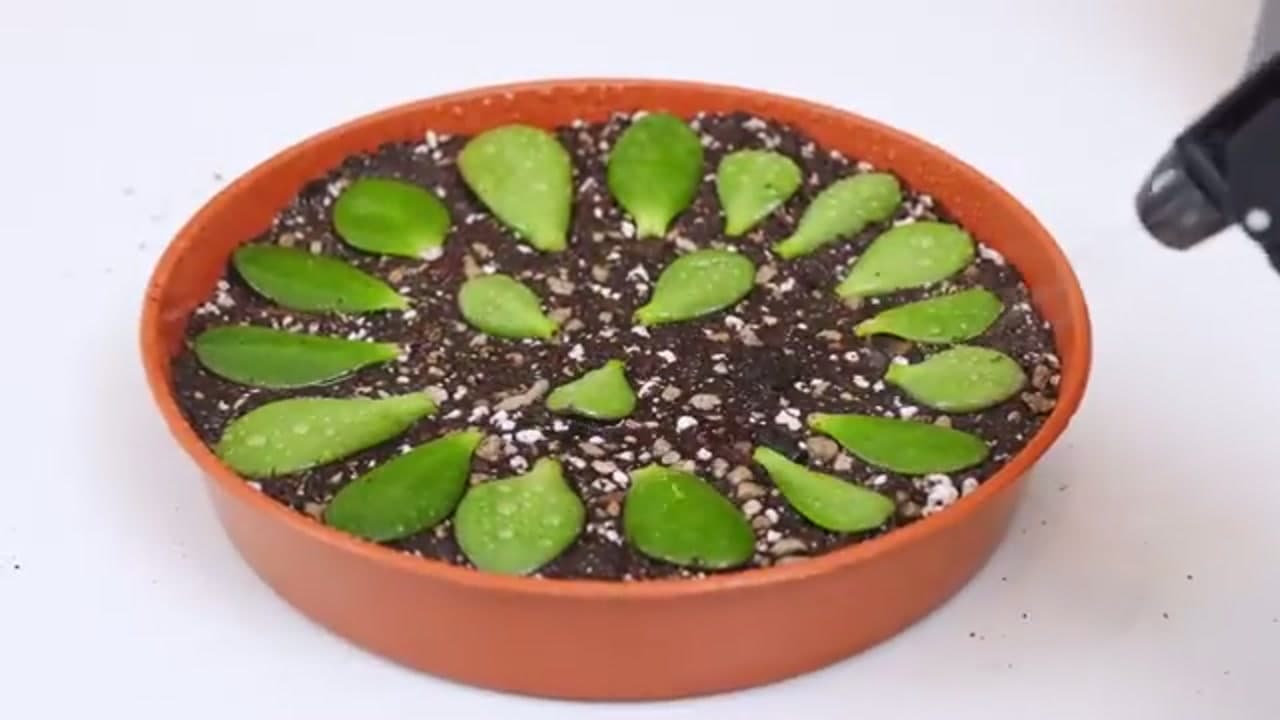
Now lay the callused leaves flat on top of the mix, cut end resting on the surface. That's it. No burying, no soil sprinkled over the top. All each leaf needs is light contact with the soil at its base.

Space them out so every leaf has room to sprout its own little plant. Arrange them in a ring if you like the look, then leave them be and let the roots reach down into the mix on their own.

Tip

Watch this step Point the cut ends toward the center of the tray. It keeps the leaves tidy and makes it easy to spot which ones have started rooting later on.

Products used in this step

7

Step 7: Mist and Set in Bright Light

4:12
Step 7: Step 7: Mist and Set in Bright Light

Put the watering can away. A splash of water would drown these little cuttings. Instead, mist the soil with a spray bottle until it's lightly damp, never soggy. The leaves only need the surface moist enough to coax the roots out.

Set the tray in bright indirect light or under a grow light, out of harsh direct sun that would scorch the leaves. Re-mist every couple of days so the mix never dries out bone dry. Roots show in about three weeks, green growth a couple of weeks after that.

Tip

Watch this step If nothing happens after a couple of months, pop the tray inside a clear plastic bag to raise the humidity. It nudges stubborn cuttings into growing.

Products Used

☐ The Checklist

How to Propagate a Jade Plant (from a Single Leaf)

Tools
4
Materials
4
Steps
7
Video
6 min

Your Guide

Sheffield Made Plants

As an Amazon Associate we earn from qualifying purchases. Links on this page may be affiliate links - clicking them and buying doesn't change your price, but helps support ShowMeStepByStep.

Sunday How-To

New gardening tutorials, every Sunday

One short email with the week's best step-by-step guides. Free, no spam, unsubscribe anytime.

Did this work for you?

What's next

Related collections

Curated theme pages that include this tutorial.

Weekly Digest

Liked this gardening tutorial?

Pick the categories you want to hear about. Weekly digest of new step-by-step tutorials. No spam, easy unsubscribe.

Send me tutorials about

We only email about new tutorials. Easy unsubscribe anytime.