How to Propagate a Fiddle Leaf Fig (Soil and Water)

GardeningEasy8:208 stepsBrowse more →

By ShowMeStepByStepPublished

Based on a video by MonstroFarm.

A fiddle leaf fig is a pricey plant to buy twice, so it pays to make your own. Take a cutting with a node, root it, and you've turned one plant into two or three for free. This walkthrough follows MonstroFarm, who props a rescued Ficus Lyrata both ways in the same video - some cuttings in soil, some in water - and gets every one to root.

The whole thing hinges on the node. That's the joint where a leaf meets the woody stem, and it's the only spot that grows roots. Get a couple of nodes on each cutting, keep your tools clean, and the rest is mostly waiting. You'll take the cuttings, trim the big leaves down, then either dip them in rooting hormone and tuck them into a light mix, or stand them in a jar of water and let the roots come in over about six weeks.

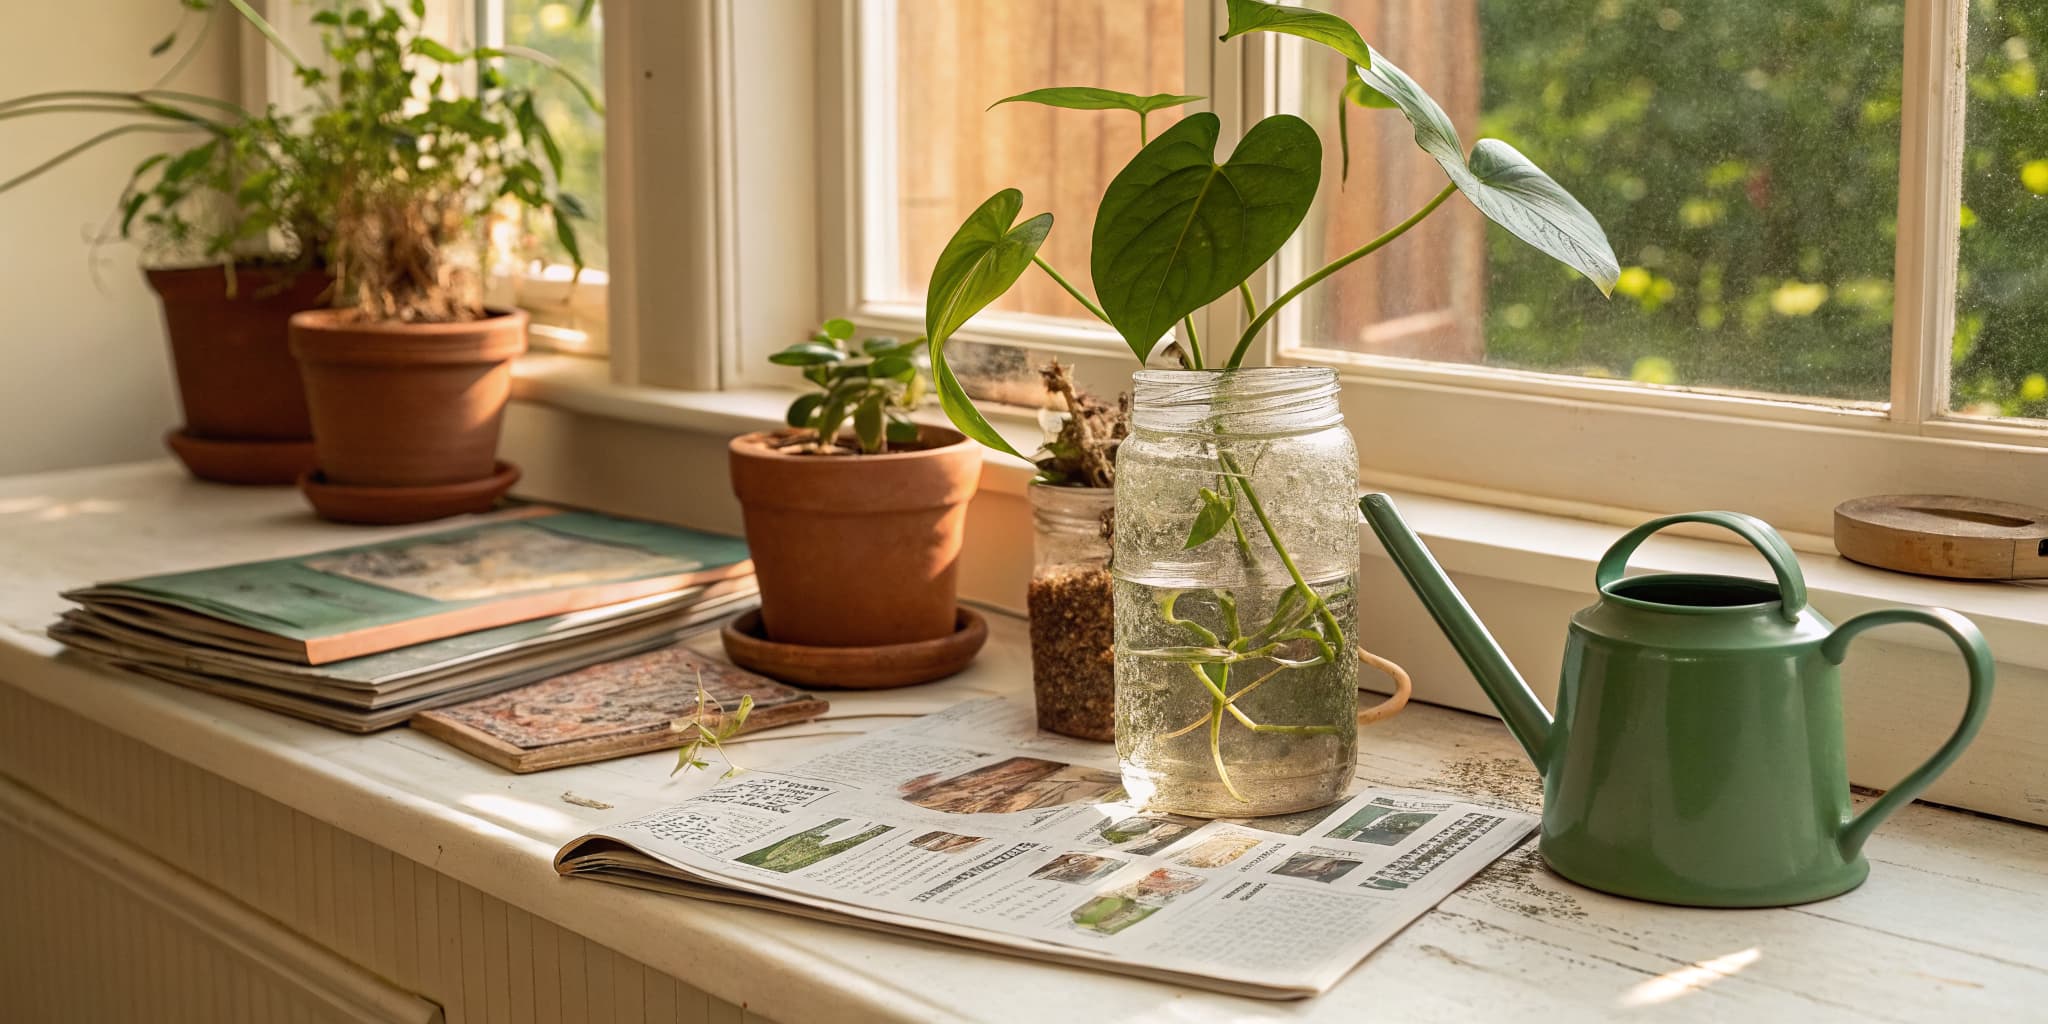
Water is the easiest way to start if you like watching the roots grow. The same jar-of-water method works on loads of houseplants - try propagating a monstera or propagating pothos next. And once your rooted fig has a decent root ball, here's how to repot a plant without setting it back.

Step-by-Step Guide

8 steps · about 8 minutes.Check off each step as you go and your progress saves automatically.

1

Step 1: Sanitize Your Pruners

0:41
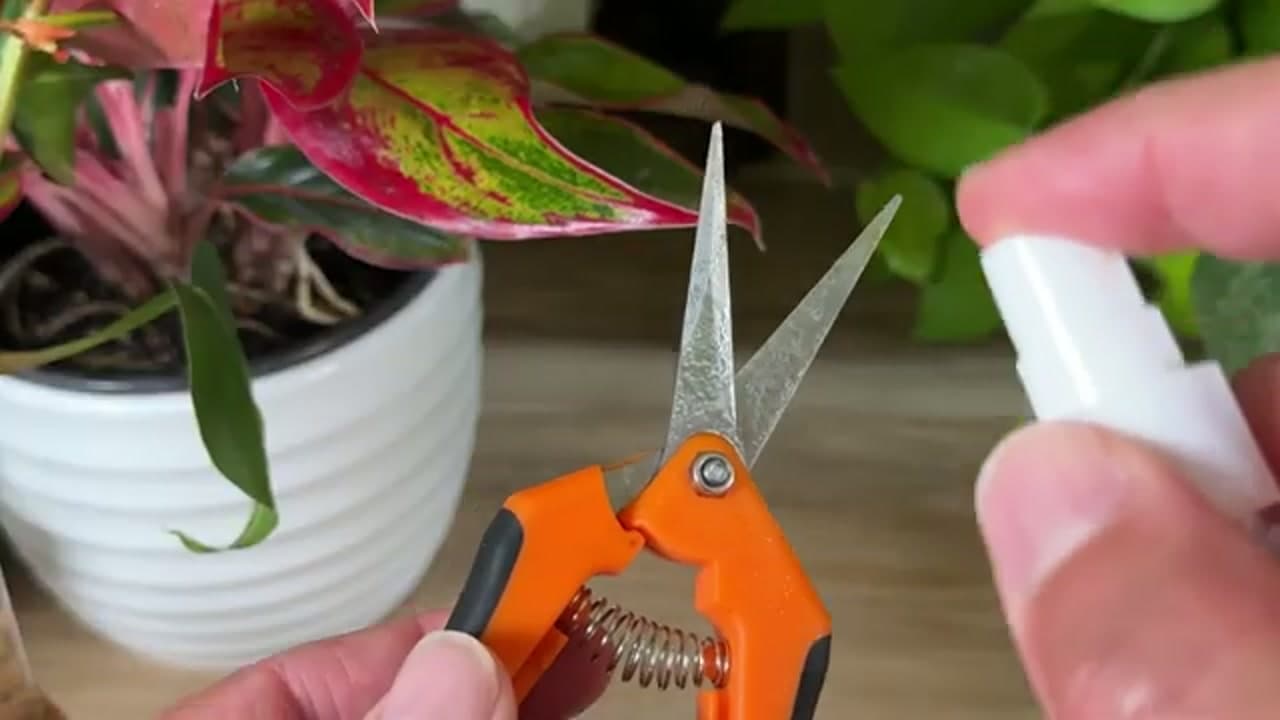
Step 1: Step 1: Sanitize Your Pruners

Before you touch the plant, wipe your pruners down with rubbing alcohol. Spray both sides of the blade, then blot off the excess with a cotton ball so the alcohol isn't sitting on the metal.

This looks fussy, and it's the step most people skip. Clean blades stop you passing disease from one plant to the next, and that alone lifts how many cuttings actually take. Two minutes here saves a lot of rot later.

Tip

Watch this step A little spray bottle of rubbing alcohol lives well next to your plants. Wipe the blades before every cutting session, not once a month.
2

Step 2: Find a Node on the Stem

1:06
Step 2: Step 2: Find a Node on the Stem

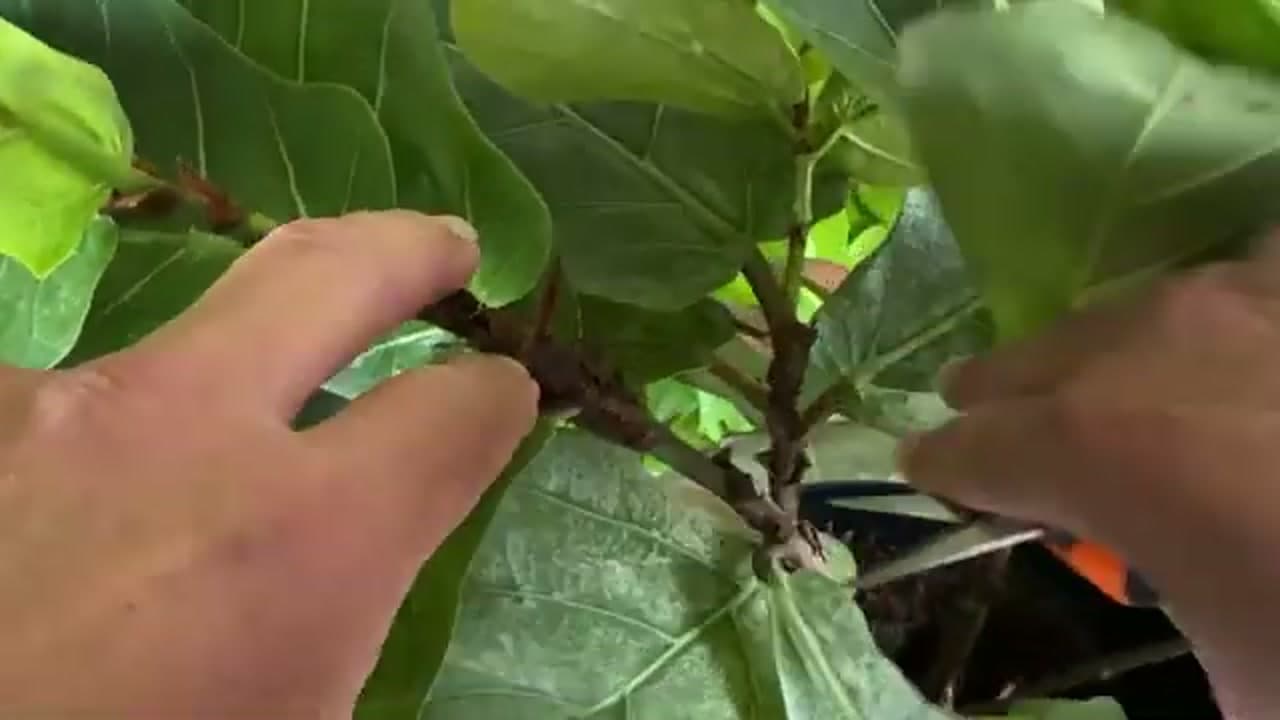
Run your eye down a healthy stem and look for a node. That's the small joint where a leaf meets the woody stem, and it's the only part that grows roots.

Pick a section that has at least two nodes, more if you can. Each node is another chance for the cutting to root, so a length with a few of them gives you a better shot. No node, no new plant, so this is worth a careful look.

Tip

Watch this step Take cuttings from the outside of the plant where it can spare the growth. The parent keeps filling in and you still get a good cutting.

3

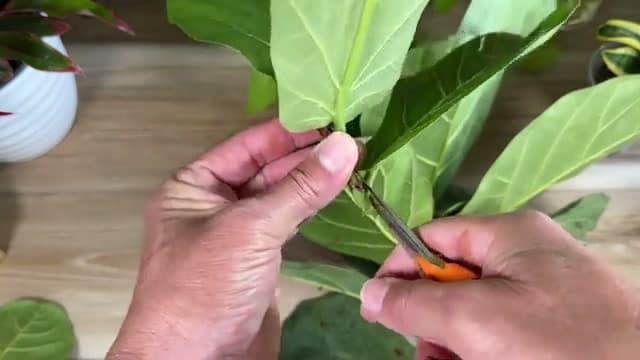
Step 3: Cut Below the Node

1:32
Step 3: Step 3: Cut Below the Node

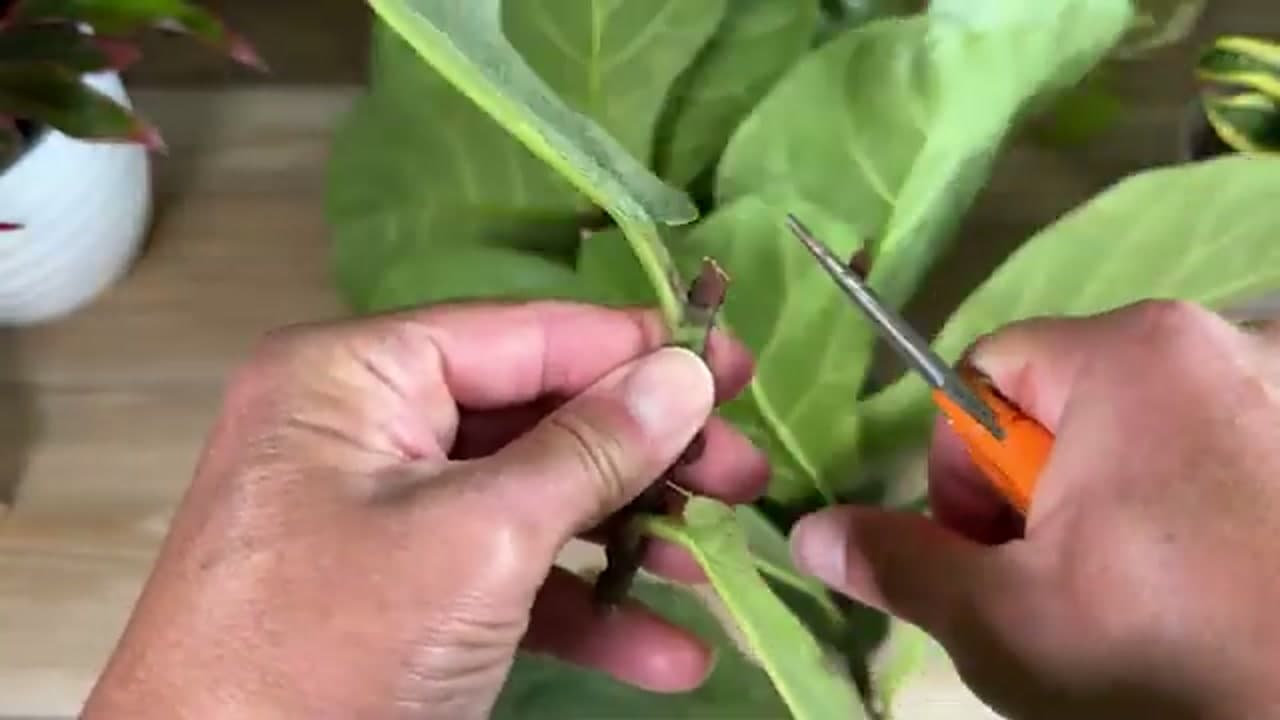
Line the pruners up just below a node and make one clean cut. Cutting under the node keeps that growth point on the piece you're rooting, which is the whole point.

Go for a single decisive snip. A clean cut heals faster than a crushed or half-sawed one, so let sharp blades do the work in one pass. Aim to leave each cutting with two nodes or more.

Tip

Watch this step Bypass pruners cut cleaner than the anvil type on a soft stem. If the stem is thick and woody, a sharp knife handles it too.

4

Step 4: Trim the Leaves Down

2:08
Step 4: Step 4: Trim the Leaves Down

Strip the leaves off the bottom of the stem and leave one or two up top. Then cut those remaining leaves in half.

It feels wrong to chop up good leaves, but a fiddle leaf fig has big thirsty ones. Trimming them down tells the cutting to put its energy into growing roots instead of holding all that leaf up. Remove leaves with the pruners rather than tearing them, so you don't strip the side of the stem.

Tip

Watch this step Cut the leaves rather than ripping them. Pulling a leaf off can tear a strip of the stem's skin away with it and open the cutting to rot.

Products used in this step

5

Step 5: Mix a Light Propagation Medium

3:58
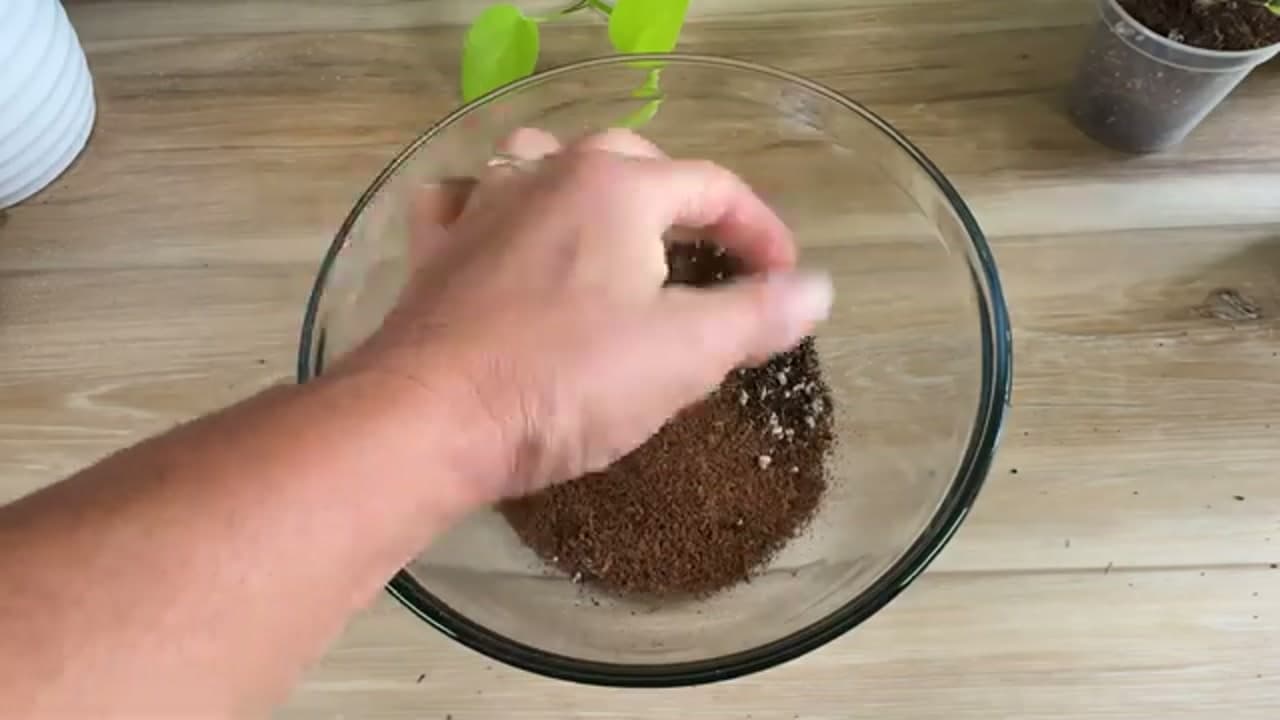
Step 5: Step 5: Mix a Light Propagation Medium

For the soil cuttings, mix a light medium that drains fast. MonstroFarm uses equal parts peat, coco coir, and perlite - two handfuls of each - and blends it in a bowl.

The peat and coir hold just enough moisture to keep the cutting happy, while the perlite keeps the mix open and airy. That balance matters: too dense and the fresh cut sits wet and rots before it ever puts out a root.

Tip

Watch this step No coco coir on hand? A bagged seed-starting mix cut with extra perlite drains about the same. Skip heavy garden soil for cuttings.

6

Step 6: Dip in Rooting Hormone

5:15
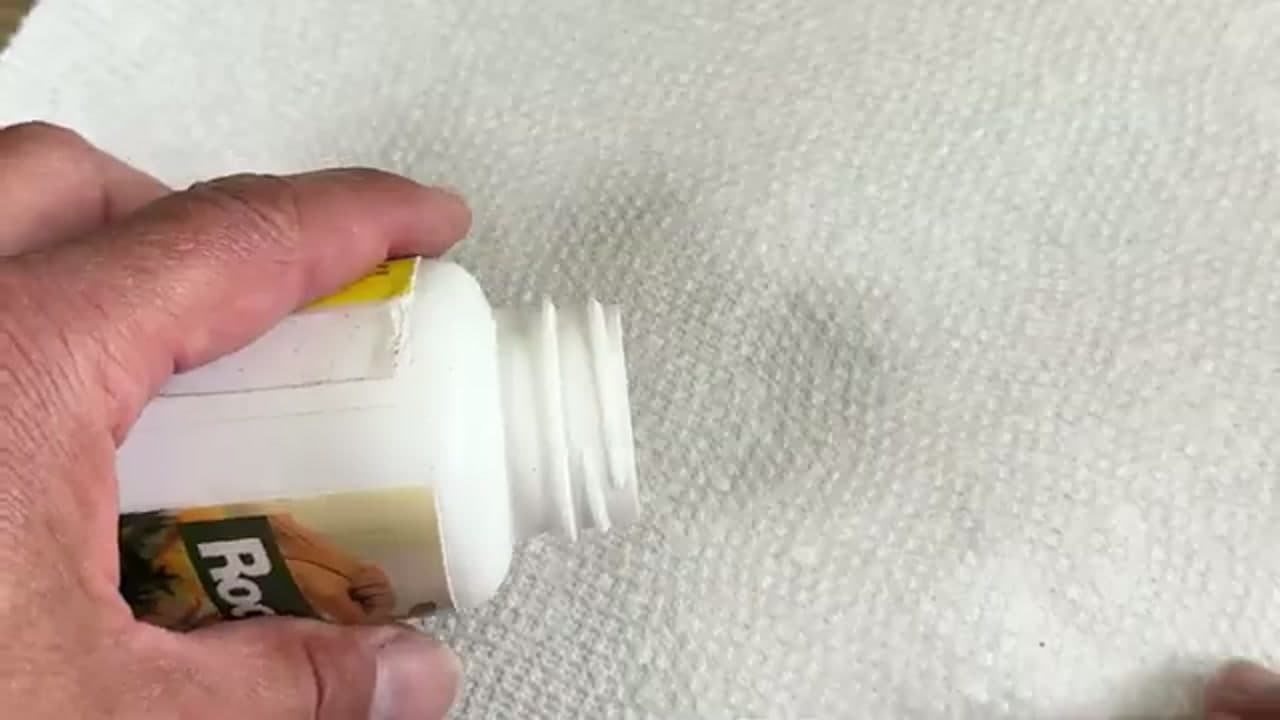
Step 6: Step 6: Dip in Rooting Hormone

Tip a little rooting hormone powder onto a napkin, then dip the cut tip of each cutting so the end is fully coated. Pouring some out onto a napkin instead of dipping straight into the bottle keeps the whole jar clean and uncontaminated.

Rooting hormone isn't strictly required, but it nudges the cutting to root faster and more evenly. On a plant as slow and stubborn as a fiddle leaf fig, that extra push is worth it.

Tip

Watch this step Only the soil cuttings need hormone. The water cuttings root fine without it, so save the powder.

Products used in this step

7

Step 7: Plant the Soil Cuttings

5:55
Step 7: Step 7: Plant the Soil Cuttings

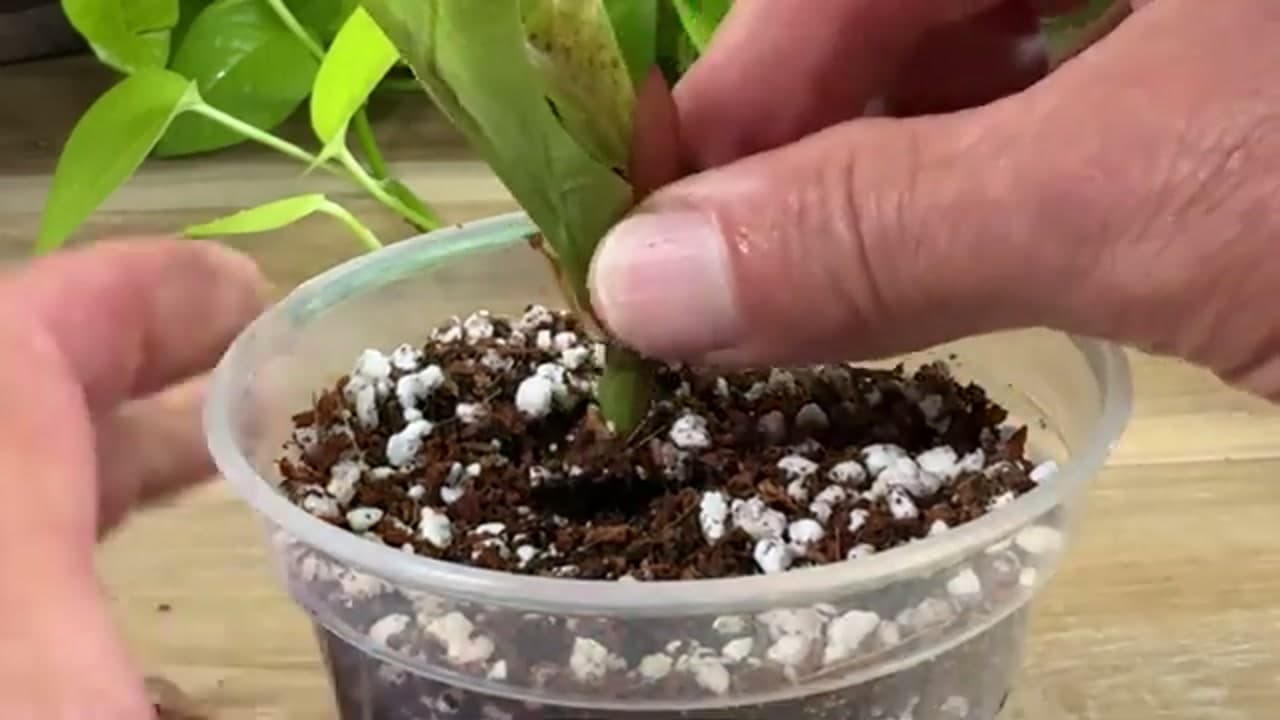
Fill a small pot with the damp mix and firm it lightly. Open a hole for each cutting with a wooden dowel, then set the cutting in deep enough that the first node sits under the soil. Press the mix around the base so the cutting stands on its own.

If you're planting a few in one pot, spread them out. As they root and push new growth, they fill in and give you one full, bushy plant instead of a row of thin sticks.

Tip

Watch this step Cover the pot with an upside-down jar or clear vase for a few weeks. The trapped humidity keeps the cutting from drying out while it has no roots.

8

Step 8: Root the Rest in Water

6:53
Step 8: Step 8: Root the Rest in Water

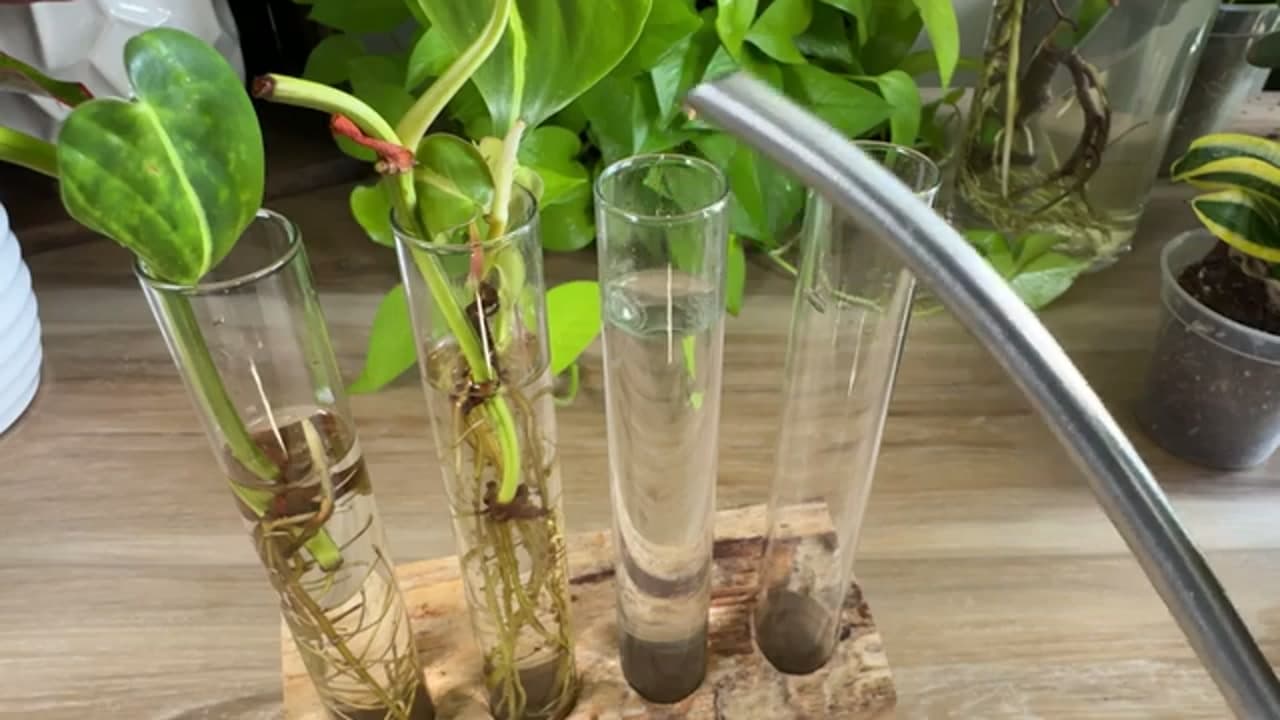
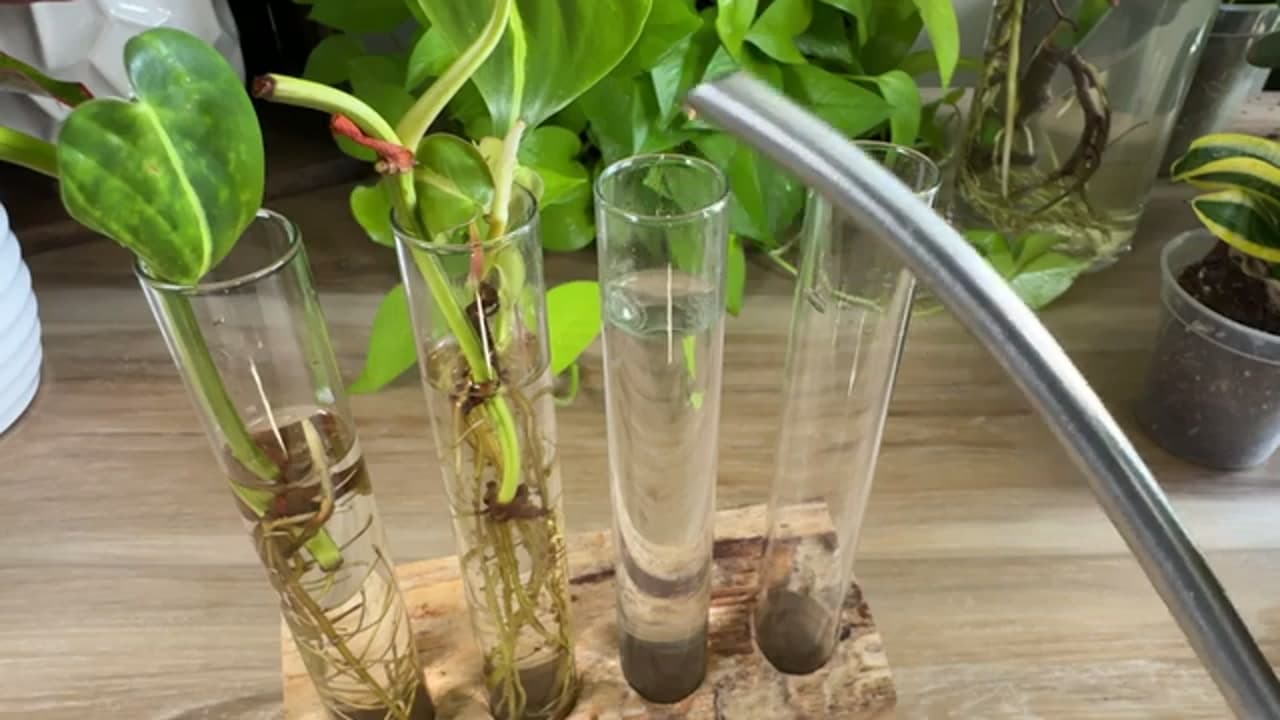
For the water method, stand the remaining cuttings in clean glass tubes or a jar of water. No rooting hormone needed here. Rain, distilled, or plain tap water all work, so don't overthink it. Keep the nodes under the surface and put the tubes in bright, indirect light.

Give it about six weeks. If the water clouds or grows algae, swap it out and add a splash of hydrogen peroxide. You'll end up with a thick tangle of roots, ready to pot up into the same mix.

Tip

Watch this step A wooden propagation-tube stand holds several cuttings upright and looks good on a windowsill while the roots grow in.

Products Used

☐ The Checklist

How to Propagate a Fiddle Leaf Fig (Soil and Water)

Tools
4
Materials
5
Steps
8
Video
8 min

Your Guide

MonstroFarm

As an Amazon Associate we earn from qualifying purchases. Links on this page may be affiliate links - clicking them and buying doesn't change your price, but helps support ShowMeStepByStep.

Sunday How-To

New gardening tutorials, every Sunday

One short email with the week's best step-by-step guides. Free, no spam, unsubscribe anytime.

Did this work for you?

What's next

Related collections

Curated theme pages that include this tutorial.

Weekly Digest

Liked this gardening tutorial?

Pick the categories you want to hear about. Weekly digest of new step-by-step tutorials. No spam, easy unsubscribe.

Send me tutorials about

We only email about new tutorials. Easy unsubscribe anytime.