How to Compost at Home for Beginners

GardeningEasy9:218 stepsBrowse more →

By ShowMeStepByStepPublished

Based on a video by Huw Richards.

Composting sounds like a chore, but it does not have to be. In this tutorial, gardener Huw Richards walks through the relaxed method he has used on his kitchen garden for more than 15 years. No thermometers, no strict turning schedule, no stress.

The whole thing comes down to one rule: roughly balance your wet greens with your dry browns as you add them. Do that, and nature handles the rest. Over a few months your kitchen scraps and garden waste quietly turn into dark, crumbly compost you can spread straight onto your beds.

If you want to put that finished compost to work, it pairs well with mulching a garden bed and topping up raised garden beds.

Step-by-Step Guide

1

Set Up Your Compost Bin

1:40
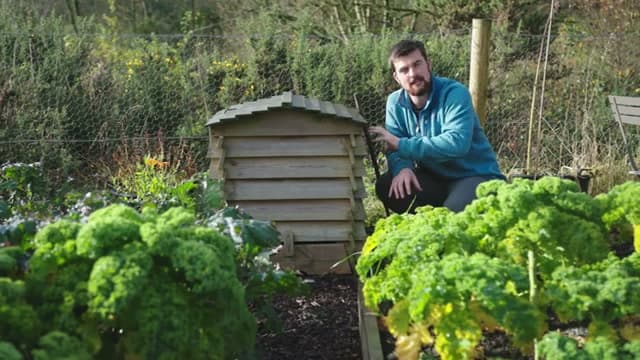
Step 1: Set Up Your Compost Bin

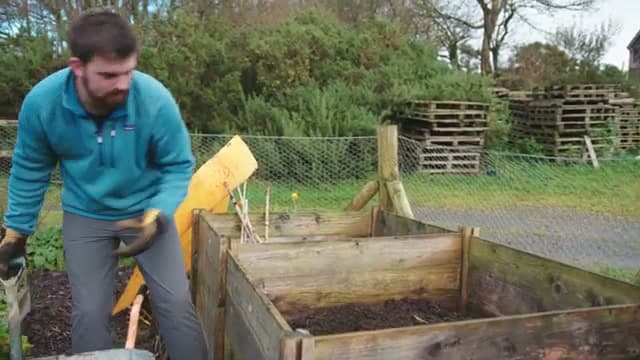
Start with a spot in the corner of your garden or allotment and a bin that holds a decent amount of material. Huw uses simple pallet bays, but any open compost bin works. The bigger the bin, the more heat and volume you build, which speeds up the whole process. Site it somewhere easy to reach with a wheelbarrow so adding scraps never feels like a trek.

Tip

A bin roughly one cubic meter is the sweet spot. Much smaller and it struggles to hold enough warmth to break down well.
2

Learn Greens and Browns

2:25
Step 2: Learn Greens and Browns

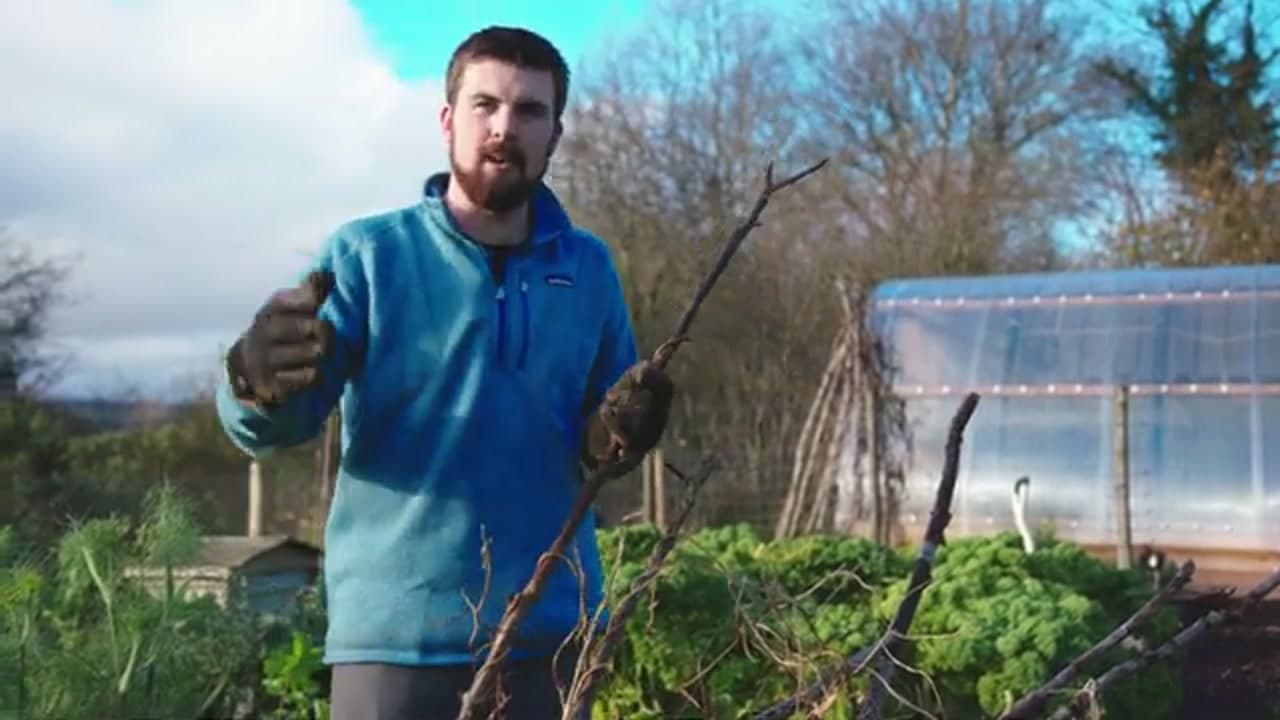
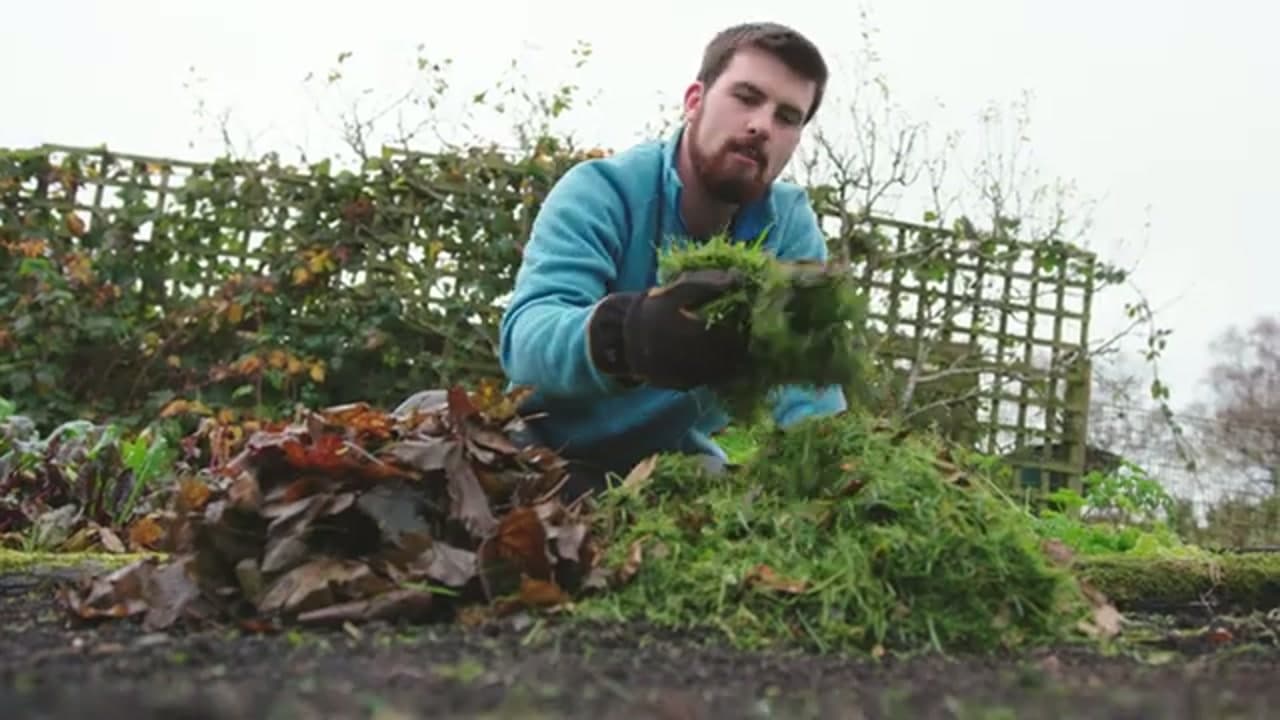
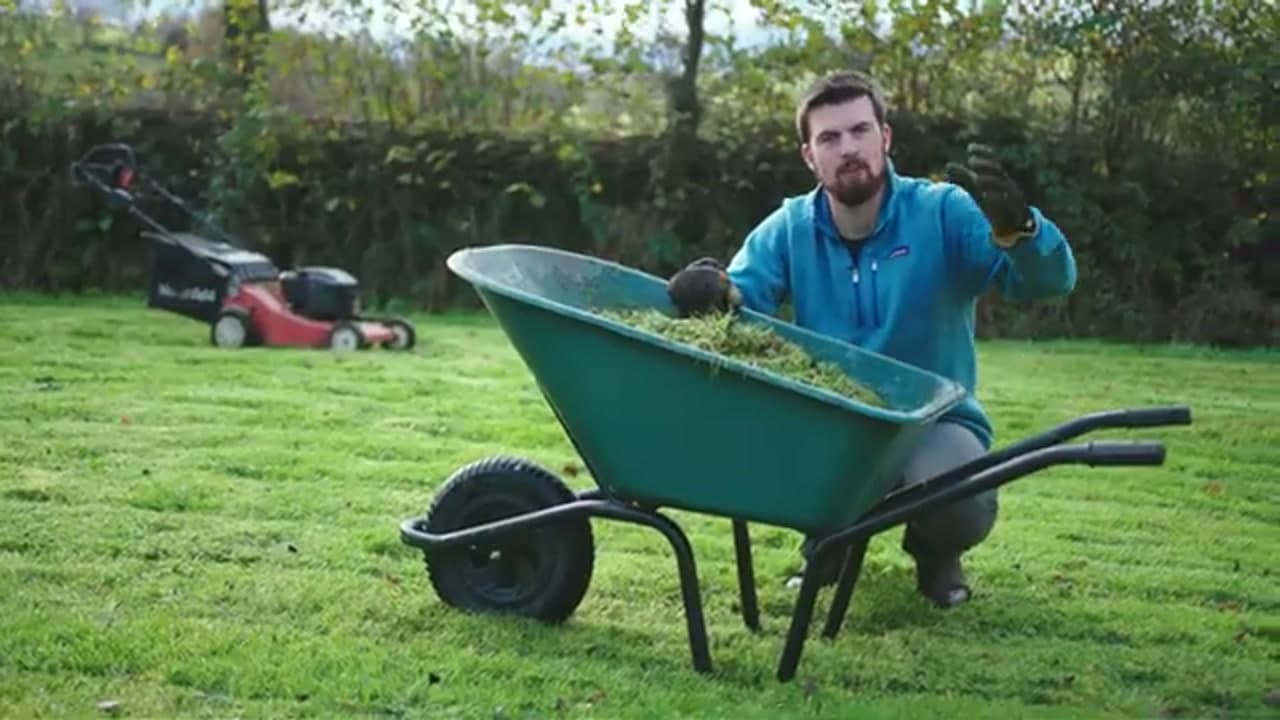
Everything you add falls into one of two camps. Greens are the wet, fresh stuff: grass clippings, vegetable peelings, coffee grounds, and spent plants. Browns are the dry, woody stuff: cardboard, autumn leaves, and prunings. Greens bring nitrogen, browns bring carbon. Get both into the pile and the microbes that do the rotting have everything they need.

Tip

Let fresh grass clippings sit and wilt for a day or two before adding a big load. Piled in wet and green, they turn into a slimy mat.

Products used in this step

3

Add Your Greens

4:05
Step 3: Add Your Greens

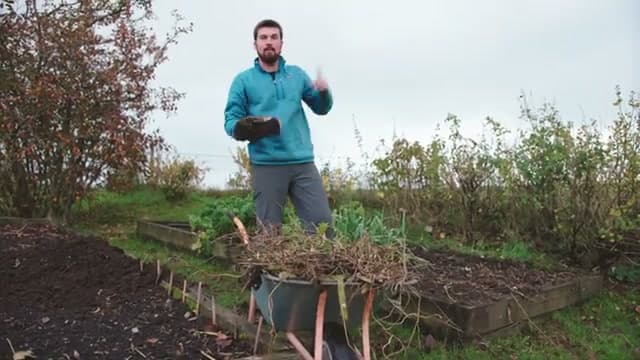
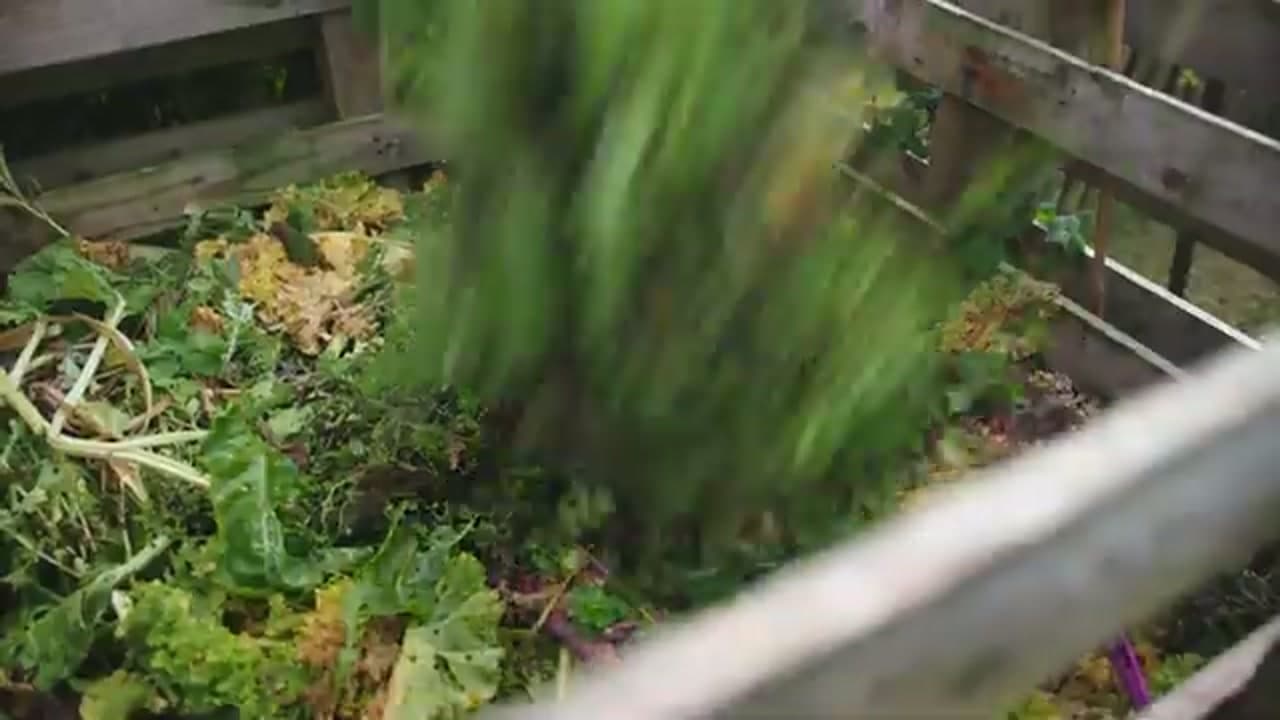
Tip your greens straight into the bin. Kitchen scraps, lawn clippings, coffee grounds, and the tops of finished plants all go in. This is the fuel that gets your heap warm and active. Keep a small caddy on the kitchen counter so peelings and scraps have somewhere to land, then empty it into the bin every few days.

Tip

Skip meat, dairy, and cooked food. They rot slowly, smell, and are the main thing that draws in rats.

Products used in this step

4

Add Your Browns

7:50
Step 4: Add Your Browns

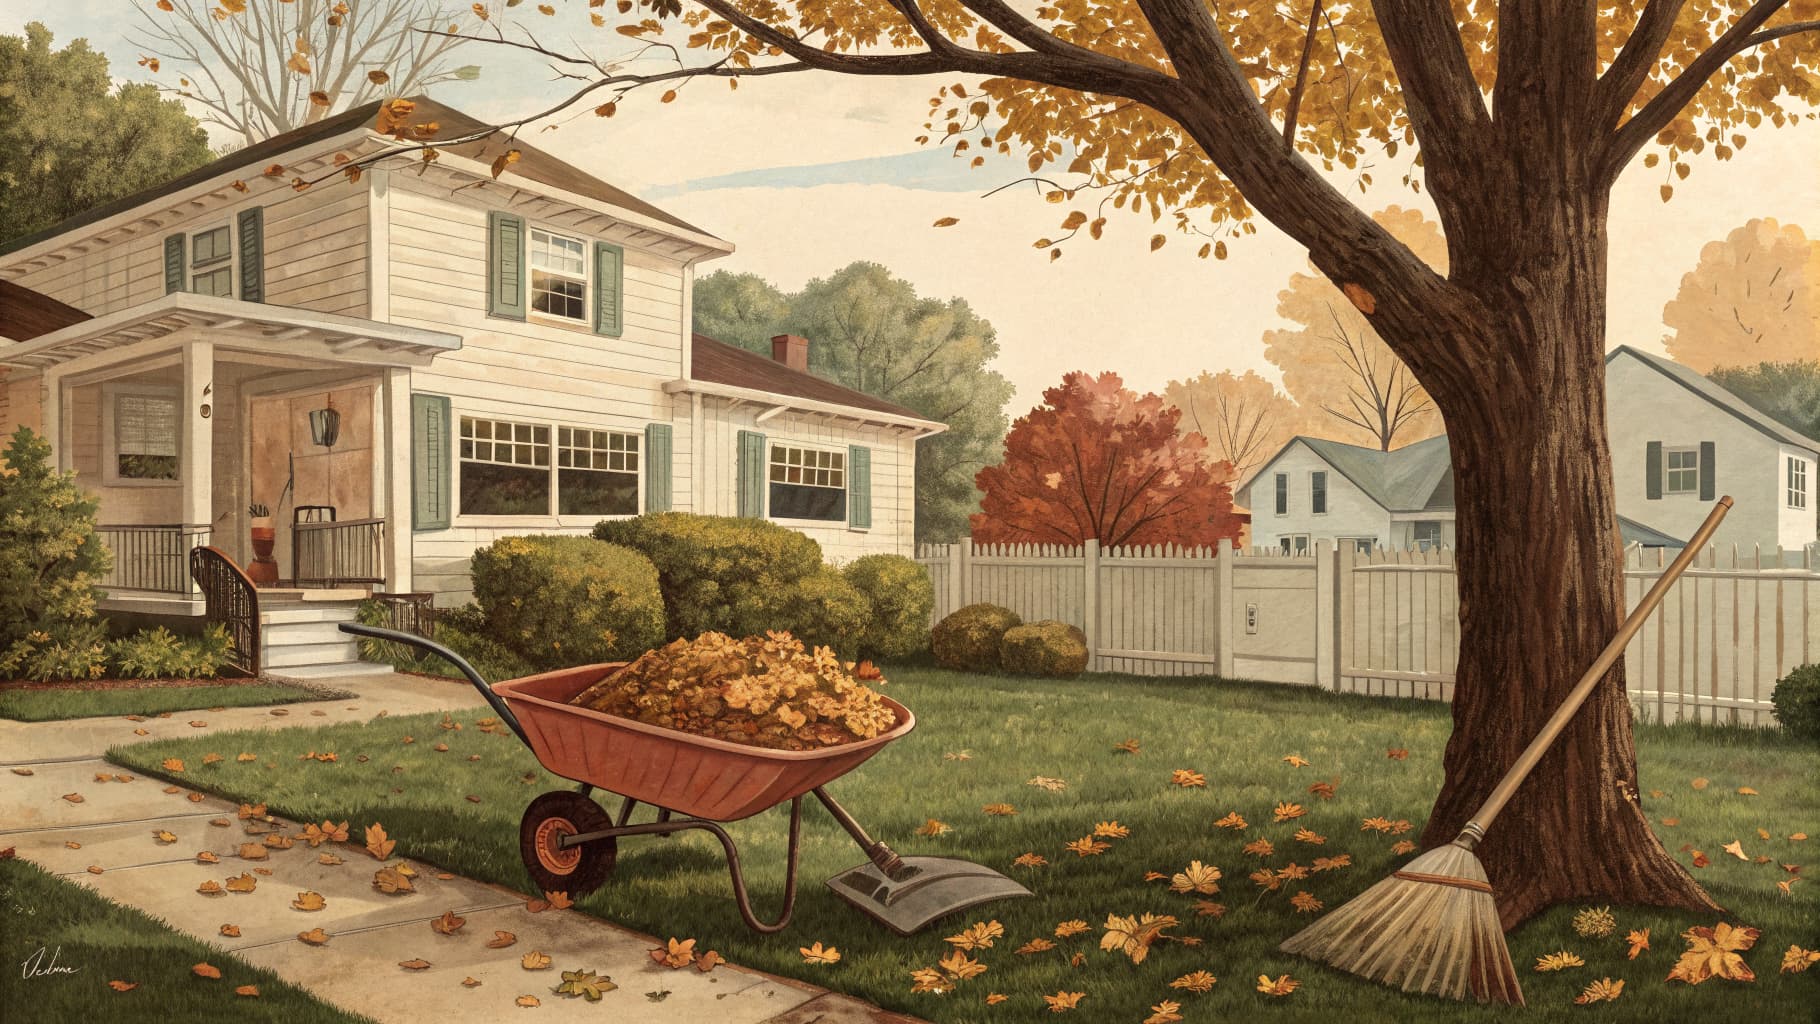
Match those greens with a good helping of browns. Break up woody winter prunings, tear cardboard into pieces, and tip in dry autumn leaves. Browns soak up excess moisture and stop the pile turning into a wet, smelly mush. Keeping a stash of leaves or shredded cardboard nearby means you always have browns on hand when a big load of greens shows up.

Tip

Stockpile bagged autumn leaves next to the bin. They are the easiest free brown to keep on hand all year.

Products used in this step

5

Follow the One Rule

2:00
Step 5: Follow the One Rule

Here is the whole method in a sentence: roughly balance greens and browns as you go. A big load of grass gets a big load of browns piled on top. You do not need to weigh anything or be precise. Just even it out over time and the pile stays sweet-smelling and keeps breaking down. If it ever smells sour, you have too many greens, so add more browns.

Tip

A sprinkle of compost starter over each layer gives the microbes a head start if your heap is slow to warm up.

6

Keep Filling the Bin

6:55
Step 6: Keep Filling the Bin

Add material load by load, whenever you have it. That is the lazy part. There is no turning schedule to keep and no fussing required. Just keep the greens and browns balanced as the bin fills. When it is full, start a second bin and let the first one sit and rot down on its own while you carry on filling the new one.

Tip

Turning the pile with a fork once or twice speeds things up, but it is optional. Left alone, it still breaks down fine.

7

Harvest the Finished Compost

9:00
Step 7: Harvest the Finished Compost

Give the full bin several months to a year, then dig the finished compost out from the bottom with a garden fork. You are looking for dark, crumbly material that smells earthy, with the woody bits mostly broken down. Any lumps or large pieces that have not finished can go straight back into your active bin for another round.

Tip

The good stuff sits at the bottom. Lift the fresher top layer aside and dig out the dark compost underneath.

8

Spread It on Your Beds

8:28
Step 8: Spread It on Your Beds

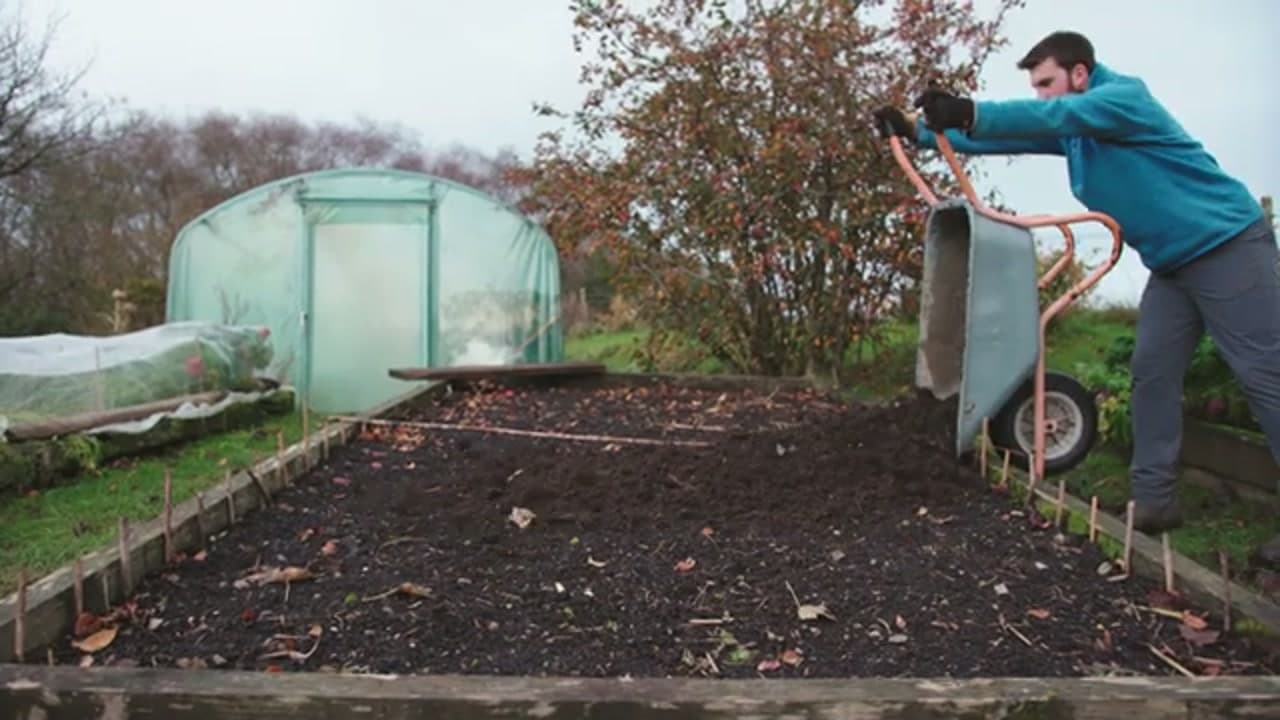
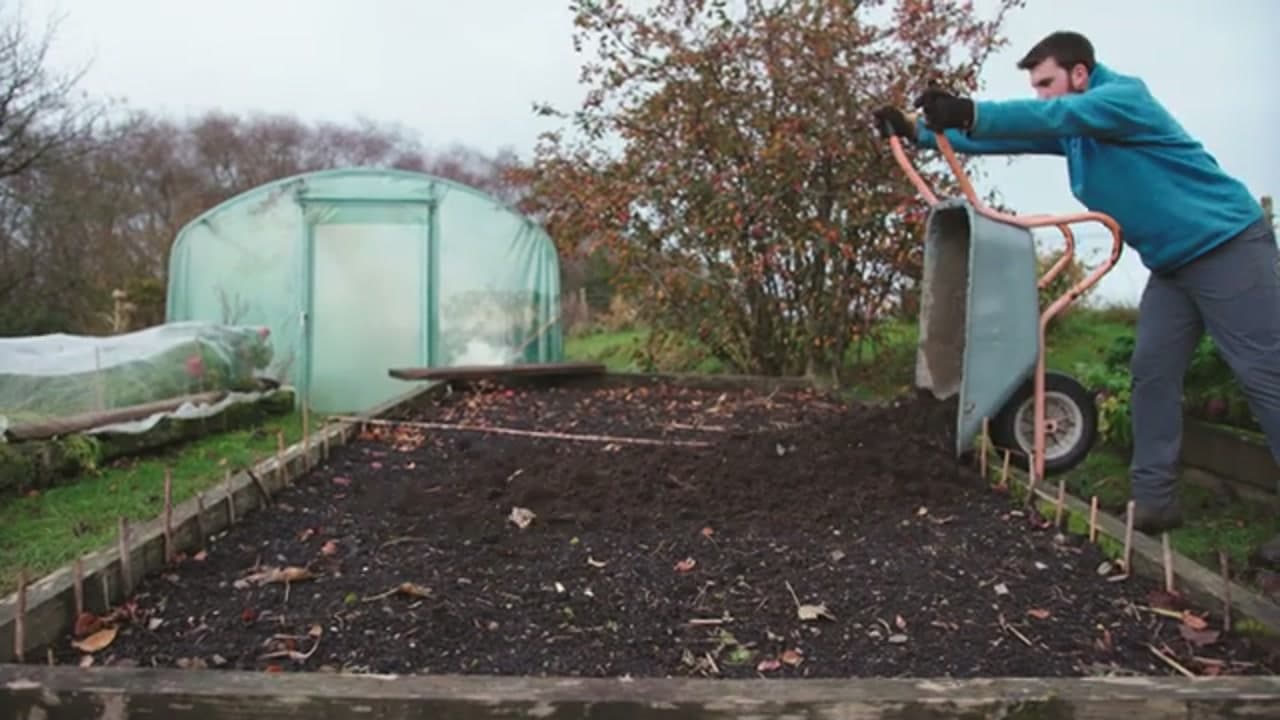
Now put it to work. Spread a layer of your homemade compost over the beds to feed the soil, hold moisture, and grow healthier plants. All of it came from garden and kitchen waste you would otherwise have thrown away. Once you have done a round, you will wonder why anyone bags their scraps for the bin.

Tip

A two to three centimeter layer on top of the soil each season is plenty. No need to dig it in, the worms will pull it down for you.

Products Used

☐ The Checklist

How to Compost at Home for Beginners

Tools
3
Materials
3
Steps
8
Video
9 min

Your Guide

Huw Richards

As an Amazon Associate we earn from qualifying purchases. Links on this page may be affiliate links - clicking them and buying doesn't change your price, but helps support ShowMeStepByStep.

Tags

Sunday How-To

New gardening tutorials, every Sunday

One short email with the week's best step-by-step guides. Free, no spam, unsubscribe anytime.

Did this work for you?

What's next

Related collections

Curated theme pages that include this tutorial.

Weekly Digest

Liked this gardening tutorial?

Pick the categories you want to hear about. Weekly digest of new step-by-step tutorials. No spam, easy unsubscribe.

Send me tutorials about

We only email about new tutorials. Easy unsubscribe anytime.