How to Decrease in Crochet (Single, Half Double, and Double Crochet)

CrochetMedium14:017 steps5-question quiz at endBrowse more →
Also in:Crafts

By ShowMeStepByStepPublished Updated

Based on a video by HappyBerry Crochet.

Decreases combine two stitches into one to shape your work. That is how a beanie crown closes, how a bootie toe rounds off, and how an amigurumi head tapers. Every crochet pattern uses them, and most patterns assume you know how.

Laura from HappyBerry Crochet runs through six decreases in one sitting. The traditional sc2tog, hdc2tog, and dc2tog are the standard moves most patterns reference. The invisible versions of each are the same finished width but smoother across the top, because you skip a step and only catch the front loop of the next two stitches. Once you see the difference side by side, it is hard to unsee.

Pair this with how to increase in crochet for the other half of shaping. If you are still building muscle memory on the base stitches themselves, brush up on how to single crochet, how to half double crochet, and how to double crochet first. The decrease moves below build directly on those stitches.

Step-by-Step Guide

1

Step 1: Set Up a Practice Swatch

12:00
Step 1: Step 1: Set Up a Practice Swatch

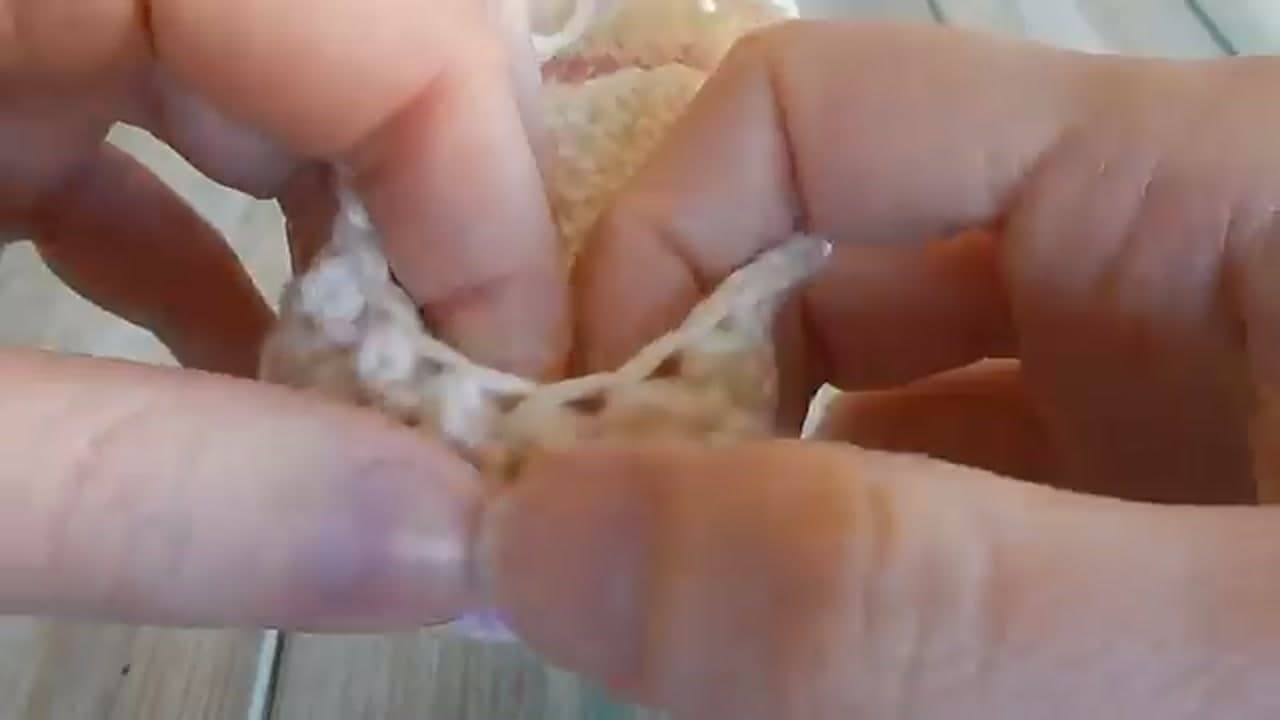
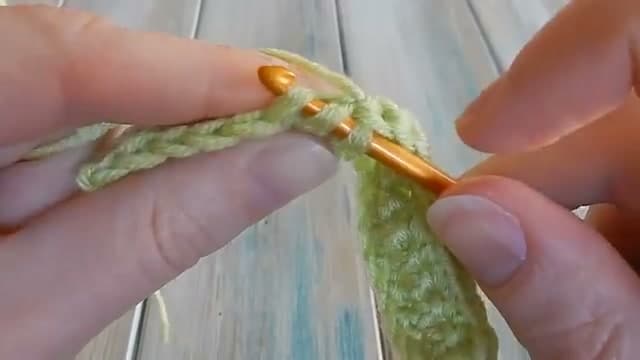
Work a small swatch of single crochet, about ten to twelve stitches across and four or five rows tall. That gives you room to practice every decrease method below without ripping back your real project. Laura uses US terminology throughout, which is the standard most North American patterns use.

A decrease is two stitches combined into one. That is how you shape any crocheted piece that tapers - a beanie crown, the toe of a bootie, an amigurumi head. The hook moves are the same whether your row is flat or you are working in the round.

Tip

Practice on a swatch first, not on a real project. If a decrease goes wrong on your in-progress work, you have to rip back to undo it. Three rows of single crochet over twelve stitches is plenty of room to try every method below.

2

Step 2: Traditional sc2tog (Single Crochet Two Together)

0:38
Step 2: Step 2: Traditional sc2tog (Single Crochet Two Together)

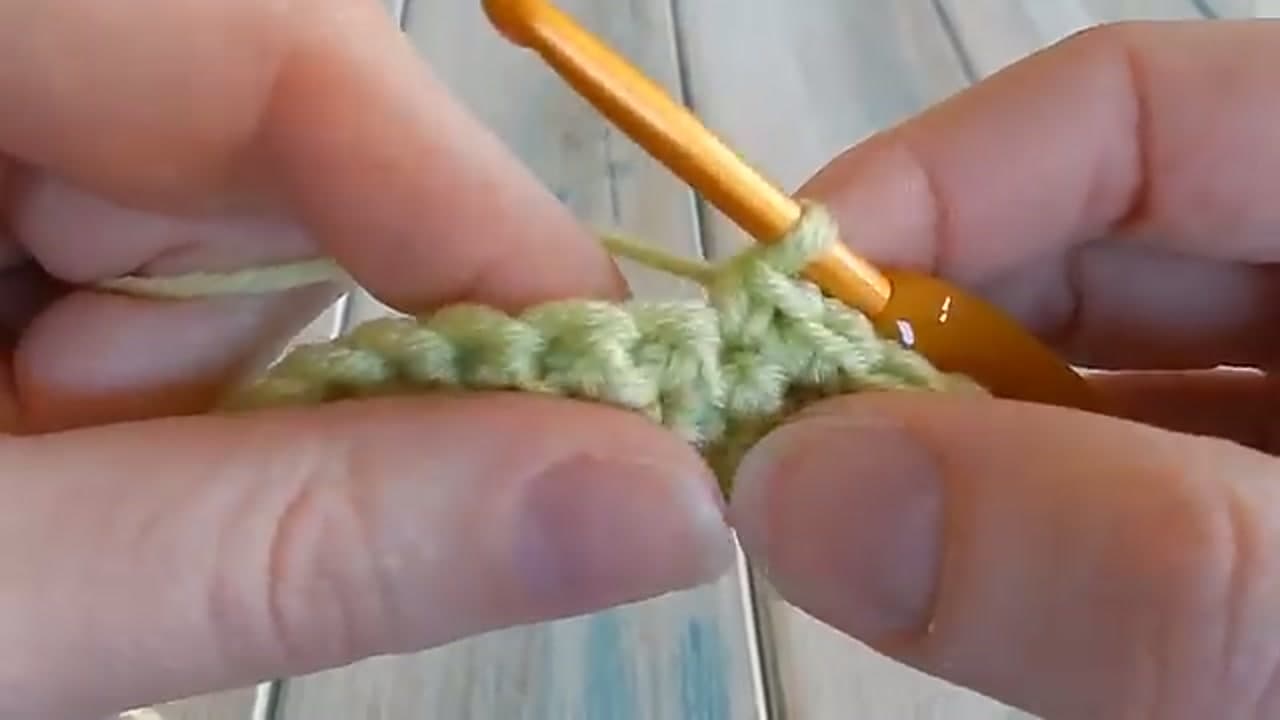
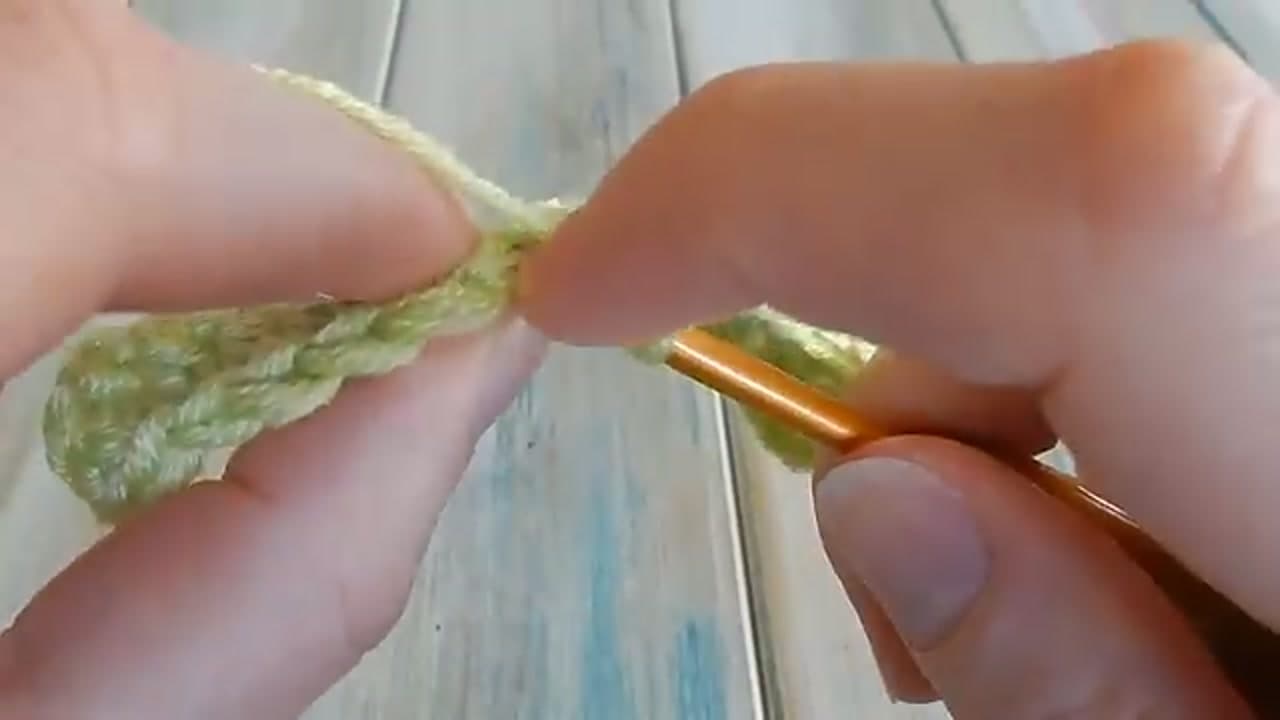
Insert your hook into the next stitch and pull up a loop, but do not finish the stitch. Move directly to the next stitch, insert your hook and pull up a second loop. You should have three loops sitting on your hook.

Yarn over and pull through all three loops in one motion. That is your traditional sc2tog. It works on every flat project and most patterns will reference this exact sequence when they say decrease one.

Tip

You will see the decrease point look a little chunky compared to the stitches on either side. That is normal for the traditional version. The chunkiness is what the invisible version in step 3 is designed to fix.

3

Step 3: Invisible Single Crochet Decrease (Front Loops Only)

2:35
Step 3: Step 3: Invisible Single Crochet Decrease (Front Loops Only)

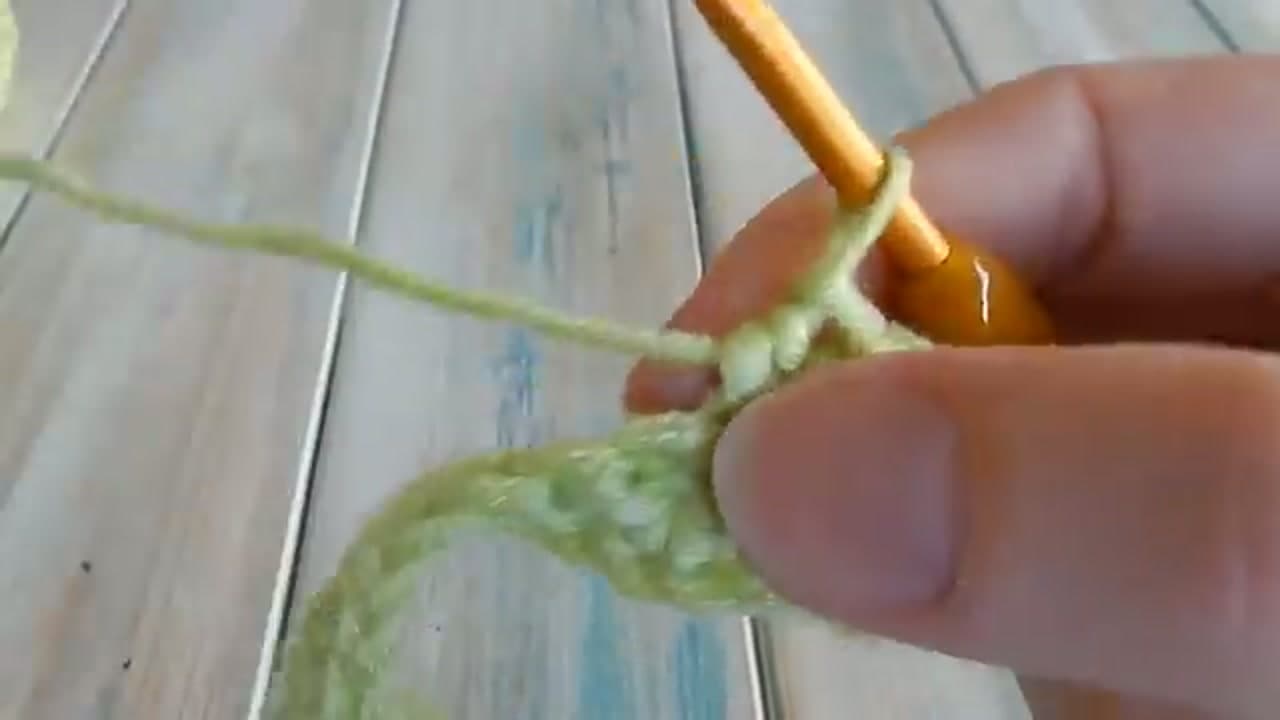
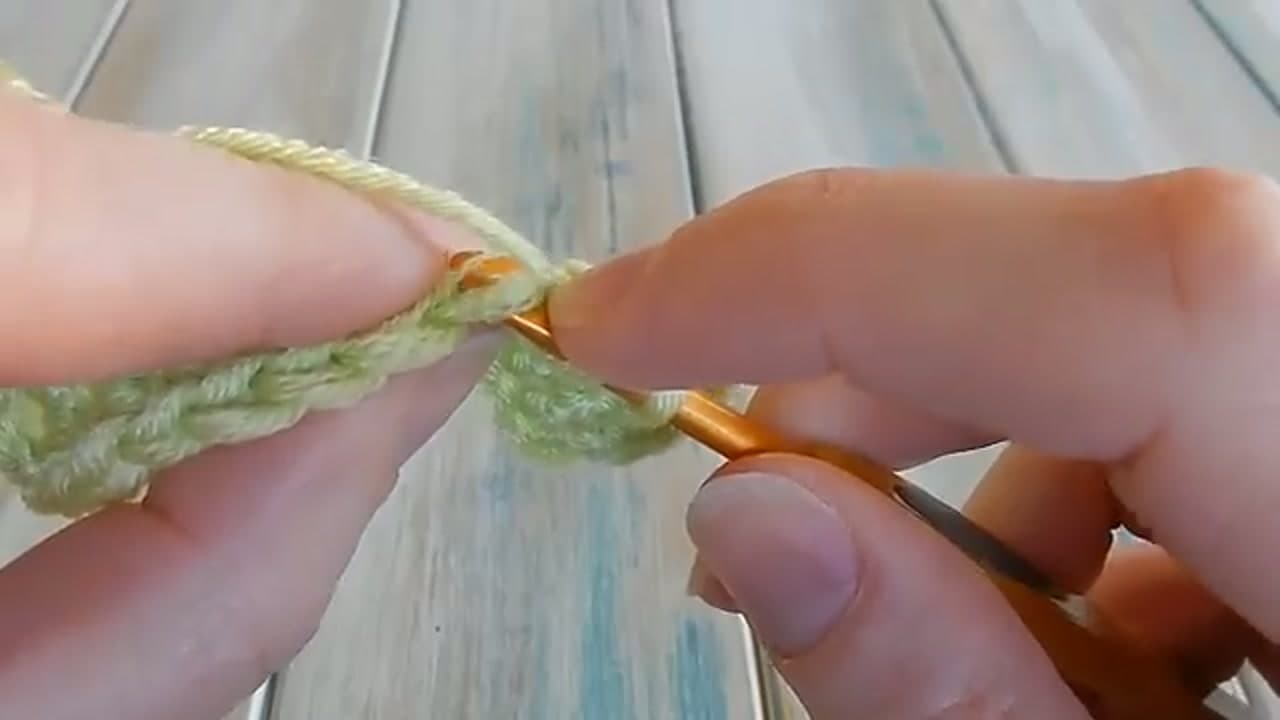
Here is the trick. Instead of inserting your hook under both loops of the next stitch, only catch the front loop. Then move straight to the next stitch and catch only its front loop too. Two front loops sit on your hook plus your working loop, no yarn pulled up yet.

Yarn over and pull through both of those front loops in one motion. You now have two loops on your hook. Yarn over again and pull through both, the same way you finish a regular single crochet. The decrease blends into the row so well you have to look hard to spot it.

Tip

The hardest part is remembering not to yarn over between catching the two front loops. If you yarn over too early you are back to a traditional decrease with an extra loop. Move the hook directly from one front loop to the next with nothing in between.

4

Step 4: Traditional hdc2tog (Half Double Crochet Two Together)

5:11
Step 4: Step 4: Traditional hdc2tog (Half Double Crochet Two Together)

Yarn over first, then insert your hook into the next stitch and pull up a loop. Yarn over a second time, insert into the following stitch and pull up another loop. You will have five loops on your hook total.

Yarn over once more and pull through all five loops to finish. That is the traditional hdc2tog. Like the sc version, it works but leaves a noticeable chunk at the top because there is so much yarn passing through one point.

Tip

Count your loops before the final yarn over and pull through. Five loops is correct. If you have six, you accidentally yarned over an extra time and the stitch will sit oddly on the row.

5

Step 5: Invisible Half Double Crochet Decrease

6:40
Step 5: Step 5: Invisible Half Double Crochet Decrease

The hook path is the same as the sc invisible version, just with a yarn over up front. Yarn over, then catch only the front loop of the next stitch. Move straight to the next stitch and catch only its front loop. Three loops are now sitting on your hook plus the yarn-over.

Yarn over and pull through the two front loops first. That leaves you with three loops on the hook, which is exactly where a normal half double crochet sits before its final pull-through. Yarn over and pull through all three to finish.

Tip

The whole point of the invisible hdc decrease is to keep the same fabric texture as the normal hdc stitches around it. Hold your work flat and look across the row. The decrease should sit at the same height as the regular stitches, with no taller bump or shorter dip.

6

Step 6: dc2tog and the Invisible Double Crochet Decrease

9:50
Step 6: Step 6: dc2tog and the Invisible Double Crochet Decrease

The traditional dc2tog is built like the hdc one but with extra pull-through steps. Yarn over, insert into the next stitch, pull up a loop, yarn over, pull through two. Repeat into the next stitch so you have three loops on your hook. Yarn over and pull through all three to finish.

For the invisible version, yarn over and go under the front loop only of the next stitch. Move straight over and go under the front loop only of the following stitch. Yarn over and pull through both front loops. Now finish the stitch normally with two yarn-over-pull-through-twos. The taller dc stitch hides the decrease almost completely.

Tip

Because double crochet is the tallest of the three stitches, the difference between traditional and invisible is the most subtle here. You may still want to use the invisible version on tight projects like a fitted hat brim where any extra bulk shows.

7

Step 7: When to Use Each Decrease

12:25
Step 7: Step 7: When to Use Each Decrease

Compare the two finishes side by side. The traditional decreases stand out as small lumps. The invisible decreases blend in. On a flat scarf or blanket where the row counts but the texture is forgiving, the traditional decrease is fine and faster to work. On a curved or fitted piece like a bootie, beanie crown, or any amigurumi, the invisible version keeps the curve smooth.

Laura shows a finished baby bootie where she used the invisible hdc decrease for the toe shaping. Compared to a swatch worked with the traditional decrease, the invisible version reads as a clean curve instead of a bubbled one. Once you have both moves in your hands, pair this with how to increase in crochet and you can shape any project a pattern asks you to make.

Tip

If a pattern just says decrease or dec, default to the traditional version. Patterns that specifically want the invisible look will say so. The choice is yours on the projects you design yourself, and the invisible version is worth the small effort on anything you want to look professional.

Products Used

☐ The Checklist

How to Decrease in Crochet (Single, Half Double, and Double Crochet)

Tools
4
Materials
1
Steps
7
Video
14 min

Your Guide

HappyBerry Crochet

As an Amazon Associate we earn from qualifying purchases. Links on this page may be affiliate links - clicking them and buying doesn't change your price, but helps support ShowMeStepByStep.

Tags

Free printable

Get the Crochet Cheat Sheet

Every basic stitch on one printable page. No spam, one-click unsubscribe.

Test your knowledge

Did the lesson stick? Find out in 2 minutes.

5 quick questions covering what you just read. No signup, no score saved — just a gut check.

Quick reference

Key takeaways from How to Decrease in Crochet (Single, Half Double, and Double Crochet)

5 questions, answers, and one-line explanations. Tap to expand.

  1. 1.What does 'decrease' mean in crochet terminology?

    Answer: Two stitches combined into one

    Decreases combine two stitches into one - that's how you shape a beanie crown or amigurumi head.

  2. 2.For a traditional sc2tog, how many loops sit on the hook before the final yarn-over?

    Answer: Three loops

    Three loops, then yarn over and pull through all three.

  3. 3.What's the key trick that makes an INVISIBLE single crochet decrease invisible?

    Answer: Catch only the FRONT loop of each stitch instead of both loops

    Front-loop-only blends the decrease so well you have to look hard to spot it.

  4. 4.When does the invisible decrease matter most?

    Answer: On curved/fitted pieces like beanies, booties, and amigurumi

    The invisible version keeps the curve smooth; traditional decreases stand out as lumps on a curve.

  5. 5.For a traditional hdc2tog, how many loops sit on the hook before the final pull-through?

    Answer: Five loops

    Yarn-over plus loop, yarn-over plus loop, plus the working loop = five loops before the final pull-through.

Did this work for you?

What's next

Weekly Digest

Liked this crochet tutorial?

Pick the categories you want to hear about. Weekly digest of new step-by-step tutorials. No spam, easy unsubscribe.

Send me tutorials about

We only email about new tutorials. Easy unsubscribe anytime.