1
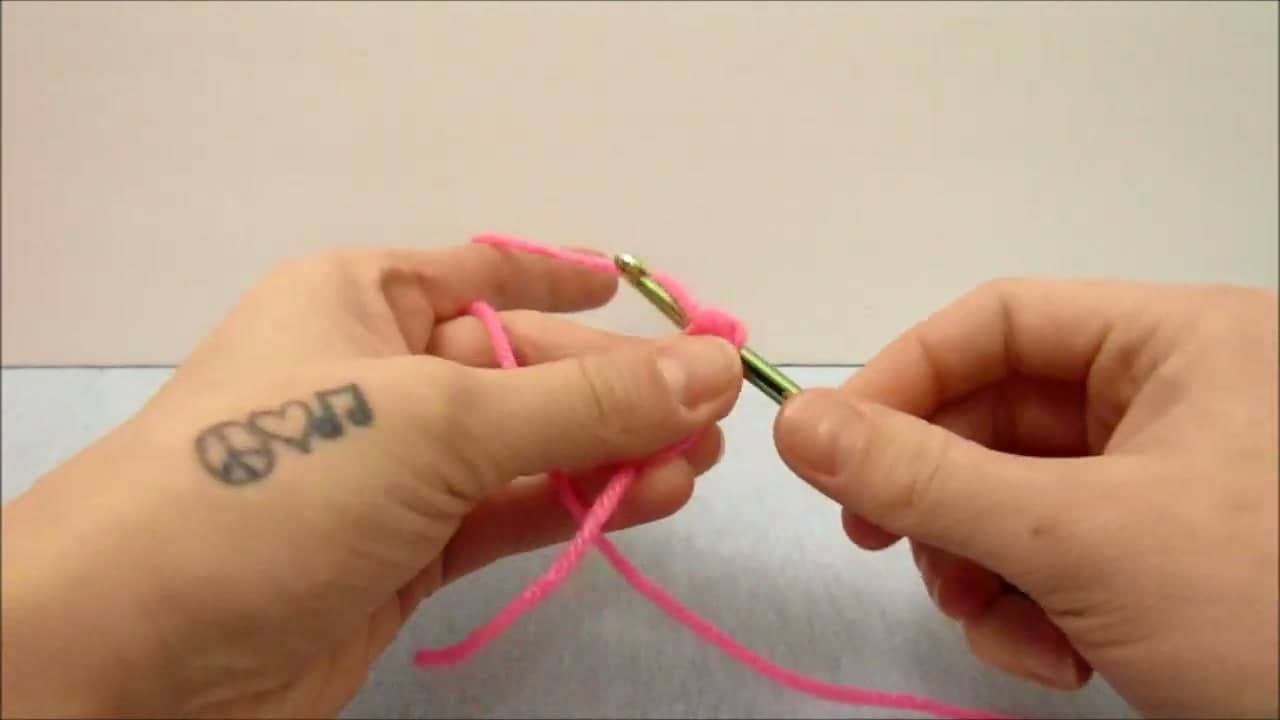
Step 1: Start with a Magic Ring
0:34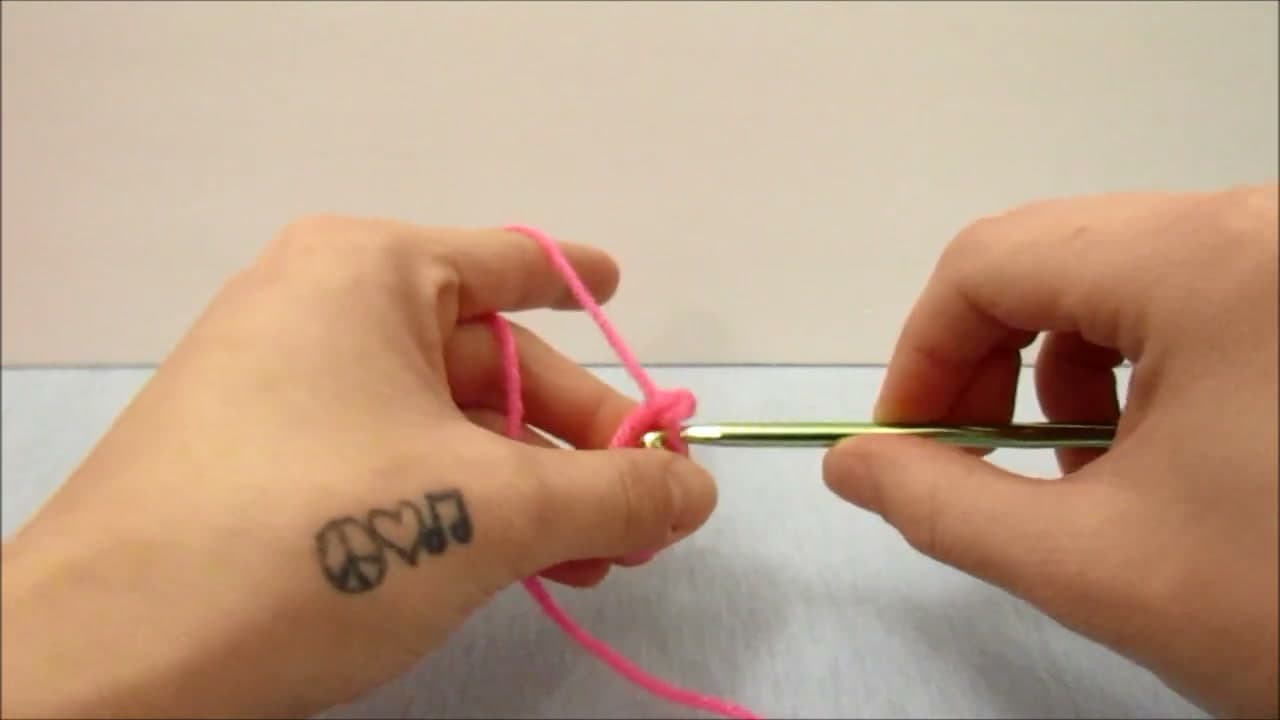
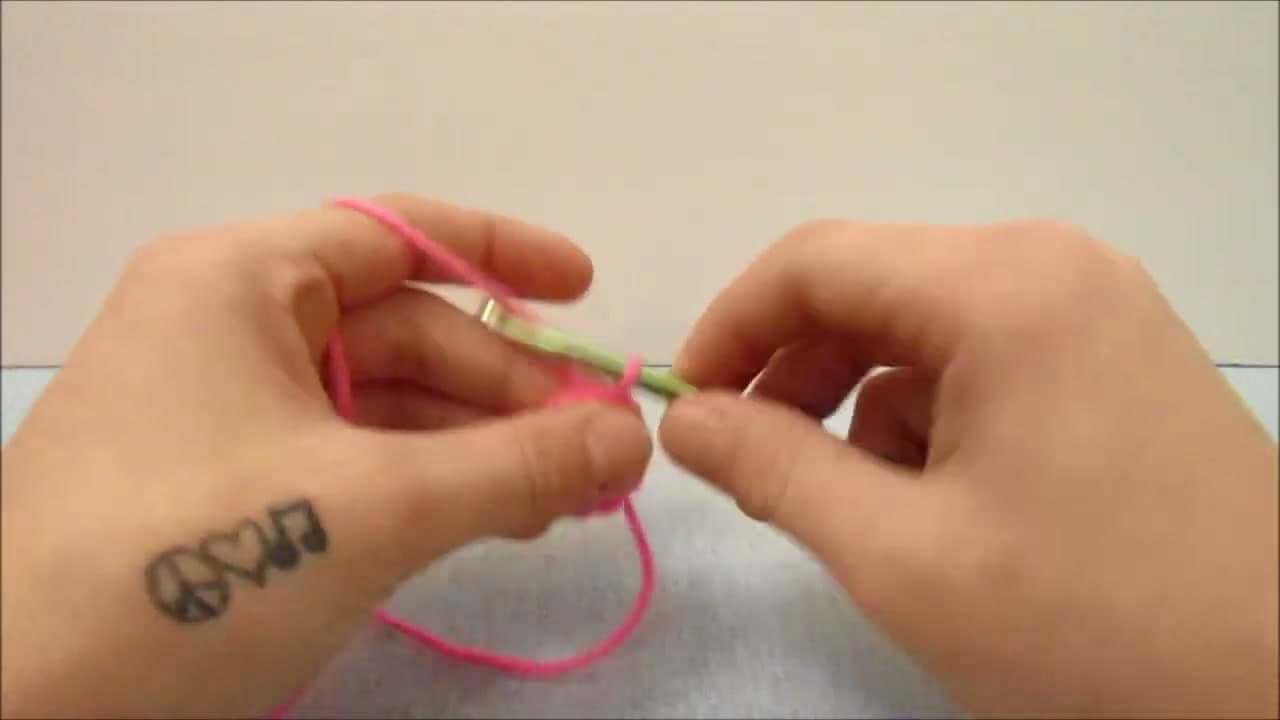
Every amigurumi piece starts with a magic ring (also called a magic circle). If you've never made one, work through that tutorial first - it's the single most important crochet skill for amigurumi, and you'll use it on every project from here on. Wrap the yarn around your finger twice, slide your hook under the strands, pull a loop through, and chain one to lock the ring.
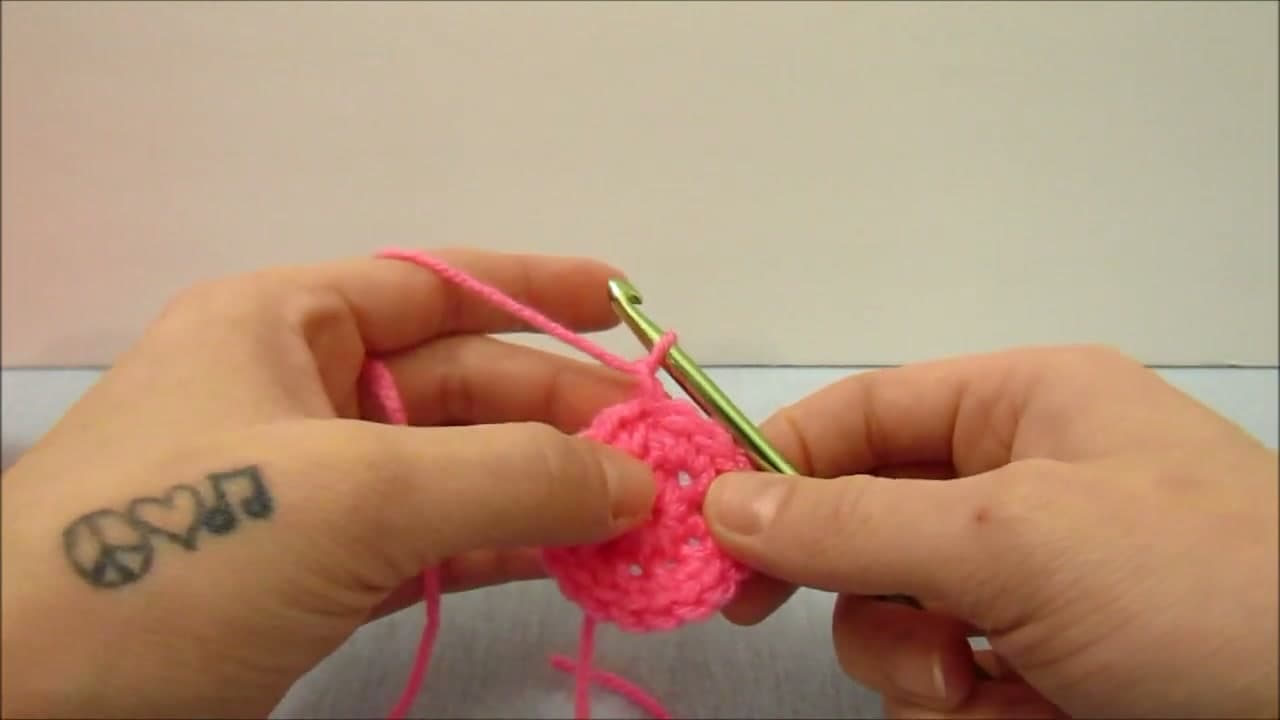
Once your ring is sitting on the hook with the loose tail dangling, you're ready for the first round.
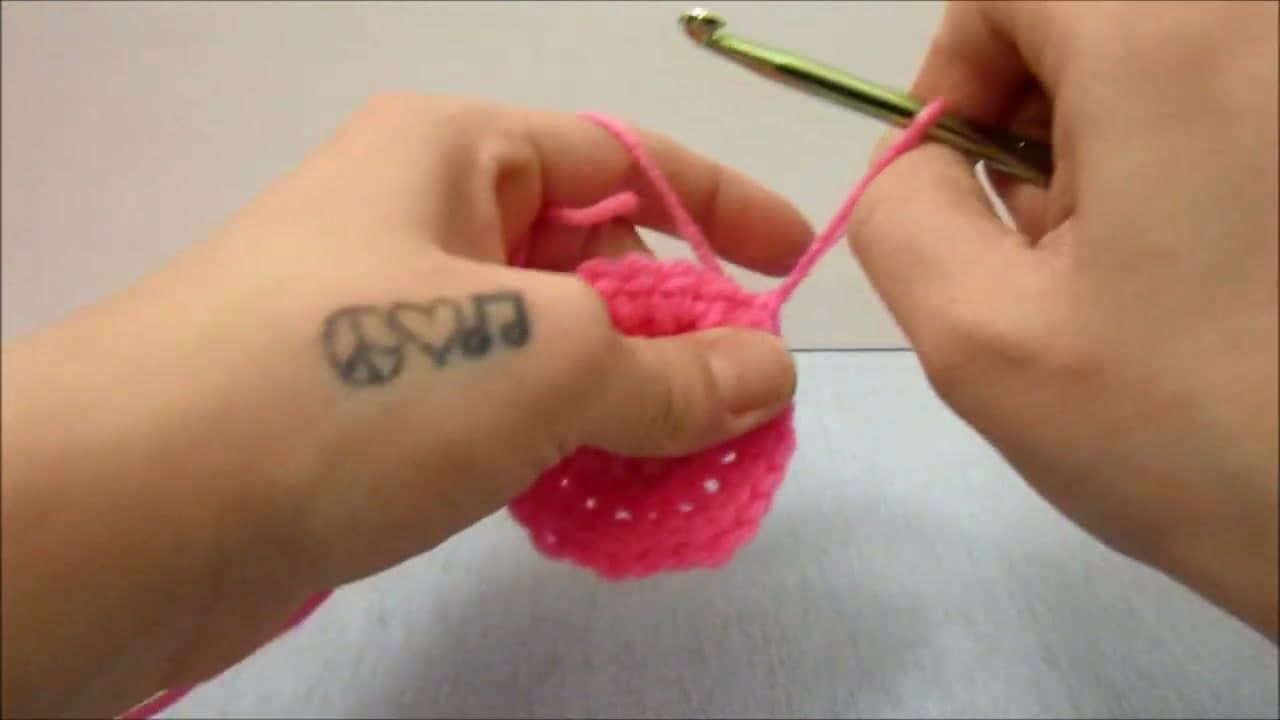
Tip
If the magic ring won't hold together, try wrapping the yarn around your finger three times instead of two. Cotton yarn slips more than acrylic and needs the extra grip.