How to Slip Stitch in Crochet

CrochetEasy7:138 stepsBrowse more →
Also in:Crafts

By ShowMeStepByStepPublished

Based on a video by Hope Corner Farm Crochet.

The slip stitch (slst) is the shortest stitch in crochet and one of the most useful. It barely adds any height, which is exactly why it shows up so often - joining the ends of a round on a granny square, finishing an edge cleanly, traveling across stitches without leaving a mark, or building dense ribbing for a hat band.

Rachel from Hope Corner Farm walks through it slowly on a row of foundation single crochets. The move itself is just three parts: insert the hook, yarn over, pull through the space and the loop on the hook in one pull. That's it. No second yarn over. No two-loops-on-the-hook moment.

If you're brand new, run through how to crochet a foundation chain and how to single crochet first so you have something to slip stitch into. Once you've got slip stitch down, the next stitches to learn are half double crochet and double crochet for taller fabric, plus how to change colors and how to fasten off when your project is done.

Step-by-Step Guide

1

Step 1: Start With a Base Row to Slip Stitch Into

0:46
Step 1: Step 1: Start With a Base Row to Slip Stitch Into

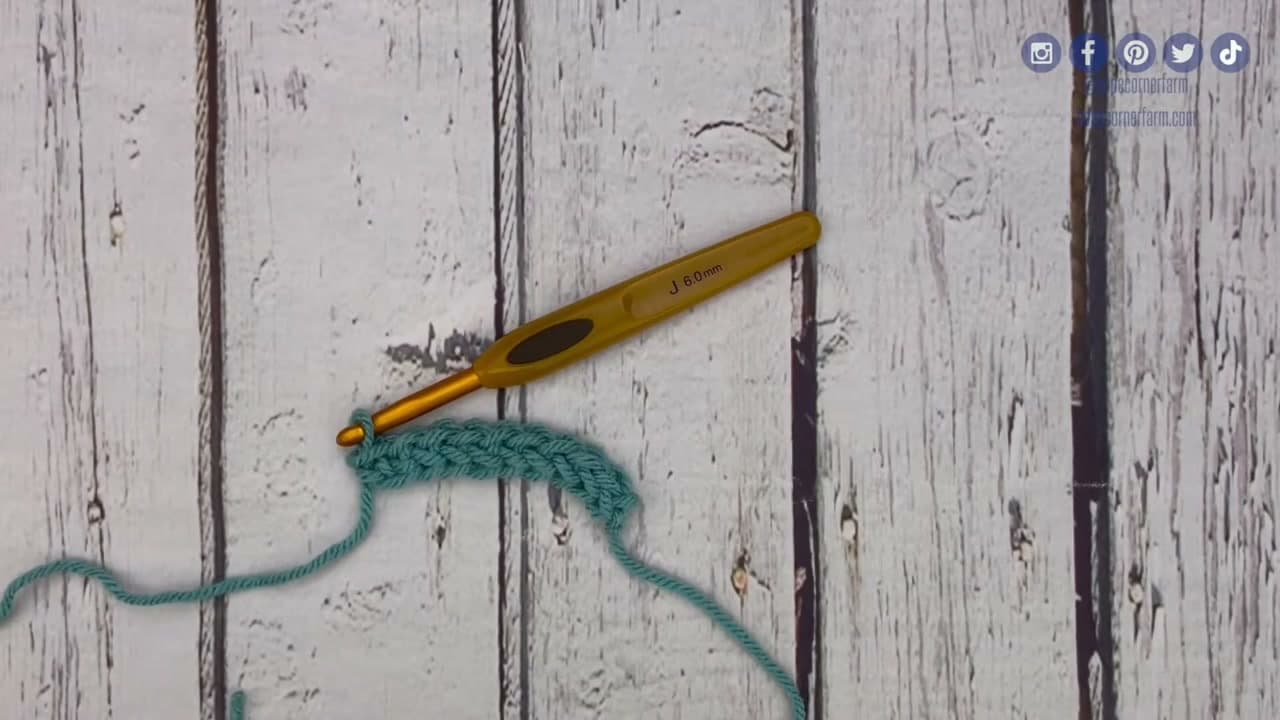
You need something to slip stitch into - a foundation chain, a row of single crochet, or whatever your pattern tells you to work into. Rachel uses a row of foundation single crochets in teal worsted yarn for this demo.

The slip stitch (you'll see it written as slst in patterns) doesn't make sense on its own; it always builds on top of an existing row or joins one section to another. If you haven't done a chain yet, work through the foundation chain tutorial first.

Products used in this step

2

Step 2: Chain 1 and Turn Your Work

1:10
Step 2: Step 2: Chain 1 and Turn Your Work

Yarn over and pull through to make a single chain stitch, then flip your work so the back becomes the front. That chain-1 gives you the tiny bit of height the slip stitch needs.

Slip stitch is short, so a chain-1 is all the turning chain you need. You wouldn't do a chain-3 like you would for double crochet here - it would leave a gap.

Tip

Keep the chain-1 loose. If you cinch it down, you'll have a hard time getting your hook back into the first stitch a second later.

3

Step 3: Insert the Hook Into the First Stitch

1:20
Step 3: Step 3: Insert the Hook Into the First Stitch

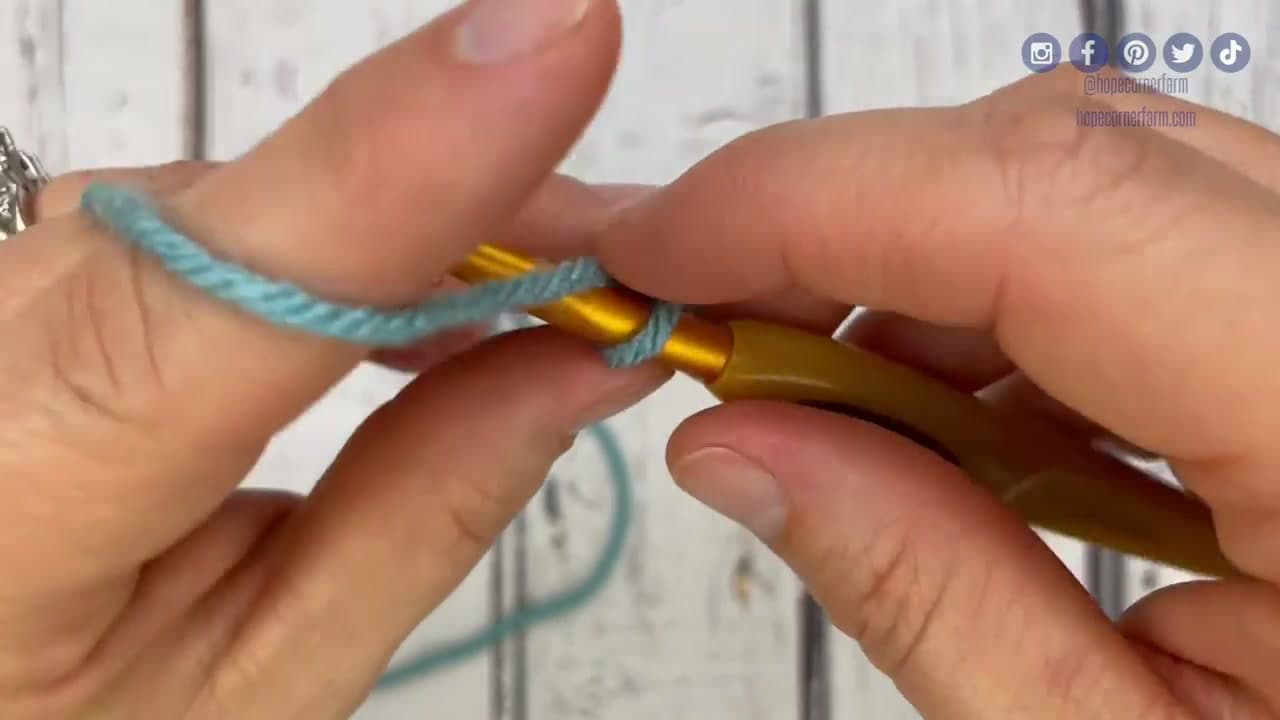
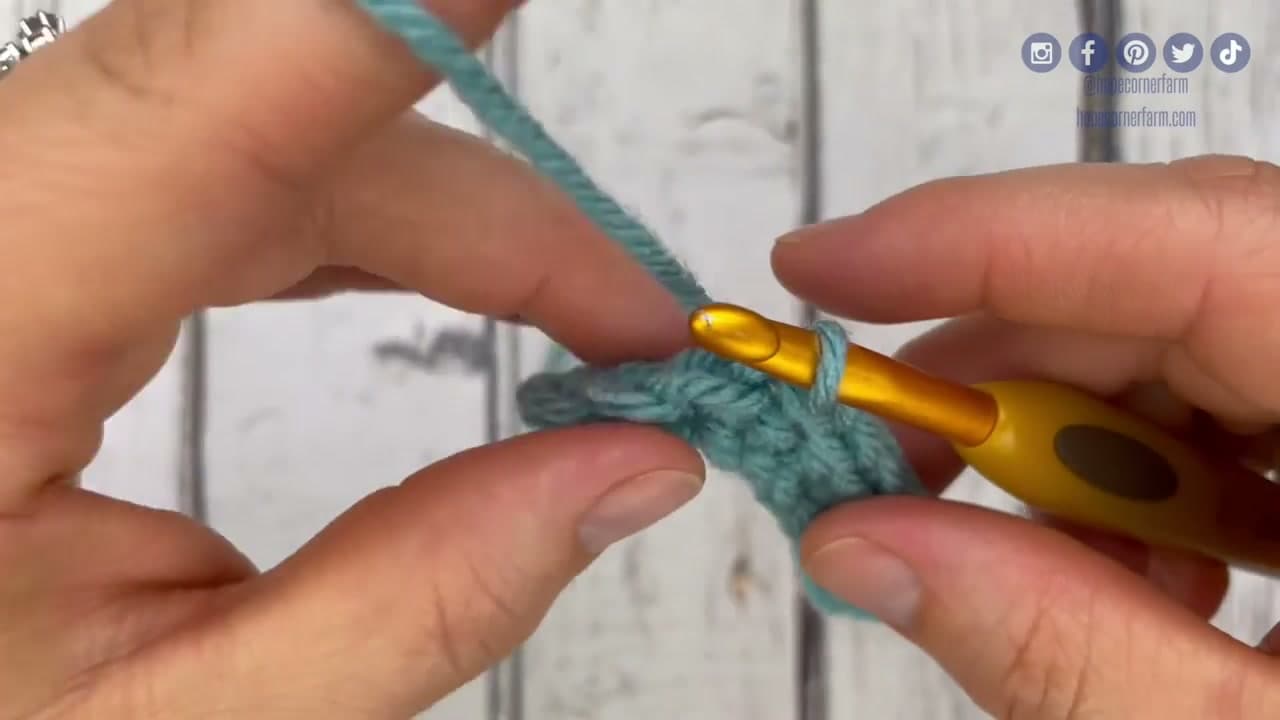
Push your hook down into the very first stitch of the row, going under both top loops. On a row of single crochets, those two loops look like a little V across the top of each stitch.

Going under both loops is the default. Some patterns will tell you to go through the back loop only for a ribbed look, but for standard slip stitch you take both.

Tip

If your hook won't slide in, the previous row was probably too tight. Wiggle the hook from side to side to open the space up.

4

Step 4: Yarn Over and Pull Through the Stitch

1:35
Step 4: Step 4: Yarn Over and Pull Through the Stitch

Yarn over by coming up from below and catching the working yarn on your hook. Pull that loop of yarn back through the stitch you just inserted into.

You'll have two loops sitting on the hook now - the loop that was already there from the chain-1, plus the new loop you just brought through. This is the same yarn-over motion you use for every other crochet stitch.

Products used in this step

5

Step 5: Pull Through Both Loops in One Move

1:45
Step 5: Step 5: Pull Through Both Loops in One Move

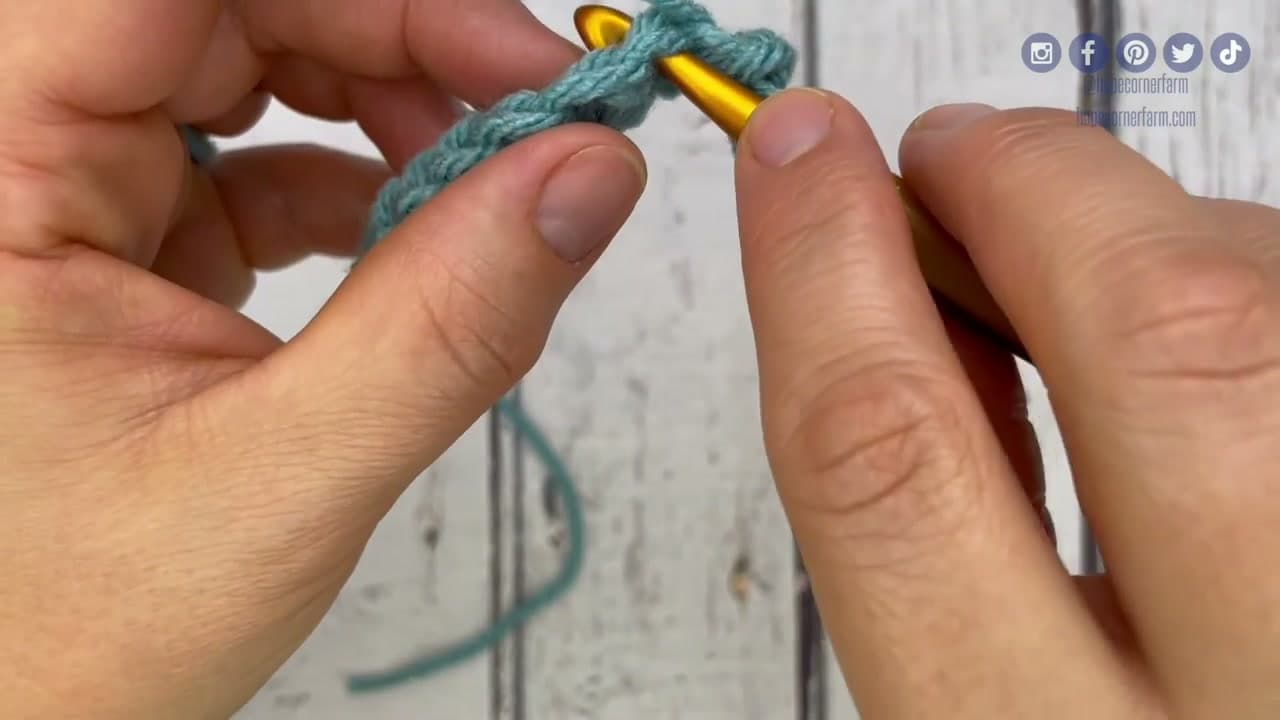
Here's the part that makes slip stitch different from every other stitch: pull the new loop straight through the loop already on your hook in one motion. No second yarn over.

You're left with one loop on the hook and a finished slip stitch sitting on the row. The whole stitch is just two motions - one yarn over, one pull through both. That's why it barely adds any height.

Tip

Keep the loop on your hook a little loose. Slip stitches choke up fast if you pull them too tight, and you'll fight every single one after that.

6

Step 6: Repeat Across the Whole Row

2:10
Step 6: Step 6: Repeat Across the Whole Row

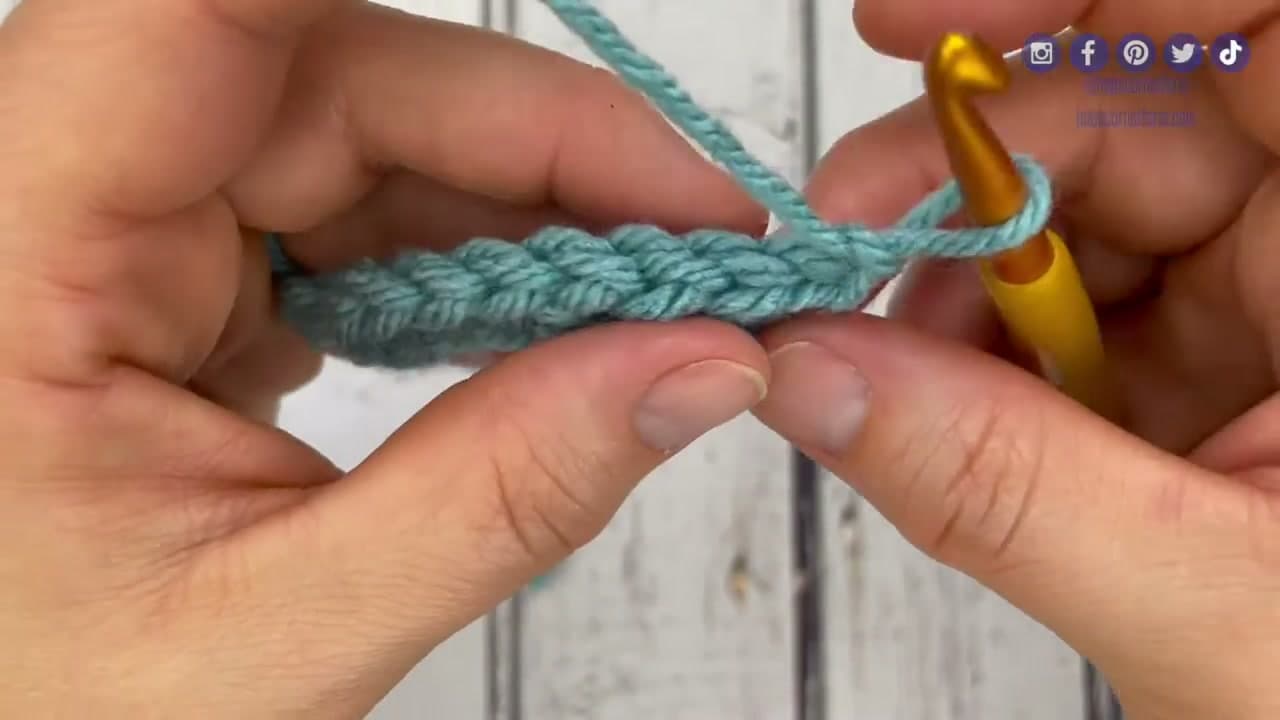
Move to the next stitch and do the same thing: hook in, yarn over, pull through the space and the loop on the hook. Keep going across the entire row.

You'll fly through this once the rhythm clicks. The two biggest beginner mistakes are pulling the loops too tight (so the next hook insert is a fight) and forgetting that it's only one pull-through, not two. If you find yourself with two loops still on the hook, you stopped halfway.

Tip

Look at your hook between stitches. If there's one loop, you finished cleanly. If there are two, finish the pull-through before moving on.

Products used in this step

7

Step 7: Check What the Finished Row Looks Like

2:42
Step 7: Step 7: Check What the Finished Row Looks Like

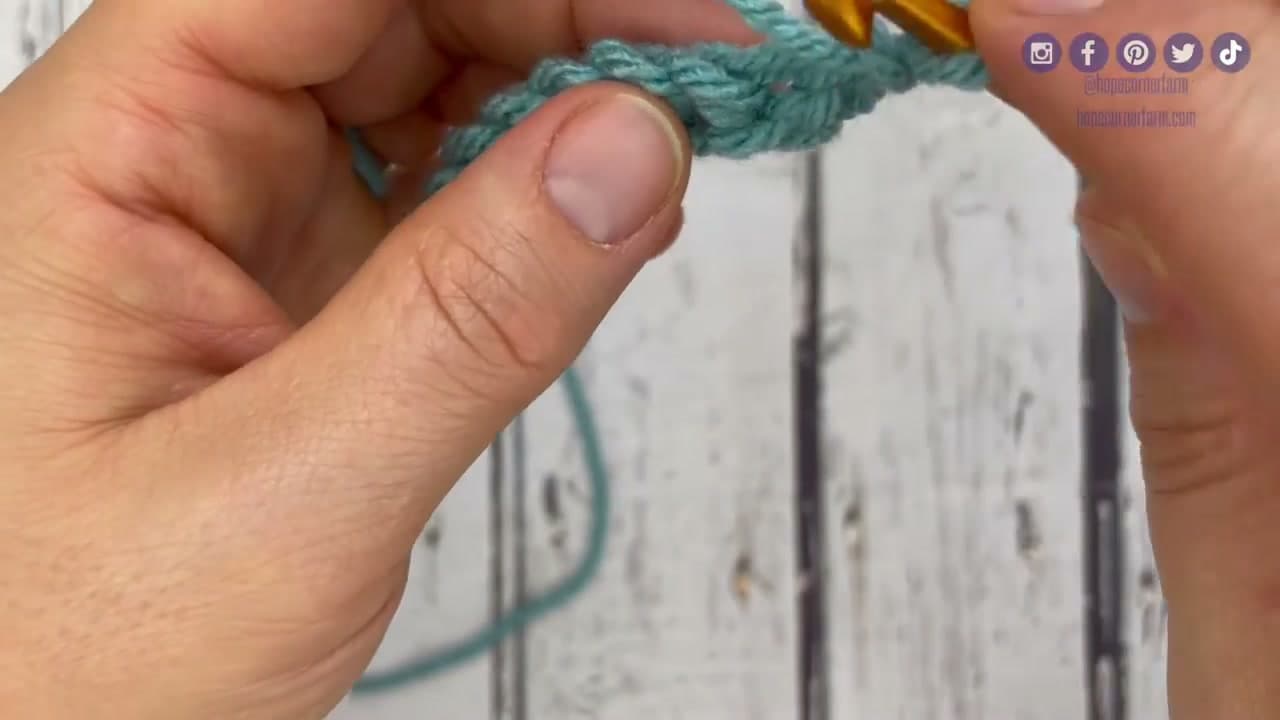
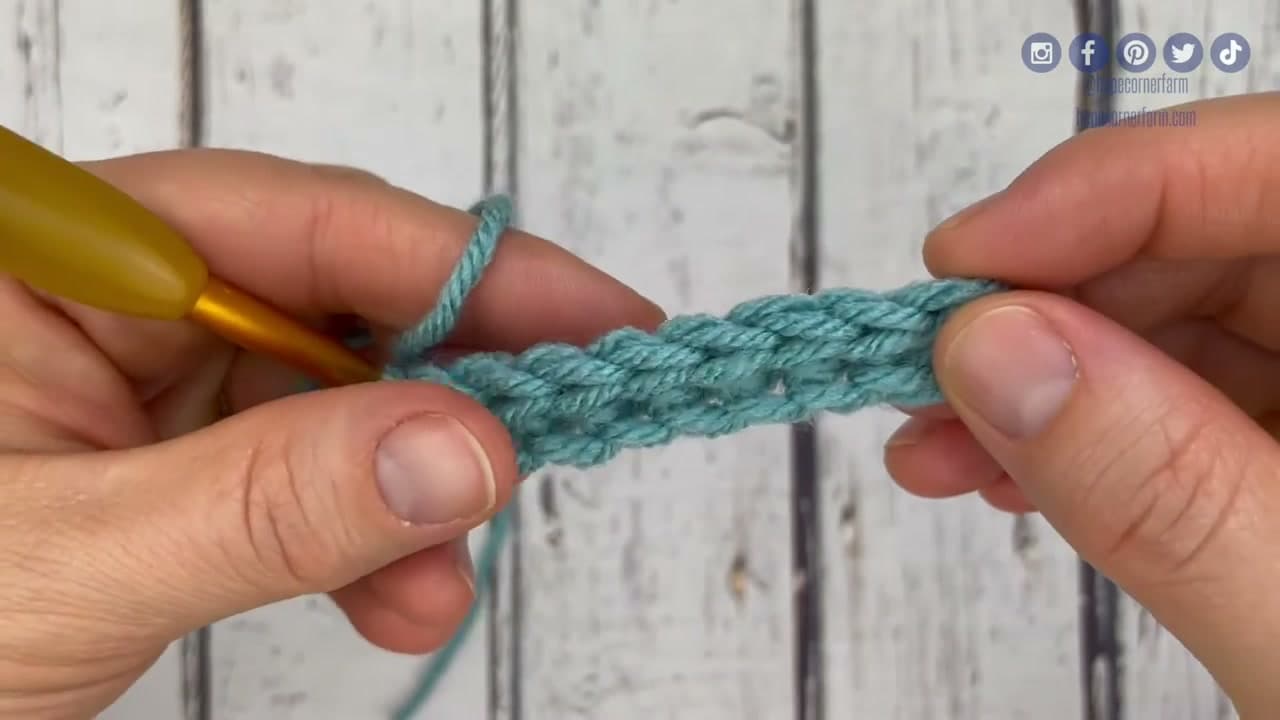
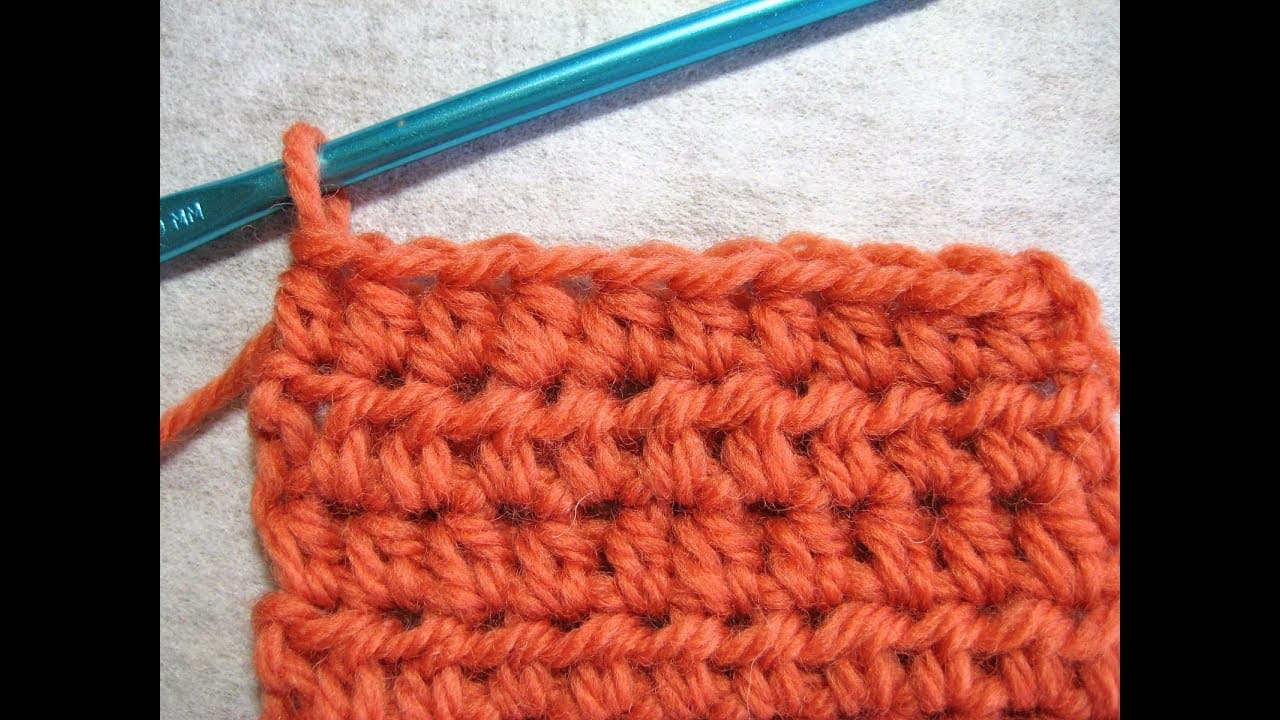
Lay your row out and look at it. Slip stitches show up as a column of small V's on the front, with a thicker, almost knotted ridge along the top. The fabric feels dense and barely adds any height compared to single crochet.

That density is why slip stitches are great for ribbing on a hat brim, edging on a blanket, or joining the end of a round back to the start. It's also why you wouldn't use slip stitch for an entire blanket - it would be bulletproof.

8

Step 8: Slip Stitch Into a Slip Stitch Row

3:08
Step 8: Step 8: Slip Stitch Into a Slip Stitch Row

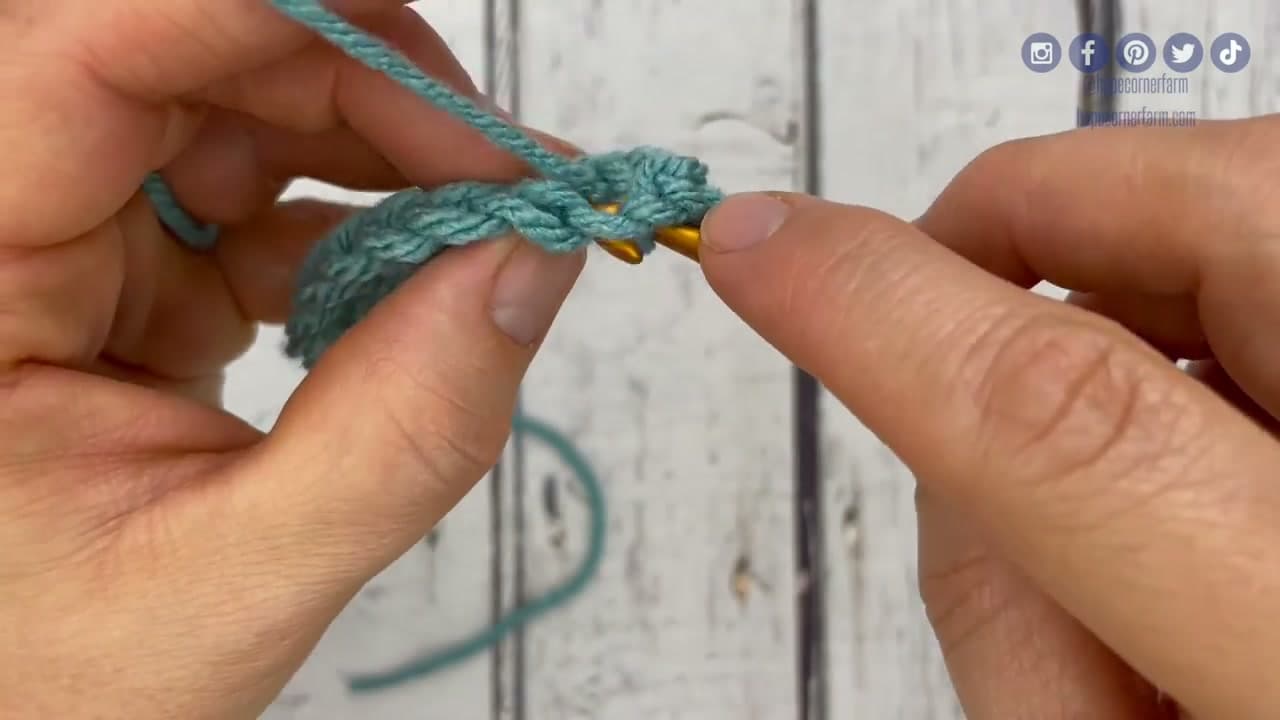
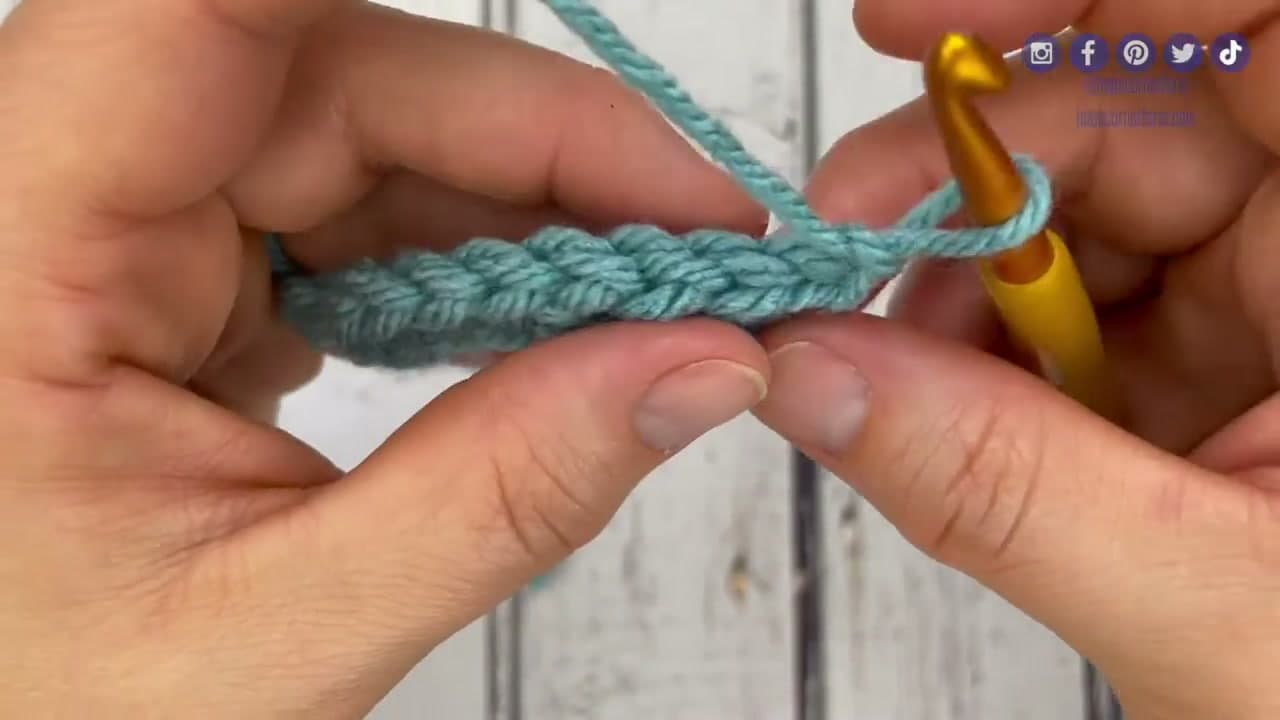
If your pattern asks you to slip stitch into a previous slip stitch row, the V's sit at a slight angle. Chain 1, turn, and look for the two top loops of the first slip stitch.

Pick up both of those loops with your hook, yarn over, pull through both. Same move as before. Stack a few rows of slip stitches and you'll see why this technique builds such tight, low-profile fabric - perfect for a hat band or a clean blanket edge. Pair what you just learned with how to fasten off to finish a project cleanly.

Tip

Slip stitch is also how you join the end of a round to the start when you're working in the round. The motion is identical - insert hook into the first stitch of the round, yarn over, pull through both.

Products used in this step

Products Used

☐ The Checklist

How to Slip Stitch in Crochet

Tools
2
Materials
1
Steps
8
Video
7 min

Your Guide

Hope Corner Farm Crochet

As an Amazon Associate we earn from qualifying purchases. Links on this page may be affiliate links - clicking them and buying doesn't change your price, but helps support ShowMeStepByStep.

Tags

What's next

Weekly Digest

Liked this crochet tutorial?

Pick the categories you want to hear about. Weekly digest of new step-by-step tutorials. No spam, easy unsubscribe.

Send me tutorials about

We only email about new tutorials. Easy unsubscribe anytime.