How to Increase in Crochet (Single Crochet Increase for Amigurumi)

CrochetEasy5:037 steps
Also in:Crafts

By ShowMeStepByStepPublished Updated

Based on a video by The Pudgy Rabbit.

Increasing is what turns a flat circle into a sphere. Without it, every amigurumi would stay a tube. The single crochet increase is the move you will reach for in every single amigurumi pattern, and once your hands know it, you can stop counting along with the video and just do it.

Vanessa from The Pudgy Rabbit shows the technique on a small round-in-progress piece using worsted weight cotton and a size H hook. The move itself is simple - two single crochets into the same stitch instead of one - but the small visual cues of where exactly to put your hook are what trip up beginners. This tutorial walks through those cues frame by frame.

This pairs naturally with our how to decrease in crochet tutorial, since the two together give you the full shaping vocabulary every amigurumi pattern uses. If you are brand new, start with how to single crochet first - the increase is two of those worked into one base. The starting point for nearly every amigurumi is a magic ring, and once you have all three moves down you can follow along with a project like how to crochet an octopus from start to finish.

Step-by-Step Guide

1

Step 1: Gather Your Tools and an In-Progress Round

0:30
Step 1: Step 1: Gather Your Tools and an In-Progress Round

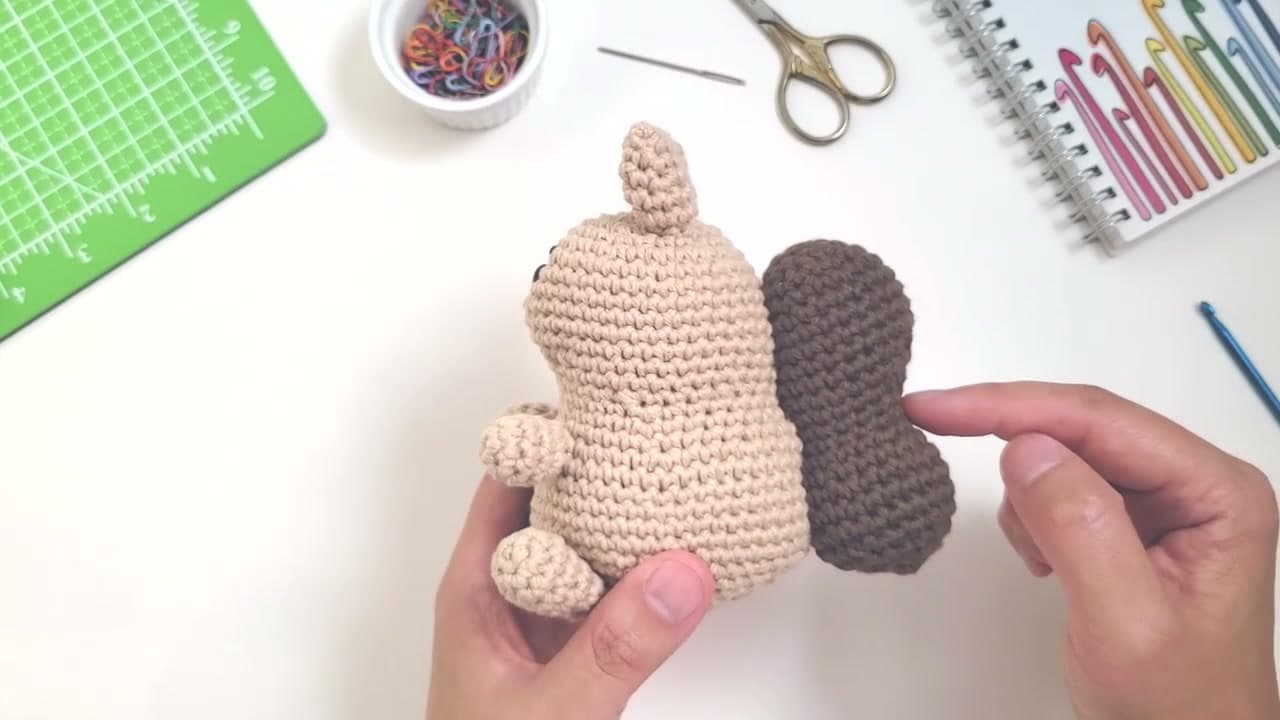
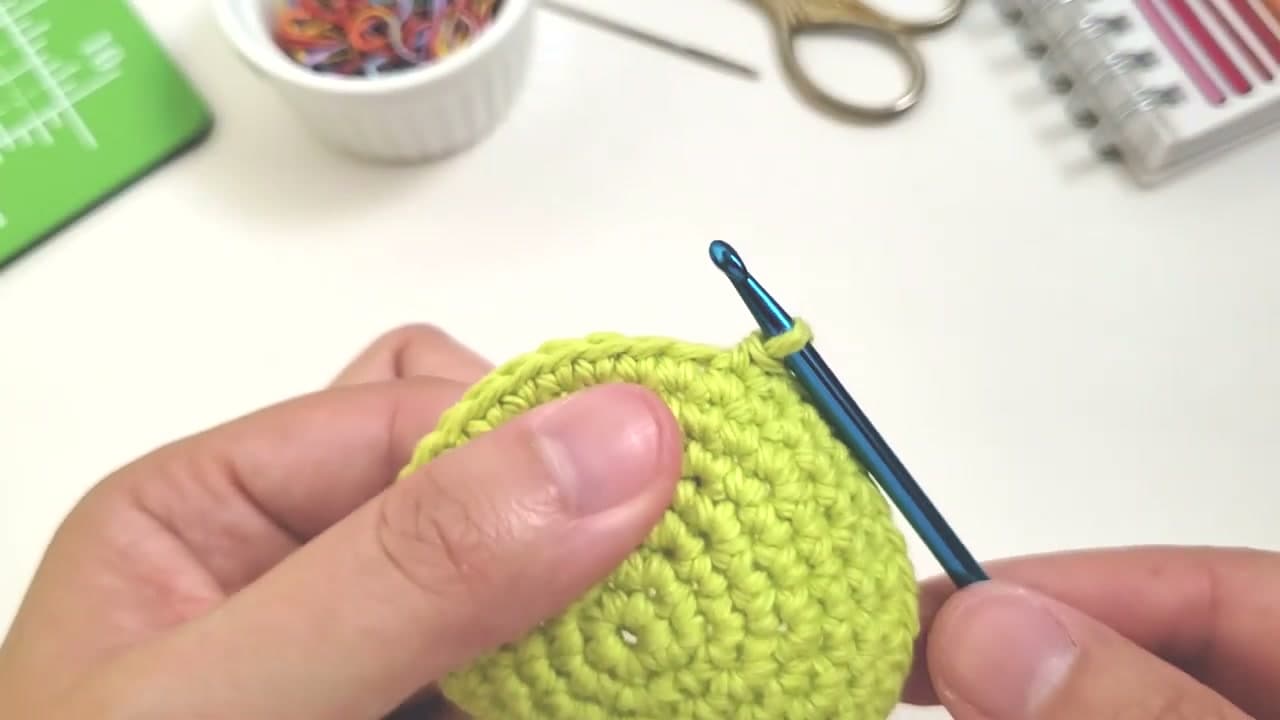
You need a size H/5mm hook, worsted weight yarn, scissors, a small set of stitch markers, and an in-progress amigurumi piece or a small round swatch to practice on. Vanessa uses a cotton yarn because the stitches sit crisp and you can see them clearly. A wool blend works too.

Watch: youtu.be/G5xU-aK1gMU?t=30

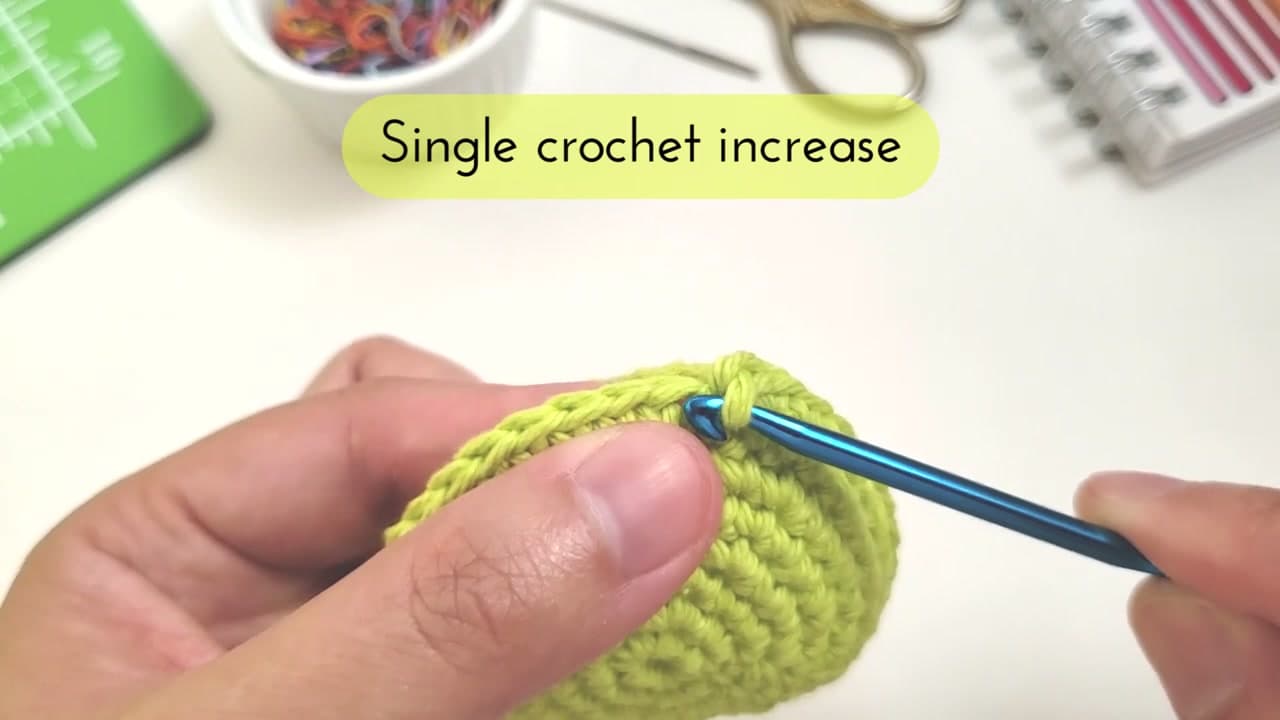
Increases add stitches to a round so the piece grows outward instead of staying tube-shaped. Every time your pattern says inc, you are doing exactly the move below.

Tip

Practice on a swatch before trying this on a real project. If you increase in the wrong stitch on an in-progress amigurumi, you have to rip back to fix the round. Three rows of single crochet over twelve stitches is plenty of room to try a few increases in a row.

2

Step 2: Find the Stitch You Will Increase Into

0:47
Step 2: Step 2: Find the Stitch You Will Increase Into

Look at the top of your last row. Each stitch shows up as a small two-loop V, lying flat across the work. That V is your target. When a pattern says inc in next stitch, the V on top of the next stitch is the one you mean.

Watch: youtu.be/G5xU-aK1gMU?t=47

Two single crochets are going to go into this single V. That is the whole secret. The hook moves are exactly the same as a normal sc - you are just doing two of them into one base instead of moving on to the next stitch.

Tip

If your yarn is thick or your stitches are tight, the V can be hard to see. Stretch the fabric a little across your fingers and the two loops of each V will pop. Stitch markers help on dense projects - drop a marker in the V before you start and you cannot miss it.

Products used in this step

3

Step 3: Insert Your Hook Into the Stitch

1:10
Step 3: Step 3: Insert Your Hook Into the Stitch

Slide your hook front-to-back under both loops of the V. The hook should pass cleanly through with the yarn waiting on the back side of your work. You are doing the same insertion as a regular single crochet here - nothing special yet.

Watch: youtu.be/G5xU-aK1gMU?t=70

Some patterns work increases through the back loop only or the front loop only for a different texture. Unless your pattern says so, default to going under both loops like Vanessa shows. That is what inc means in standard amigurumi notation.

Tip

If the hook will not slide in, your tension is probably too tight. Loosen the working loop on your hook and the stitch below will open up a little. Cotton yarn especially benefits from a slightly looser tension on amigurumi rounds.

Products used in this step

4

Step 4: Yarn Over and Complete the First Single Crochet

1:25
Step 4: Step 4: Yarn Over and Complete the First Single Crochet

Yarn over and pull up a loop. You should now have two loops sitting on your hook. Yarn over again and pull through both loops in one motion. That is one regular single crochet done.

Watch: youtu.be/G5xU-aK1gMU?t=85

If your pattern were calling for a regular sc here, you would move on to the next V. For an increase, you stay put. The next step is where the increase actually happens - going back into the same stitch a second time.

Tip

Pull the loops snug but not tight. Amigurumi looks best with a firm fabric that does not show stuffing through the gaps, but stitches that are choked too tight make the next round hard to work. Aim for loops that flex slightly when you stretch the fabric.

Products used in this step

5

Step 5: Insert the Hook Into the SAME Stitch Again

1:45
Step 5: Step 5: Insert the Hook Into the SAME Stitch Again

This is the move that makes it an increase. Insert your hook back into the same V you just worked into, not the next one over. Two stitches are about to share one base, and that is the whole point.

Watch: youtu.be/G5xU-aK1gMU?t=105

Take a beat before you yarn over. Going into the wrong stitch is the most common beginner mistake, and it shows up later as a misshapen round. Confirm you are in the same V where the single crochet you just made is sitting, then continue.

Tip

The first sc you made is sitting on top of the V like a small chimney. If your hook went into a clean empty V, you moved over a stitch by accident. Pull the loop out and reinsert into the V where your last stitch is anchored.

6

Step 6: Yarn Over and Complete the Second Single Crochet

1:55
Step 6: Step 6: Yarn Over and Complete the Second Single Crochet

Yarn over, pull up a loop, yarn over again, and pull through both loops. The second single crochet is now finished and sitting next to the first one on top of the shared V.

Watch: youtu.be/G5xU-aK1gMU?t=115

That is the entire increase. Two single crochets, one shared base, stitch count of the round goes up by one. If your pattern says inc 6 times around, you do this same move six times at evenly spaced points in the round.

Tip

Count out loud the first few times. One yarn over, pull through. Two yarn over, pull through. The verbal cue keeps you from accidentally finishing the stitch on the wrong loop count, which is the other common mistake.

7

Step 7: Check the Increase and Move On

2:00
Step 7: Step 7: Check the Increase and Move On

Look across the row. You should see two single crochets stacked above the same base stitch - that is the visible signature of an increase. The fabric will start to splay outward at that point, which is exactly what you want for a round that needs to grow.

Watch: youtu.be/G5xU-aK1gMU?t=120

From here, work whatever your pattern says next - another increase, plain single crochets, or move to the next round. Most amigurumi rounds use a pattern like sc, inc, sc, inc to evenly add stitches around the circle. The next move you will need is the opposite of this one - check how to decrease in crochet for shaping the top of the piece.

Tip

If the round is looking lumpy or wavy a few rounds after your increases, your increases were not spaced evenly. Drop a stitch marker at each increase point as you work so you can confirm the spacing matches what the pattern calls for.

Products Used

☐ The Checklist

How to Increase in Crochet (Single Crochet Increase for Amigurumi)

Tools
4
Materials
2
Steps
7
Video
5 min

Your Guide

The Pudgy Rabbit

As an Amazon Associate we earn from qualifying purchases. Links on this page may be affiliate links - clicking them and buying doesn't change your price, but helps support ShowMeStepByStep.

Tags

Related Tutorials