How to Make Dinner Rolls

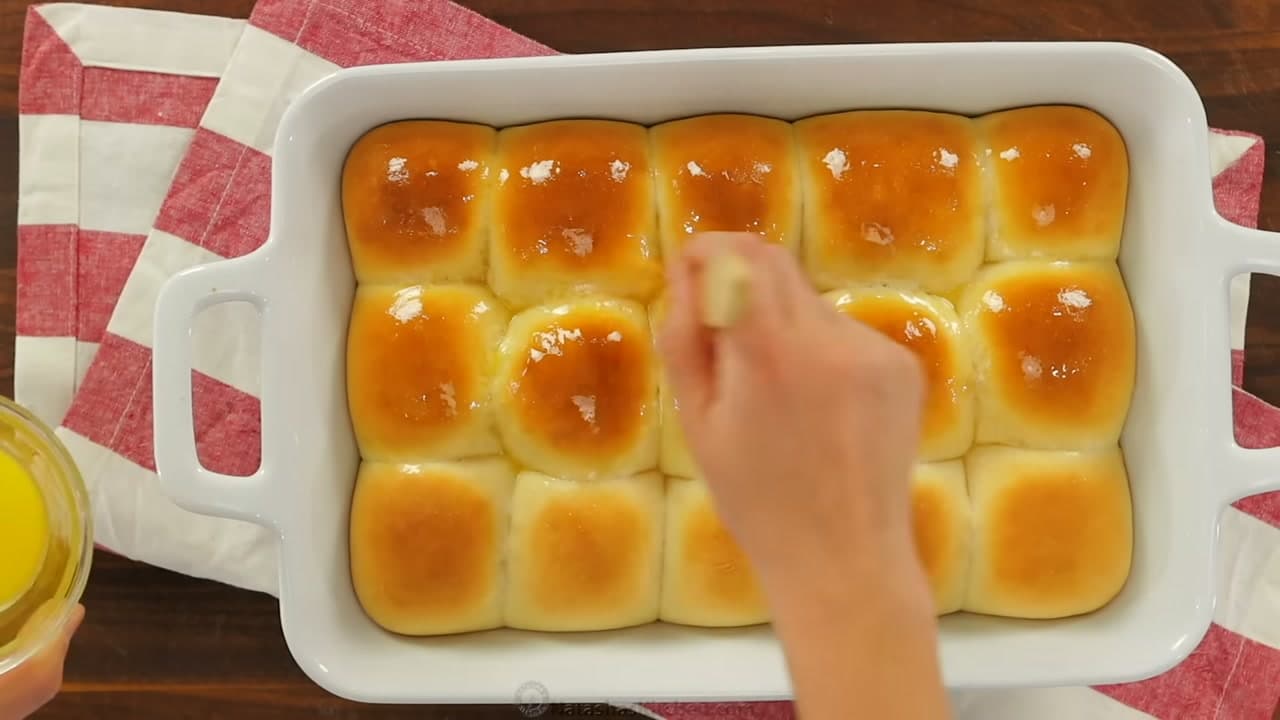
The finished result: How to Make Dinner Rolls
Also in:Baking

By ShowMeStepByStepPublished Updated

Based on a video by Natashas Kitchen.

Six ingredients, and you probably have all of them right now. Milk, sugar, yeast, salt, butter, flour.

The thing that stops most people making rolls is the rise. Kitchens are cold, dough sulks, and two hours later nothing has happened. The trick in this recipe fixes that: heat a damp towel in the microwave for a minute, then shut the dough in there. You have made a warm humid box for free.

The dough is deliberately soft and a bit sticky. Resist adding flour to make it easier to handle - that softness is exactly what makes the rolls fluffy rather than dense.

Plan on about three hours start to finish, most of which is waiting.

What you'll need

Tools

Ingredients

  • 1 1/2 cupswhole milk
  • 1/3 cupgranulated sugar
  • 1 Tbspactive dry yeast
  • 1 1/4 tspsea salt
  • 4 Tbspunsalted butter
  • 4 cupsall-purpose flour
  • 1 Tbspbutter
  • to tastekosher salt

Step-by-Step Guide

8 steps · about 10 minutes.Check off each step as you go and your progress saves automatically.

1

Warm the Milk and Sprinkle the Yeast

0:48
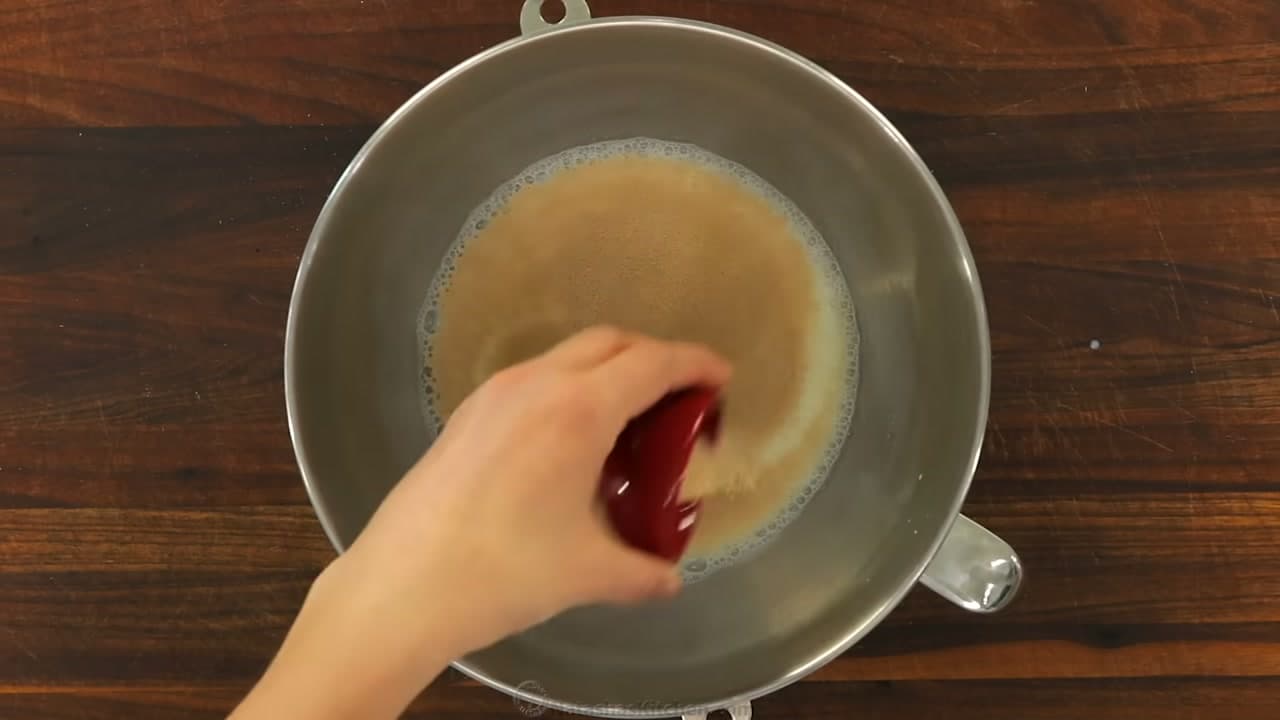
Step 1: Warm the Milk and Sprinkle the Yeast - How to Make Dinner Rolls

Combine a cup and a half of whole milk, a third of a cup of sugar and four tablespoons of butter, and warm it until the butter melts.

Let it cool to warm, not hot. Then sprinkle a tablespoon of active dry yeast over the top.

Too hot and you kill the yeast before it starts. Warm to the wrist is right.

Tip

If you have a thermometer, 105 to 110F is the window. Above about 120F you are killing yeast.
2

Proof Until Foamy

1:04
Step 2: Proof Until Foamy - How to Make Dinner Rolls

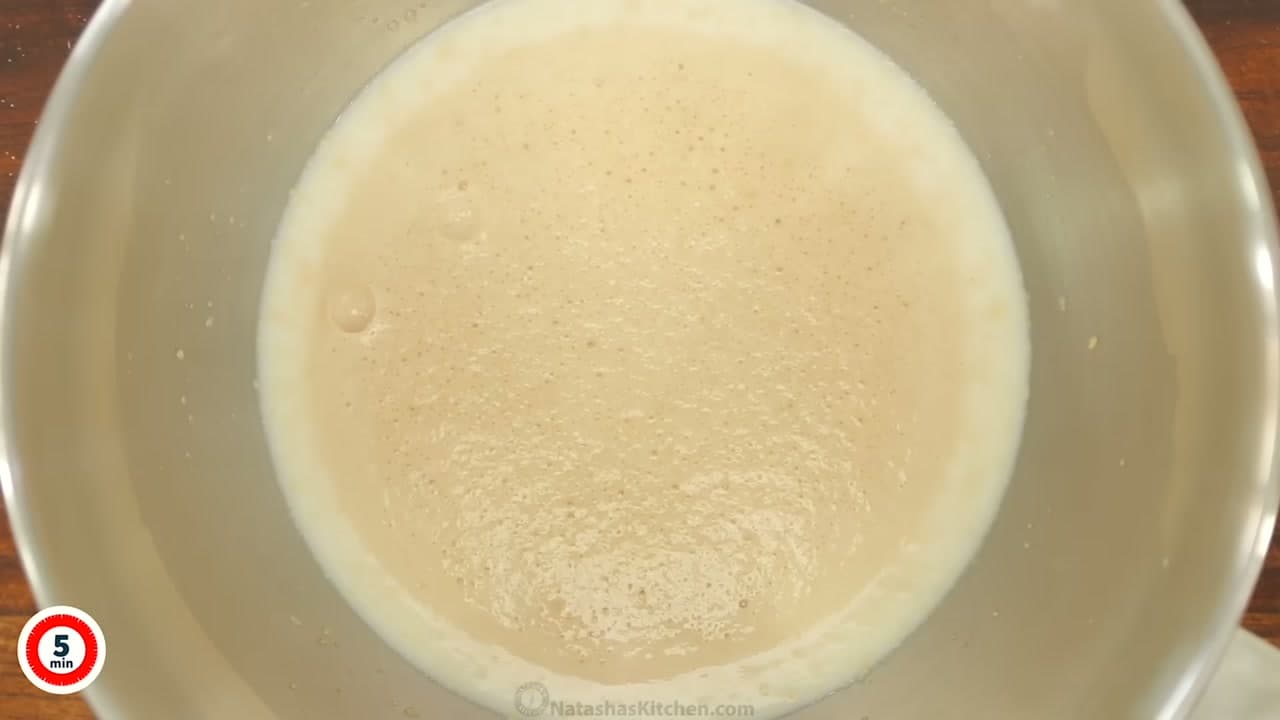
Let it sit a minute, then whisk the yeast into the milk. Set it aside for about five minutes.

You are looking for a foamy, risen head on the surface. That foam is the proof that your yeast is alive.

Nothing happening after ten minutes means dead yeast or milk that was too hot. Start again rather than carrying on.

3

Whisk In the First Flour

1:50
Step 3: Whisk In the First Flour - How to Make Dinner Rolls

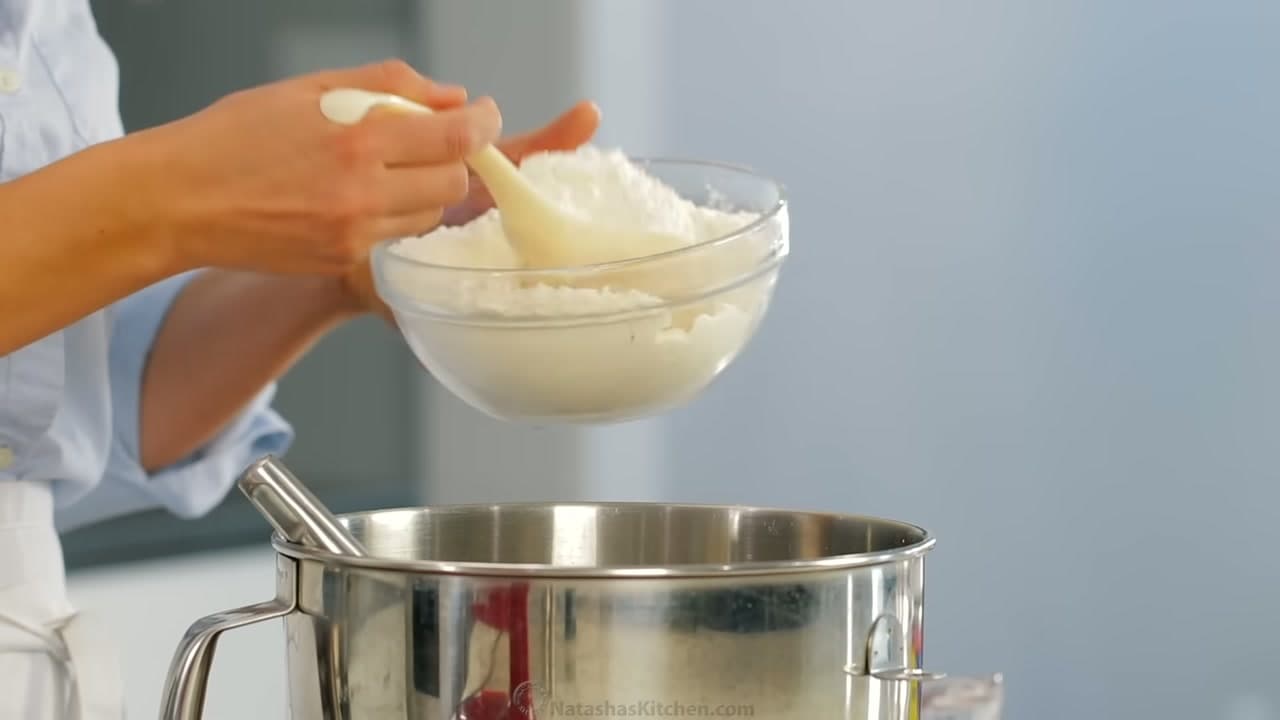
Add the salt, then start adding flour a bit at a time, whisking as you go.

Starting with a whisk rather than a dough hook incorporates the flour much faster and saves you time later. Keep going until it is too thick to whisk.

4

Knead With the Dough Hook

2:30
Step 4: Knead With the Dough Hook - How to Make Dinner Rolls

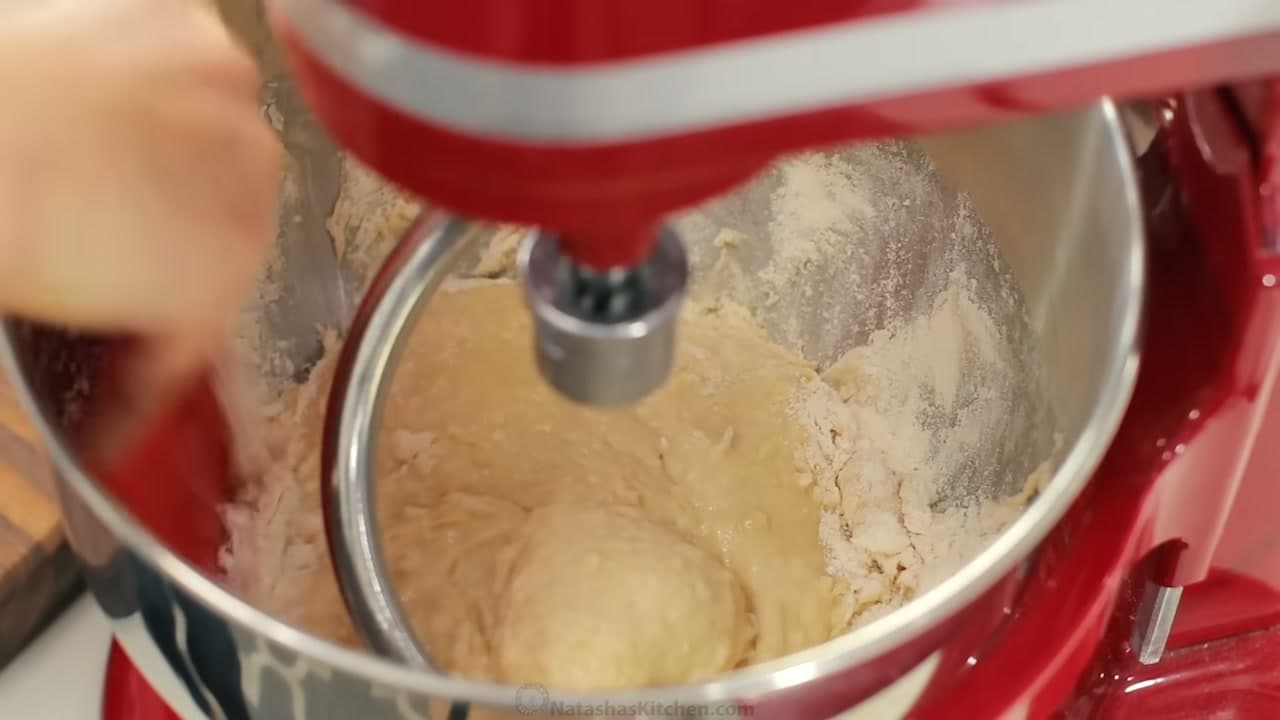
Switch to the dough hook, set the mixer to speed two, and keep adding the rest of the flour.

Scrape the bowl down as you go so the flour incorporates evenly. Add the last tablespoon or two only if the dough actually needs it.

The finished dough should be soft and slightly moist, and it will pull away from the sides while still tacky to touch.

Tip

Err on the side of less flour. Dry dough is the single most common reason homemade rolls come out dense.

5

The Warm Microwave Rise

4:00
Step 5: The Warm Microwave Rise - How to Make Dinner Rolls

Transfer the dough to a well-oiled bowl and cover it.

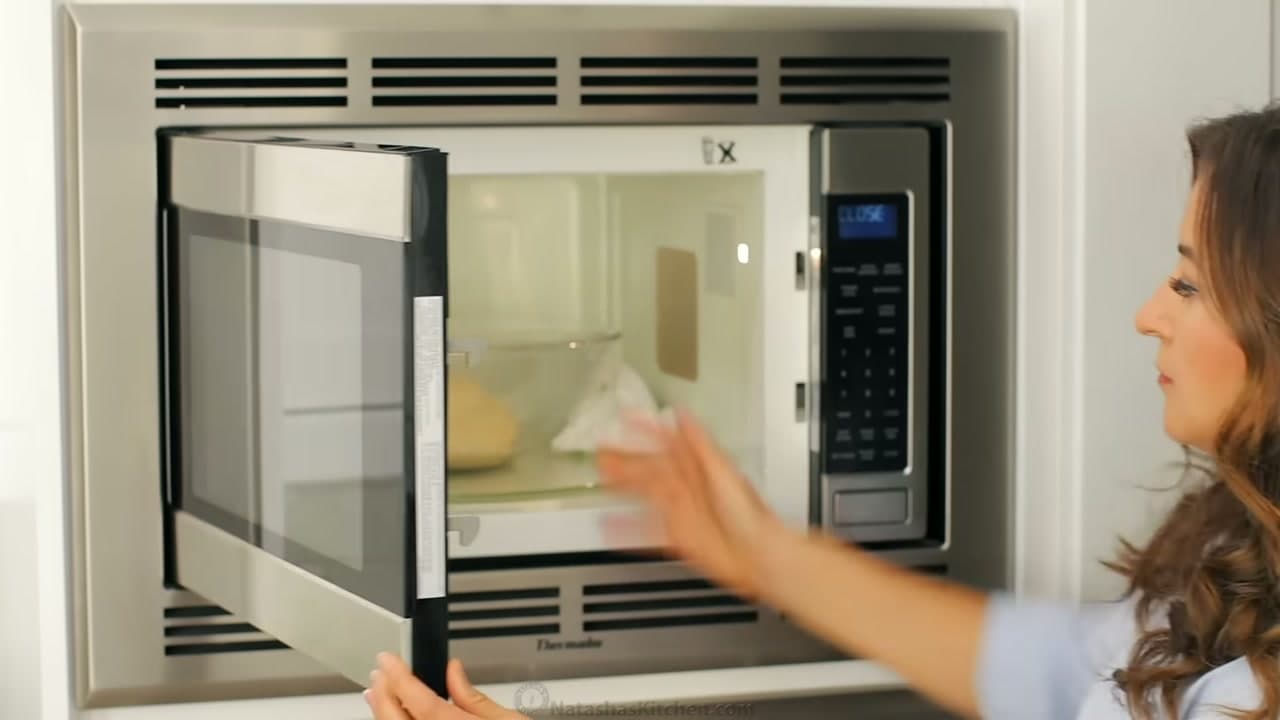
Now the trick: put a damp towel in the microwave and run it on high for a minute. That fills the microwave with warm steam. Put the covered dough in, shut the door, and leave it.

You have made a proofing box out of an appliance you already own. It works in a cold kitchen in winter, which is when you actually want to bake rolls.

6

Punch Down and Divide

4:50
Step 6: Punch Down and Divide - How to Make Dinner Rolls

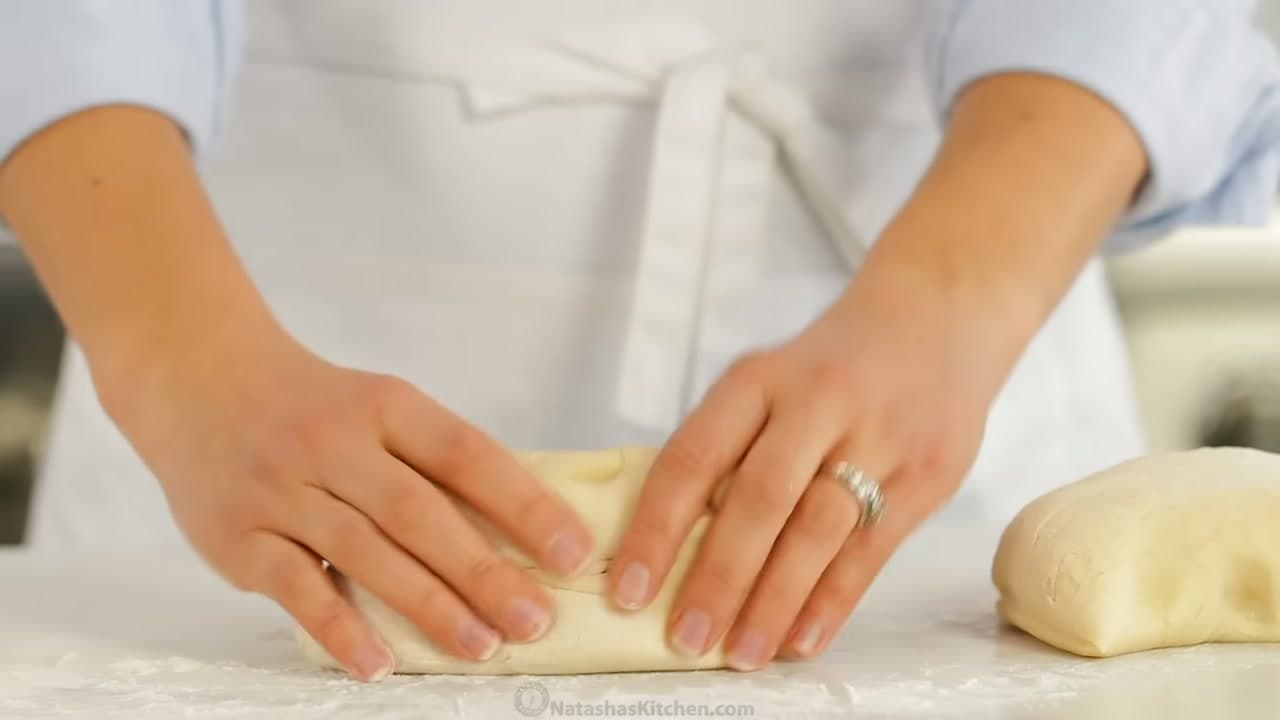
When it has doubled, punch it down and turn it out.

Divide into 15 even pieces for a 9x13 dish - five across and three deep. A different pan size means a different count; 16 or 24 both work.

Tip

Weigh the pieces if you want them uniform. Eyeballed rolls bake unevenly because the small ones finish first.

7

Roll Each Into a Smooth Ball

5:30
Step 7: Roll Each Into a Smooth Ball - How to Make Dinner Rolls

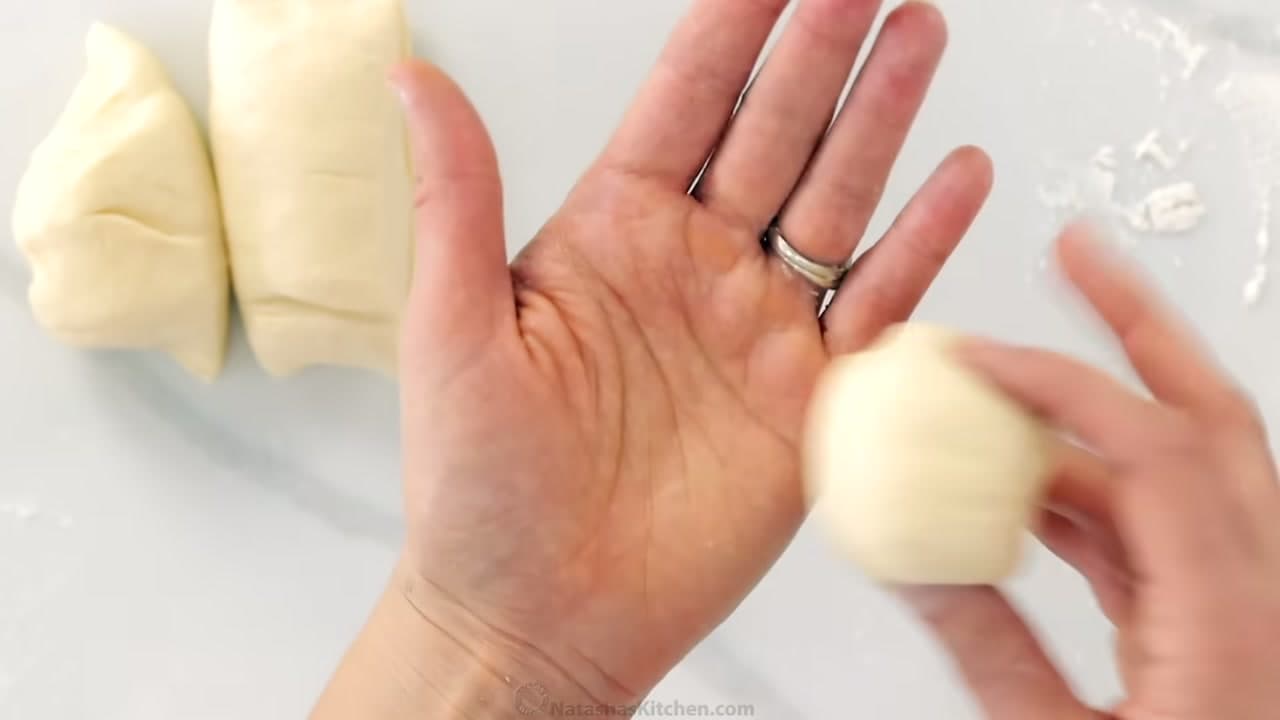
Cup the dough with your thumb and fingers, then roll it against the counter in the palm of your hand.

You are pulling the surface tight underneath, which is what gives you a smooth domed top instead of a wrinkled one.

Set them into a lightly oiled 9x13 dish and give them a second rise, about an hour, until visibly puffed. The same microwave trick works.

8

Bake, Butter and Salt

7:06
Step 8: Bake, Butter and Salt - How to Make Dinner Rolls

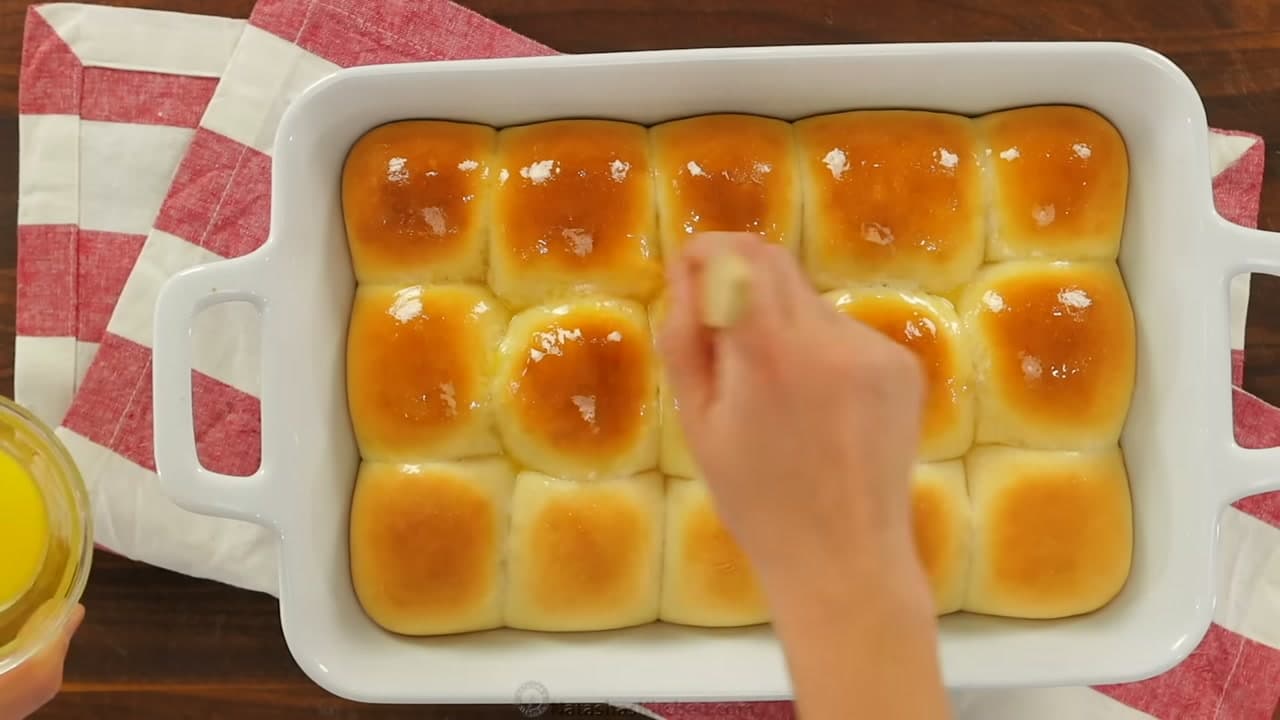
Bake until golden, then brush the tops with a tablespoon of melted butter while they are still hot.

Sprinkle kosher salt over while the butter is still wet so it sticks. That flake of salt against a sweet soft roll is the whole thing.

They are best slightly warm. They also freeze well.

Keep going

How to Make Sweet Potato Casserole

Products Used

The Recipe

How to Make Dinner Rolls

American
Serves
Makes 15 rolls
Prep
40 min
Cook
20 min
Total
1 hr

Ingredients

8 items
  • 1 1/2 cupswhole milk
  • 1/3 cupgranulated sugar
  • 1 Tbspactive dry yeast
  • 1 1/4 tspsea salt
  • 4 Tbspunsalted butter
  • 4 cupsall-purpose flourhold back the last 1 to 2 Tbsp
  • 1 Tbspbuttermelted, to brush the tops
  • to tastekosher saltsprinkled on the finished rolls

Nutrition

estimated · per servingEstimated from the ingredient list, not measured. Actual values vary by brand, preparation, and serving size. Not a substitute for measured nutrition data.
Calories
195kcal
Protein
5g
Fat
5g
Carbs
32g
Sugar
5g
Sodium
230mg

Method

  1. 1
    Step 1: Warm the Milk and Sprinkle the Yeast. Combine a cup and a half of whole milk, a third of a cup of sugar and four tablespoons of butter, and warm it until the butter melts.
  2. 2
    Step 2: Proof Until Foamy. Let it sit a minute, then whisk the yeast into the milk.
  3. 3
    Step 3: Whisk In the First Flour. Add the salt, then start adding flour a bit at a time, whisking as you go.
  4. 4
    Step 4: Knead With the Dough Hook. Switch to the dough hook, set the mixer to speed two, and keep adding the rest of the flour.
  5. 5
    Step 5: The Warm Microwave Rise. Transfer the dough to a well-oiled bowl and cover it.
  6. 6
    Step 6: Punch Down and Divide. When it has doubled, punch it down and turn it out.
  7. 7
    Step 7: Roll Each Into a Smooth Ball. Cup the dough with your thumb and fingers, then roll it against the counter in the palm of your hand.
  8. 8
    Step 8: Bake, Butter and Salt. Bake until golden, then brush the tops with a tablespoon of melted butter while they are still hot.

The Checklist

How to Make Dinner Rolls

Tools
16
Steps
8
Video
10 min

Your Guide

Natashas Kitchen

As an Amazon Associate we earn from qualifying purchases. Links on this page may be affiliate links - clicking them and buying doesn't change your price, but helps support ShowMeStepByStep.

Tags

Sunday How-To

New cooking tutorials, every Sunday

One short email with the week's best step-by-step guides. Free, no spam, unsubscribe anytime.

Test your knowledge

Did the lesson stick? Start with this one.

5 questions covering what you just read. No signup, no score saved, and you can stop after this one.

Question 1 of 5

You sprinkle yeast over the warm milk and wait. What are you looking for?

Quick reference

Key takeaways from How to Make Dinner Rolls

5 questions, answers, and one-line explanations. Tap to expand.

  1. 1.You sprinkle yeast over the warm milk and wait. What are you looking for?

    Answer: A foamy risen head on the surface

    That foam is the proof the yeast is alive and worth carrying on with.

  2. 2.Why let the milk cool before the yeast goes in?

    Answer: Hot milk kills the yeast before it starts

    Warm to the wrist is right, and anything hotter finishes the yeast off.

  3. 3.Nothing happens after ten minutes of proofing. What should you do?

    Answer: Start again rather than carrying on

    Dead yeast or overheated milk will not recover, and the dough will never rise.

  4. 4.A damp towel goes in the microwave on high for a minute. What is that for?

    Answer: Turning the microwave into a warm proofing box

    The steam makes a warm enclosed space, which is exactly what a cold kitchen lacks.

  5. 5.Rolling each ball against the counter under your palm does what?

    Answer: Pulls the surface tight for a smooth domed top

    The tension you build underneath is what gives a smooth top instead of a wrinkled one.

Did this work for you?

What's next

Related collections

Curated theme pages that include this tutorial.

Weekly Digest

Liked this cooking tutorial?

Pick the categories you want to hear about. Weekly digest of new step-by-step tutorials. No spam, easy unsubscribe.

Send me tutorials about

We only email about new tutorials. Easy unsubscribe anytime.