How to Make Gravy

CookingEasy4:487 stepsBrowse more →
The finished result: How to Make Gravy

By ShowMeStepByStepPublished

Based on a video by The Sauce and Gravy Channel.

Gravy from a jar exists because people think the real thing is difficult. It is butter, flour, and the brown stuff stuck to the bottom of your roasting pan. Twenty minutes, start to finish, and most of that is waiting for a roux to change color.

The flavor is already made for you. A turkey sitting on a rack for three hours drips fat and juice onto the tray below, and those browned bits are concentrated roast turkey. All you are doing is lifting them off the pan and thickening them.

Johnny Mack from The Sauce and Gravy Channel walks through it here with a plain seasoned bird, nothing fancy, which is the point: you do not need special ingredients to get good gravy.

What if you have no drippings?

Use stock. The roux and the method stay identical, and you swap two cups of turkey or chicken stock in where the drippings would have gone.

It will not taste the same, because nothing replicates roasted turkey fond. It will still be a long way ahead of the jar. If you want to close some of the gap, brown a little butter in the saucepan before you add the flour.

Thicker or thinner

The ratio decides it. Three tablespoons of butter and three tablespoons of flour to two cups of liquid gives you a medium gravy that coats a spoon and slides off.

Want it thicker? Go up to four of each. Thinner, drop to two. Adjust the roux rather than the liquid, because adding more stock at the end dilutes the flavor you just spent an hour building.

If it comes out too thick anyway, whisk in warm stock a splash at a time. Too thin, let it simmer longer and it will reduce.

How to avoid lumps

Lumps come from flour hitting hot liquid before it is coated in fat. Cook the roux properly, then add the liquid gradually with the whisk already moving.

If you get lumps anyway, pour the whole thing through a fine sieve. Nobody at the table will know.

Is a fat separator worth it?

For one dinner a year, it is a fair question. The answer is yes, and it is the one piece of kit in this recipe worth buying.

Pan drippings are maybe a third fat by volume. Skimming it off with a spoon is slow and you never get it all. A separator pours the liquid out from underneath and leaves the fat sitting on top, which means your gravy tastes of turkey rather than grease.

No separator? Let the drippings settle in a jug for ten minutes and ladle the fat off the top.

Making it ahead

Gravy reheats well, so you can build it in the morning and warm it through while the turkey rests. It thickens as it cools. Whisk in a splash of stock as it comes back up to temperature and it loosens straight back out.

Save the drippings whether or not you make it right away. Once that roasting pan goes in the sink the gravy is gone.

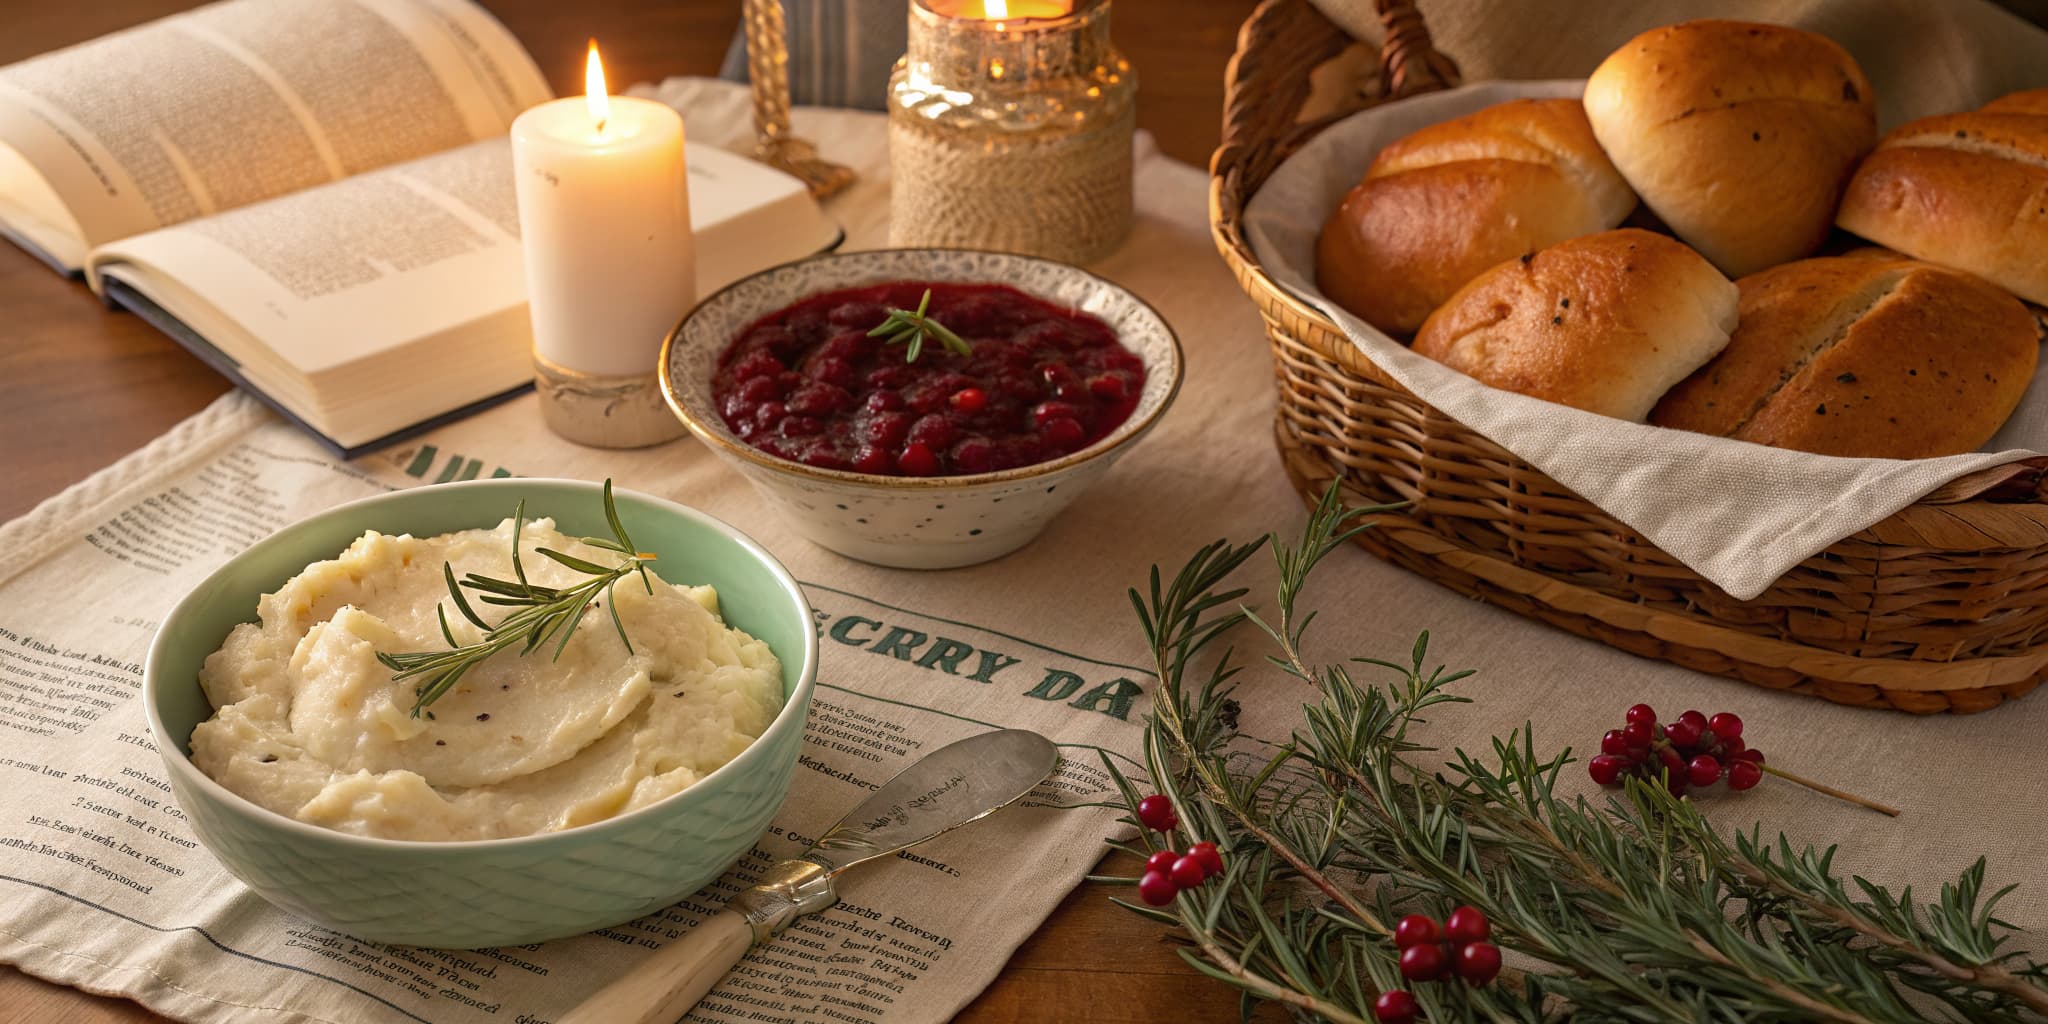
The rest of the Thanksgiving table

Gravy needs somewhere to go. The rest of the Thanksgiving plate:

Step-by-Step Guide

7 steps · about 5 minutes.Check off each step as you go and your progress saves automatically.

1

Step 1: Deglaze the roasting pan

1:28
Step 1: Deglaze the roasting pan - How to Make Gravy

Once the turkey is out and resting, set the roasting pan straight across a burner - two burners if it spans them - over low to medium heat. Pour in two cups of turkey or chicken stock.

Scrape the bottom with a spatula and work every one of those browned bits loose into the liquid. That is the entire flavor base, and it is stuck to the pan until you lift it off.

No need to boil it. Gentle heat is enough to release everything.

Tip

Stock, broth, water or a mix of stock and wine all work as the deglazing liquid. Use what you have.

2

Step 2: Strain it through a fat separator

2:02
Step 2: Strain it through a fat separator - How to Make Gravy

Pour the deglazed liquid through a fine sieve to catch any solids, straight into a fat separator.

Leave it a minute and the fat rises into a distinct layer on top. The separator pours from the bottom, so the fat stays behind and only the good liquid goes into your gravy.

Tip

No separator? Pour into a jug, wait ten minutes and spoon the fat off the surface.

3

Step 3: Melt the butter

2:32
Step 3: Melt the butter - How to Make Gravy

Put a saucepan over medium heat and add three tablespoons of butter, about 25 grams. Let it melt all the way through before anything else goes in.

Products used in this step

4

Step 4: Whisk in flour and cook the roux blonde

2:56
Step 4: Whisk in flour and cook the roux blonde - How to Make Gravy

Add three tablespoons of flour to the melted butter and whisk until it comes together into a smooth paste.

Cook it for ten to fifteen minutes. You are waiting for the color of a brown paper bag and a warm, nutty smell coming off the pan. That smell is how you know it is ready.

Skipping this is why some homemade gravy tastes of raw flour. The roux needs the time.

Tip

Equal parts butter and flour by volume. Three and three gives a medium gravy; go to four and four if you want it thicker.

5

Step 5: Pour in the drippings stock

3:20
Step 5: Pour in the drippings stock - How to Make Gravy

Add the defatted liquid to the roux with the whisk already moving. Pour steadily rather than dumping it in all at once.

Whisk the roux up off the bottom and sides so it dissolves into the liquid instead of sitting in clumps. Keep going until it looks even the whole way through.

Tip

Adding hot liquid to a hot roux gradually, while whisking, is the whole trick to a smooth gravy.

Products used in this step

6

Step 6: Simmer and skim

3:52
Step 6: Simmer and skim - How to Make Gravy

Let it simmer for a few minutes and it will thicken as it goes. Skim anything that gathers on the surface with a spoon.

Keep it at a gentle simmer. A hard boil will split the fat back out of the gravy.

7

Step 7: Check the thickness and season

4:28
Step 7: Check the thickness and season - How to Make Gravy

Lift a spoonful and watch how it falls. It should coat the back of the spoon and pour off in a steady stream rather than running straight off like water.

When it is where you want it, taste and adjust with salt and pepper. The drippings are already doing the heavy lifting, so it should not need much beyond that. No vinegar, no lemon, nothing that competes with the roast flavor.

Tip

It thickens further as it cools. Pull it a touch looser than your target and it lands right on the table.

Keep going

How to Make Chicken Biryani (Hyderabadi Style)

Products Used

❖ The Recipe

How to Make Gravy

American
Serves
Makes about 2 cups
Prep
5 min
Cook
20 min
Total
25 min

Ingredients

6 items
  • from 1 roast turkeyturkey pan drippingsdeglazed and defatted
  • 2 cupsturkey or chicken stockfor deglazing the roasting pan
  • 3 tbspunsalted butterabout 25 g
  • 3 tbspall-purpose flourabout 25 g
  • to tastekosher salt
  • to tasteblack pepper

Method

  1. 1
    Step 1: Deglaze the roasting pan. Once the turkey is out and resting, set the roasting pan straight across a burner - two burners if it spans them - over low to medium heat.
  2. 2
    Step 2: Strain it through a fat separator. Pour the deglazed liquid through a fine sieve to catch any solids, straight into a fat separator.
  3. 3
    Step 3: Melt the butter. Put a saucepan over medium heat and add three tablespoons of butter, about 25 grams.
  4. 4
    Step 4: Whisk in flour and cook the roux blonde. Add three tablespoons of flour to the melted butter and whisk until it comes together into a smooth paste.
  5. 5
    Step 5: Pour in the drippings stock. Add the defatted liquid to the roux with the whisk already moving.
  6. 6
    Step 6: Simmer and skim. Let it simmer for a few minutes and it will thicken as it goes.
  7. 7
    Step 7: Check the thickness and season. Lift a spoonful and watch how it falls.

Tools we recommend

Your Guide

The Sauce and Gravy Channel

As an Amazon Associate we earn from qualifying purchases. Links on this page may be affiliate links - clicking them and buying doesn't change your price, but helps support ShowMeStepByStep.

Tags

Sunday How-To

New cooking tutorials, every Sunday

One short email with the week's best step-by-step guides. Free, no spam, unsubscribe anytime.

Did this work for you?

What's next

Related collections

Curated theme pages that include this tutorial.

Weekly Digest

Liked this cooking tutorial?

Pick the categories you want to hear about. Weekly digest of new step-by-step tutorials. No spam, easy unsubscribe.

Send me tutorials about

We only email about new tutorials. Easy unsubscribe anytime.